Making a zero waste pattern
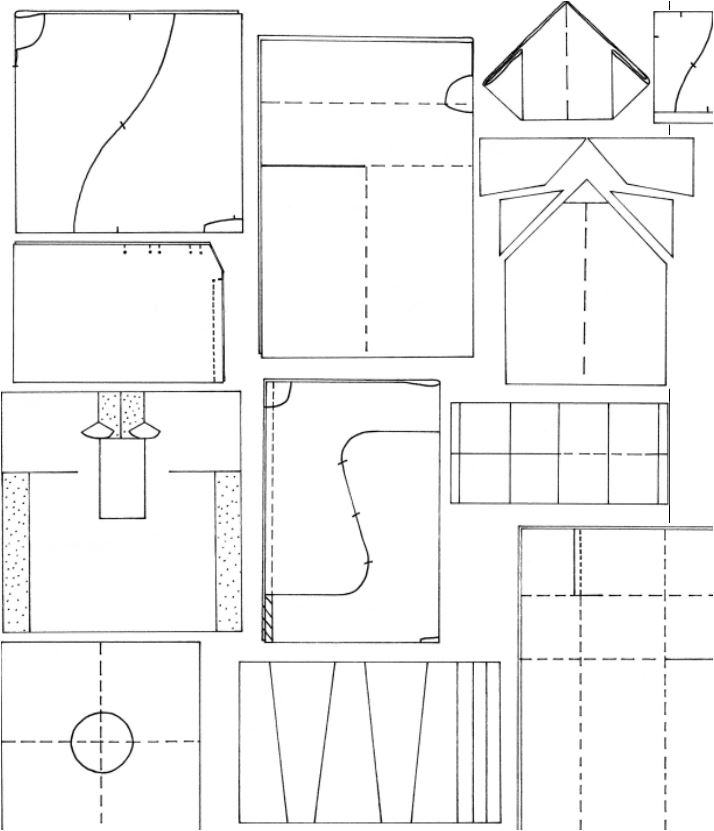
We have passed the 100 day mark and now there’s only 96 days to go until Zero Waste Sewing is published.
I thought I would talk about how I make a zero waste pattern and show you an example from the book.
A zero waste pattern uses 100% of the fabric, with no scraps or waste. The pattern pieces fit together like a giant jigsaw puzzle within the width of the fabric.
A garment which is zero waste is designed in a different way to regular garments. Normally, the process starts with a fashion sketch, it’s interpreted into a pattern by a patternmaker, then the pattern pieces are laid out on the fabric in the most economical way (and cut out). With a zero waste garment, the design, pattern and layout are all made at the same time. The designing happens as the pattern and layout develop. The design reveals itself when the pattern is complete. Can you see how different this is to how we normally design? It’s using patternmaking as the design tool.
The designer needs to be the patternmaker as well, or have a knowledge of patternmaking, and experience with cutting layouts is also needed.
When making a zero waste pattern, it’s important not to have set ideas or expectations about what the outcome will be (as I discovered making zero waste jeans). It’s by doing and seeing what emerges that brings the design direction. There is an added benefit of discovering interesting new design details and silhouettes which you might not have otherwise. Serendipity – making fortunate discoveries by accident – plays an important part in zero waste patternmaking.
If the pattern is going to be in multiple sizes, these have to be organised within the layout while it’s being made.
There are many ways to go about making a zero waste pattern, just like there are for regular patterns. For example, some people prefer draping, other people start all their patterns on computer with CAD and some use flat patternmaking using a block or sloper. I mostly make my patterns with pencil and paper, using flat patternmaking, and I’m rather set in my ways.
I keep a sketch book with zero waste pattern ideas in it, which I started at the same time as writing Zero Waste Sewing. These tend to be sketches of pattern pieces and layouts, rather than sketches of garments.
While I don’t start with a fashion sketch, for reasons discussed above, I do begin with a very loose design brief. For example, the tie front blouse was one of the first patterns I made for the book. I wanted to make a top using an exact square of 115cm wide fabric, and I wanted it to have a tie bow front.
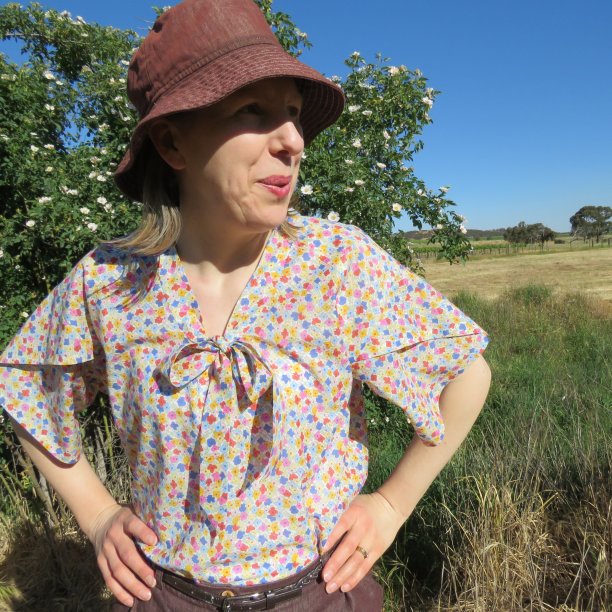
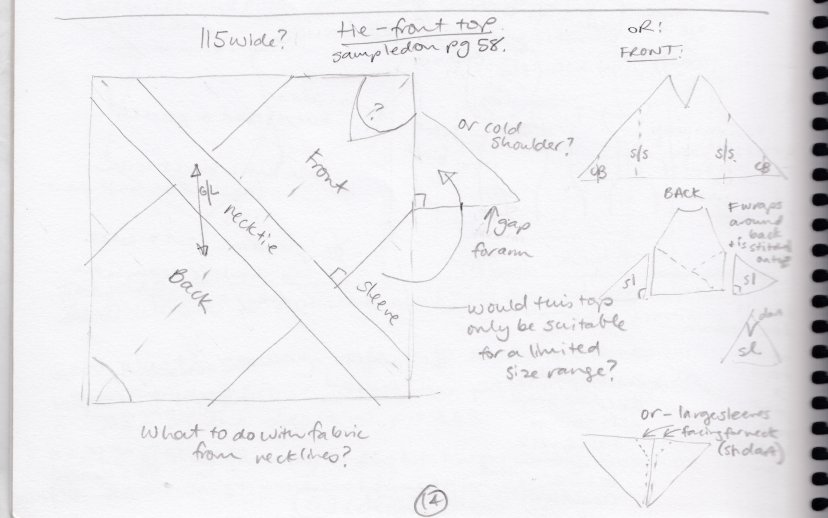
Was I really contemplating a cold shoulder top?
I saw that to have a tie, it would need to run diagonally across the square. That left two large triangles, which I thought I could use for a front and back. I didn’t know what the sleeves would be like at this stage.
So, the next step was to chalk it onto some fabric, referring to a basic block to help with sizing. I prefer to use wearable fabric, rather than calico, for this, but nothing too special in case I’ve got it all wrong! I keep very detailed notes and sketches, and a considerable amount of time is spent thinking before I do any cutting. After cutting out, I pin the entire thing together and carefully try it on (I’ve only drawn blood once with this method, when I lost my balance putting on pinned-together trousers) to see whether the idea is worth pursuing, needs changes or needs abandoning.
In the case of the tie front top, I vaguely thought it would be raglan sleeved and I tried making some sort of spiral sleeve. It didn’t work.
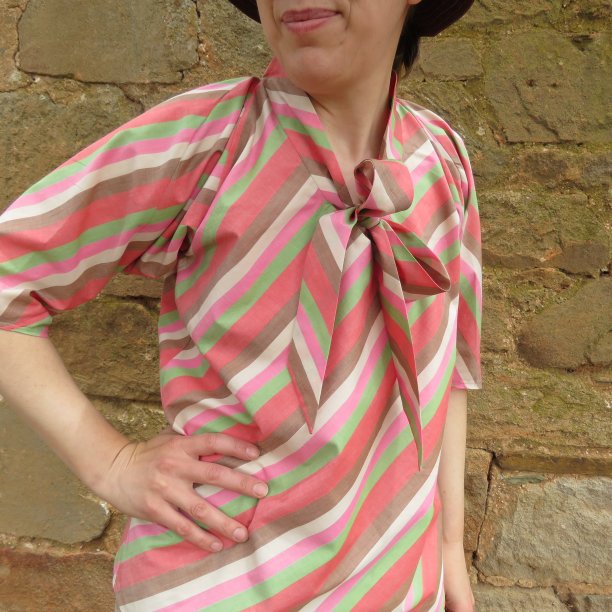
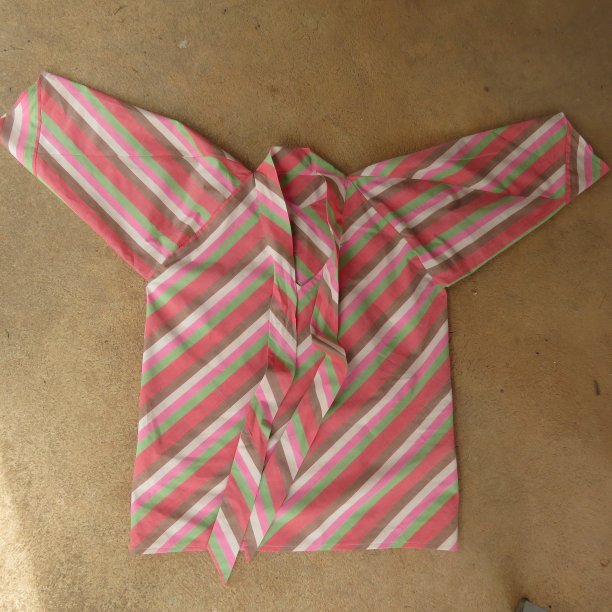
I still thought the idea had potential and, learning from the first attempt, I had another shot and Version 2 did work. Realised I had been trying too hard, and that simpler can be better.
Obviously a top made from 115cm x 115cm of fabric is going to have a upper size limit. A 16 is the biggest I could make it, but I discovered a 16 could also fit an 18 and 20, just with less ease. Another pleasant revelation was that it worked well for striped fabrics, and the tie could be made chunky or slim.
Some of the ideas I had for the book worked perfectly first go, others needed a tweak and some got put aside for another day.
Cheers!
Hi Liz could a bigger size be made with the pattern but not zero waste?
I don’t know, but it might work using wider fabric, although I haven’t tried it.
Thanks, very interesting!
Cheers Helen, thanks for reading about it 🙂
What did you do to the fabric from neckline? I’ve always struggle with the fabric from neckline, but i see that some people use it for pocket
Good question. I often use the front cutout for a back neck facing (tutorial here, scroll down a bit). Even if I don’t need an actual facing to finish the back neck, I still stitch it on there because it’s a handy place to sew your label on and looks good on a coathanger. It’s sometimes, not always, a suitable shape to use as a pocket but there’s only one of them. I’ve just made a top where I used the front neckline cutout to add volume to sleeve gathers – I cut it in half and gathered it in with the sleeve.
The back neck cutout is very small – I sometimes use it to make a hanging loop at the back neck, bra strap holders, or reinforcement behind buttonholes.
I just tried to cut my own zero waste cloth with your pattern. Thank you very much. You inspired me
Excellent! I hope you have a lot of fun with zero waste – I certainly have!
Thank you for sharing this beautiful work, I’m also working on using zero-waste techniques to create indo-western men’s upper wear, your work gives me confidence that I can do it…
You’re welcome, and best wishes with your project. One of the mistakes I made with zero waste was assuming that some garments couldn’t be zero waste. Without even thinking it through, I sort of subconsciously wrote off some items as impossible (eg swimwear, bras, undies, hats), however other people’s work has shown that there’s much more that we can make.