The Mystery Skirt part 3: Revealed

Hi All,
The Mystery Skirt got finished. You can read how I started it in Part 1 and Part 2.
The skirt is from Sato Watanabe’s Stylish Skirts. Mine has emerged slightly different, but I’m very happy with how it turned out, and the fabric was a dream to sew (although difficult to photograph for you).

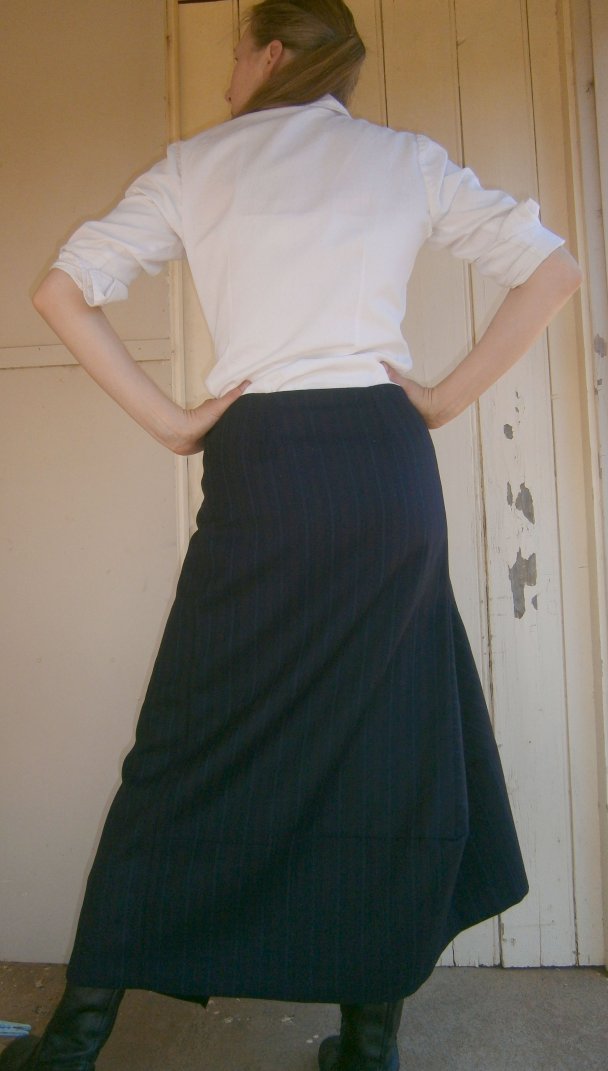
It took longer than I expected to make because I decided to add a lining (to sit more smoothly over opaque winter tights).
I also decided to add a pocket, since I tend to wear skirts more if they have a pocket.

I sewed an invisible zip into one of the diagonal seams and added a pocket bag behind it.
I’m looking forward to wearing it -I just need some cold weather!
If you own Stylish Skirts and want to make this skirt, here is the drafting diagram (the book didn’t have one as you may remember; this is mine):
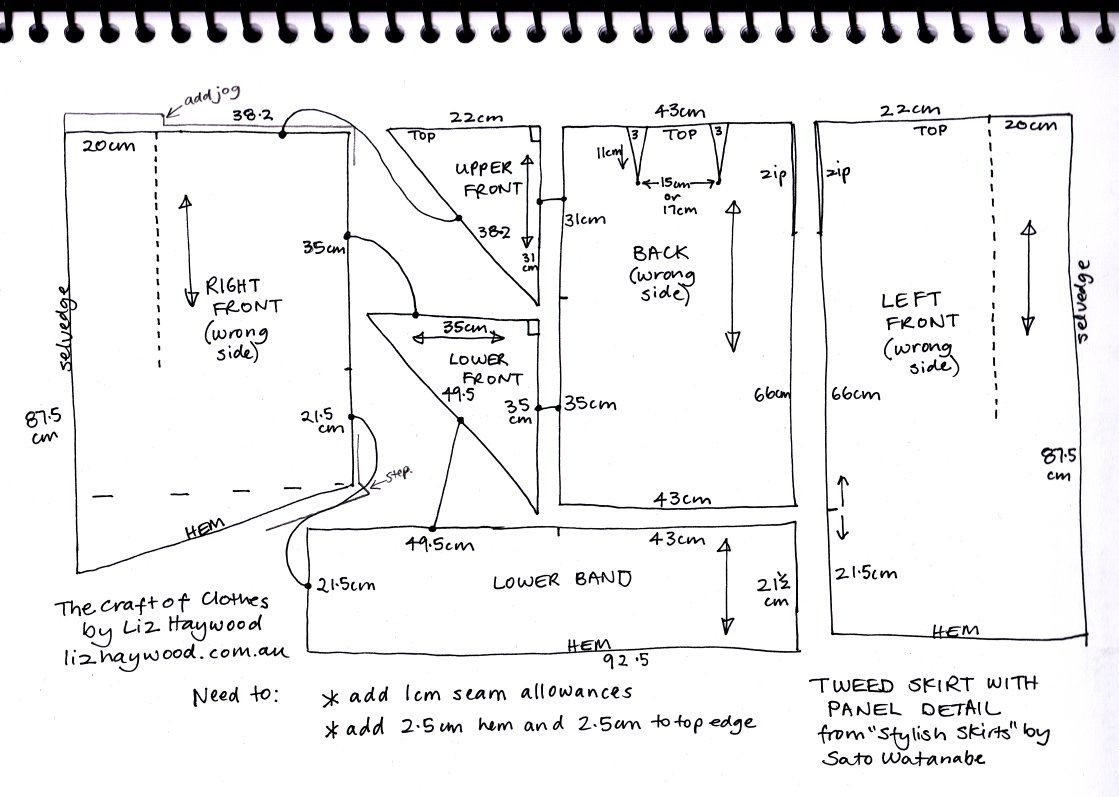 It looks very confusing at first glance, but it’s only simple geometry. When you’ve made the pattern pieces, try pinning them together and trying it on to see how they’ll be sewn.
It fits a person with 38″ hips and a 30″ waist, who is 5’6″ (168cm) tall (I’m no short Japanese person!). If you want to make it bigger, make the back and fronts wider, but leave the triangle shapes the same. For example, for 40″ (42″, 44″) hips, cut the back (and corresponding section of lower band) at 45.5cm (48cm, 50.5cm) wide, and the 20cm front extensions on the left & right fronts would be 21.2cm (22.4cm, 24.6cm). You’ll still sew the extensions at 20cm away from the selvedge for every size.
This is a fairly low slung skirt. The skirt’s waist is on the generous side to accommodate all the winter things I will tuck in. For a summer skirt I might make the whole left front panel one or two centimetres narrower.
The back darts can be used to adjust the waist measurement. I moved their position to centre them over a stripe so they looked symmetrical.
Very important: label all the pieces when you cut them out! This is one of those garments that you need to cut and sew all on the same day, and you’ll definitely need to refer to the construction order diagram in the book when you sew it together.
Sorry I don’t have a fabric estimate for this, but it’s probably more than the amount in the book. My fabric had tiny pinholes in it that I had to cut around, and I also matched the stripes in a few places. This skirt is excellent for striped fabrics that look the same on both sides, and since the front edges are selvedges make sure the fabric has good ones.

I ironed a 2.5cm strip of fusing to the top edge to stabilize it. I didn’t do this for the front extensions -just the part that goes around the waist.
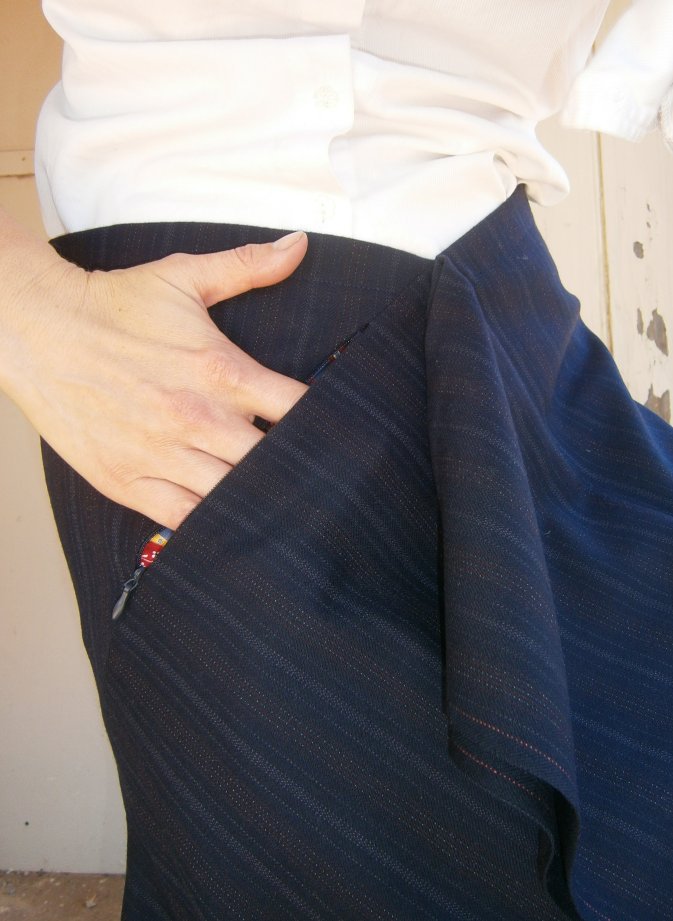
If you wan to add a pocket in the front like mine, I used a 7″ invisible zip, and started the top of the zip 5cm down from the finished top of the skirt. Cut two pocket bags 5cm wider than the opening and the depth of your liking.

Here’s the inside of the skirt with the seams sewn. You can see the pocket bag on the right front. I haven’t sewn the back darts yet. Oops! I sewed the zip on the wrong side!

These are the lining pieces -all I could get was black satin. I cut the lining out after measuring the sewn-together skirt. Because I sewed the zip on the wrong side I had to leave a seam in the lining to match. Otherwise I would have had a seam between the back and the left front.
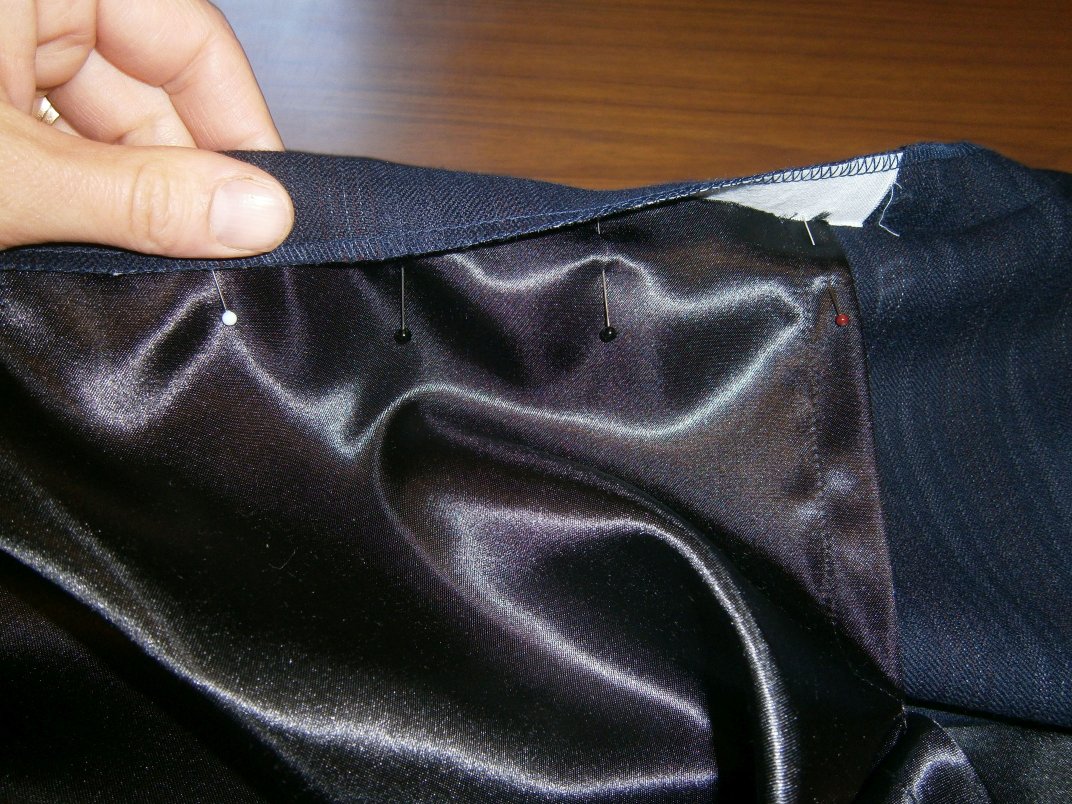
To attach the lining, I slid it up into the top folded-over edge. Then I stitched through all the layers at once.
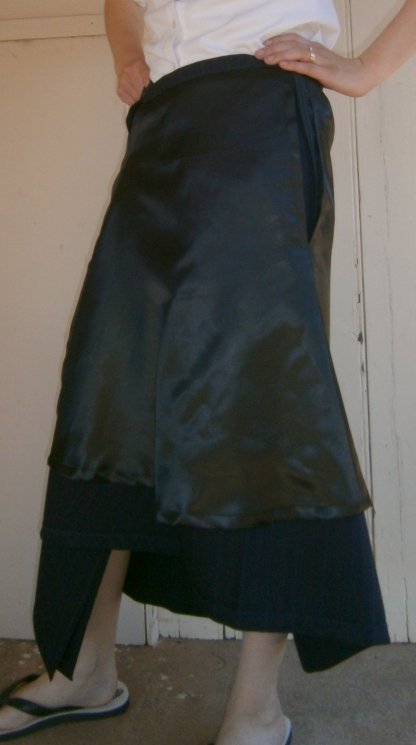
A very awkward picture of me wearing the skirt inside out so you can see the lining. There’s a slit for the zip, and a small (10cm) slit at the top of where the fronts join together.
There are 3 corner junctions where the seam allowances needed hand-stitching down to make them lie flat. It’s every corner of the lower front triangle.
I trimmed the top of the back dart so it wasn’t so bulky when the top was folded down.

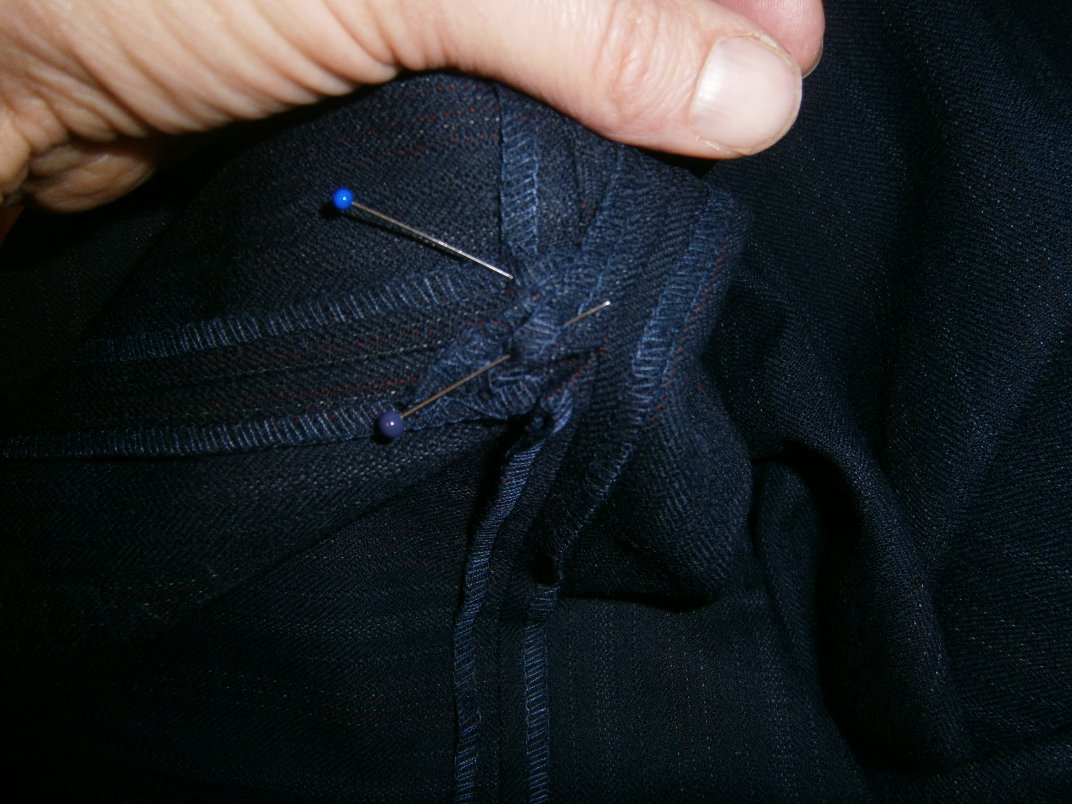
On the waist of the front right, there’s a tricky angle where the upper front triangle is sewn on. Sew only on the stitching line from point to point, not to the raw edge, or it won’t fold over properly.

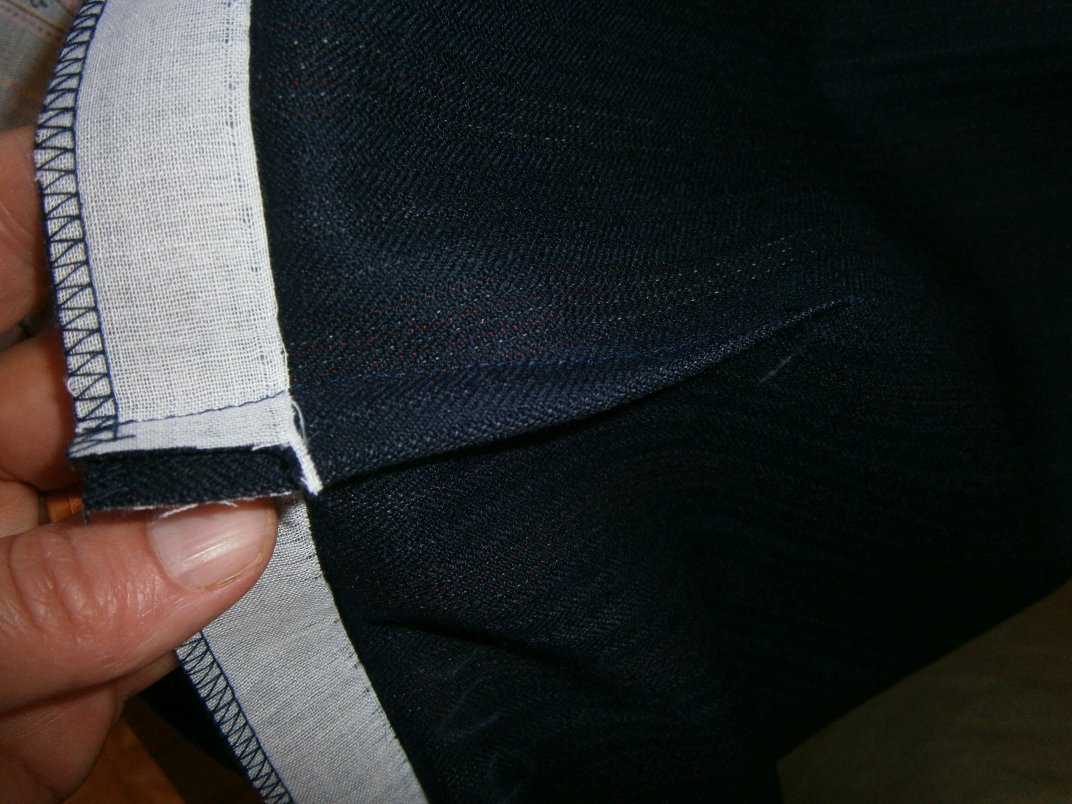
Here’s the same spot after adding the lining. I double folded the top of the front extension so the overlocking wouldn’t show.
Discover more from The Craft of Clothes
Subscribe to get the latest posts sent to your email.