The Aquascutum Suit, Part 2 1/2

You can probably tell from the title of this post that I’m not finished with this suit yet. I’m still not satisfied with the sleeves, however I think I’m nearly there.
(Read about how I acquired this suit here, and what I did last week here).
An Instagram friend asked me if there was a method for reshaping the armhole and sleeve. The method is no more than trial and error.
If I were to write a step-by-step, here’s what would happen:
- Start with fitting the armhole without the sleeve. Mark with pins or tacking where the sleeve seam should be (this might change when you add the sleeve, but it’s a starting point). Mine is ON the shoulder line, but men’s jackets come out a way to give shoulder emphasis. I did this last week when I fitted the body, and changed it slightly when I pinned the sleeves in later.

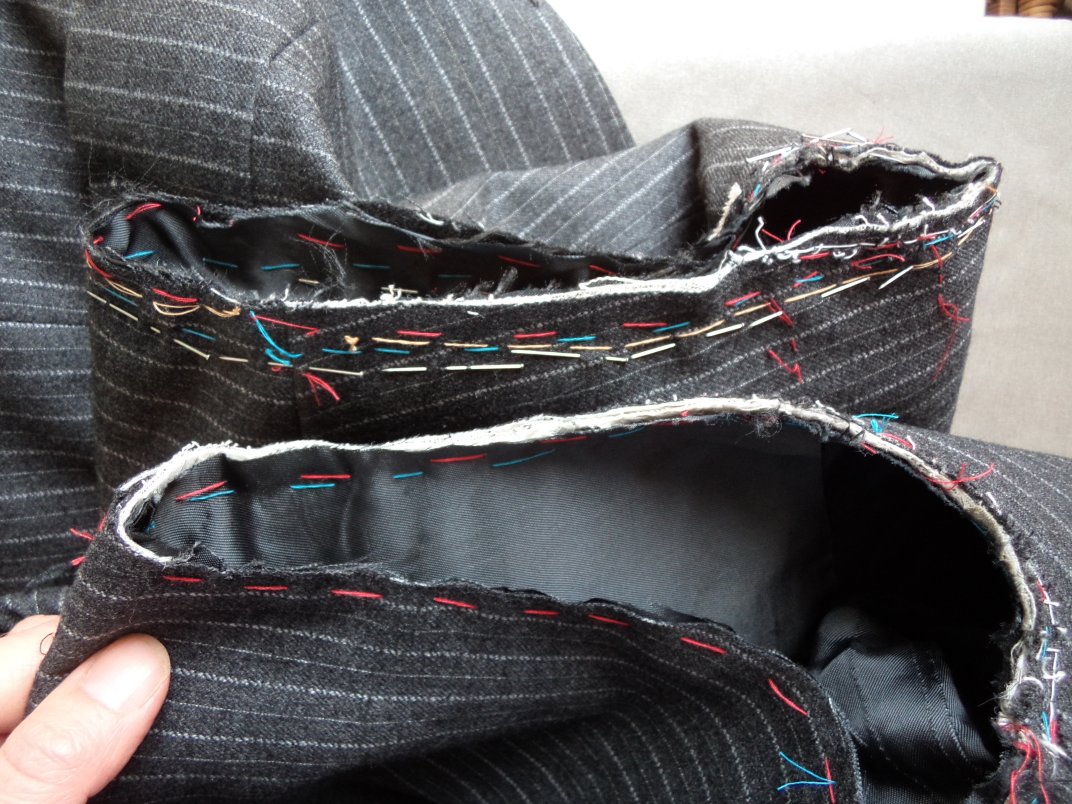
Conservatively trim the armhole, leaving a seam allowance.
Here are the trimmed armholes, ready for the sleeves. The lining and fashion fabric are tacked together (rather messily).
2. The sleeves will need to be shortened from the top (because of the sleeve vent), if they need shortening. I shortened mine by at least 2″. I didn’t narrow the sleeve, because I don’t think I’d get it back into the armhole.
Before you cut anything off the sleeve, pin the sleeve approximately into the armhole to check the length. Here’s a first attempt at my sleeve, also done last week:

3. Take a deep breath and cut off the top of the sleeve, leaving a seam allowance. Trim the sleeve head into an approximate curve.
Sew an ease stitch around the sleeve head, ON (approximately) the stitching line. Pin the sleeve into the armhole, with the pins on the sleeve side, pulling up the ease as you go. The underarm of the sleeve will need lowering if the sleeve got shortened, so pin it where it fits.
Push the pinned-in seam towards the sleeve and try the jacket on. Adjust. This is really hard to do when you’re fitting yourself. If you can arrange to have a mirror behind you to see the back view it will help, but there’ll be lots of taking the jacket off and on.
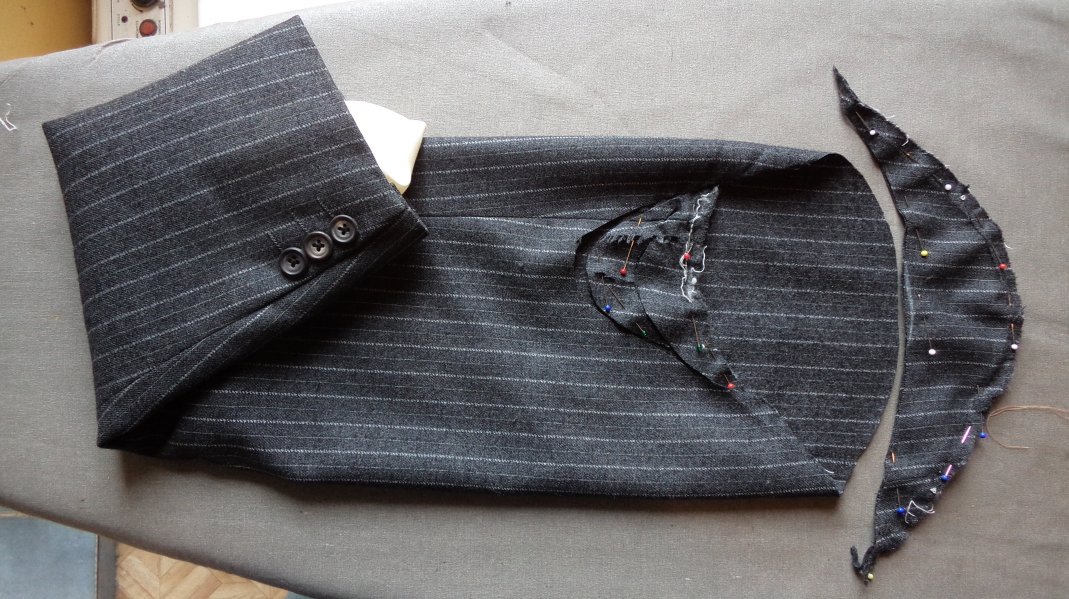
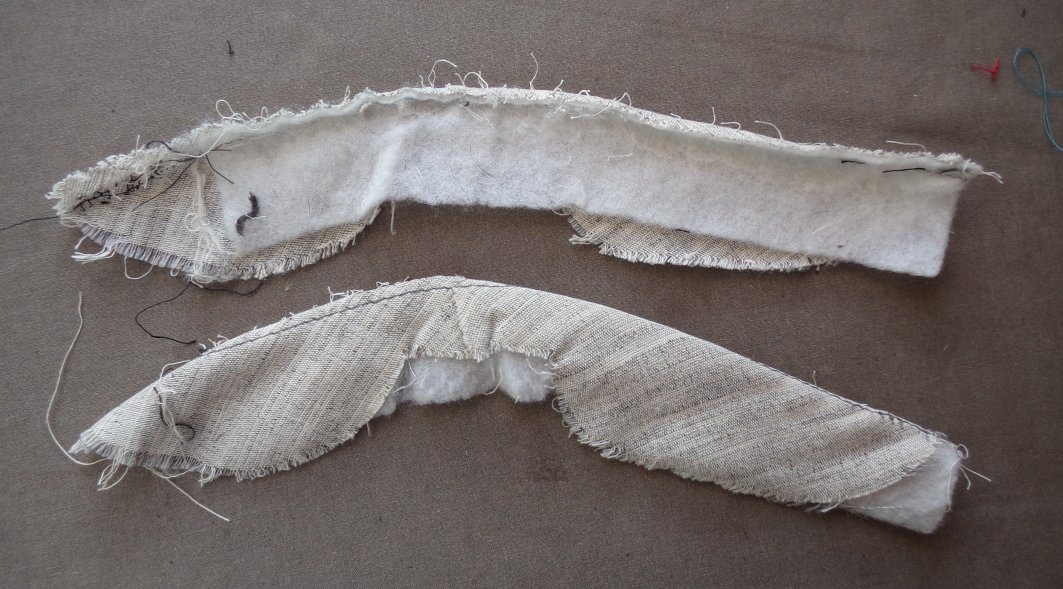
Mark with pins the new seam lines and remove the sleeve. Here’s mine:

At this stage I trimmed the other sleeve to match, by putting one sleeve inside the other and matching the edges.
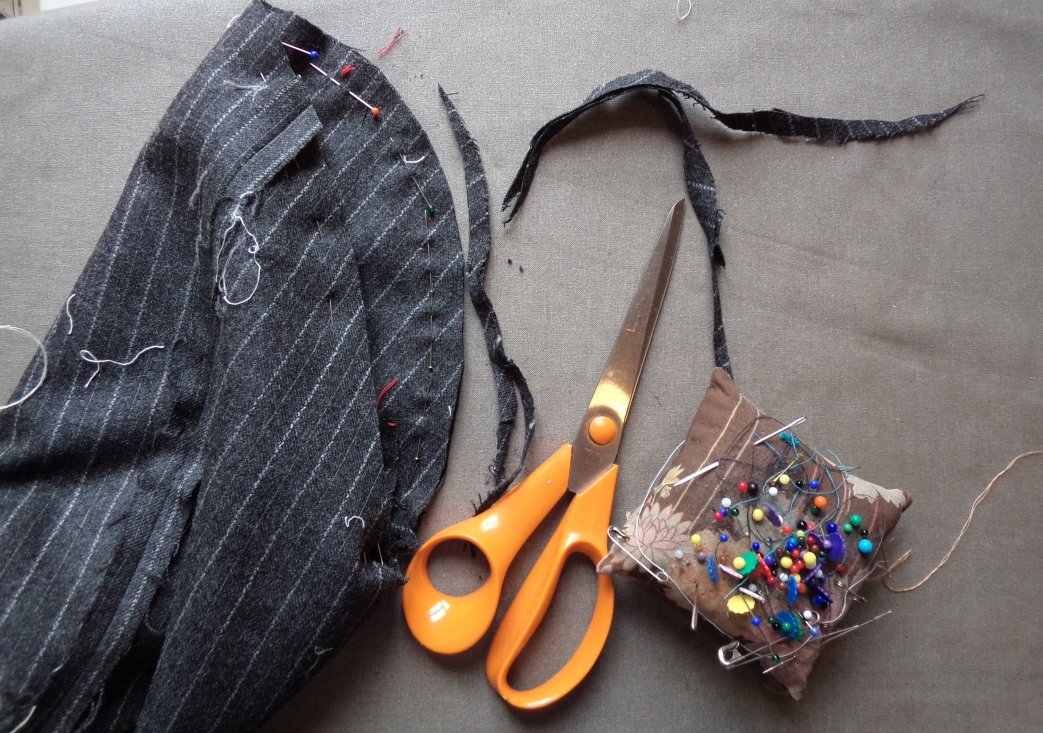
Then I did a final trim after checking it again.
Mark in some notches for matching the sleeve to the body seams, and some notches for ease. Pull out the ease stitch and sew in a fresh one, if you need to.
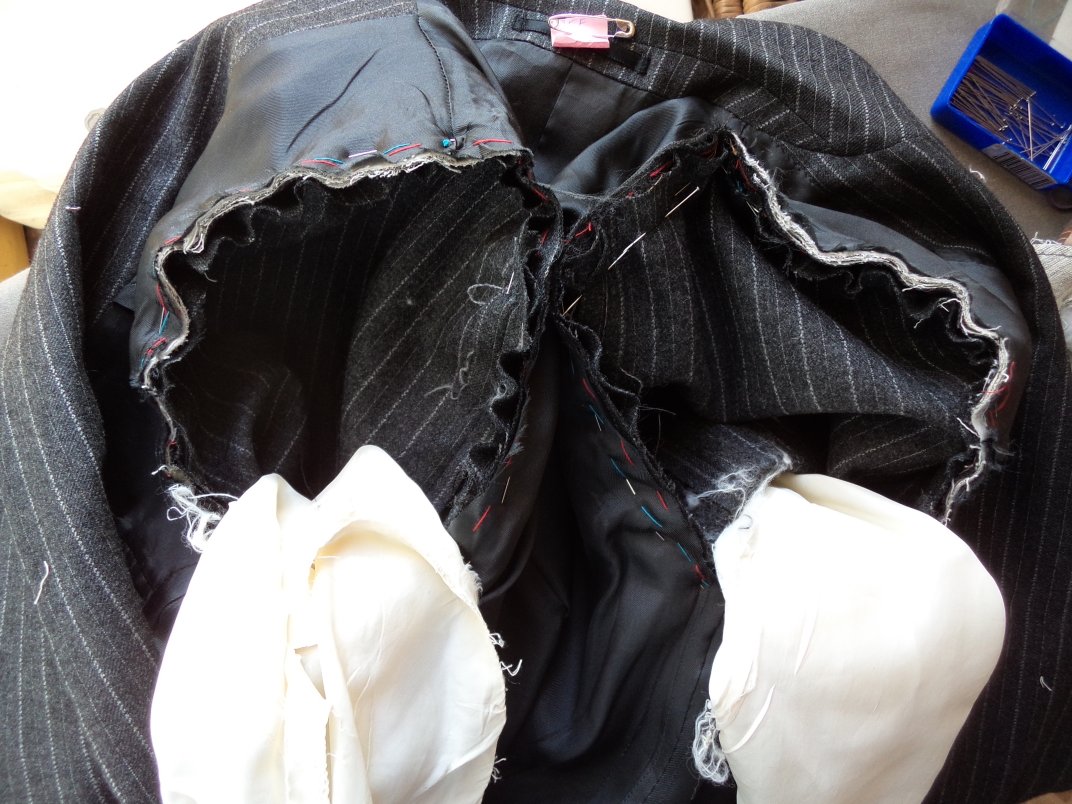
4. Pin both trimmed sleeves into their respective trimmed armholes, ready to try the jacket on again. Place the pins on the sleeve side, ON the stitching line. When you’re ready to sew, just sew along the pinned line. (The two white things in the photo are the sleeve linings).
Here I am with the sleeves pinned in. The sleeve seam will improve after sewing, adding header and (now I’m thinking) shoulder pads. I think possibly the sleeves are a fraction too long, too, but putting the shoulder pads back in might be enough to lift them.

The original shoulder pads are only about 1/4″ thick. I ran out of time on the weekend to try them in the jacket but will do it this week.
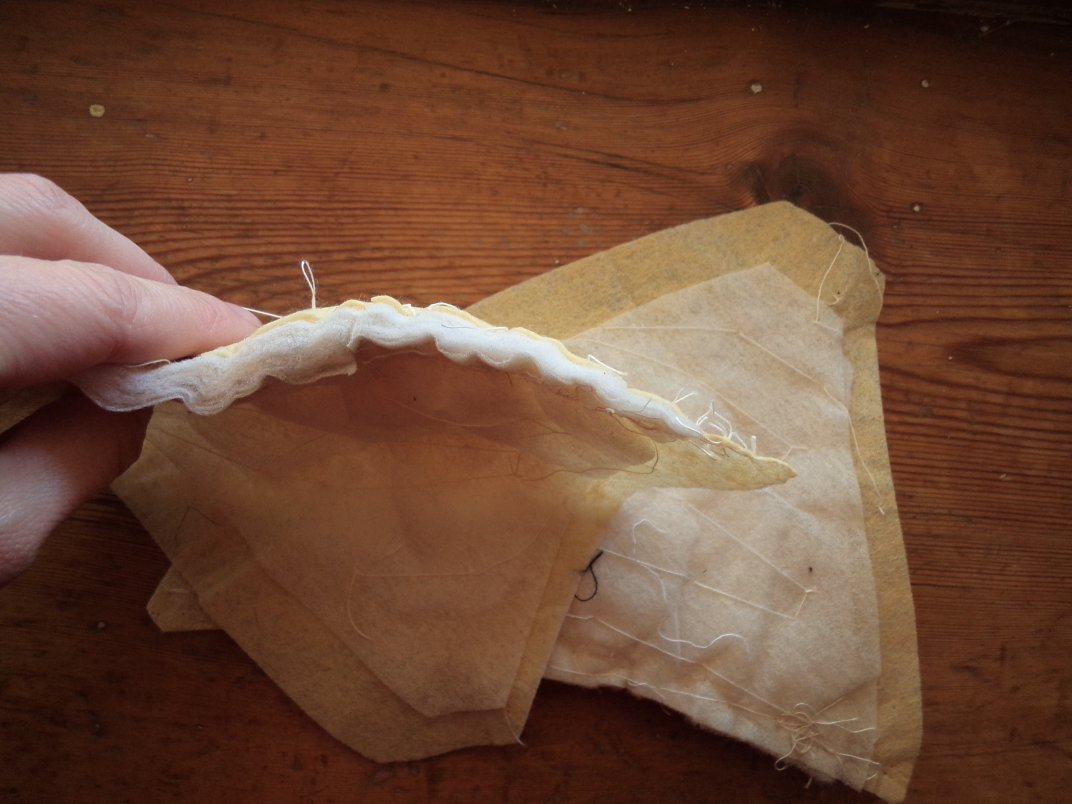
The sleeve header is unusual looking, to my eyes. The bias canvas is in two parts with a strip of wadding sewn on behind. I can’t remember if the longer side went towards the back or the front.
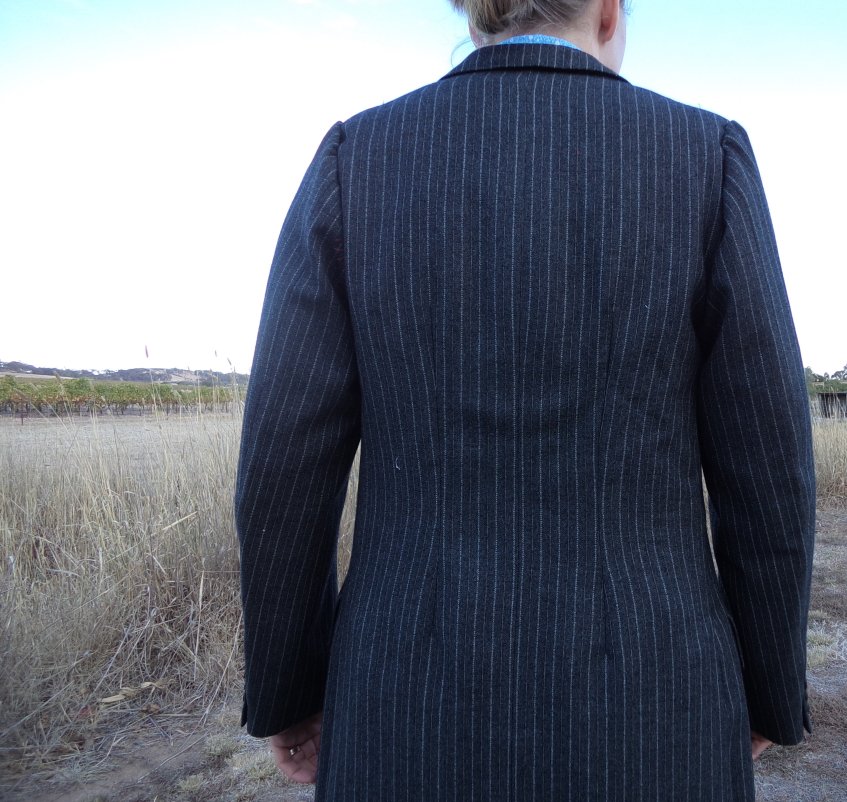
Here’s a very unflattering view of the back. I still haven’t quite got the back seams right, mainly because I just can’t see them unless I take a photo like this. There’s too much fabric around the underarm -can you see the folds?
There were some other interesting things I came across in this jacket…

The (white taffeta) sleeve lining is tacked to the sleeve at the elbow. I might start doing this on my jackets (I usually connect the lining/fabric together at the armhole).
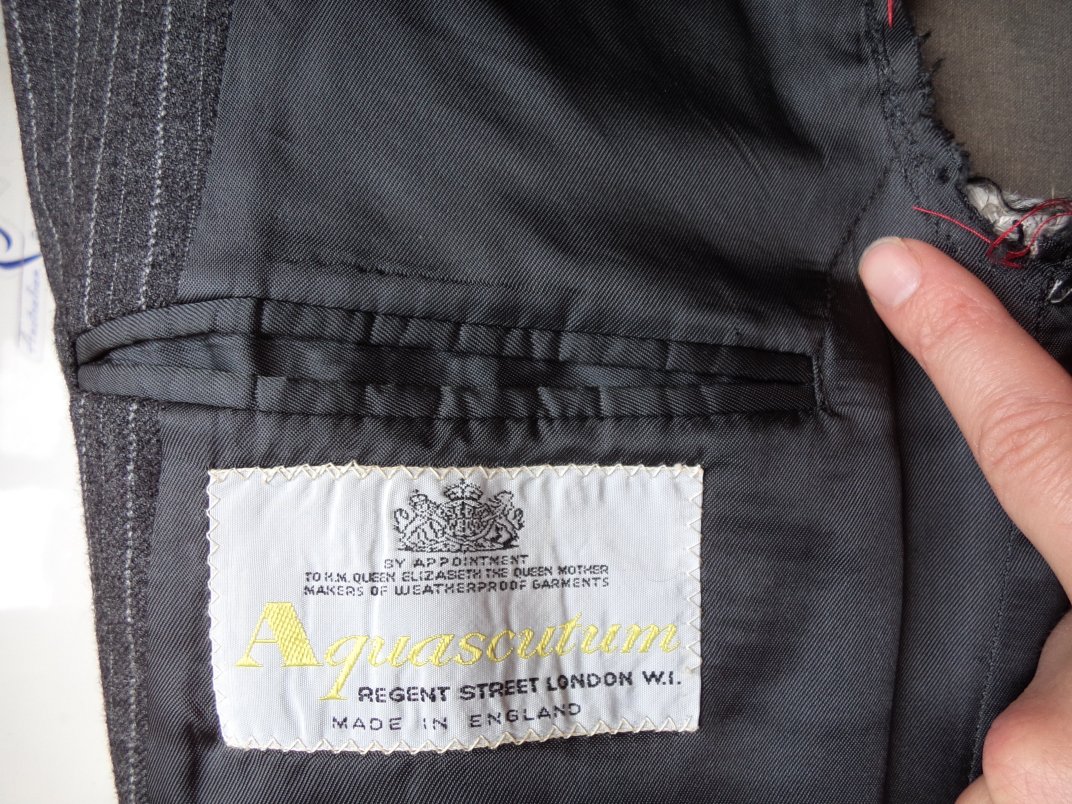
There’s a line of stitching running from the inside jet pocket to the armhole.

Underneath it has a strip of fabric, to reinforce the corner of the pocket in the lining.

A label in the sleeve lining. Style number? Customer number?
When I’m finally happy with the sleeves I’ll stitch them in and finish them off. The lining will get trimmed down as well and be handsewn around the armhole. Thinking I might wear the suit to a book talk in May (might as well start promoting it now: The Emporium in Riverton, Wednesday May 16, 7pm to 9pm, books for sale on the night, a good time to be had by all).
Cheers!
Update (same day): just did a little alteration to the back sleeve and pinned the shoulder pads in…looking good!
Discover more from The Craft of Clothes
Subscribe to get the latest posts sent to your email.