Tutorial: curving flat bias binding with an iron
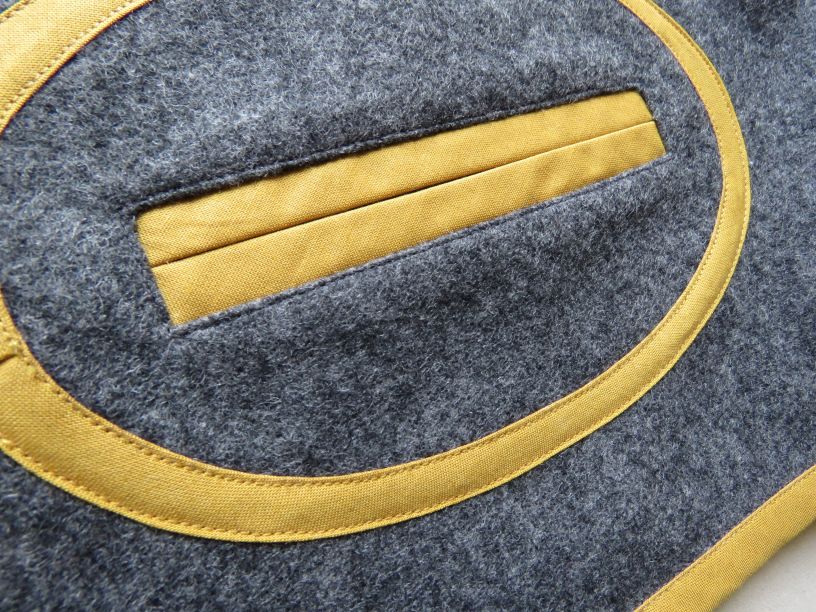
Bias binding is a trim I’m very fond of using. Since I’ve been making zero waste patterns, I’ve found myself using it more, and in ways which I hadn’t previously. One of these is as a curved trim.
I use 1.2cm/½” bias binding (not 2.5cm/1″ which is too wide) and pre-curve it with a steam iron before sewing. The binding can be purchased or home-made, but if it’s home-made it needs to have the folds already pressed in.
Here’s a demonstration (2:24mins) and then some examples are below.
Crucial points:
- Press down hard with the iron to anchor the bias binding, so it doesn’t slip.
- Go slowly.
- Don’t attempt to lift it from the ironing board without pinning it first.
I recently used this for the interior pockets on the zero waste satchel (the pocket in the demonstration video is from this bag).
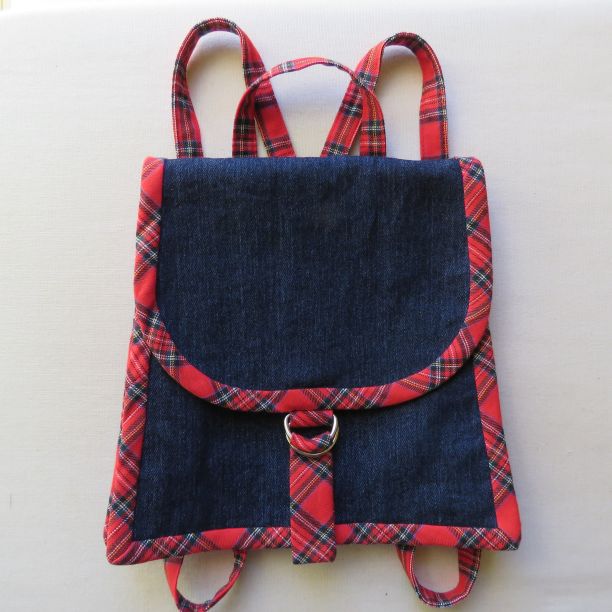
The bias binding makes the pockets a little larger and solves the issue of pressing under a curved edge neatly, which is difficult to do well with stiff fabrics.
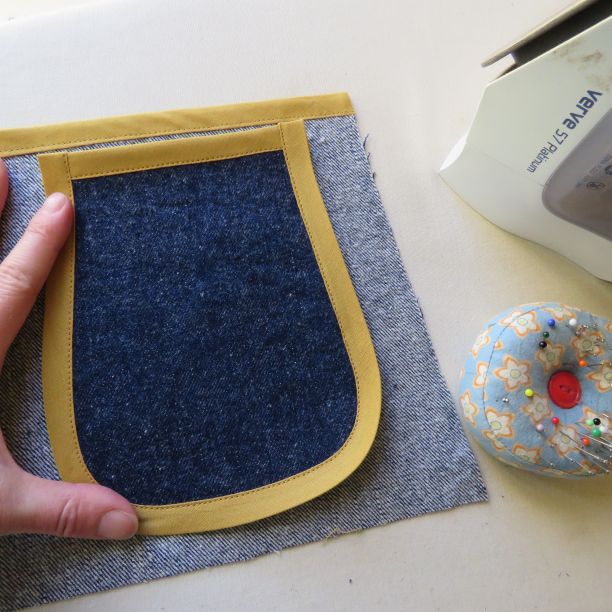
The Lillypilly dress also uses the same technique for the oval pockets, which are made from the armhole cutouts.
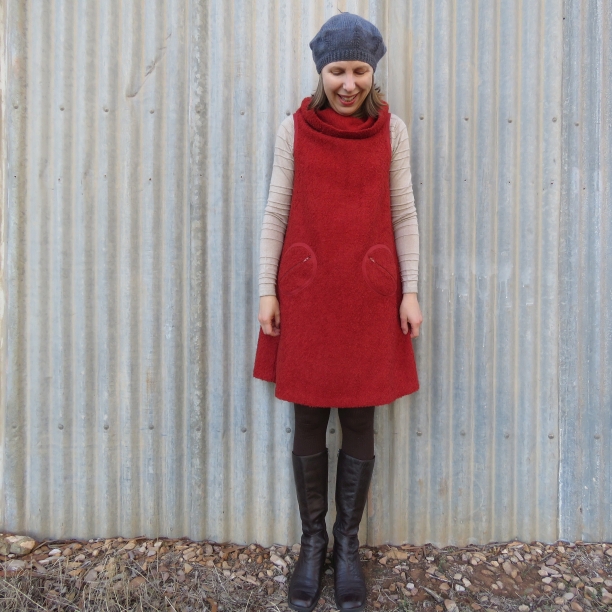
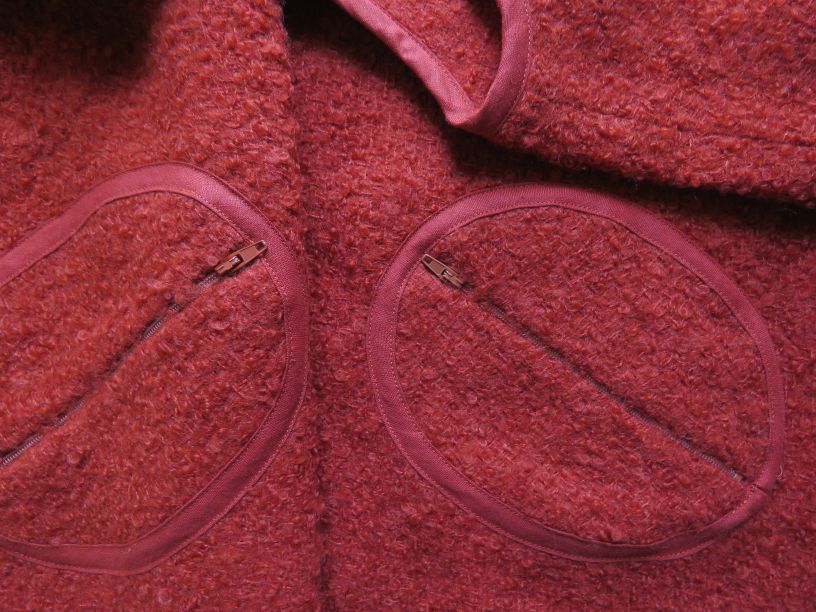
I made the bias binding using linen, which worked very well.
Here’s the same dress in retro curtain fabric, with contrast bias binding:
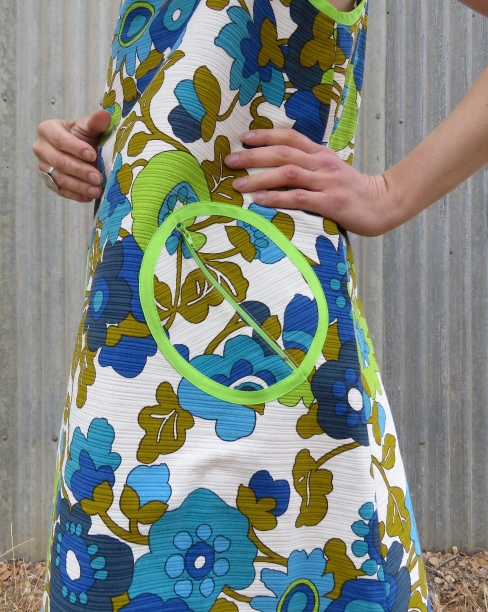
Note that the dress and satchel use two different widths of bias binding in their construction: 2.5cm/1″ for binding the edges and 1.2cm/½” for the pockets. Visually, this gives a uniform width for all the bias binding because the 1″ is folded over the edge and finishes at ½” wide. If you’re doing this, you’ll probably have to make the bias binding yourself to get the right colors in the right width.
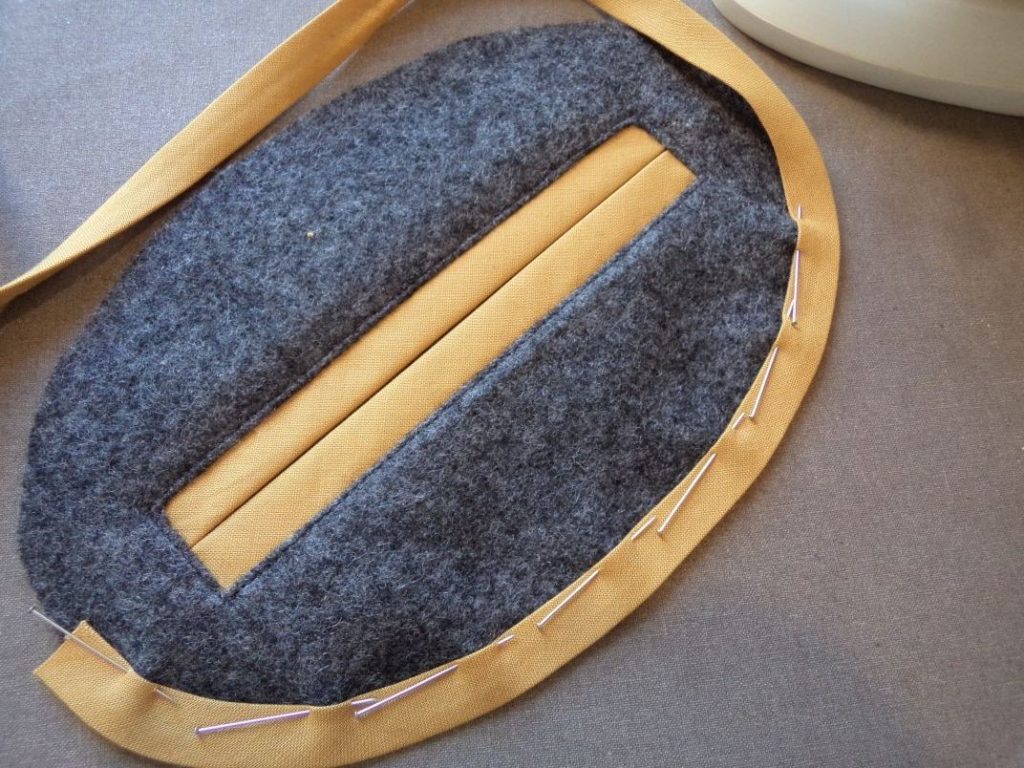
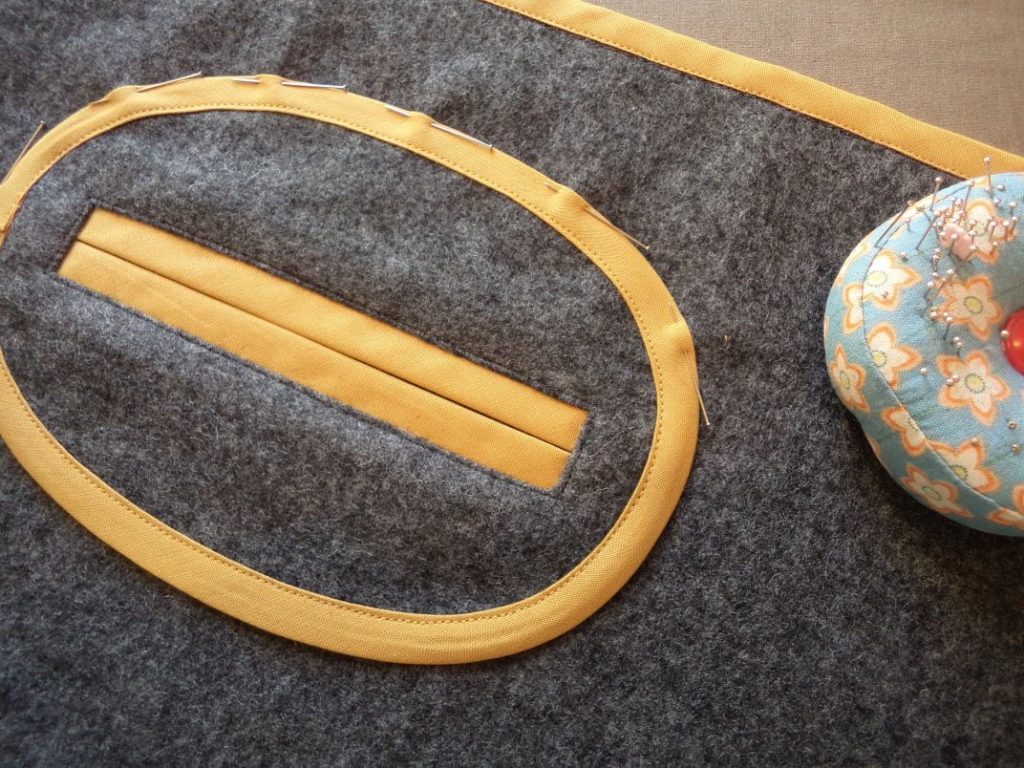
Here’s another example on a vest which was destined for the Zero Waste Sewing book, but had the plug pulled on it. (It got as far as having instructions written and illustrated, sample sewn and photographed before I changed my mind. It’s got a few issues, mainly with making multiples sizes and the tie-neck).
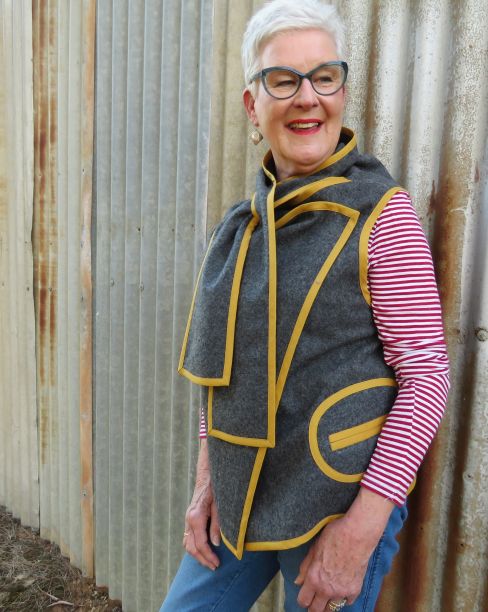
The bias binding is used in the same way as the Lillypilly dress but the armhole cutouts are whole ovals rather than two halves.
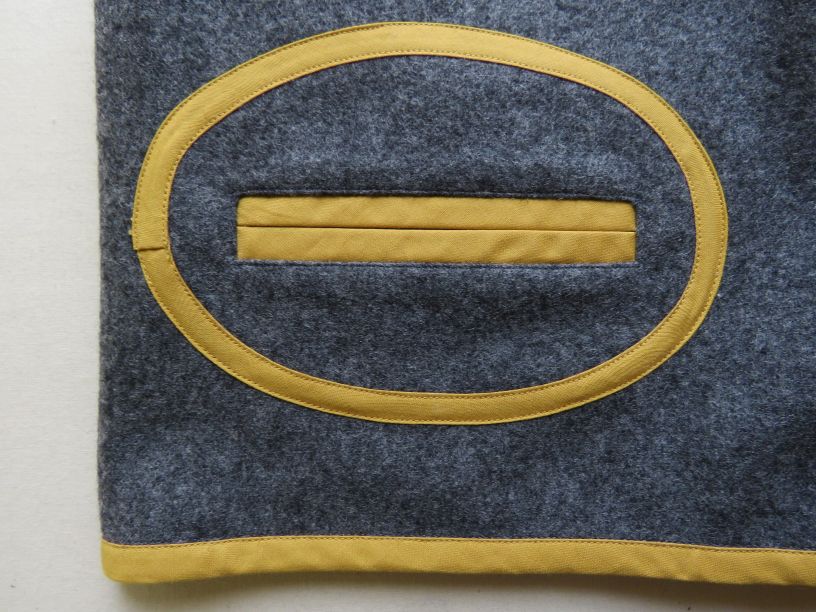
I discovered I’d taken photos as I’d sewn it (in 2018). The binding is made from homespun quilting fabric. It works well although I’d say the linen used on the Lillypilly dress was slightly more flexible.
So….it’s a handy technique to add to your repertoire. It’s good for bulky fabrics, as it keeps everything nice and flat. It’s also good if you’ve bound the edges of a garment and want to continue the theme for patch pockets or other details.
I guess you could use 2.5cm/1″ bias on very shallow curves, although I haven’t tried it. It could look great on garments with large-scale details.
Related: if you’re using bias binding as a facing, a photographic tutorial is here, and there’s also a step-by-step in the back of the Zero Waste Sewing book.
Cheers!
Thanks for this post. I make my own bias bindings out of large cotton, linen or fleece scraps in a variety of widths. I am writing this comment however, to rave about the vest you have pictured. I hope you work out the pattern issues and sell it on your Etsy website. It is very cute and looks perfect for an early morning winter walk here in South Carolina!
Ah, thanks Michelle 🙂 I might do something with the vest idea a bit down the track.
The bias binding you show is such a great look. Natural-fiber twill tape and ribbons can also be steamed and pressed into curves.
Thanks, Carol. Yes, I didn’t mention about other tape and ribbons, good point. Petersham tape does too. I’ve found that linen bias binding is the most flexible and easiest to curve.