Thoughts on zero waste bias cutting

The bias cut slip dress/pinafore I started last week is practically finished.
To re-cap, I’m exploring bias cut & zero waste for the September instalment of A Year of Zero Waste Sewing, a book I’m publishing as zines.
I tried out some ideas I had using the slip dress pattern from Birgitta Helmersson’s new book, Zero Waste Patterns.
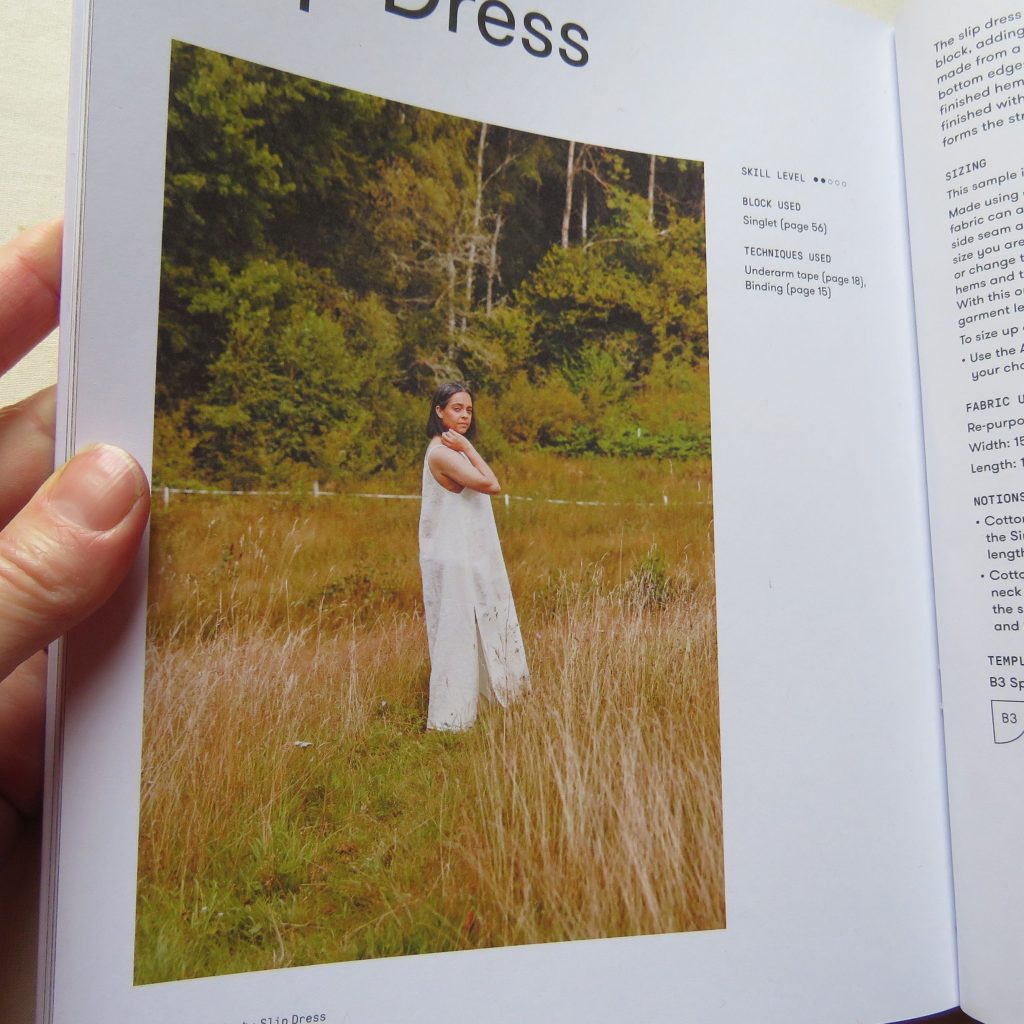
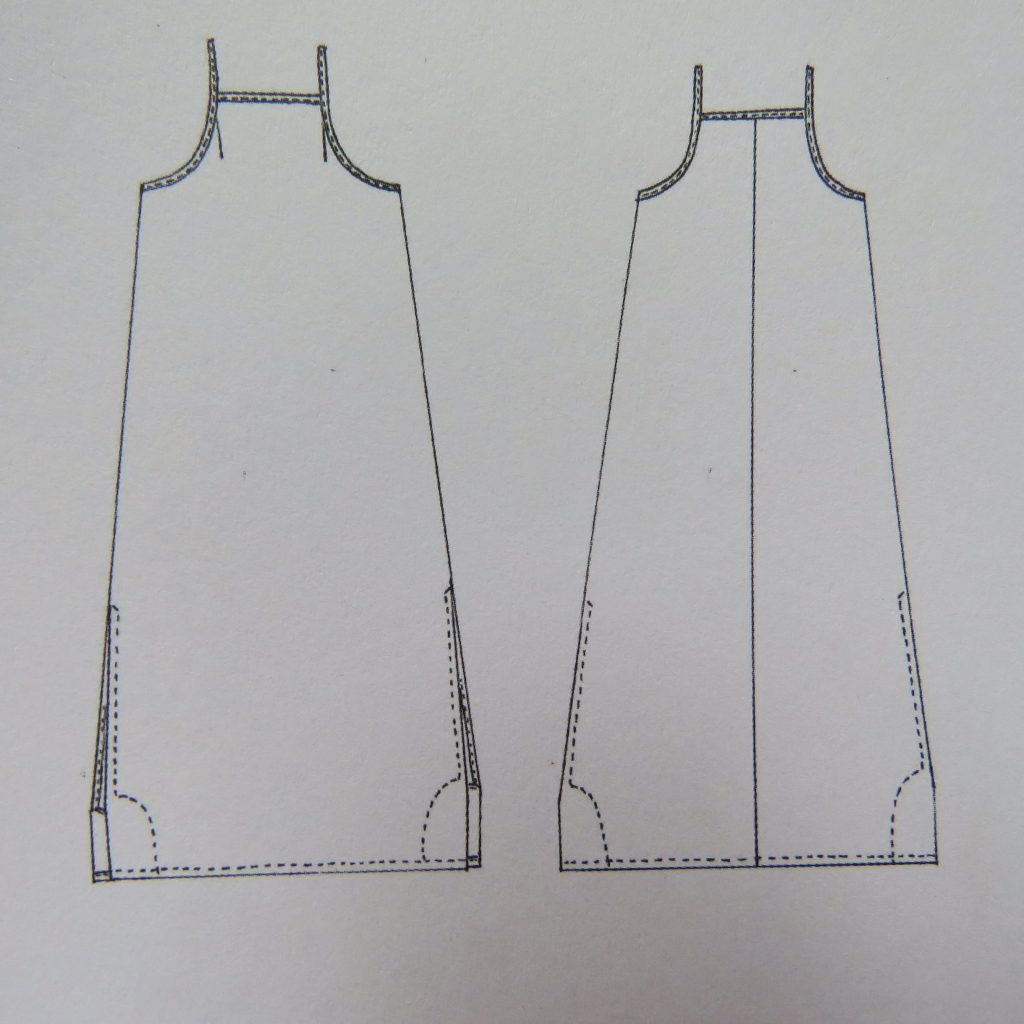
Instead of cutting it on the straight grain, I first made some fabric into a bias tube:
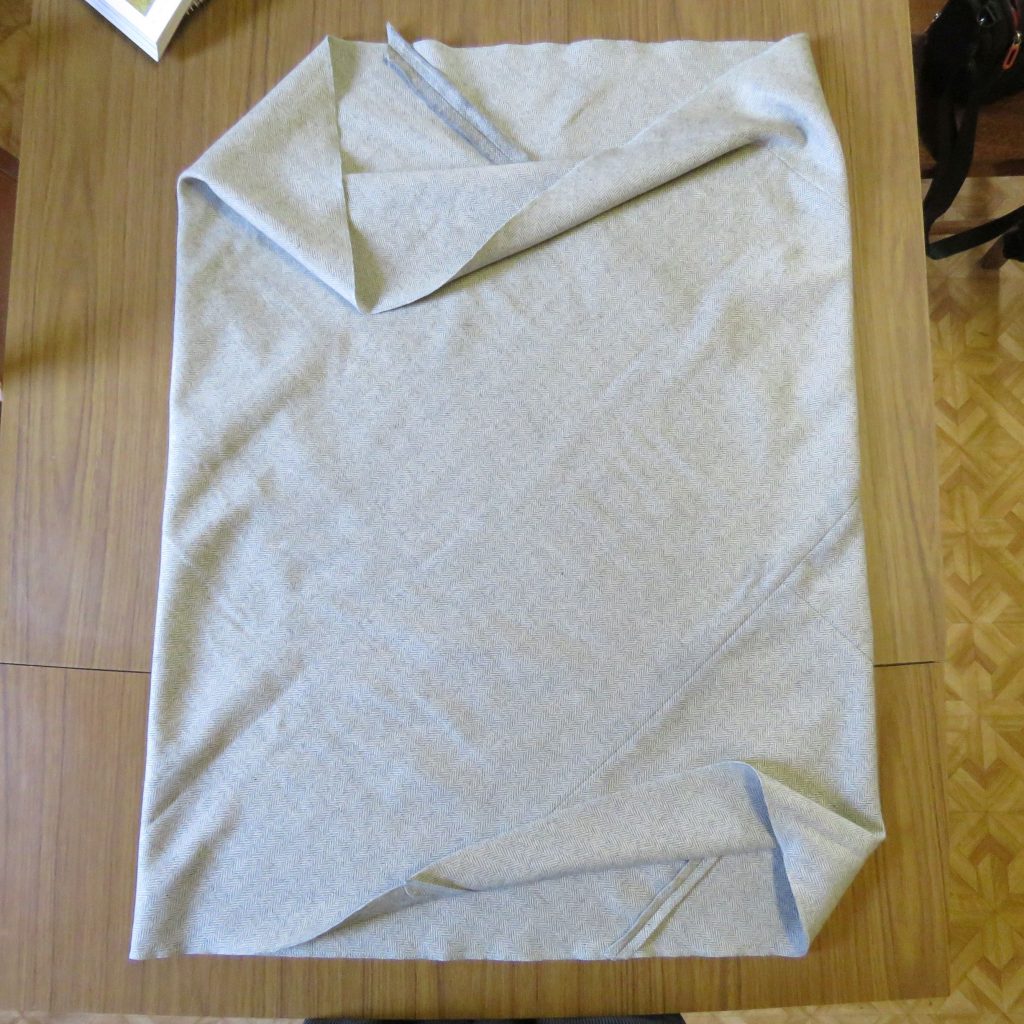
Then I drew the pattern out as per the directions in the book.
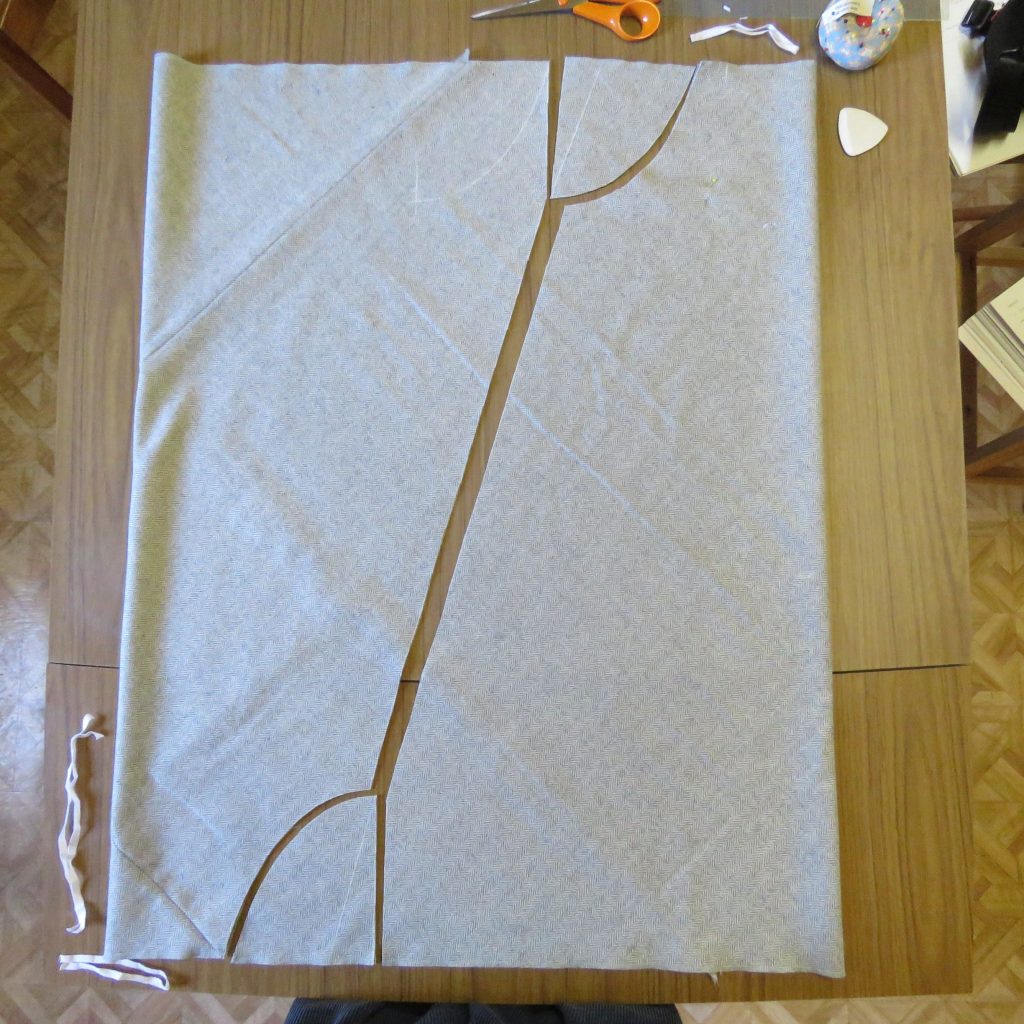
The slip dress took exactly the same amount of fabric on the bias as it did on the straight grain. It used a mere 101cm x 133.5cm of fabric.
Bias cutting has a reputation for using extra fabric and creating a lot of scraps, and in most cases this is true. Typically, regular pattern pieces are used and a new 45˚ grainline is drawn on the pattern. When these are placed on the fabric, there are often unused triangle-y shapes around the edges.
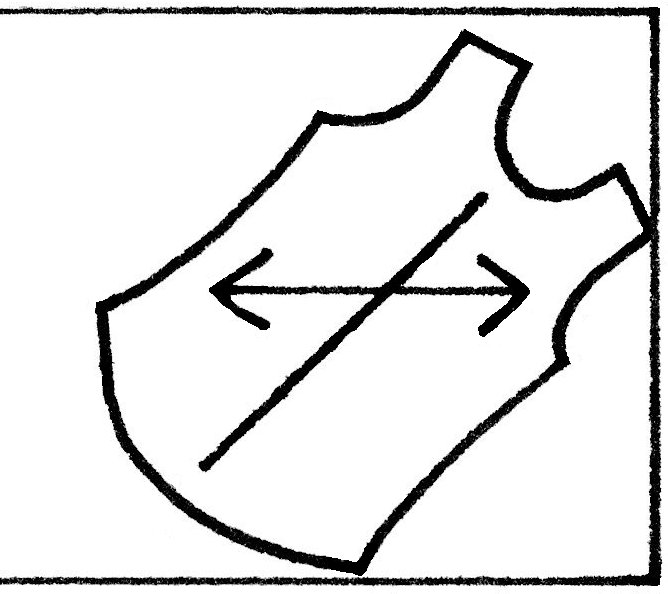
However, zero waste bias cutting can be even MORE economical than regular non-bias cut clothes.
I think we could be onto something here!
An Instagram friend alerted me to this YouTube video showing the same technique (10:33min), showing how to convert a length of fabric into a bias tube to cut (regular) pattern pieces. She has some good tips. If you’re familiar with the Xanthea dress pattern, the fabric is sewn in the same way:
There are several ways to convert a rectangle into a bias tube. I used a different method from the above one which I reckon is easier. Here’s a preview from the September zine:

*115cm wide fabric will yield a tube about 160cm in circumference, and 150cm wide will yield 210cm.
I’m keen to try this idea out on more patterns. Good candidates could be the Lillypilly dress, the Ursa dress, the tessellated dress/coat in the Zero Waste Sewing book and any bog coat styles.
So…back to the shift dress/pinafore.
The original pattern had binding around the armholes and neck, and I dug out these possibilities. I ended up choosing the red linen on the left.

Actually I had decided to have no binding – I was just going to bag out the edges with the satin lining, but it looked so boring and apron-like I changed my mind. My teen sat at the kitchen table doing her homework and offering brutally honest opinions (which was exactly what I needed to hear). She also said very positive things, such as You’ll get it right in the end, Mum, you always do.

I made a few alterations to the pattern: lowered the front and back neck 4.5cm, and took in the sides a bit to reduce the flare. I wish I’d cut the armhole higher by, say, 2.5cm, but it was too late.
The wool tweed (which came to me in a bag with other ex-stash fabrics) turned out to be superb. It sewed and pressed like a dream.
I lined it with satin, which made it very easy to slip on and off over my head. The tweed is very grippy! I cut them the same length to start with, and you can see how much more the satin dropped.

Pockets. Realistically, I’ll never wear this if it doesn’t have good pockets (am I voicing the same feelings as the rest of the sewing community?) Possibilities considered were these in-seam ones (with this tutorial) but Teen thought it needed detail on the outside. I’m thinking of welt pockets, running parallel with the fabric’s straight grain, so I’ve made some welts and they’re just pinned on there for now while I dither.

The straps have to undo to get the pinafore off, but buttons looked too kindergarten-ish (Teen agreed). Maybe the solution is hooks or something on the inside so it does up invisibly?

Nearly there with it, and very thrilled with the zero waste bias cutting experiment.
Cheers!
Dear Liz,
Your bias dress is just terrific! I am learning lots by reading about your process. I have sone tweed that would also like to be used – so it‘s great to know that it works well on the bias. And just to make sure – the satin lining was also cut on the bias? I have been very hesitant about lining bias cut garments, but your dress is giving me courage to try again! I also love the idea of cutting the welt pockets straight of grain. Very cool!
Hi Juliana, yes the lining was cut exactly the same using the same process, and I tacked them together at the top edge before binding through all layers. I was a bit hesitant about lining it too but it’s so much easier to get on and off.
Thanks, they’re great instructions for making a bias tube. It has so much potential. 🙂
Thank you, and agree – lots of potential especially for zero waste.
So clever! I guess it works on the same principle as the continuous bias binding tube method too, I presume you end up with more seams?
Yes, very similar, and yes more seams but not too noticeable. I put mine mostly on the back but discovered I liked them and wished they were on the front!
Isn’t it wonderful to have the expert input of a teenager – and all in the comfort of your own home?!
I know! Harsh but welcome! It’s good to cultivate design critique early in life.
Love this whole episode learning how to make bias fabric…genius. i just cut out a bias cut long skirt..and have quite alot of waste fabric…so I will try this way for my next attempt. Thank you so much for sharing your zero waste patterns and all the planning etc. Best wishes from Western Canada
Thanks so much for reading, Sheila, I’m glad it was helpful. The pinafore dress in this post is in the process of being turned into a long-ish skirt, as I couldn’t seem to “work it into my wardrobe”.