The zero waste Hooded Blouson…and the surprise cape
The Hooded Blouson from Zero Waste Sewing is another garment created using an exact square of fabric.
Here it is in the book:
I sort of imagined if I had a dog and lived by the beach, I would wear this top to walk my dog early each morning. Reality: I live inland with chickens.
Here’s the sketch:

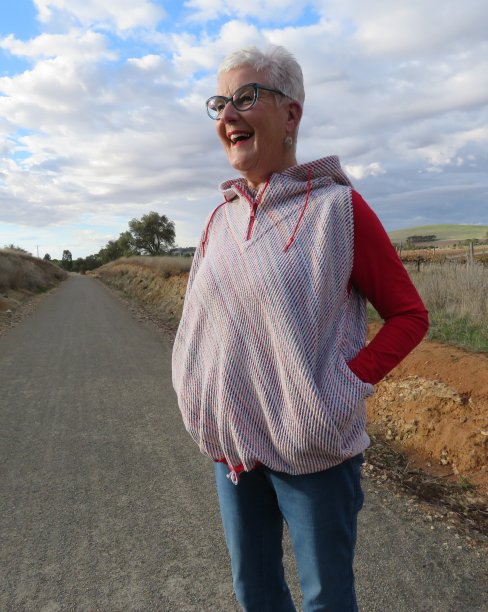
The book’s sample is in a thick, soft cotton fabric from a Mexican-themed selection of fabrics at Spotlight.
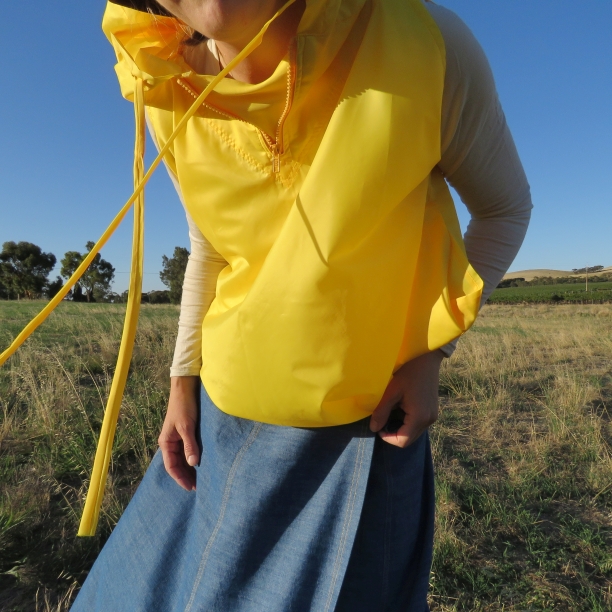
I had in mind to make another one (for myself!) from some yellow nylon-y stuff I bought at the op shop. It’s extremely light-weight with a plastic backing. On close inspection, patches of it are starting to de-laminate. No matter, I went ahead and made it, enjoying all the topstitching I could add.
It was a pleasant discovery to find I could iron this fabric, provided I didn’t touch the plastic backing.
The top looks good with the zero waste maxi wrap skirt from the book (an earlier version of this skirt is free here).


I finished the yellow top and had it hanging on the bathroom door awaiting photography for this post. As I idly brushed my teeth that night, I thought how much it looked like a cape. What if I omitted the side pockets and hemmed the lower edge? Hey, I’m hacking my own patterns before they’ve even been released!
The next day I tried on the book’s sample with the armholes pinned closed to test the theory. Hmmm….do-able.
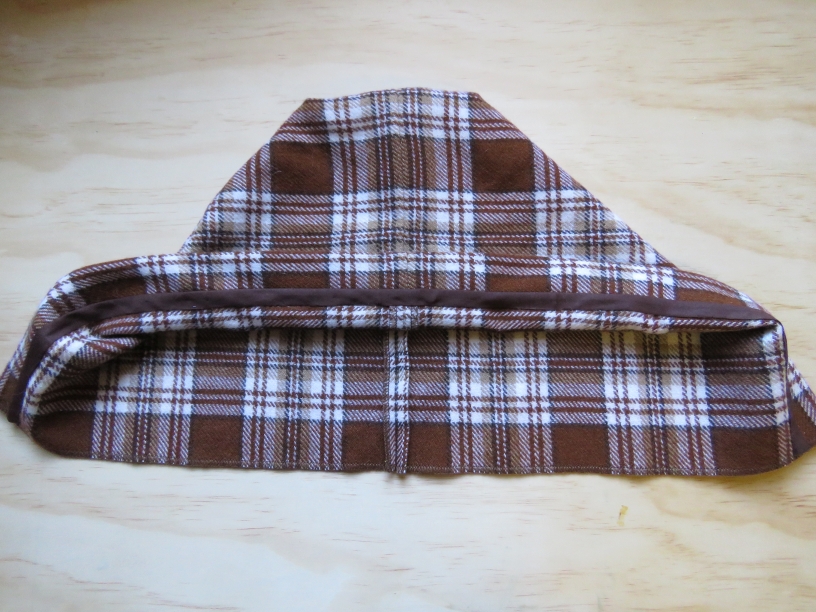
I dug out some brown tartan and cut out the biggest size (the yellow top is a 10. The book’s sample is a 16, which is the biggest size – it also fits an 18 and 20 sized body).
I had one of those terrible tummy-sinking moments when I couldn’t get the hood to fit in the neckline (neckline too big). Whaaat? How was it possible? I’d done enough samples! I started sweating. I thought of all the books I’ve ordered for the book launch in 3 week’s time. I forced myself to breathe deeply and went back and checked it against the size 16 sample. Whew! I’d merely forgotten to sew the shoulder seams.
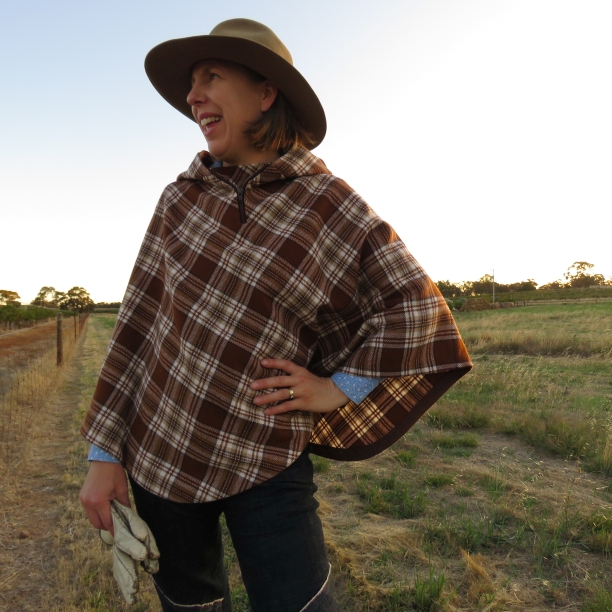
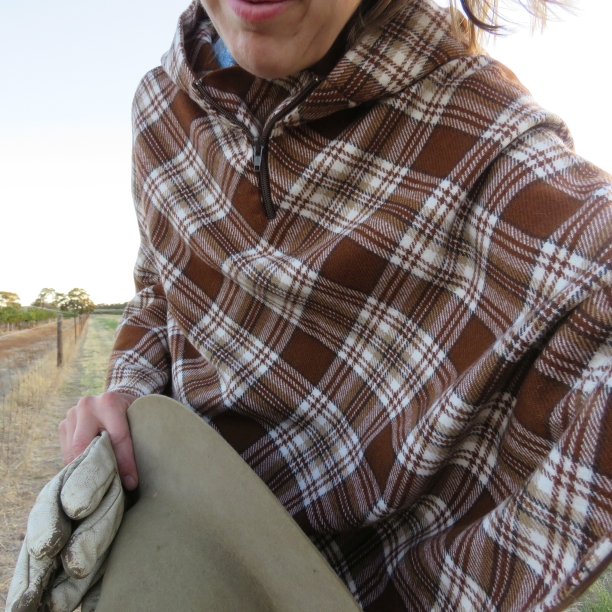
I just love this cape. It’s so comfortable and easy to wear, and I look forward to wearing it when it’s cool enough.
If you’re reading this post at a later date and would like to make a cape, here are the changes I made:
- Cut the biggest size, which is 16.
- Don’t cut any pockets.
- I stabilised the back neck with a strip of fusing to stop it from stretching. I did this before I cut it. Btw, I didn’t do this for any of the other hooded blousons I’ve made.
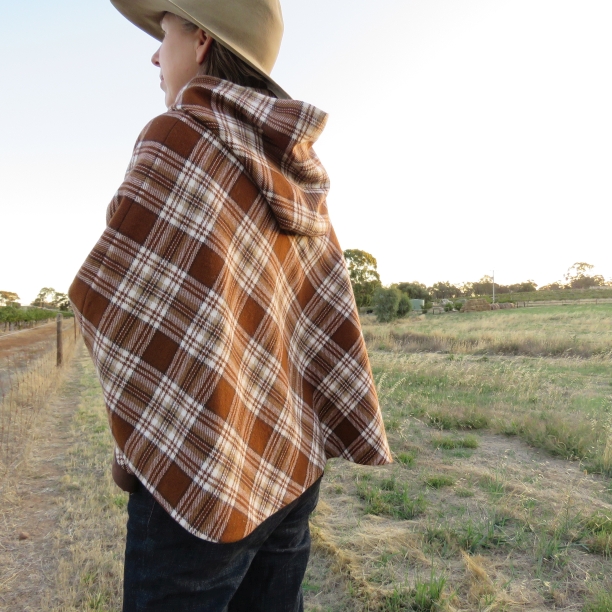
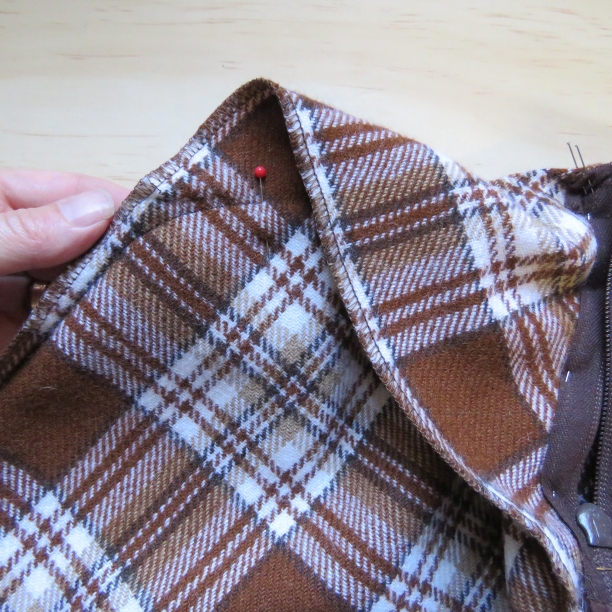
- Sew the armholes as a regular seam, and at the top curve the seam to sew the shoulders:
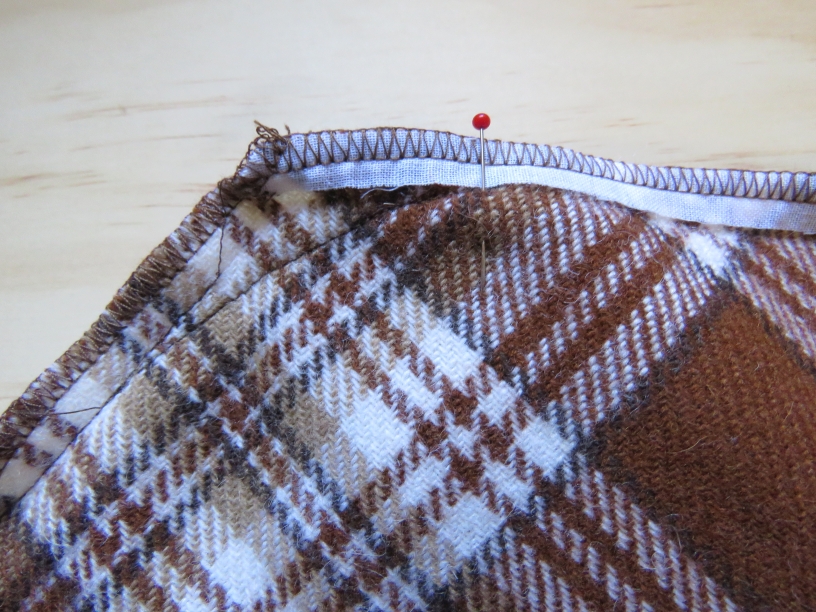
- Along the lower edge, round off the (four) obtuse angles a tiny bit to form gentle curves and finish the lower edge using 25mm bias binding with this tutorial.
- If the fabric is wool, consider neatening the seams with a Hong Kong finish for a beautiful interior. I overlocked my seams but used bias binding inside the hood.
- I haven’t tried it, but with some tweaking you could probably use 150cm wide fabric for a longer cape; cut the hood pieces 37cm square.
- This cape took a lot of hand sewing, because I didn’t think topstitching would suit the woollen fabric. I hand sewed the hem facing in place, the zip, the triangle behind the zip, and the hood on.
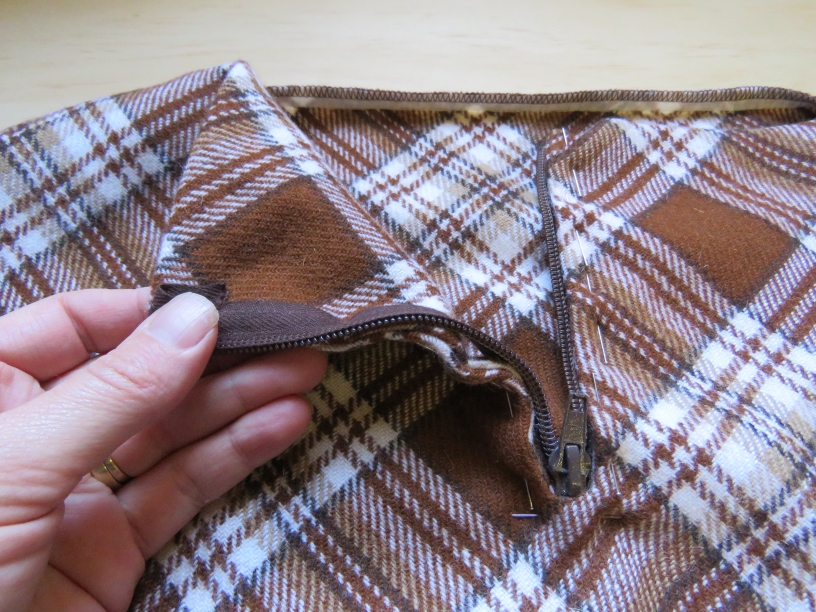
- If you’re using tartan like me, is it an unbalanced check? (ie the intersections are rectangular not square). Mine is; I wanted the side seams to match but it’s not possible for unbalanced checks. Luckily, the fabric looks identical on both sides, so I flipped one over to make them match. I did the same with the hood pieces too.
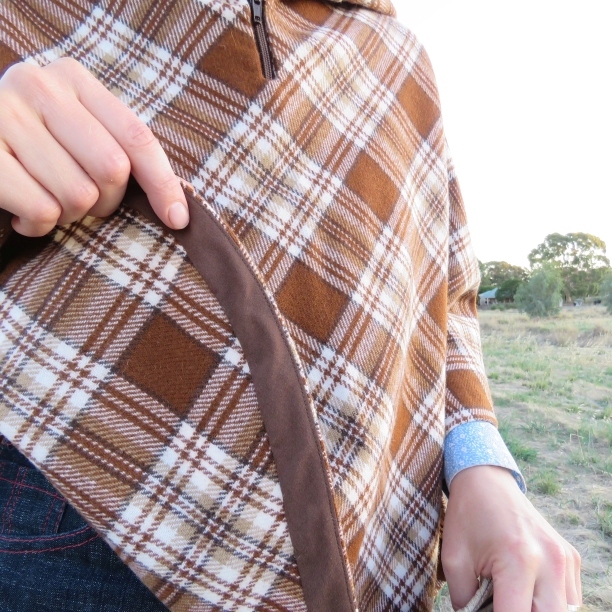
- Jane from The Drapery suggested running the front zip the entire length of the cape. A fun idea, provided the fabric is stable enough since it’s on the bias. After that conversation, I thought: maybe it doesn’t even need to have a zip, just an edge-to-edge front opening. It could be finished with 25mm bias binding like the hem.
Cheers!
Discover more from The Craft of Clothes
Subscribe to get the latest posts sent to your email.
Looks great fun. I’m itching for the book now!
Thank you – I enjoyed making these.
Now I need a cape! When and where is your book launch? I’m pretty sure I need this book! Love The Dressmakers Companion.
Cheers, Sewingelle! The book launch is on Tues 17th of March 7pm in Clare (details here: https://lizhaywood.com.au/book-events/). I’m planning a fashion parade with the talk. Let me know if you’re coming up and we’ll meet 🙂
Would totally love to, but I am in Brisbane that day for work 🙁