The Finish of Project Victorian Nightie
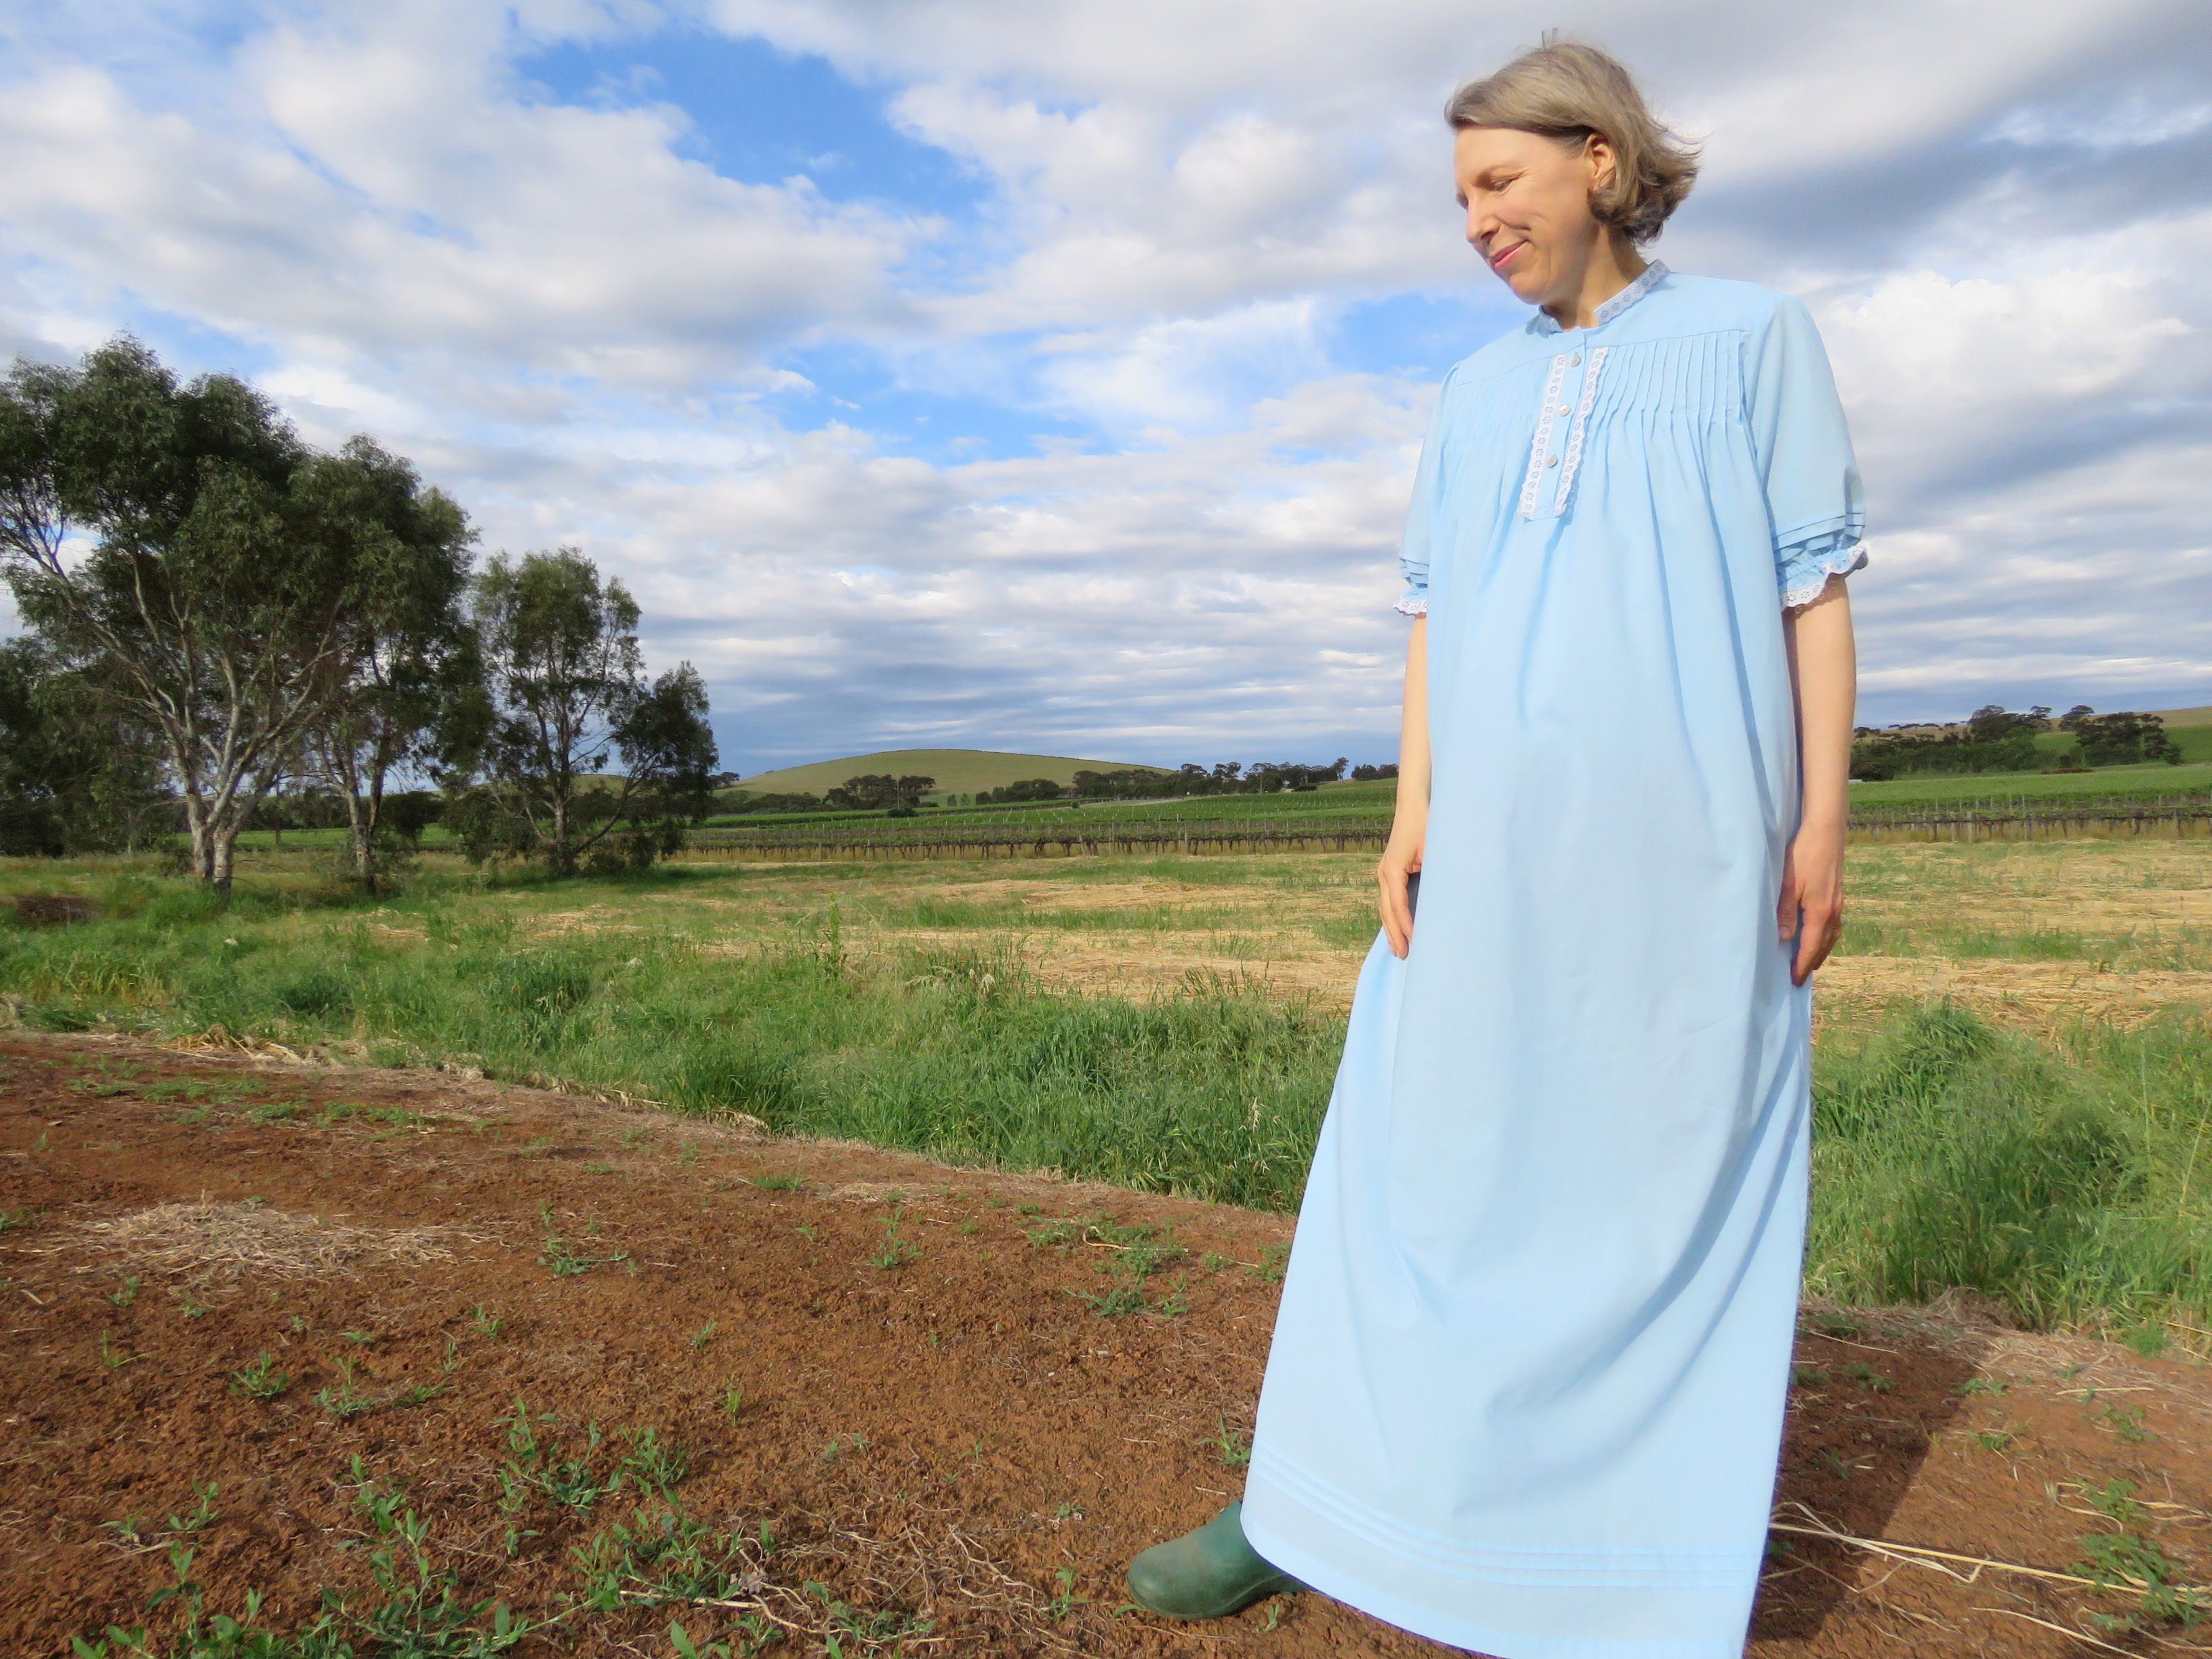
The Victorian Nightie project has finished on a high. Teen declares it the best nightie yet!
Teen requested a Victorian nightie with all the trimmings. Read about early thoughts here. I did a first sample which had issues, then the issues got resolved last week with a finished nightie sewn from stash fabric.
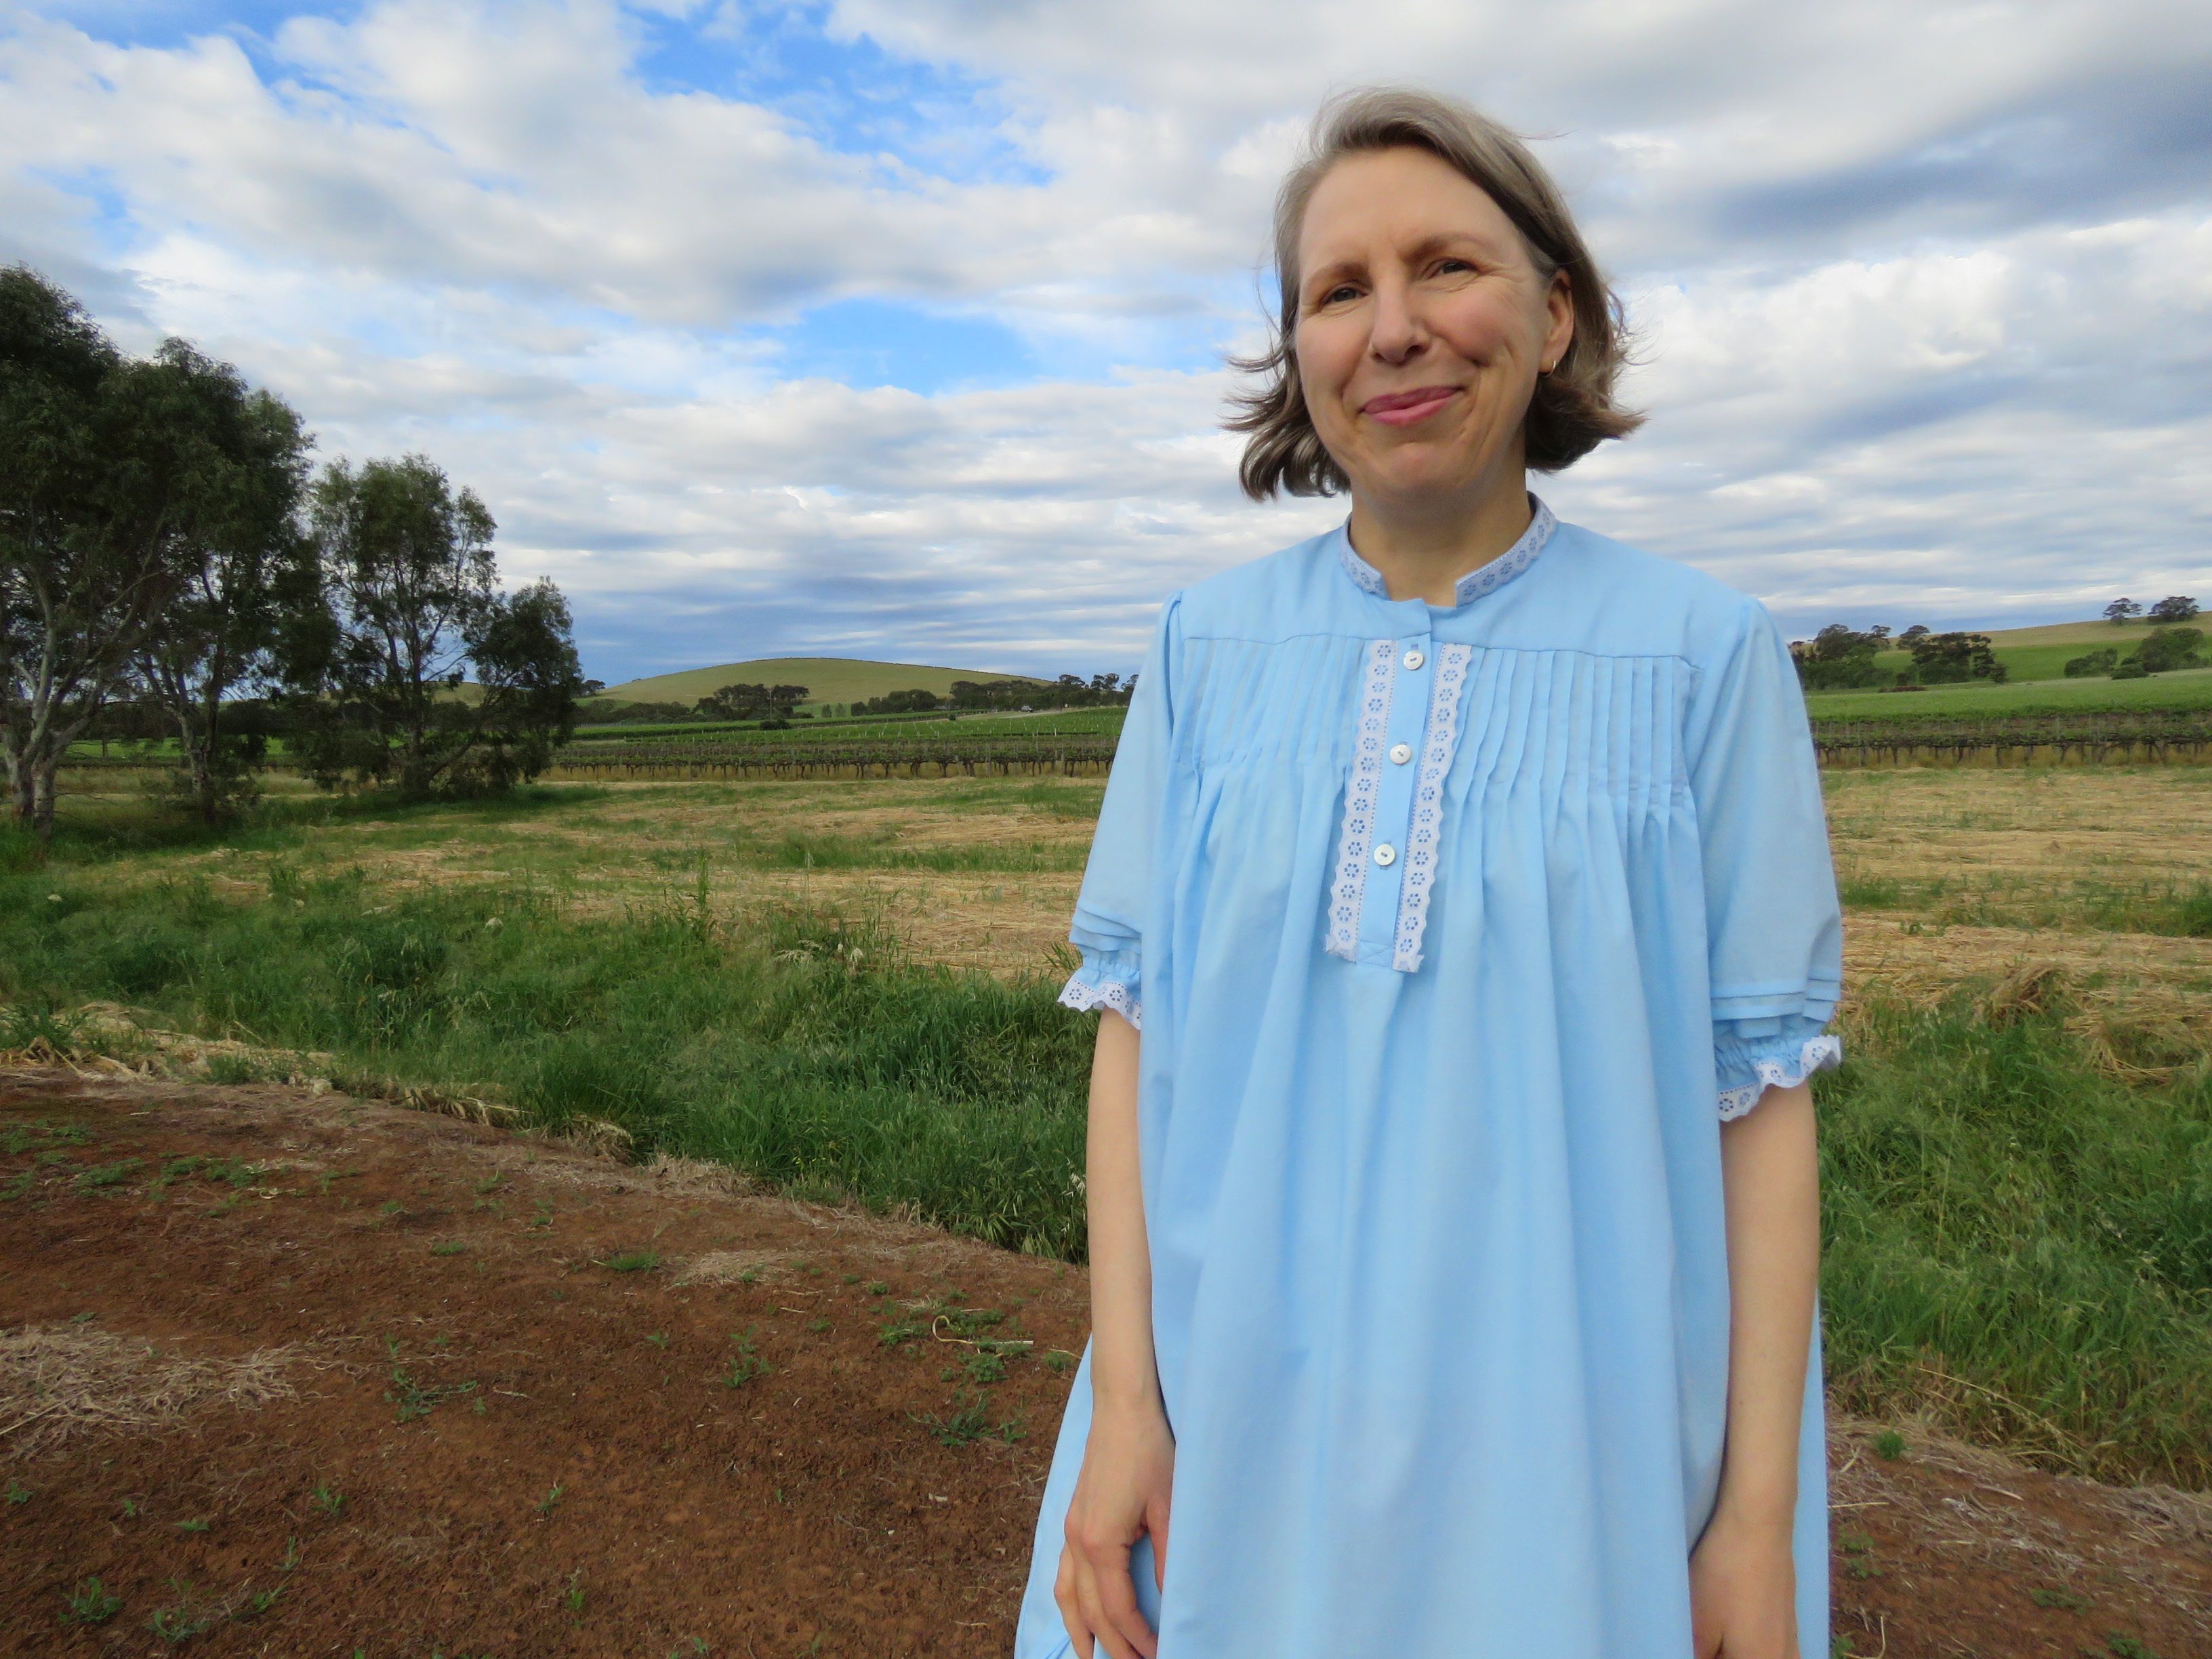
During the week I sewed the “real” nightie from pale blue cotton lawn from Potter & Co. It’s full length but has short sleeves. I think the fabric is one of the big reasons Teen likes it – it’s fine and very soft. She wore it last night and still has it on now.
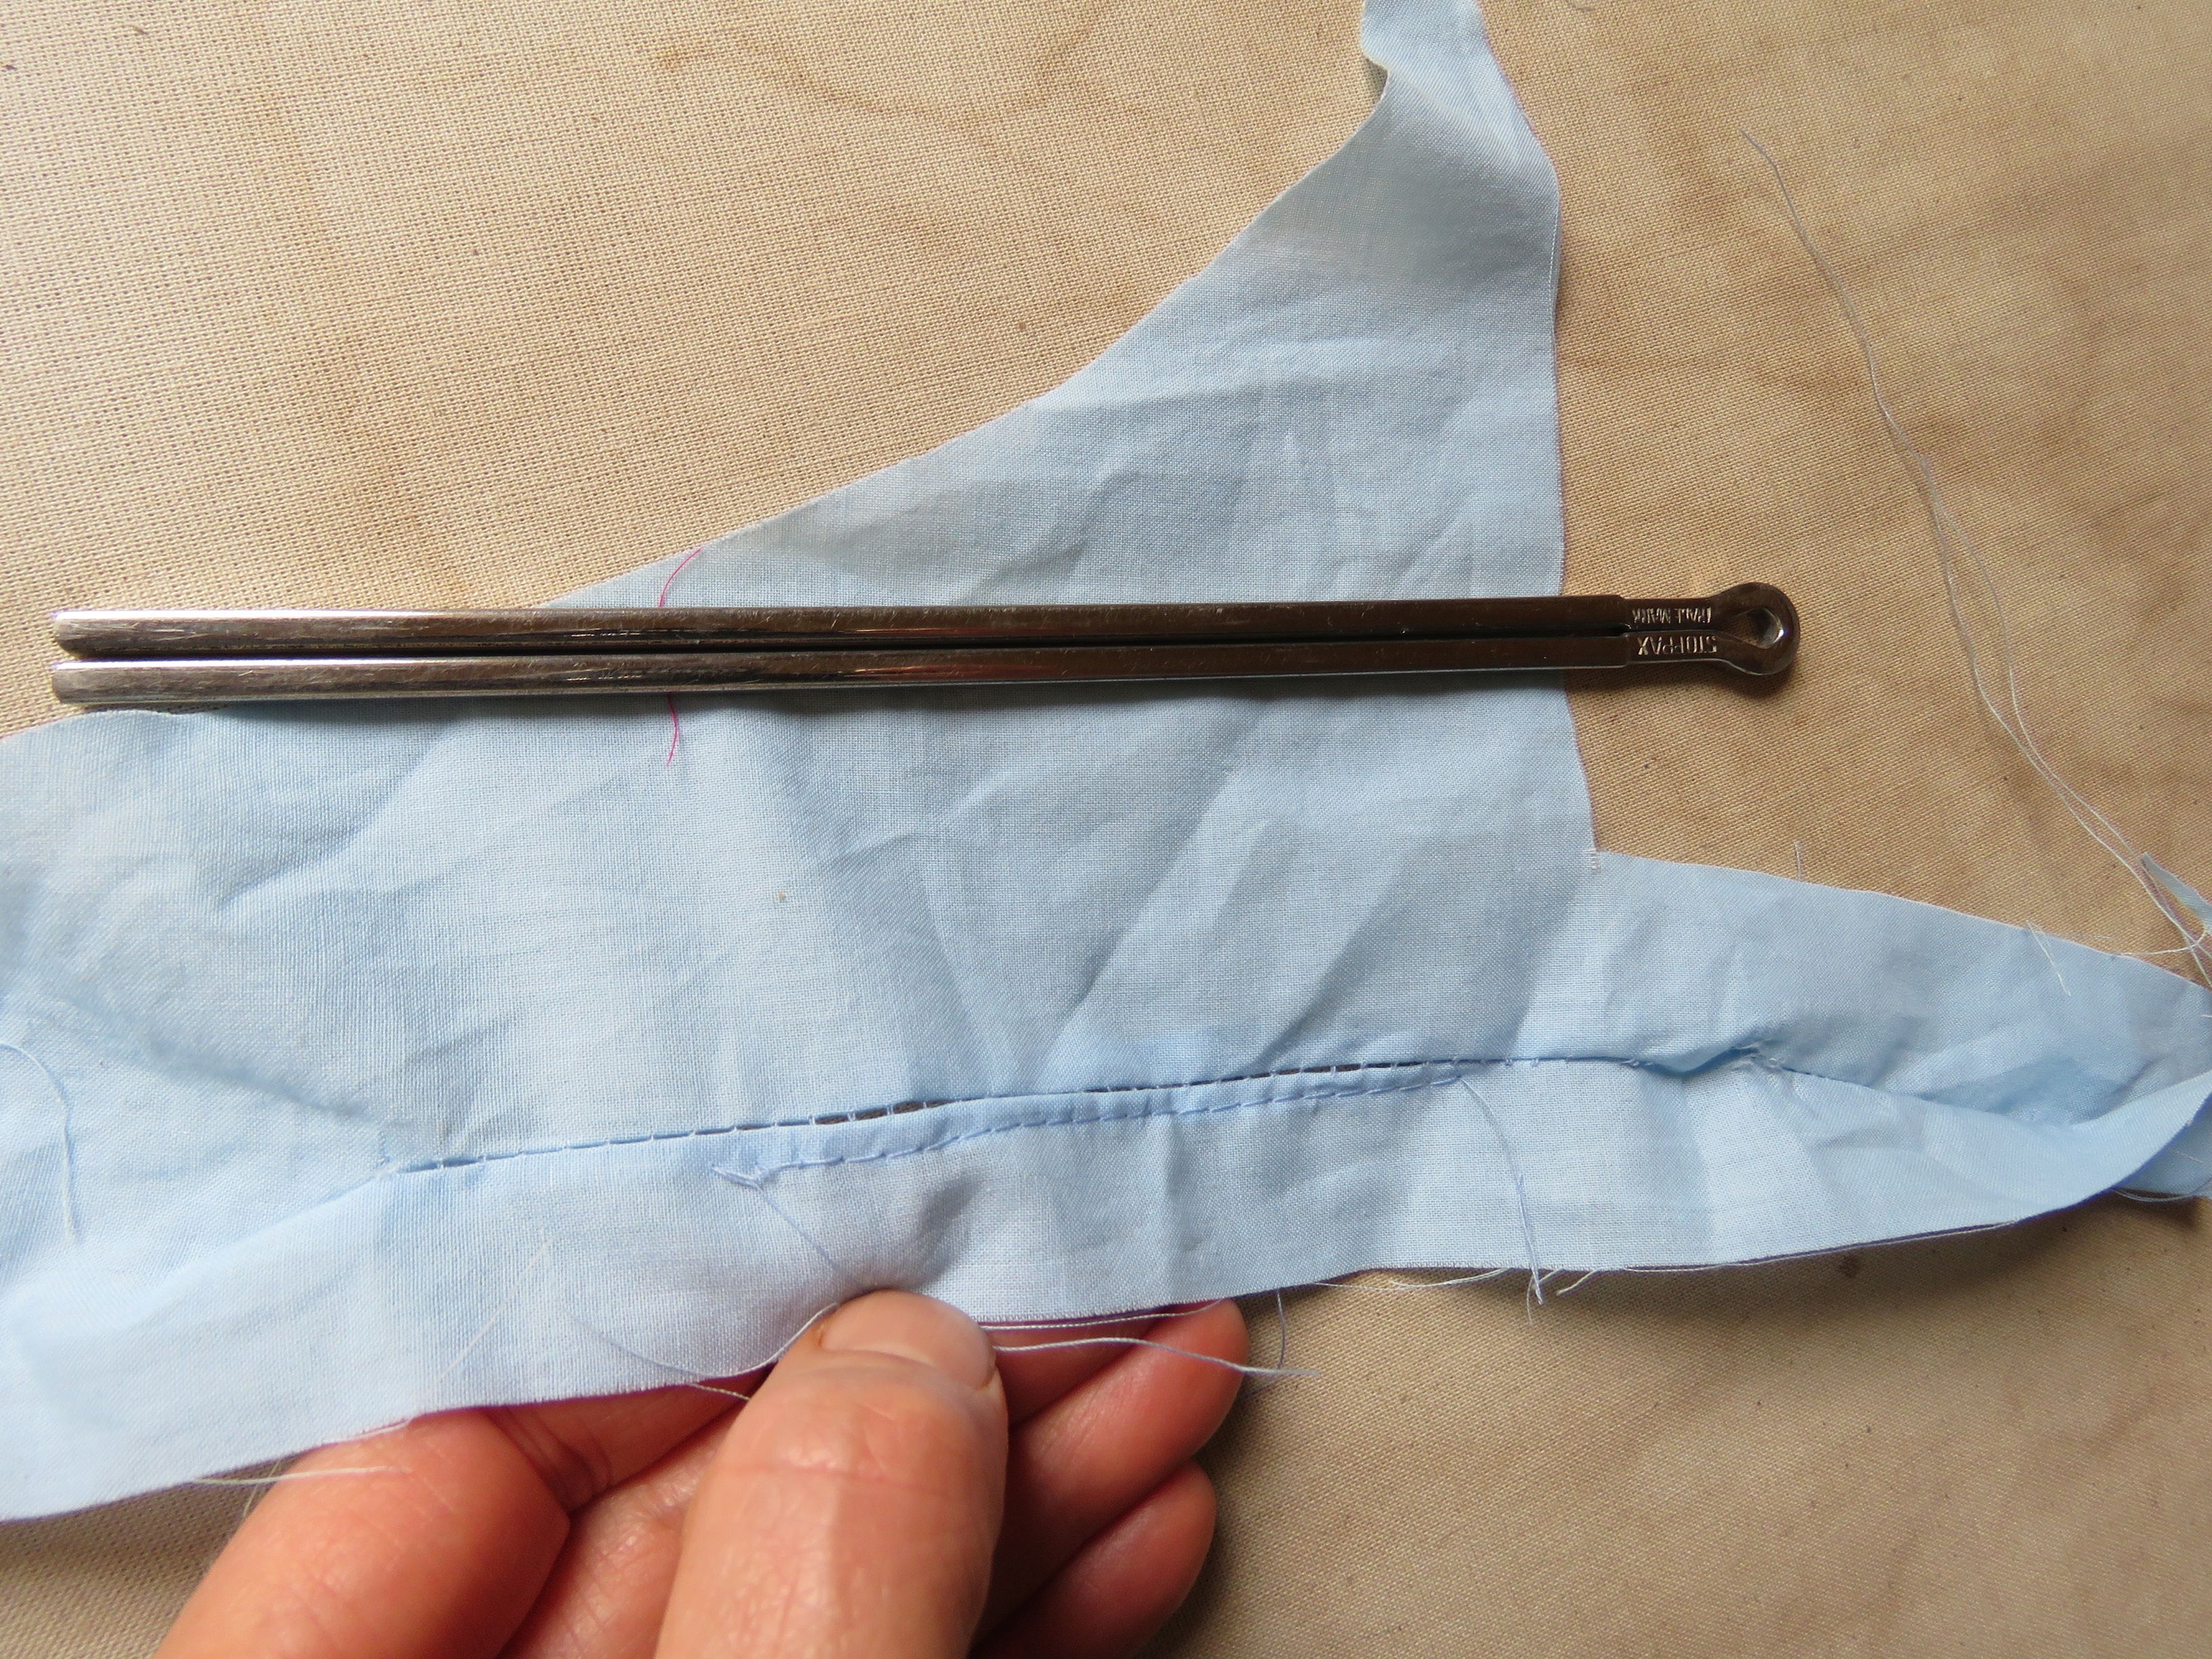
I’d hoped to use the Stoppax Hemstitching Fork to add faggotting detail on the sleeves and hem, however I broke two machine needles on a 10cm sample which made me change my mind. Based on that average I just didn’t have enough needles!
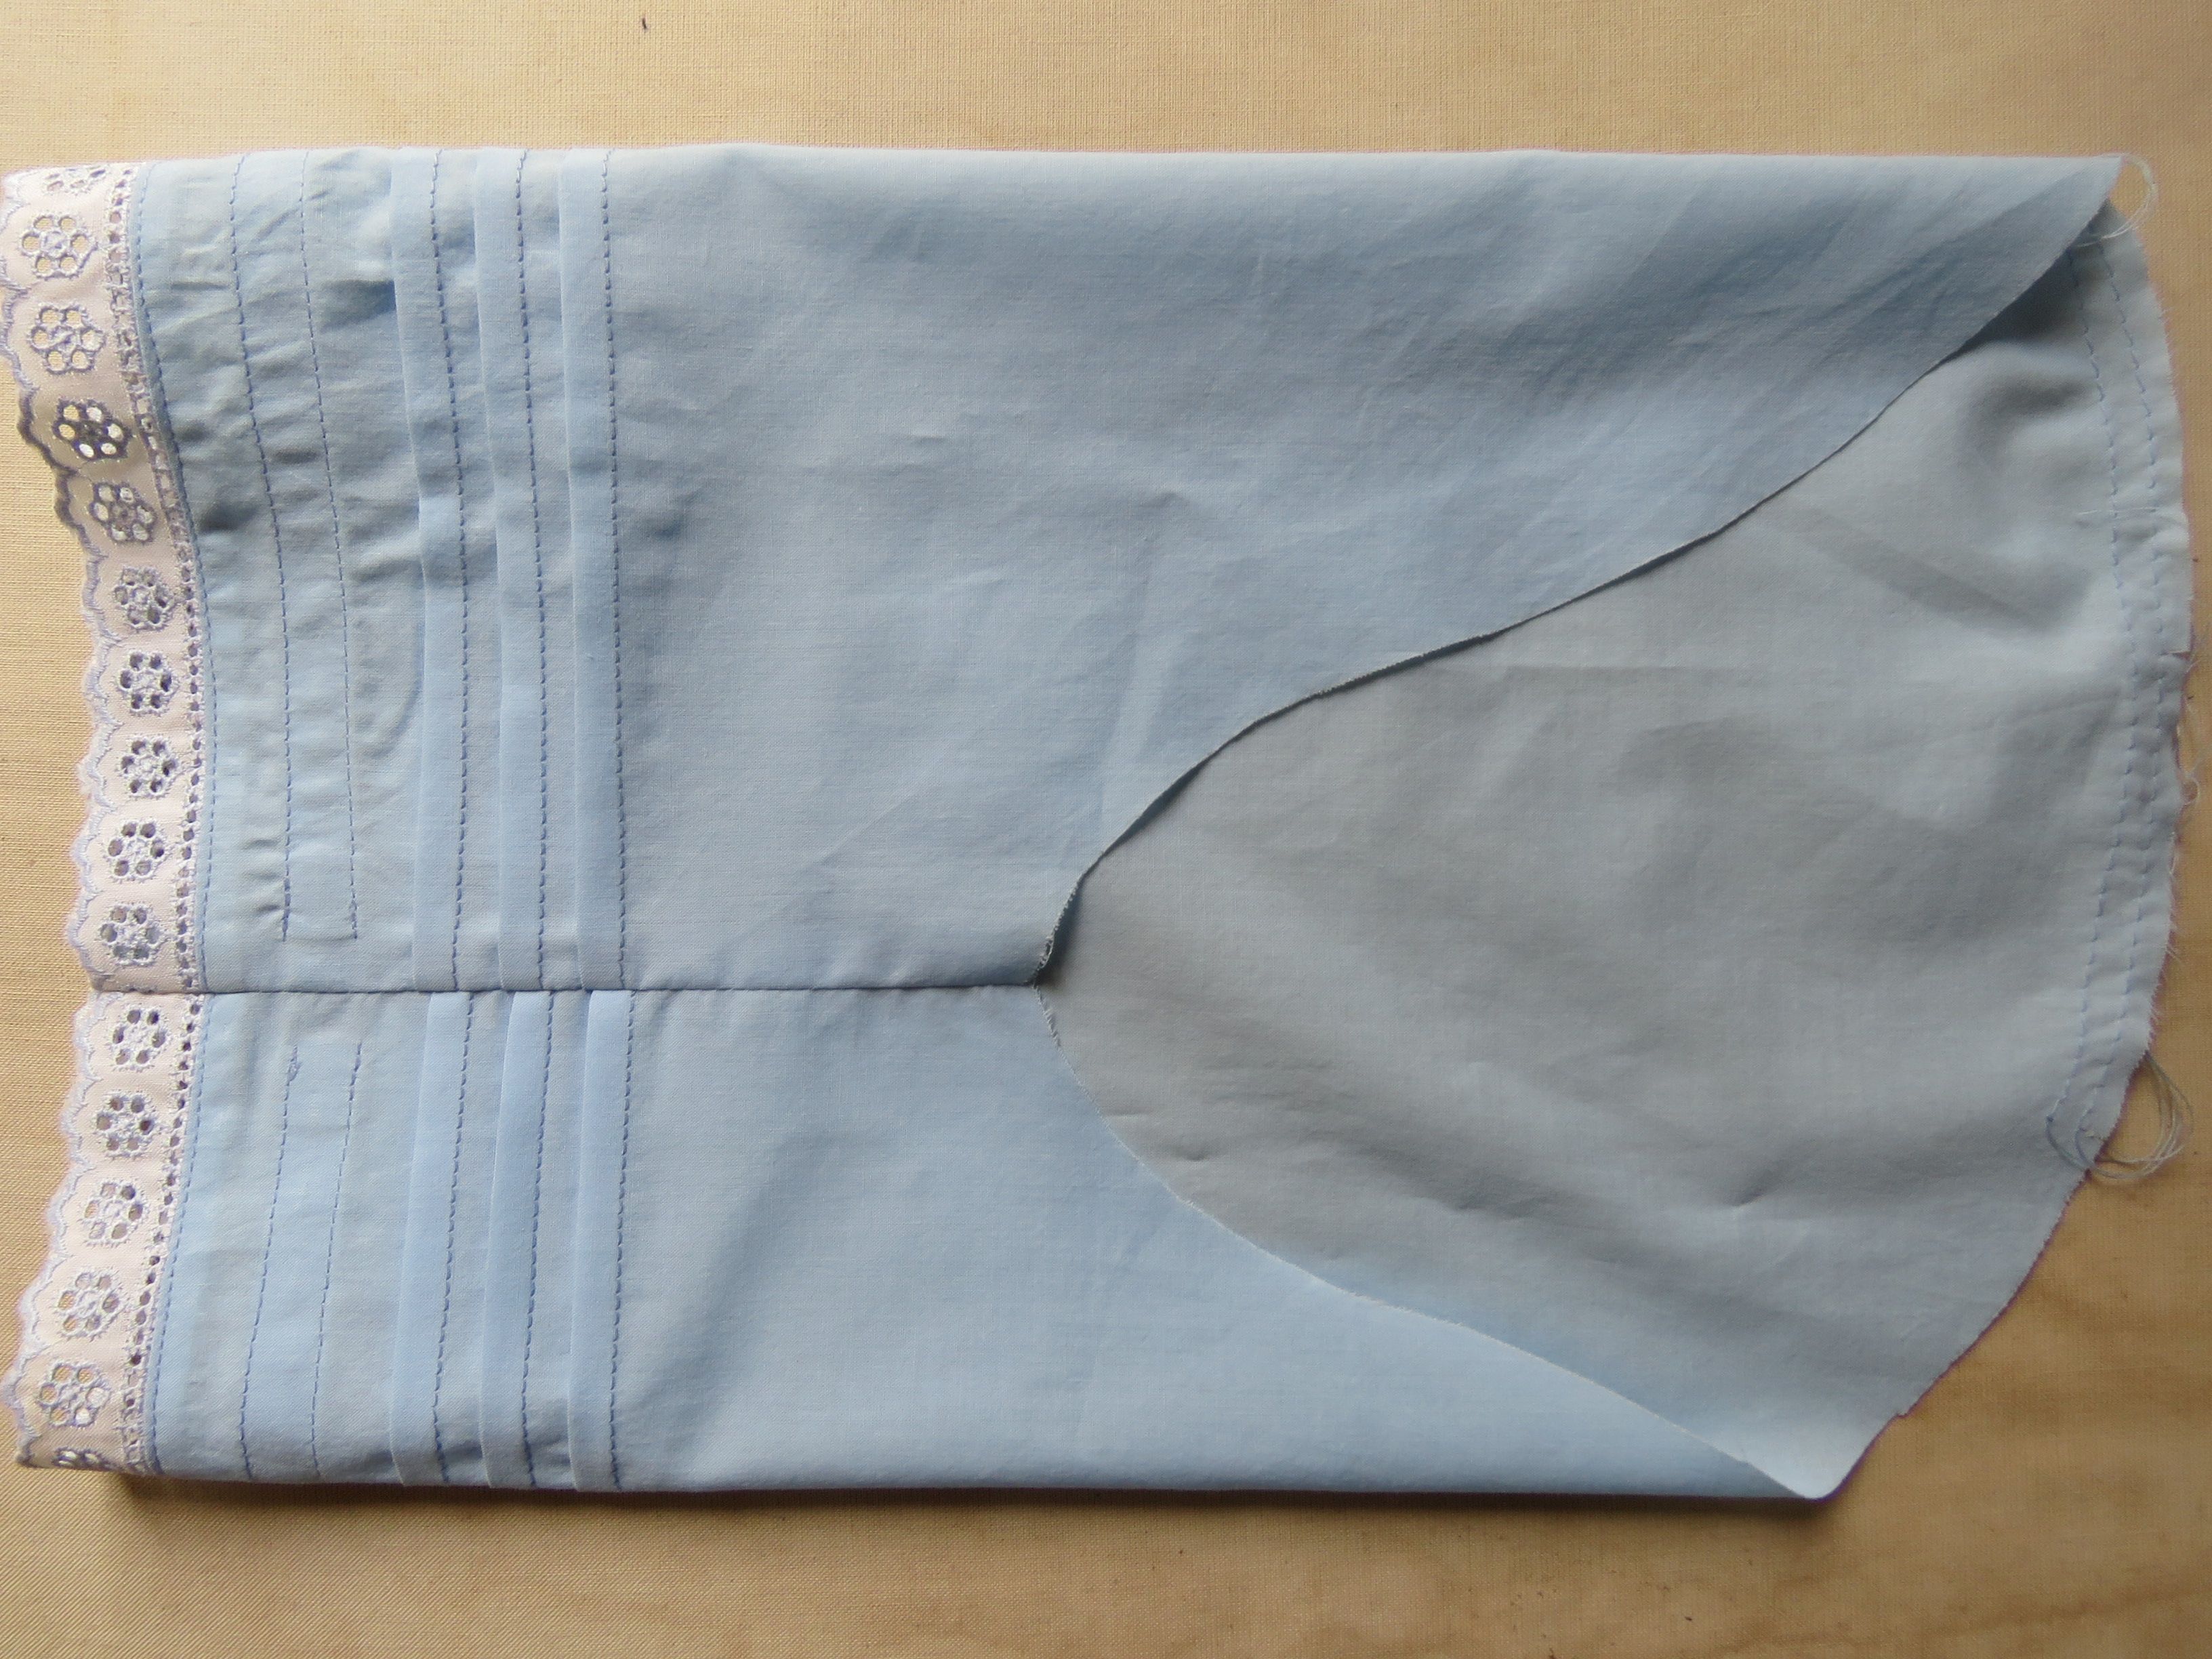
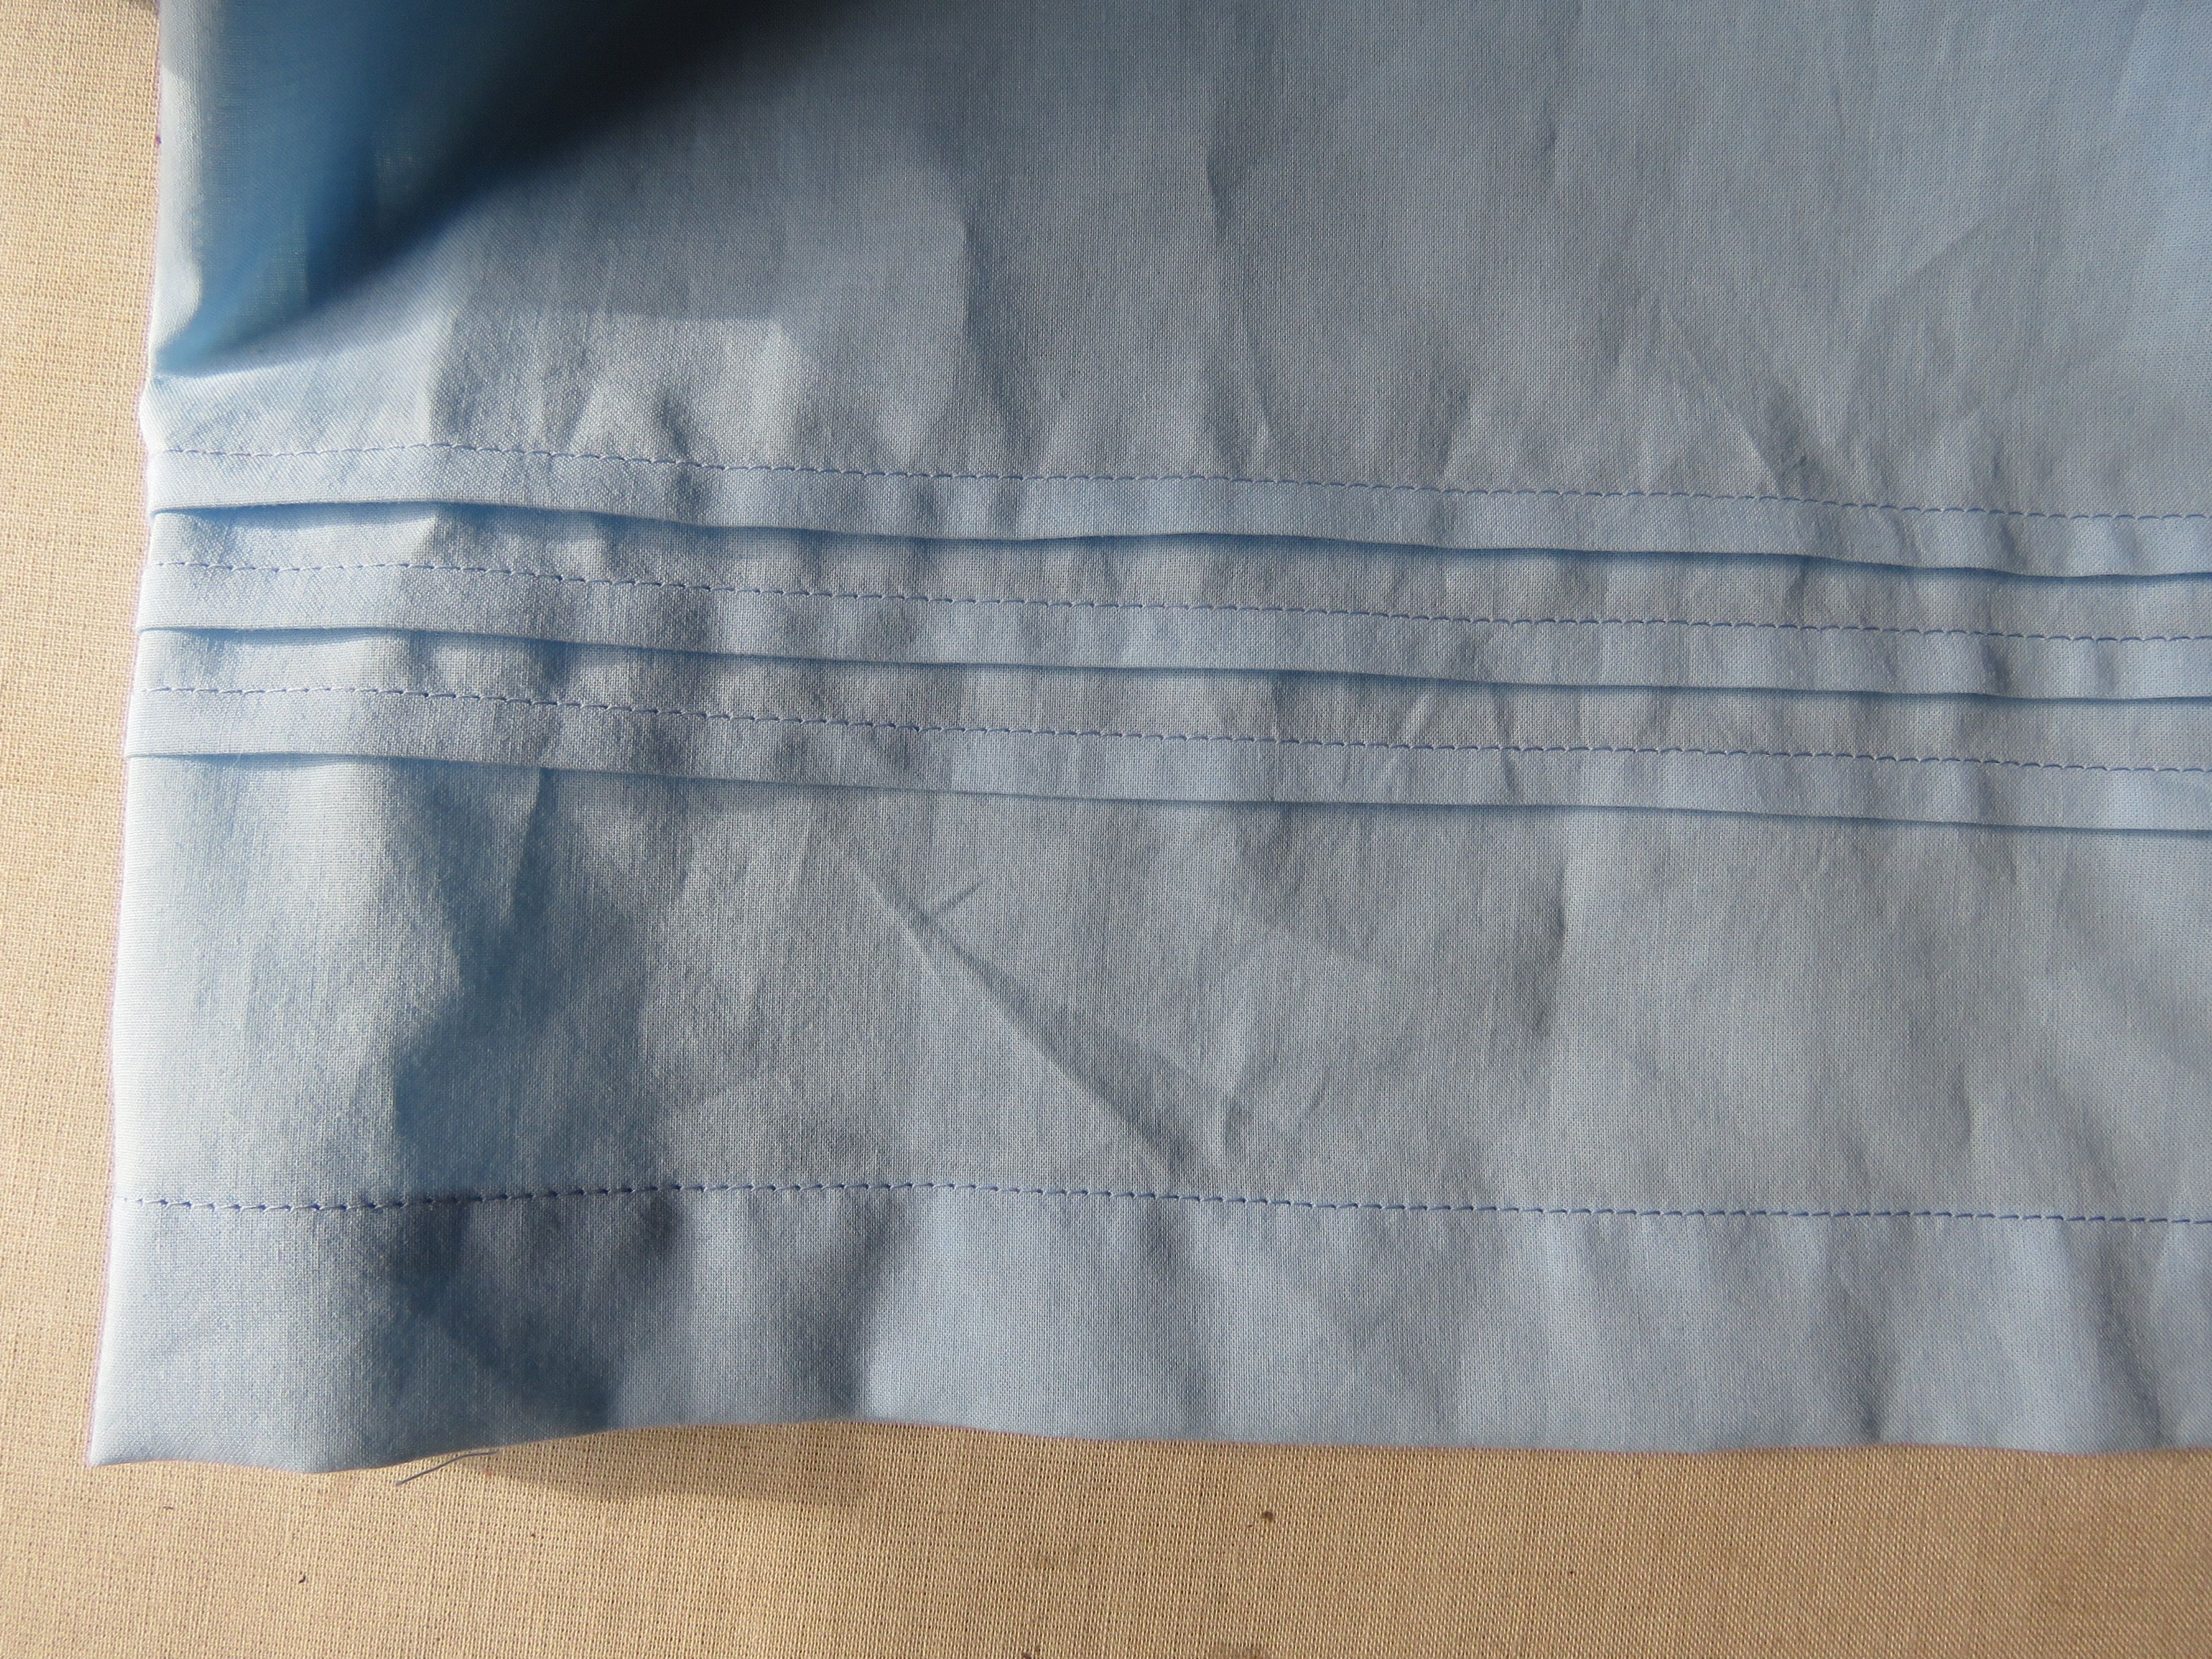
But I’d already added extra length to the sleeves and body to allow for it, so instead I made tucks, bringing the total tuck count from 26 up to 35. I think the sleeve tucks could have been higher, but it’s too late now and I can live with it.
As I’m the same size-ish as Teen, I modeled it for this blog post. I stood out in the front paddock, in a nightie, acknowledging friendly toots from neighbours driving past who are probably used to seeing stuff like this.
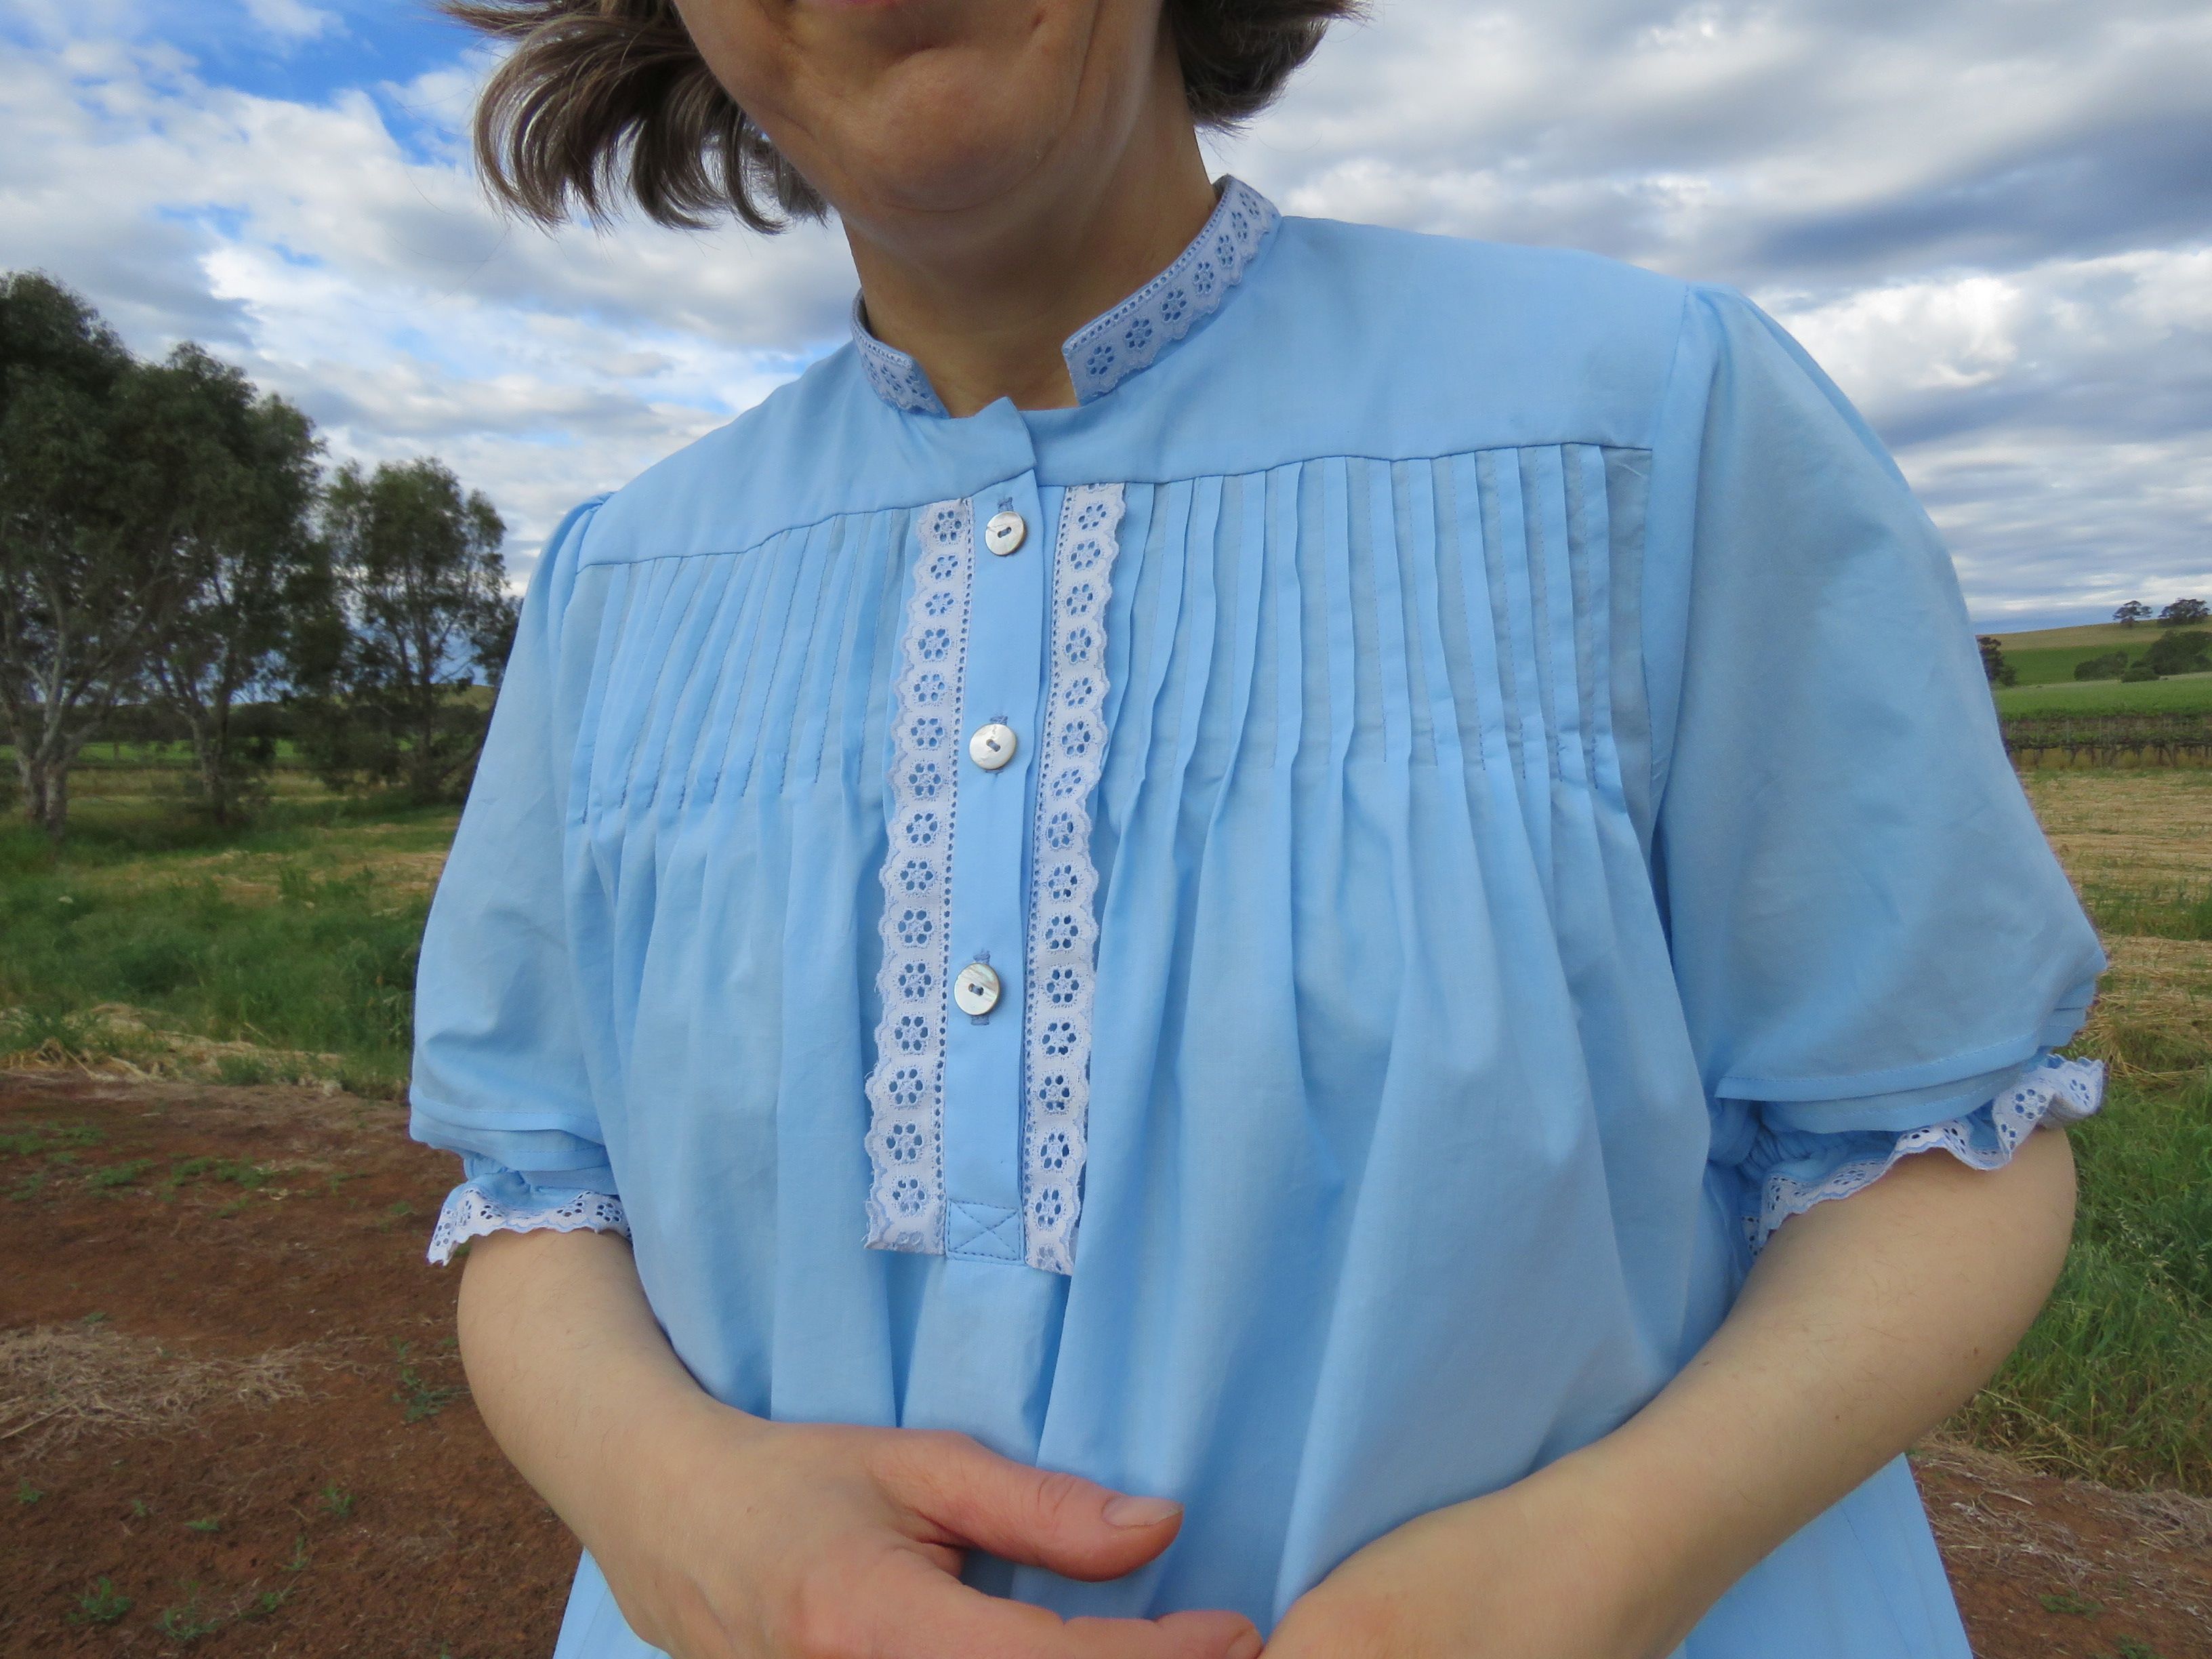
I was tempted to accessorize with a candle holder, teddy bear and night cap, but was strong and resisted!
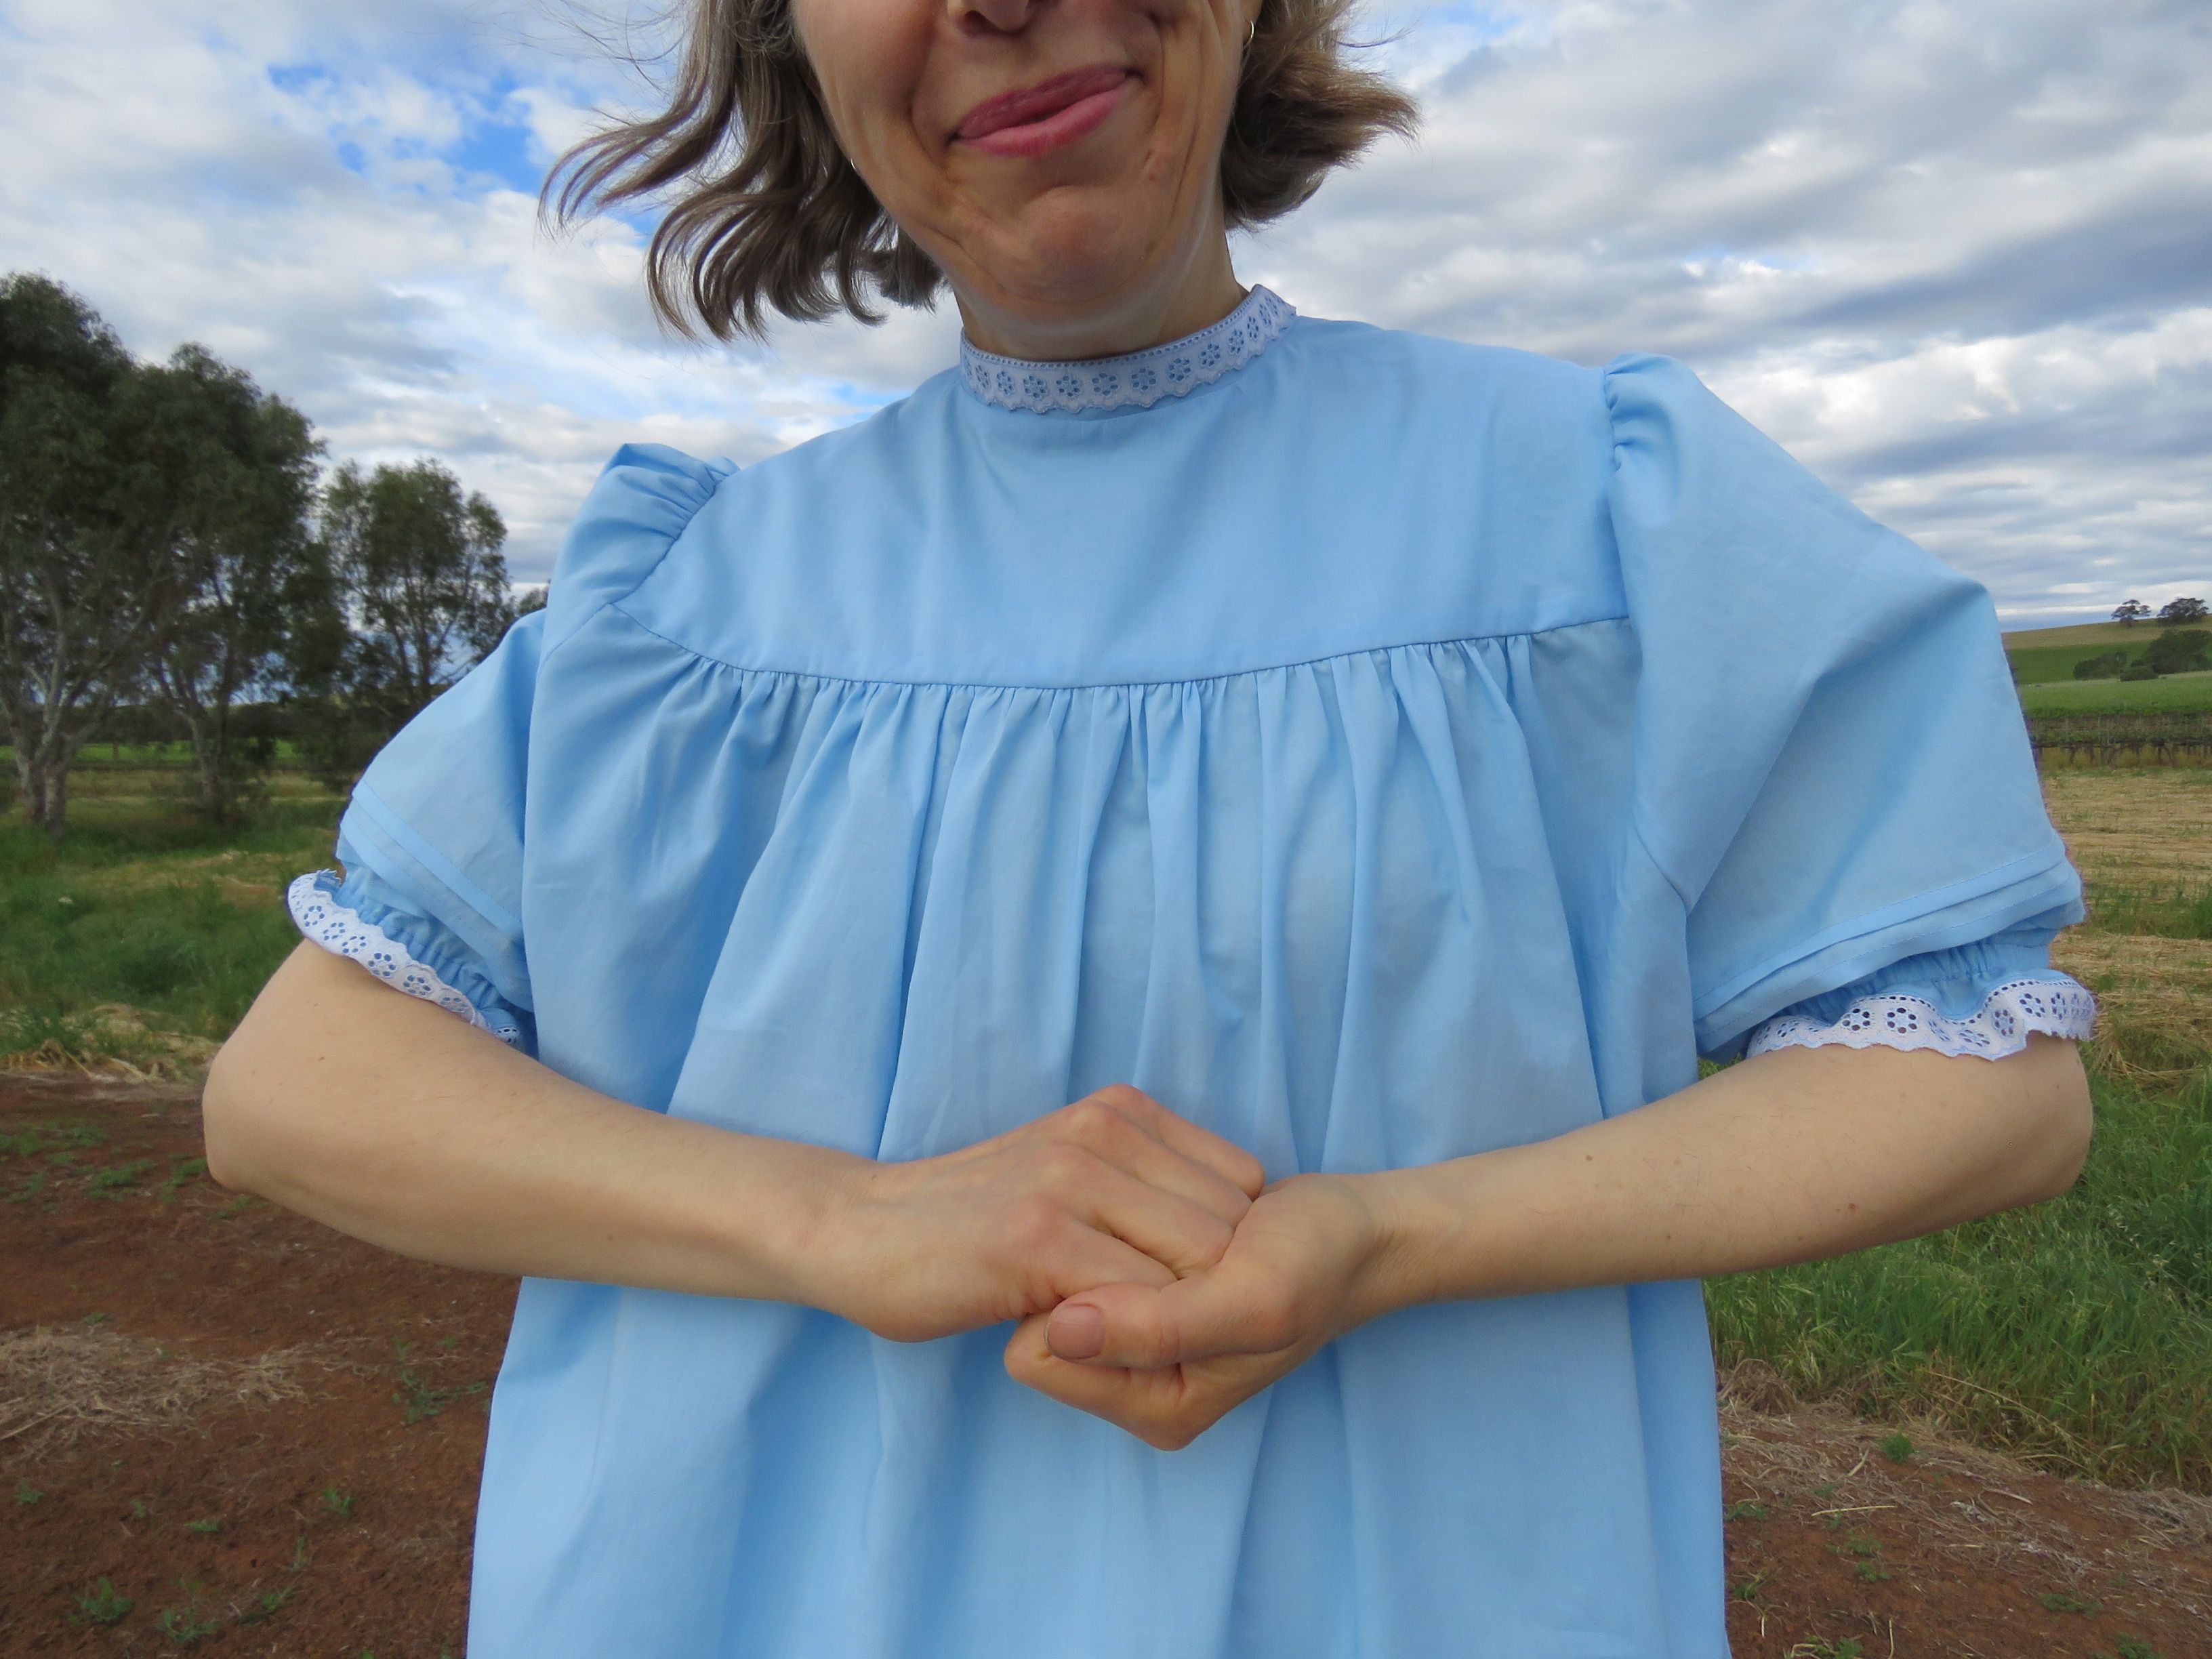
Teen reckoned the nightie looked OK worn back to front, so I tried it. Not bad, if you hadn’t already seen the front.
The pattern for this nightie was adapted from Creative Dressing by Kaori O’Connor.
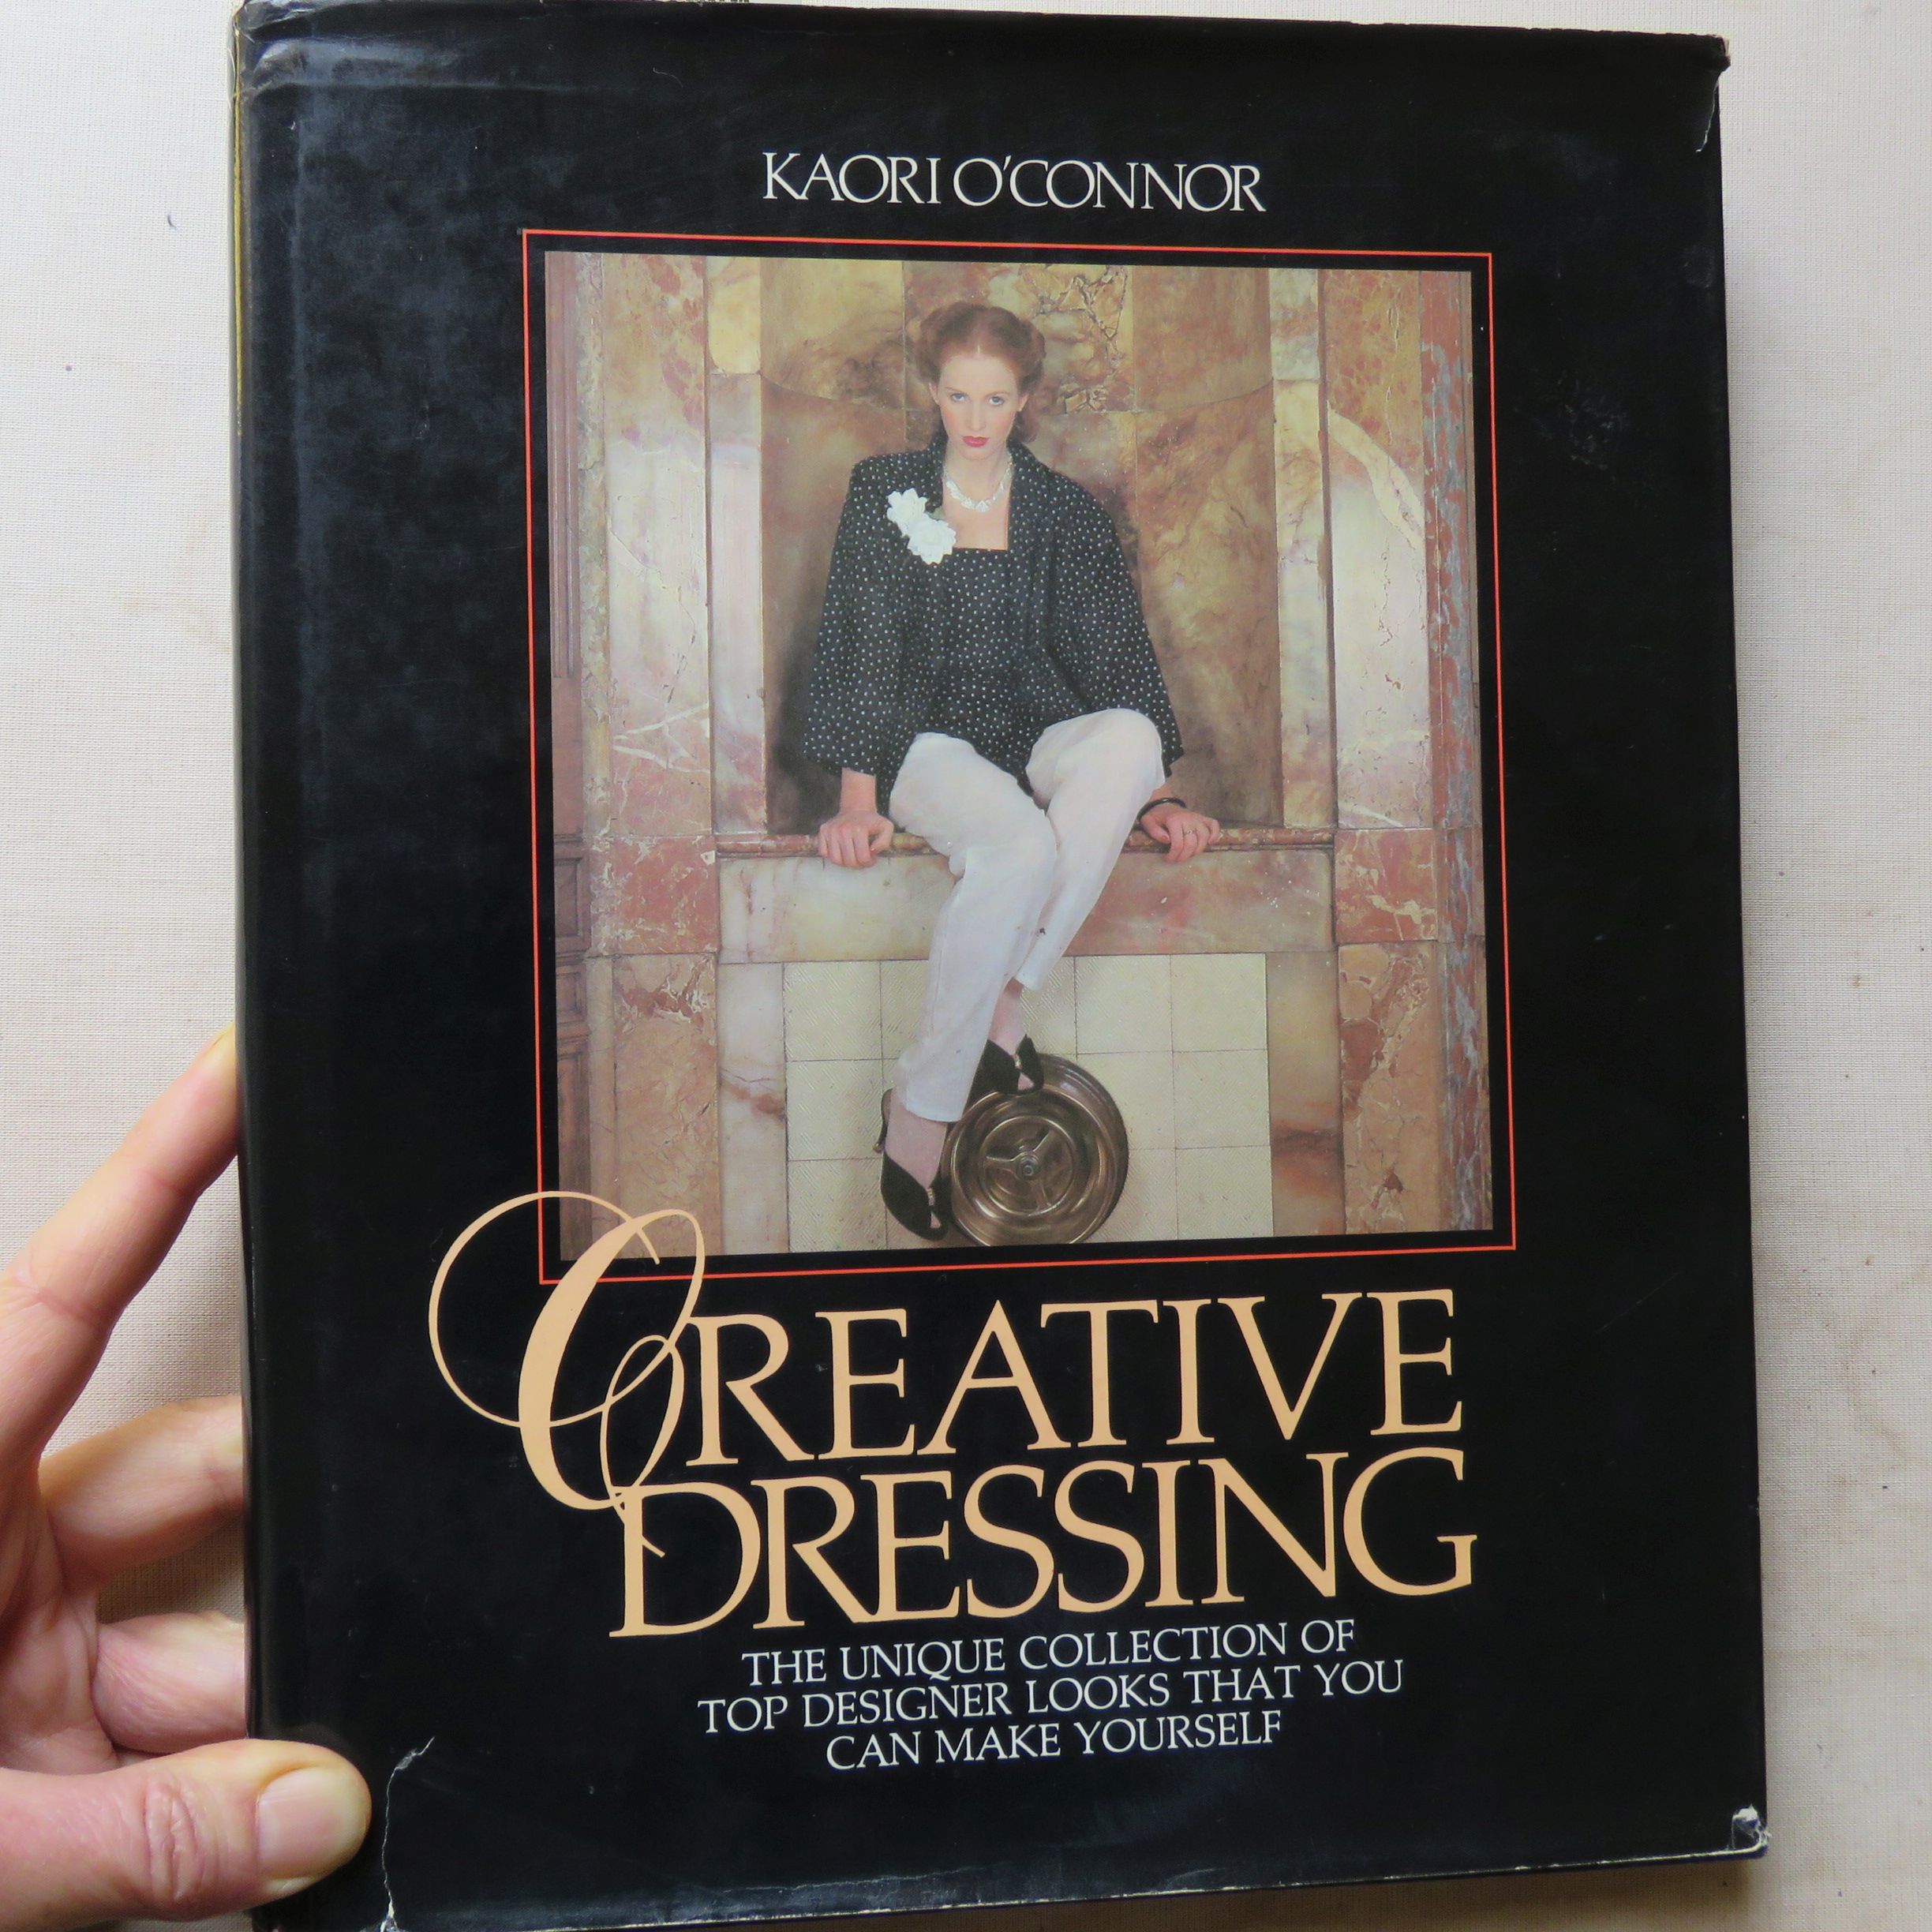
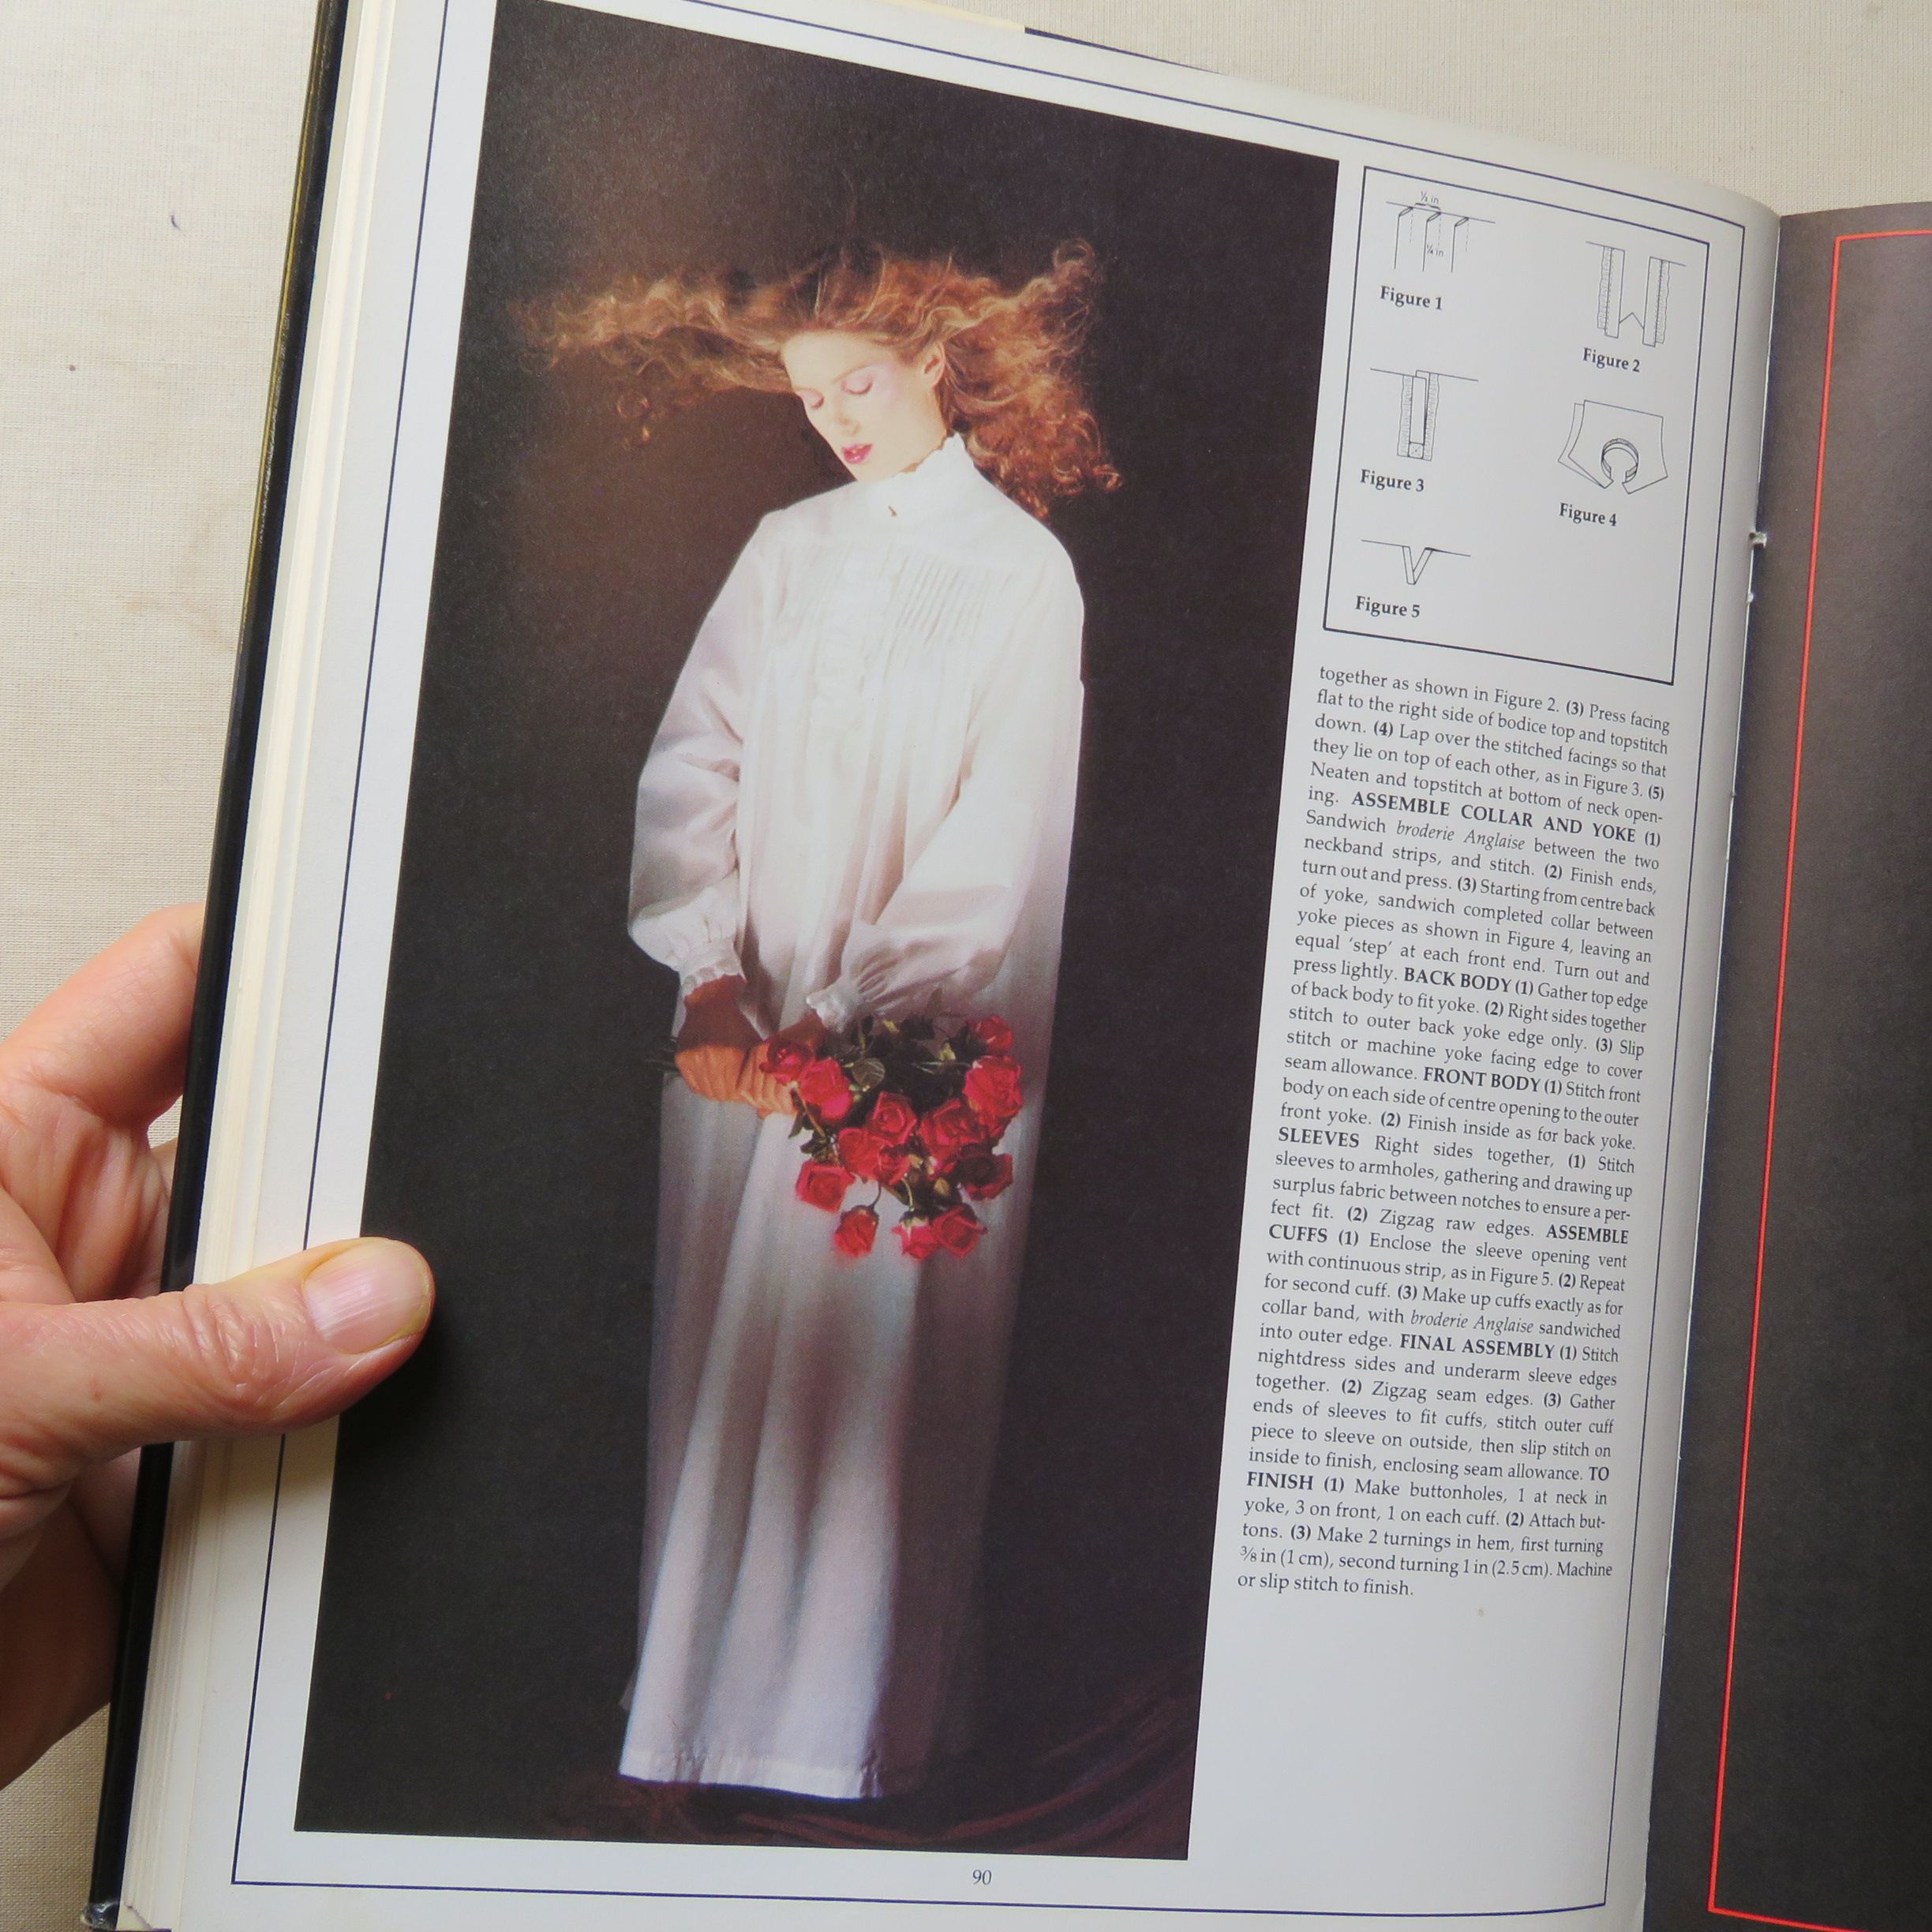
If you have this book and are planning to make the nightie, below is a PDF of the pattern I used. I made some significant changes around the neckline and some other small ones.
If you don’t have the book but are familiar with sewing shirt/blouse type garments, you could probably make one with this pattern. It fits a 36″ bust.
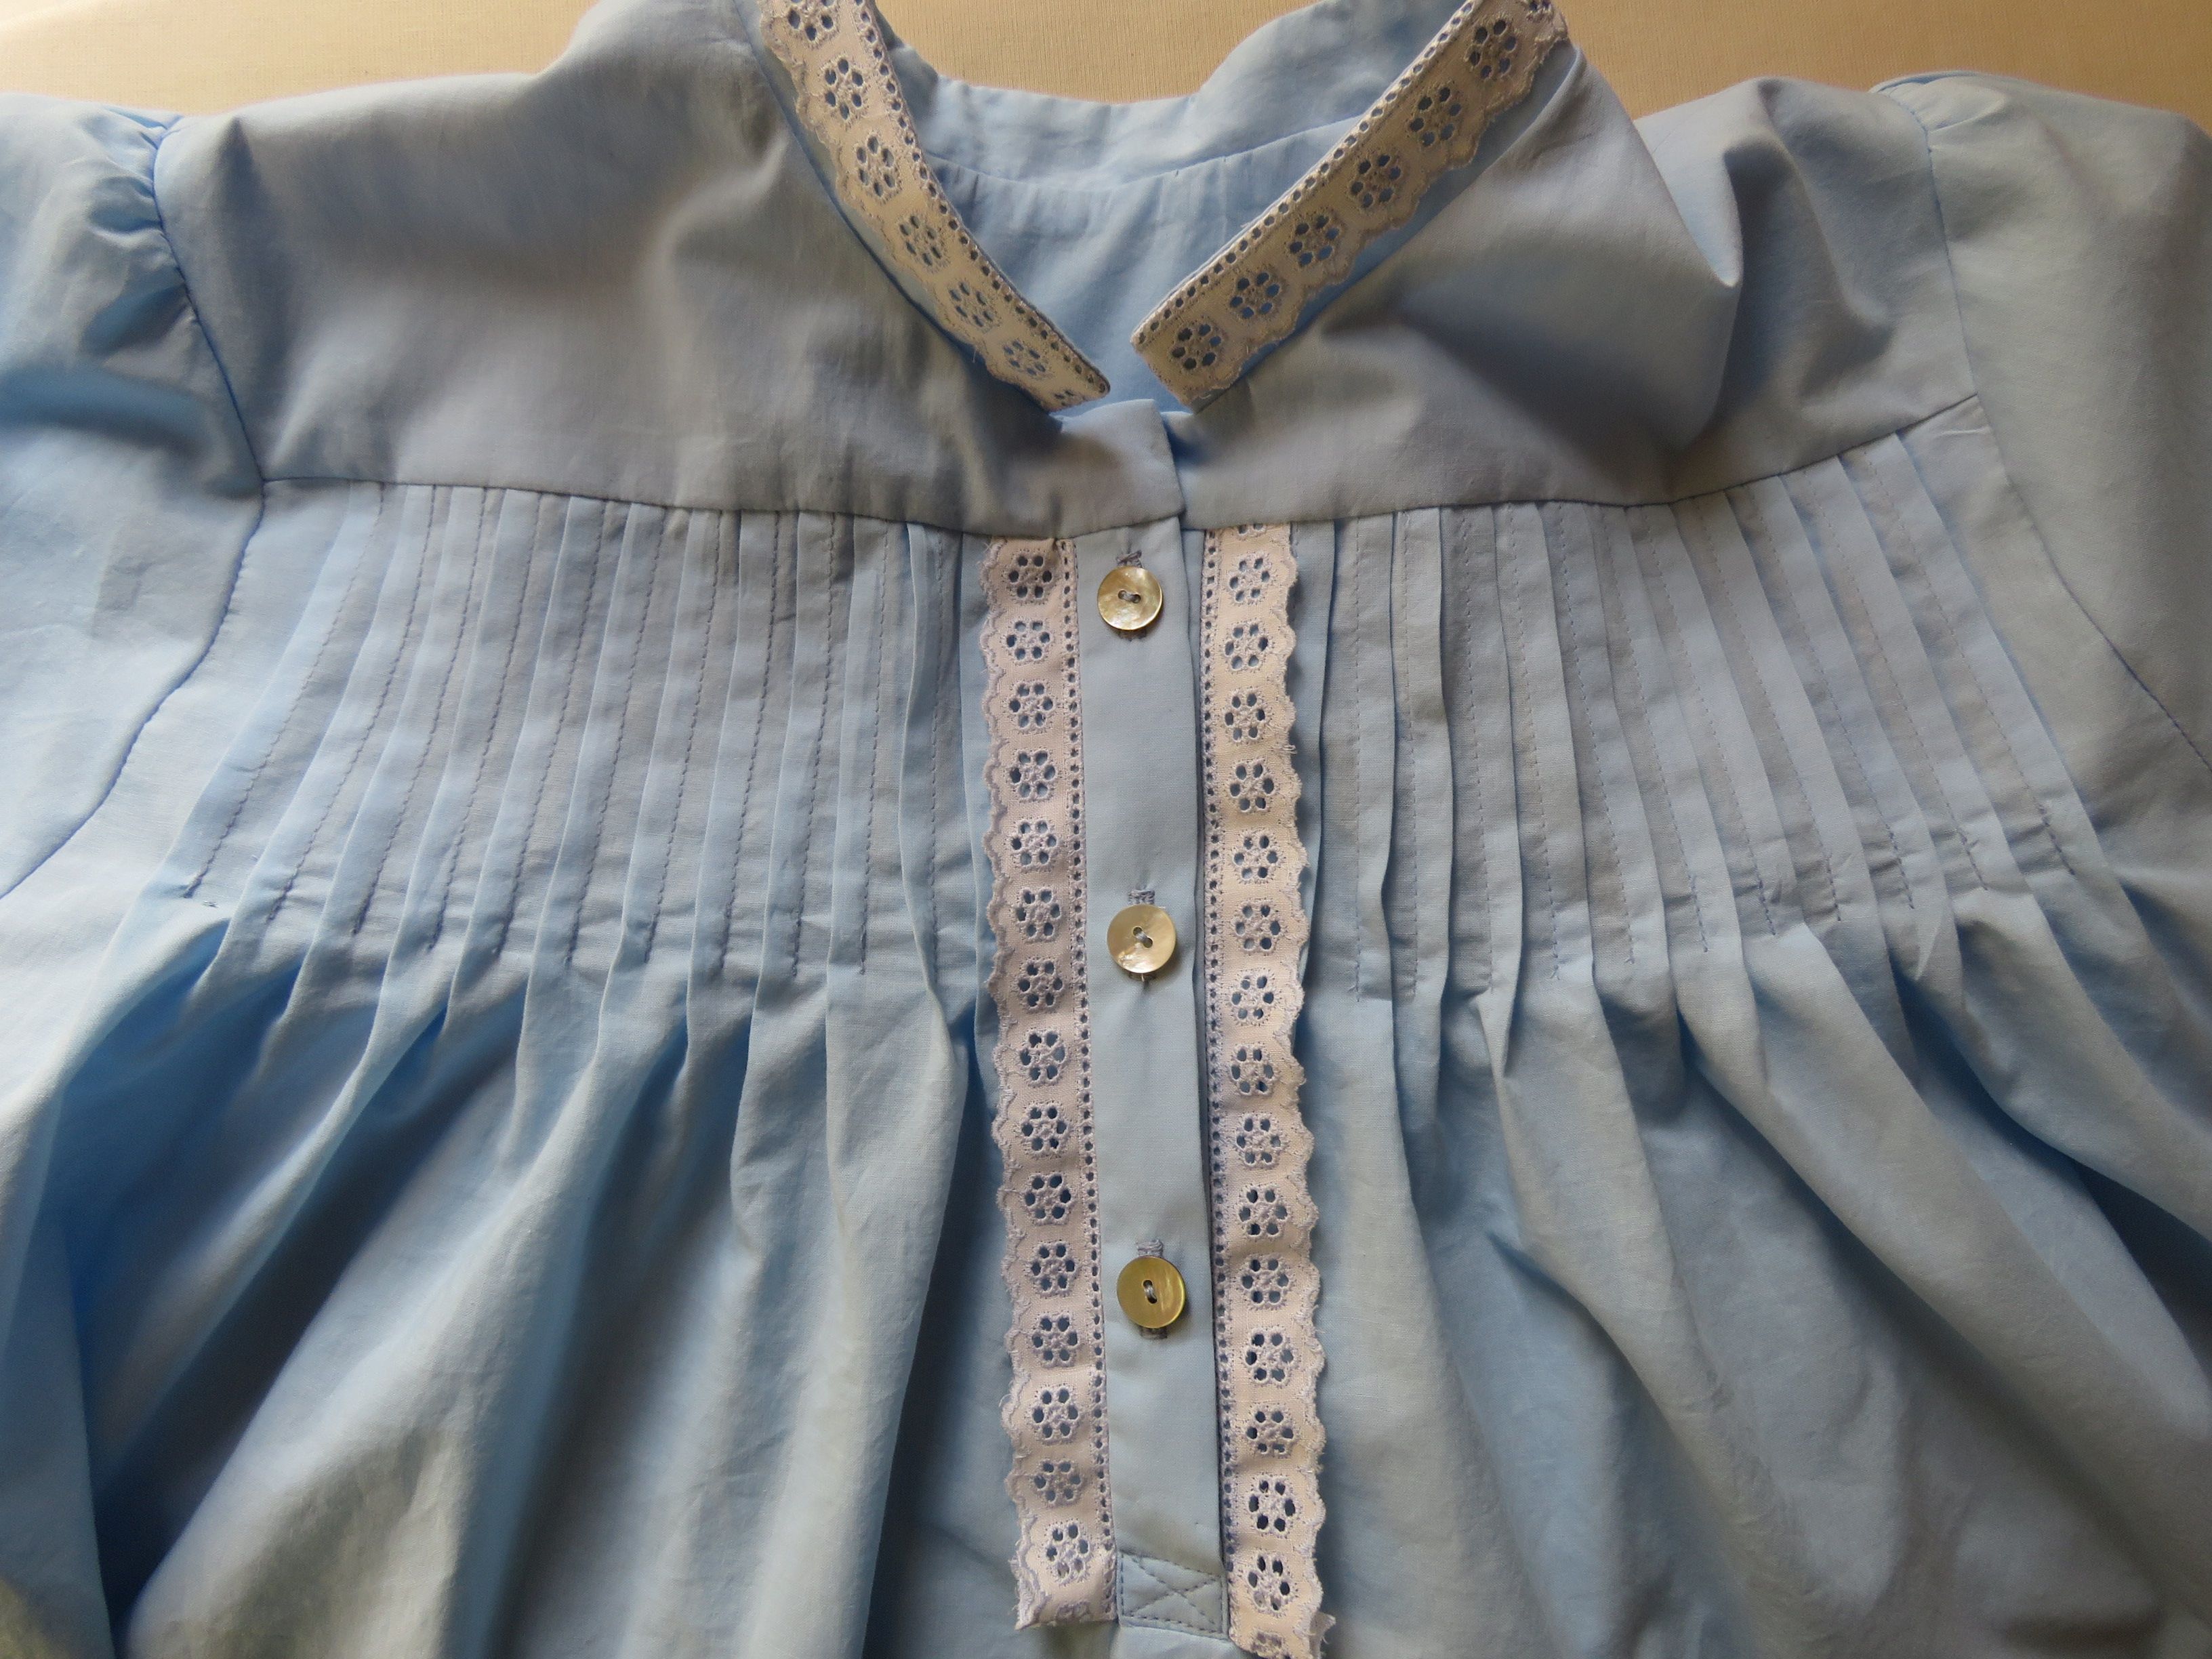
The book’s front placket instructions are a little sketchy, and complicated with the lace. Here’s some pics of mine.
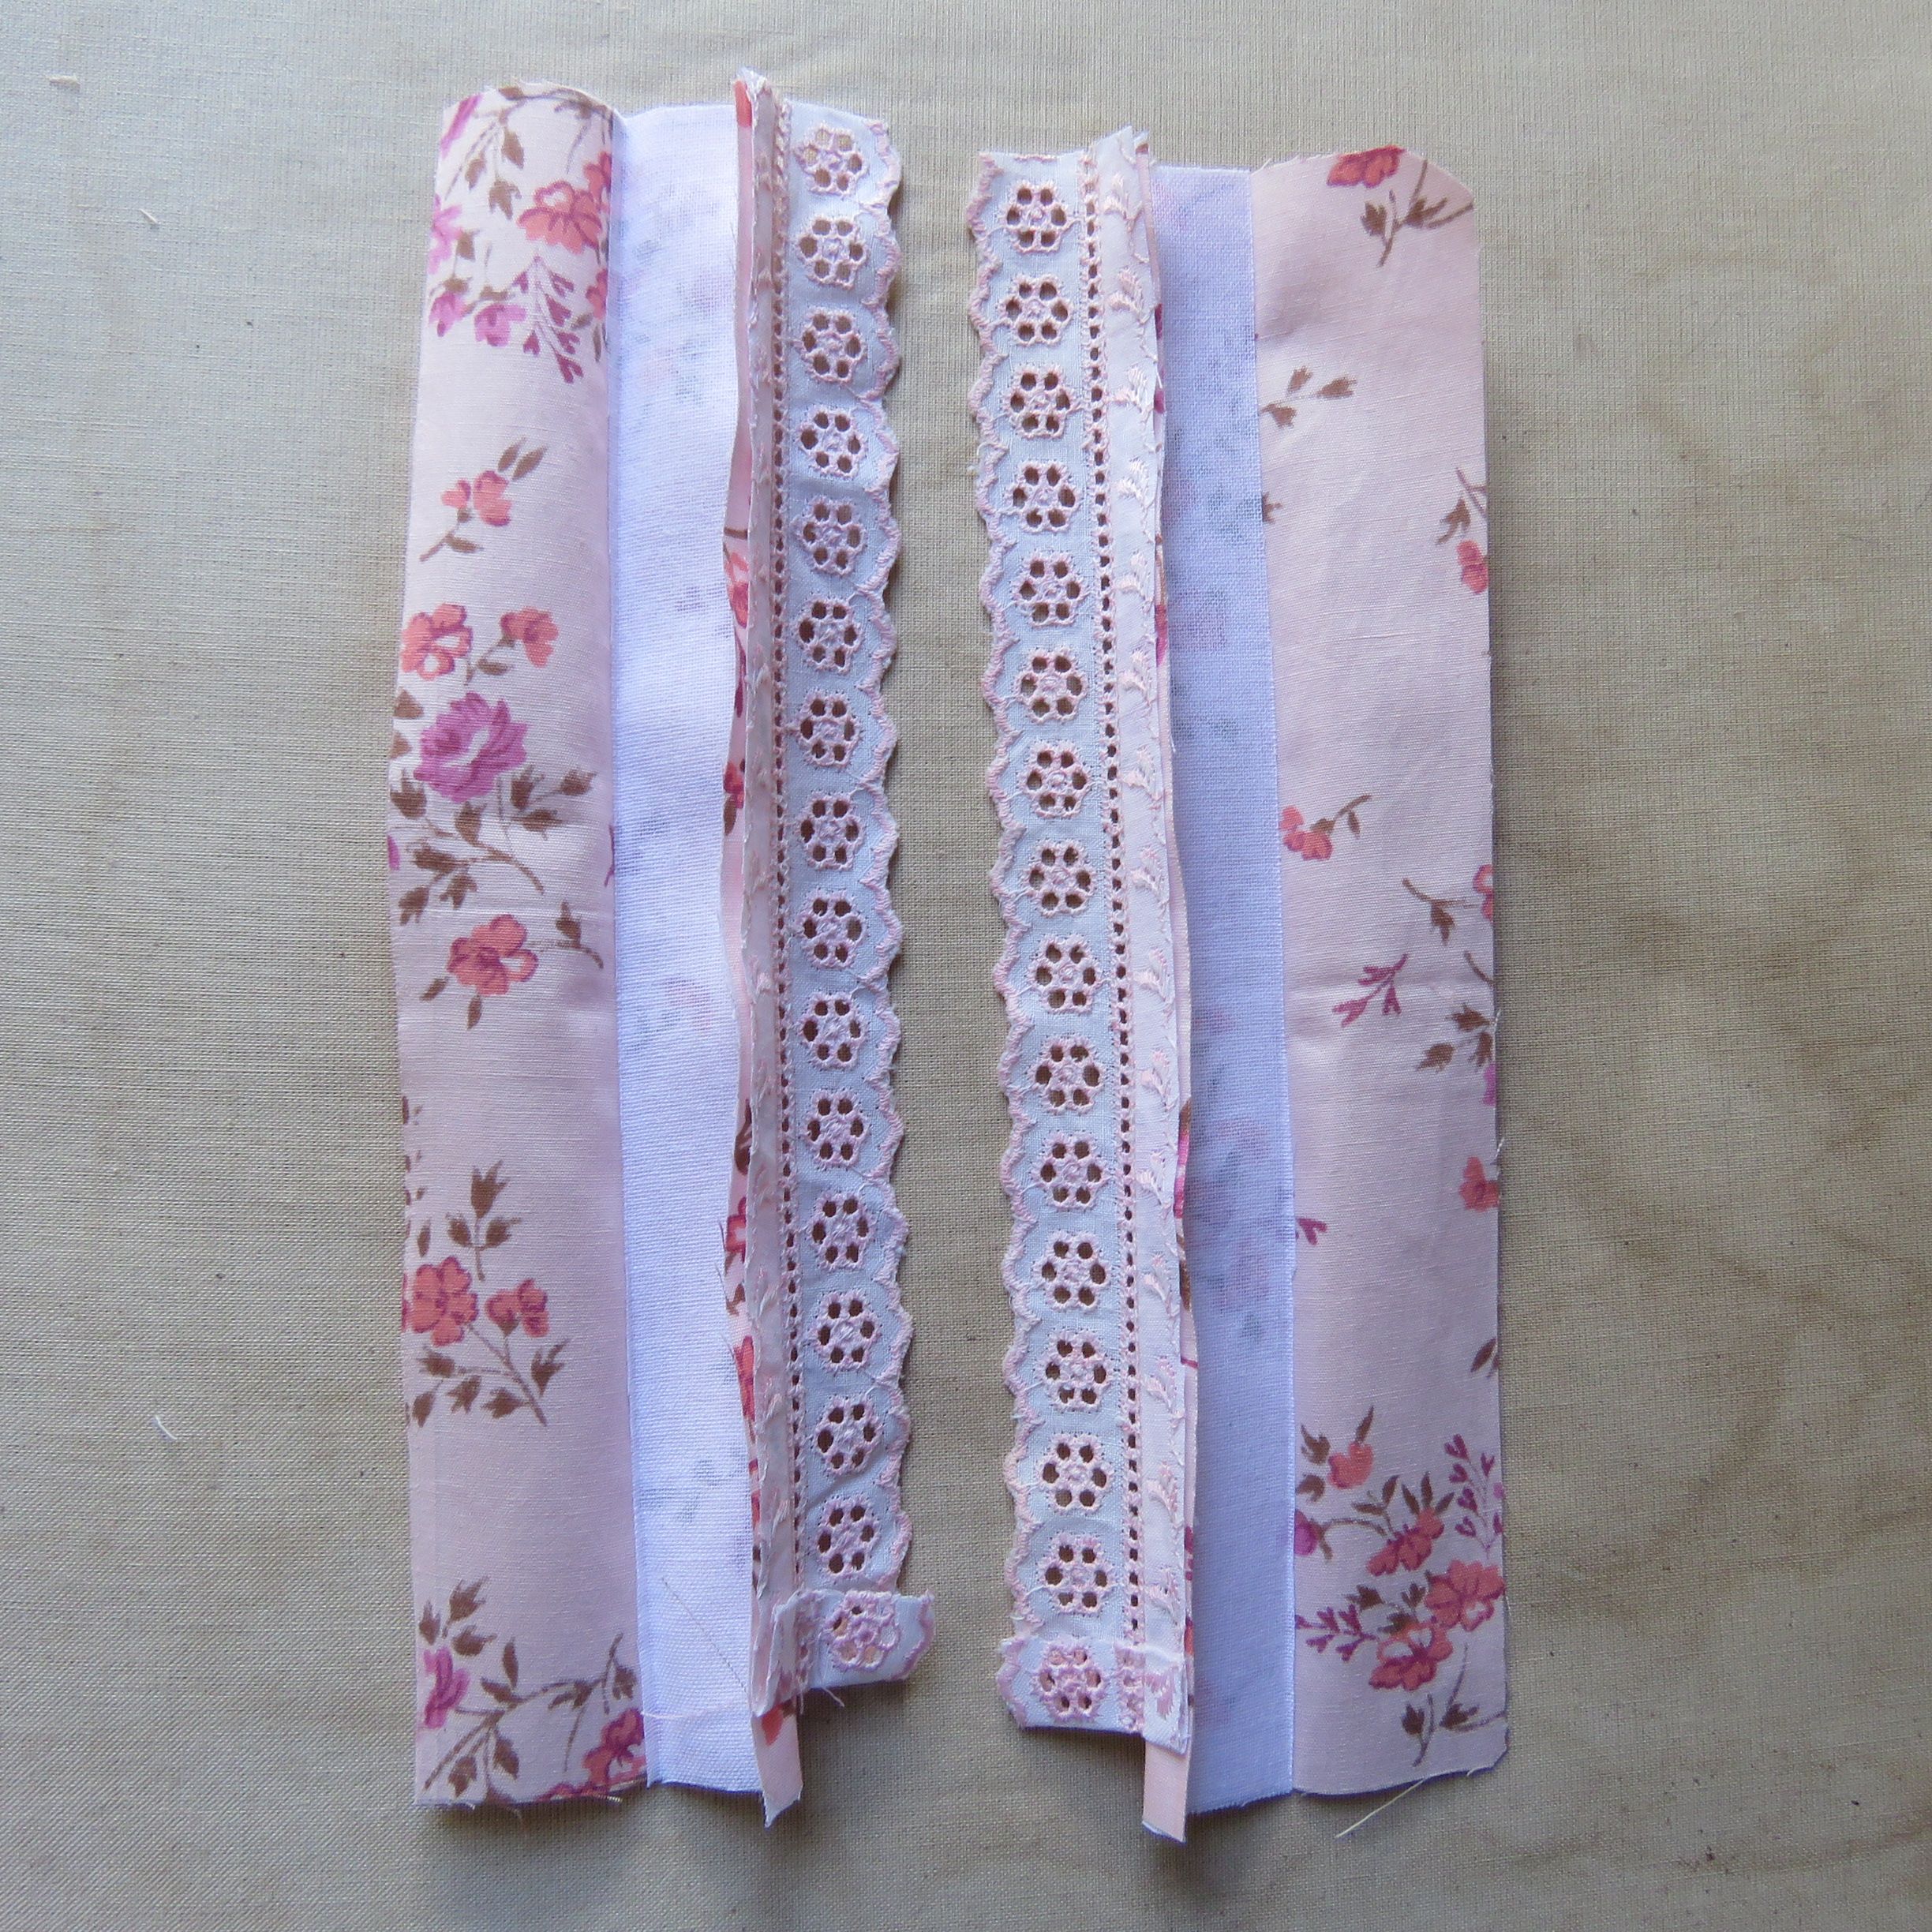
Sew the lace onto the fused side, right sides together, and stop the lace 1cm from the bottom raw edge.
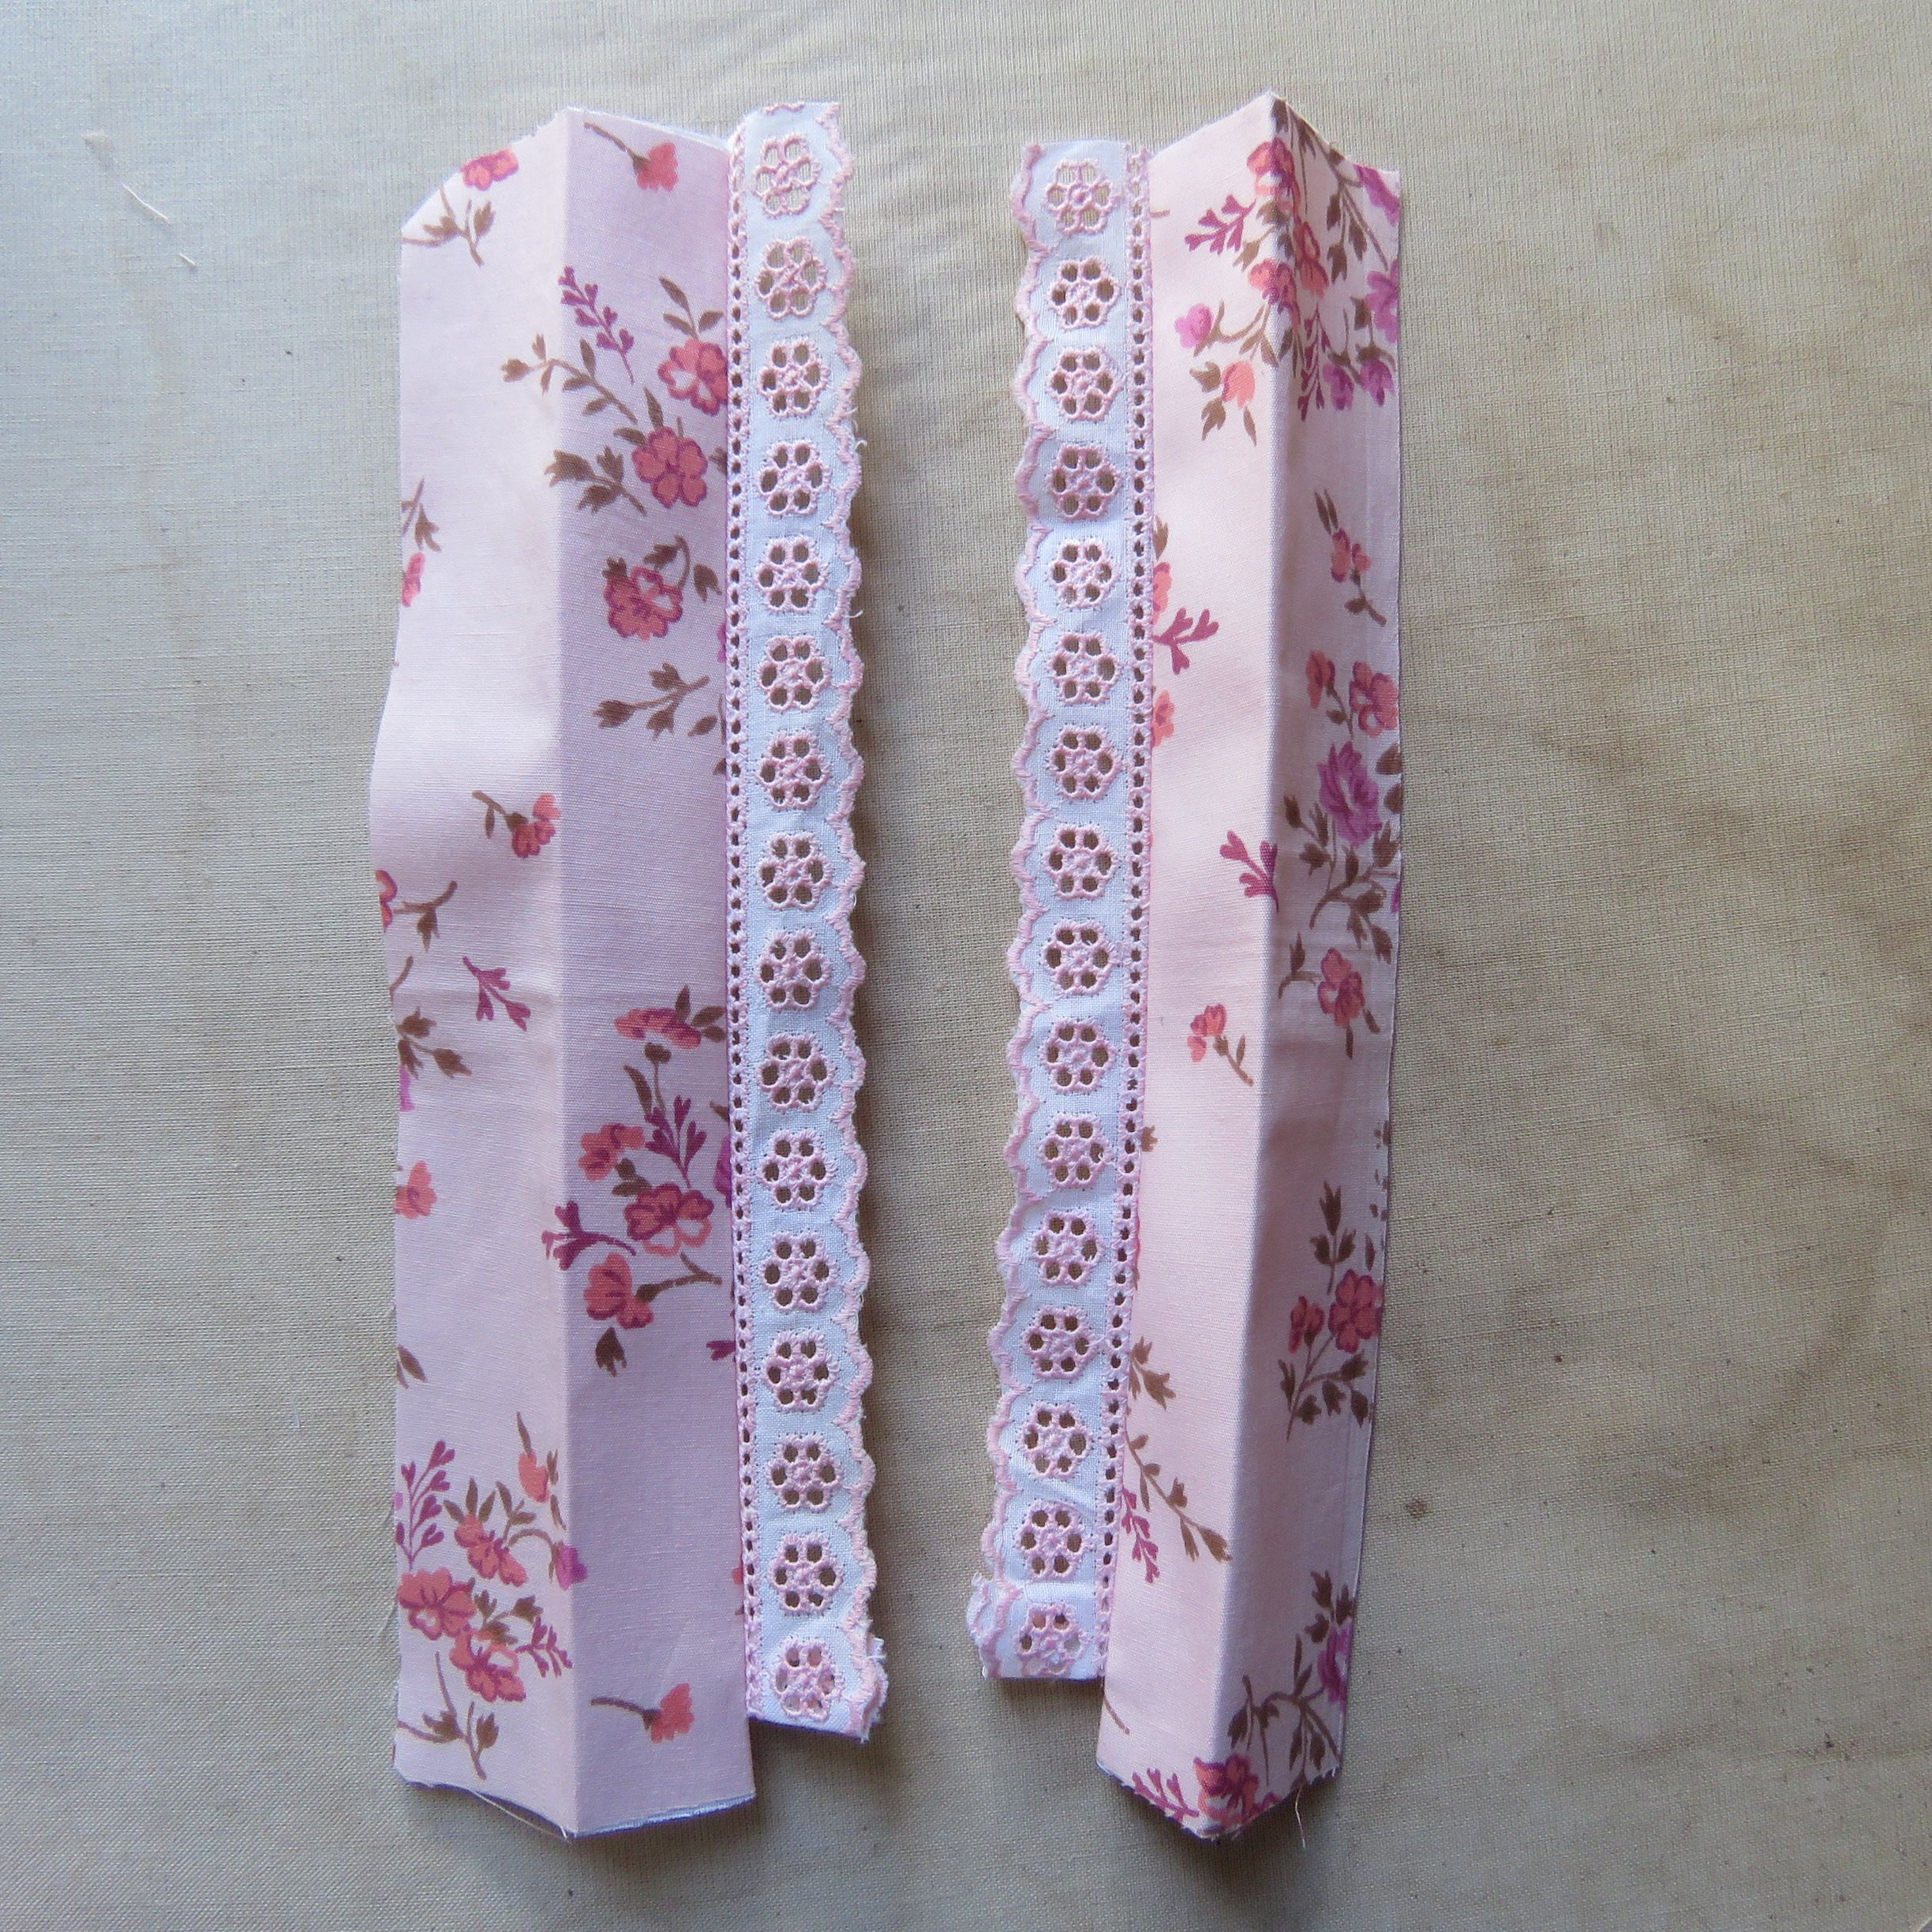
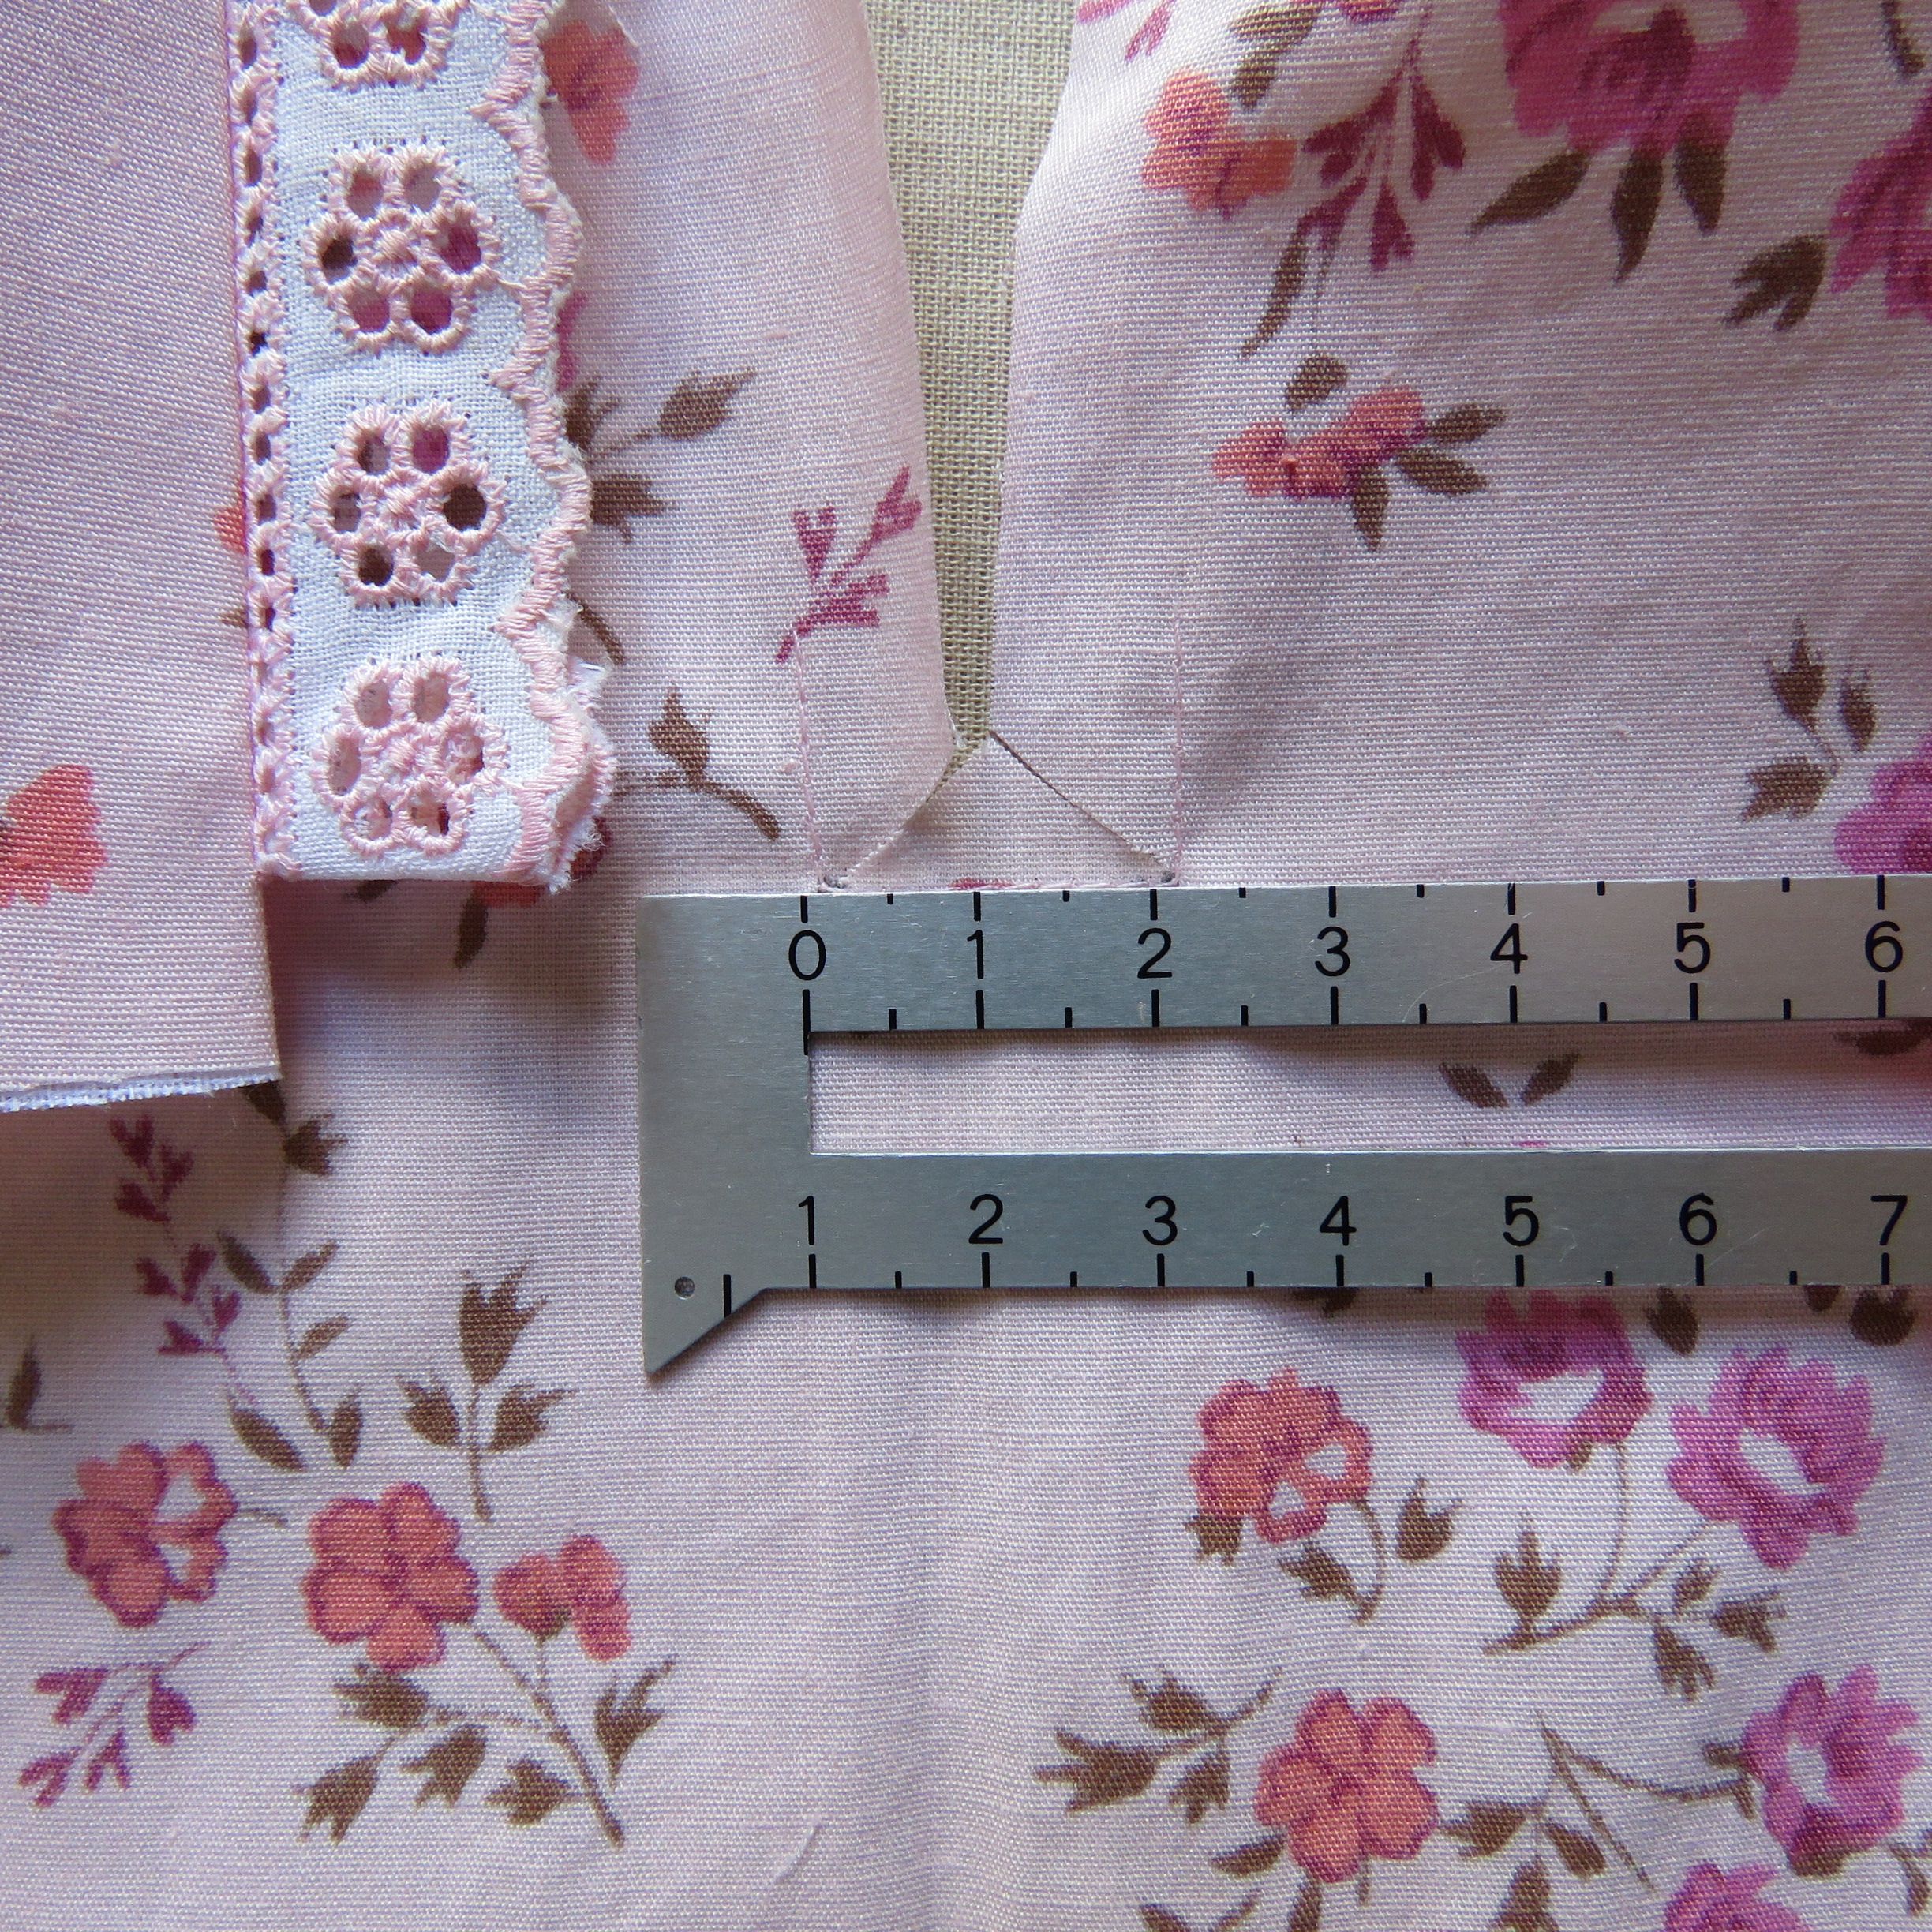
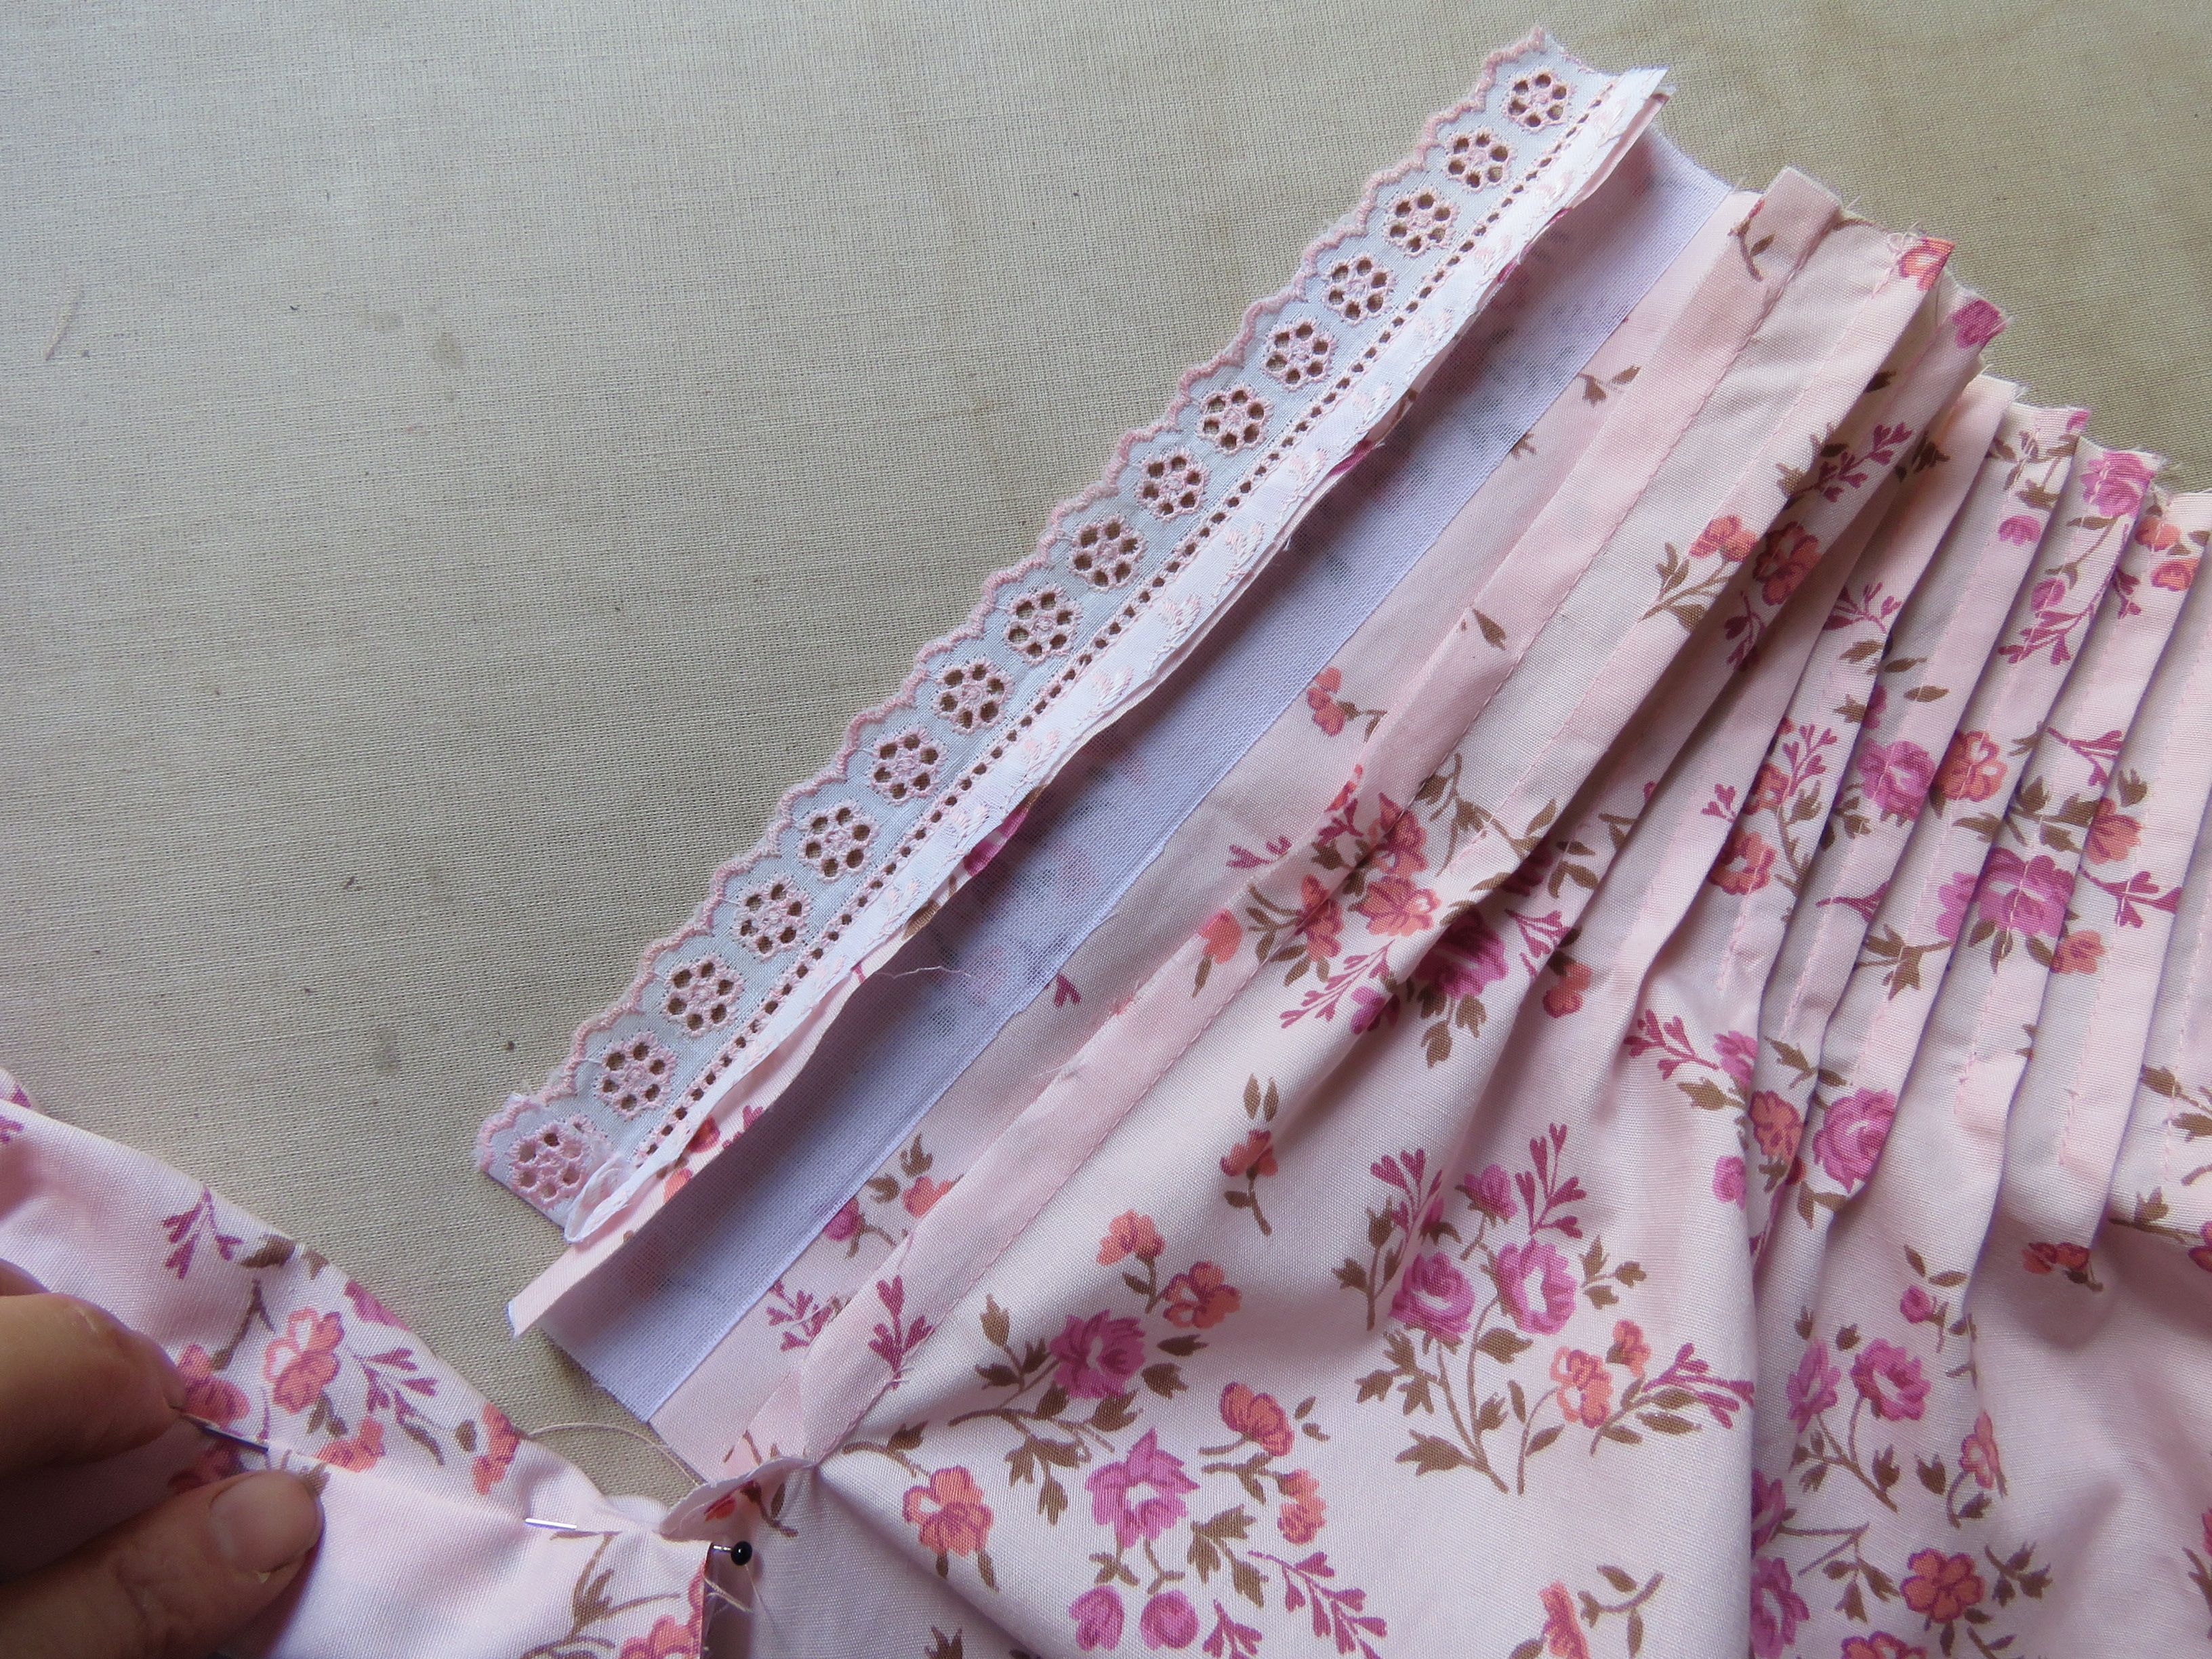
Bring the lace side over to the front and stitch-in-the-ditch between the lace and placket.
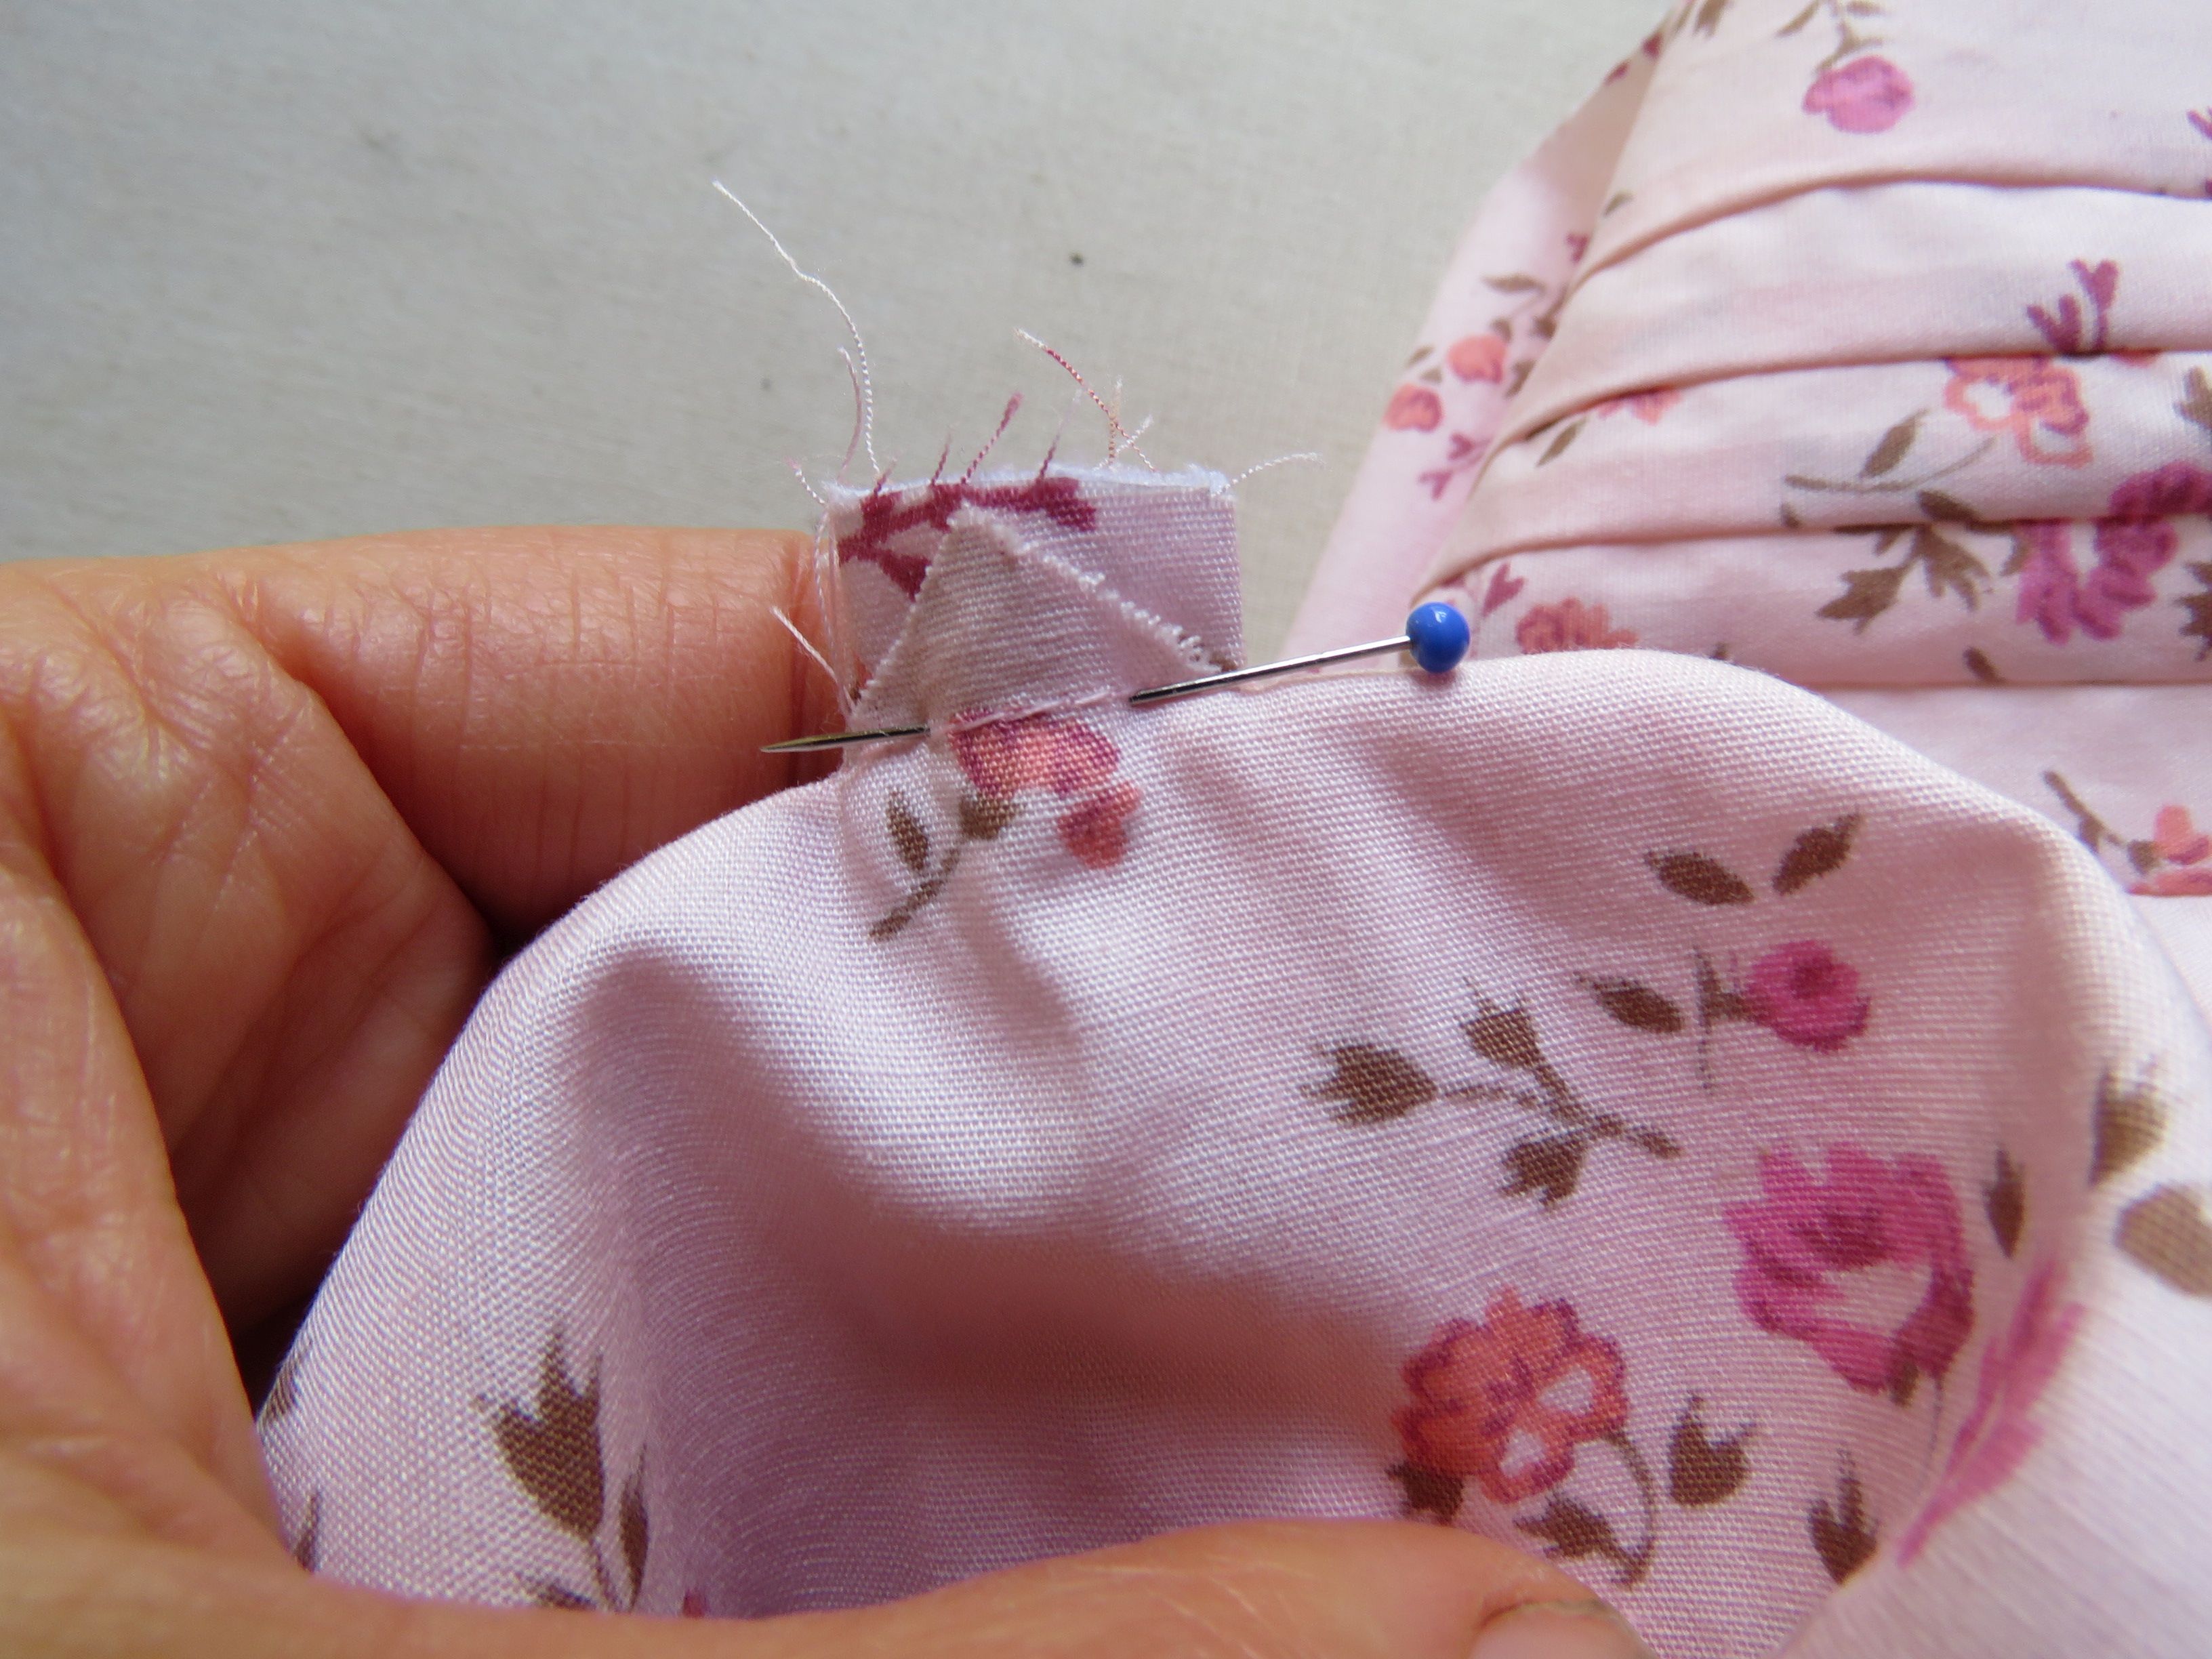
On the right side, stitch a box with an X in it at the bottom of the placket.
Discover more from The Craft of Clothes
Subscribe to get the latest posts sent to your email.
Nice job! Color-wise, I actually like the pink floral better, there it’s too much plain blue for me, but the fabric softness count more than anything else when it comes to night garnment! Will you attempt the gothic one or did you decide you cared too much for your eyes?
I do too, visually, but the pale blue is really lovely and soft and far nicer next to the skin.
The black fabric isn’t as soft so won’t become a nightie, but I have plans for it!
Nice job! I like both versions.
I bought that book decades ago for the Kaffe Fassett pattern — still haven’t made anything from it (sigh).
Thanks Jeanne 🙂 I think this book has such a good balance of reading and projects that it deserves its place in a bookshelf without ever making anything from it.
And there we have the origin of the phrase “ to be tuckered out” !
Your ability to judge a ‘tuck width’ by eye must be exceptional by now.
I really like the blue – the same but different, when there is the pink print version also.
There are elements of American Gothic here too I think – substitute teddy/candle/ nightcap for a pitchfork. And there’s always the possibility of a chicken accessory …
Yes, I’m done with tucks for now! They weren’t that hard to judge the width, as my machine has a 1/4″ foot.
Looking back, the nightie photo in the book is kinda gothic – black background, red roses.
This is adorable! I loved how it turned out:)
Thanks Michelle 🙂 I like it too, and most important of all Teen does.
The nightie is beautiful, Liz! I’m glad your teen likes it. 🙂
Thanks Mary, it’s already in regular rotation 🙂
Those 35 tucks on the pale blue cotton lawn sound lovely, and I can see why the soft fabric won Teen over. Photographing it in the front paddock with the neighbours tooting past made me smile!
Thank you 🙂 Think our neighbours are used to it now.