Like or Loathe it: stitching in the ditch
Stitching in the ditch is a line of stitching used to hold down a seam onto the fabric behind it. The stitching is done on the right side of the garment and doesn’t show because it’s hidden in the “ditch” of the seam line. The stitching sinks into the seam and is indiscernible.
You might stitch in the ditch to sew binding down, secure a waistband or a facing, or quilt some patchwork. Stitching in the ditch doesn’t feature highly in commercial sewing pattern instructions because hand sewing is favoured for an invisible finish. However, stitching in the ditch gives a strong, clean looking, machine-sewn finish.
Stitching in the ditch is something that many people find difficult because it’s hard to keep the needle in the seam line. It’s more difficult to do on fine, smooth, plain-coloured fabrics because the stitches (and any inaccuracies) are more visible. Thick and textured fabrics tend to hide the stitching more; the stitches sink invisibly into these fabrics.

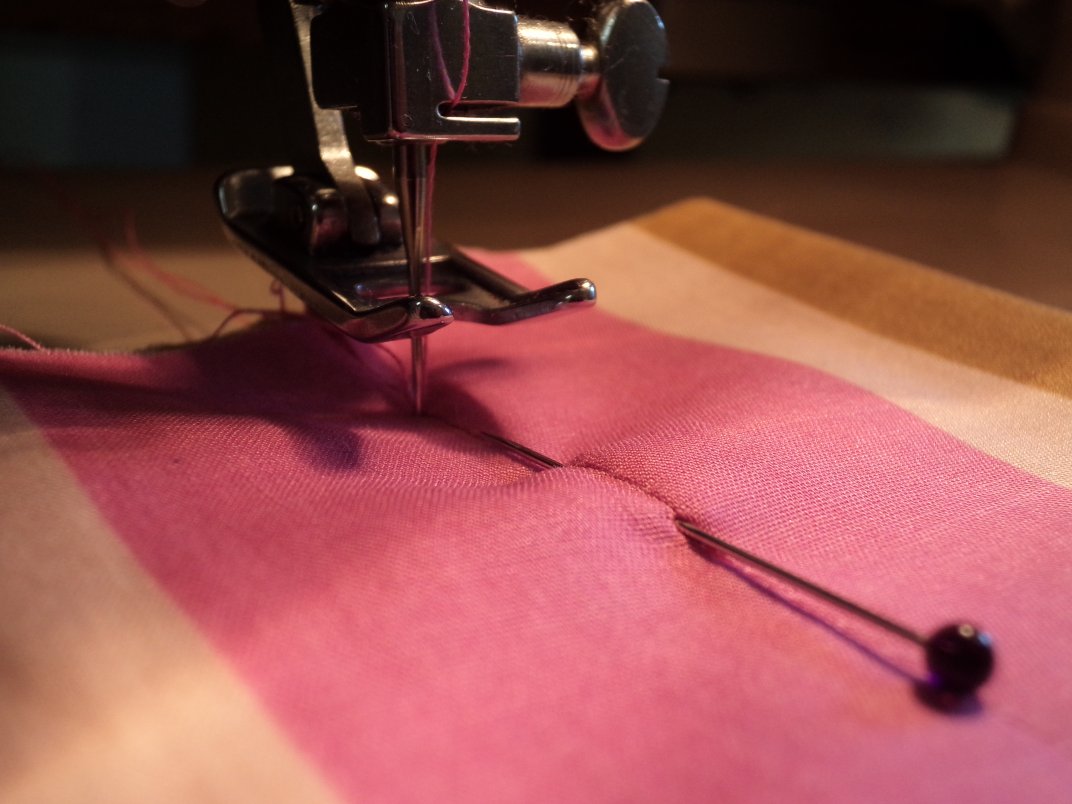
1. Press the seam thoroughly and pin along the ditch so everything lies flat and aligned before you begin. I get it all pressed and pinned at the ironing board, then take it to the machine. Good pre-sewing preparation makes the actual sewing very straightforward.

2. Use perfectly matching thread so the stitches will blend in. If you have to choose between a lighter and a darker shade, choose the darker shade of thread as it will hide in the shadow of the ditch.
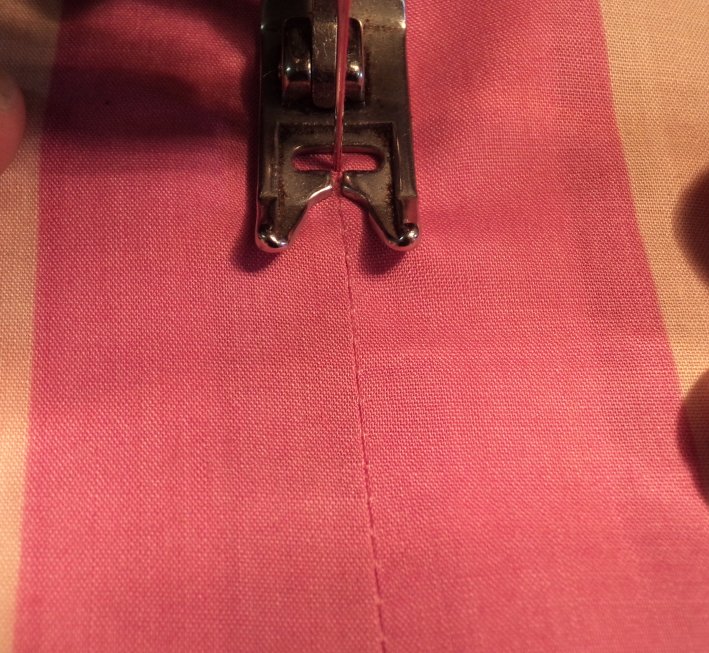
3. Start with the needle down in the ditch, lower the presser foot, then start sewing. That way, you’re already in the ditch when you start. Stitch slowly to give greater accuracy. If your machine has variable speeds, use a slow one. It’s possible to buy a stitch in the ditch foot for some machines but you don’t need it; a regular foot works fine.
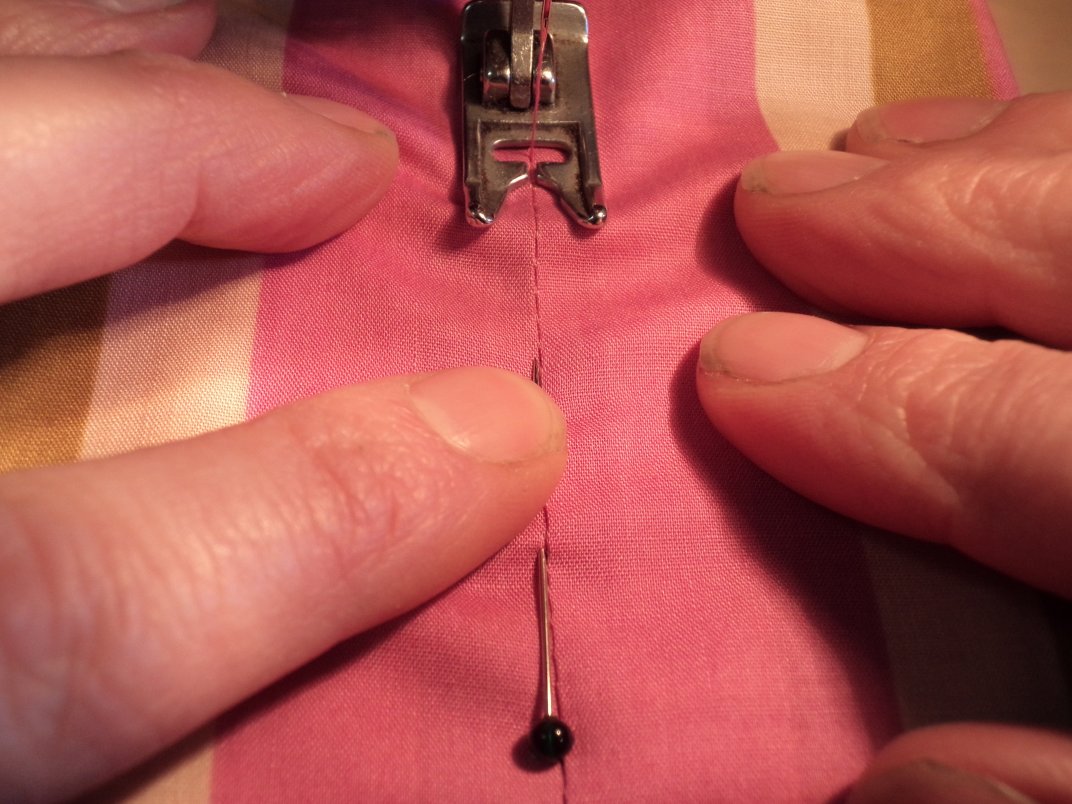
4. As you sew, place one hand each side of the presser foot to gently pull the ditch flat as you sew in it. To prevent the fabric from rippling, use both of your hands to push the top layers backwards as the presser foot pushes it forwards.
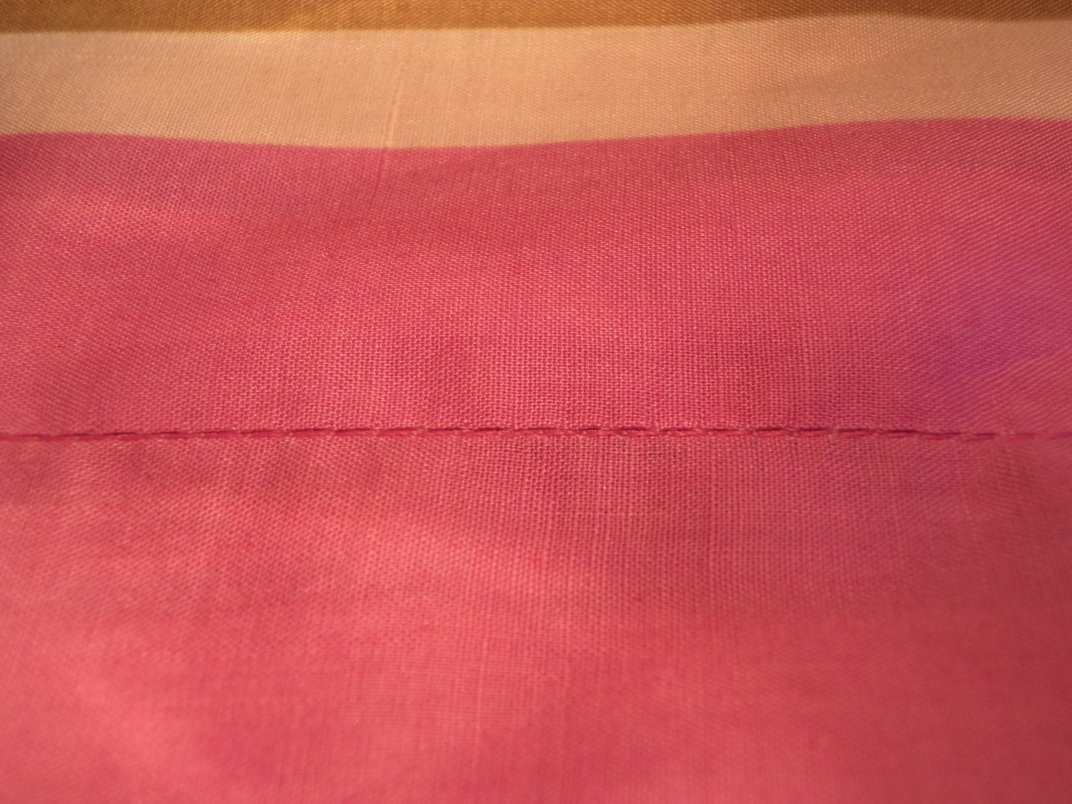
5. It gets easier with good old-fashioned practise and familiarity with your sewing machine. Remember that stitching in the ditch can look worse than it really is when you’re looking at it up close under a bright machine light—when the garment is being worn you’ll hardly see it.
Cheers!
Discover more from The Craft of Clothes
Subscribe to get the latest posts sent to your email.
Thanks for your great explanations and pictures Liz – it’s almost as good as having you in the room! Would you consider doing a post on replacing an invisible zipper? I recently did this on the last pair of Kate’s Perfect Trousers which the zip busted on, but I had to watch several poor quality you tube videos to get the idea. I know if you’d published something on it, it would have been very helpful xxx
Thanks Kate, I’m glad you liked it. Someone else asked me about invisible zips lately too; I’ll work on it. Cheers!