Let the Bra Making Commence

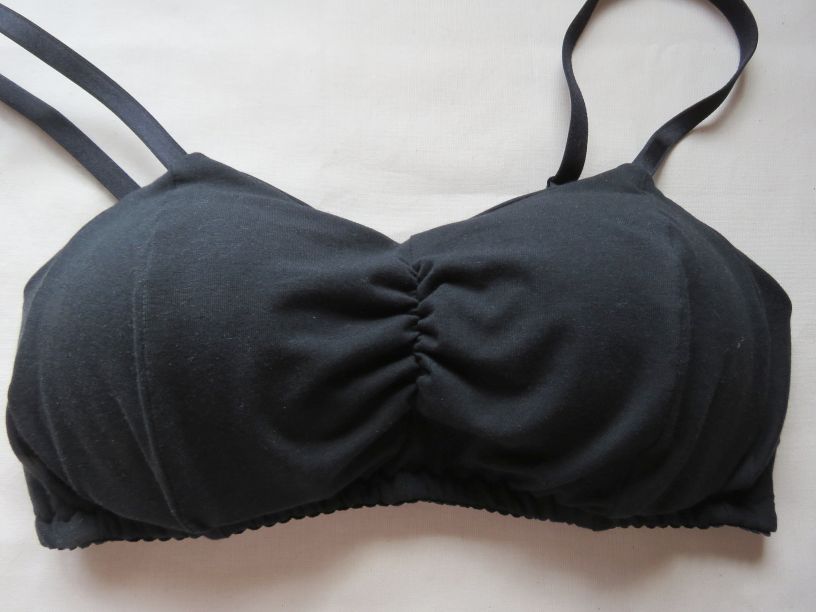
This week, the story continues with the zero waste bra pattern I dug out of the zw archives for another whirl. My teen asked me to have another try making her a zero waste bra, so I’ve revisited the pattern.
I’ve been on hold with this project until now because the bra haberdashery I ordered only arrived yesterday (Monday) – I was hoping it would be here before the weekend.
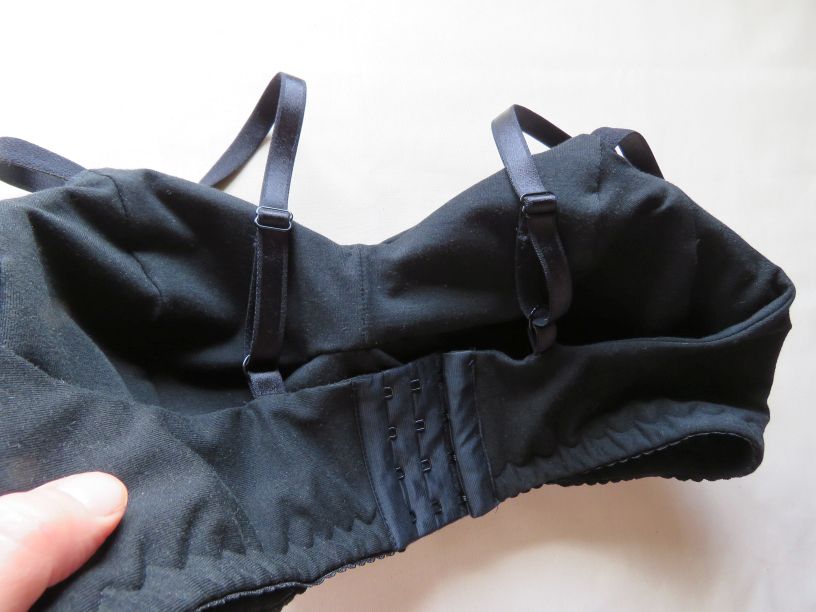
I ordered a full suite: cups, rings & sliders, shoulder strap elastic, banks of hooks & eyes, and plush elastic for the lower edge. (That is, everything except the fabric which I already had.)

With bra haberdashery, so much depends on getting all of these in the same colour – if there’s no hook & eyes in red, for example, then that colour is off the menu. So I bought boring old (yet useful!) black and white, since I have black and white fabrics.
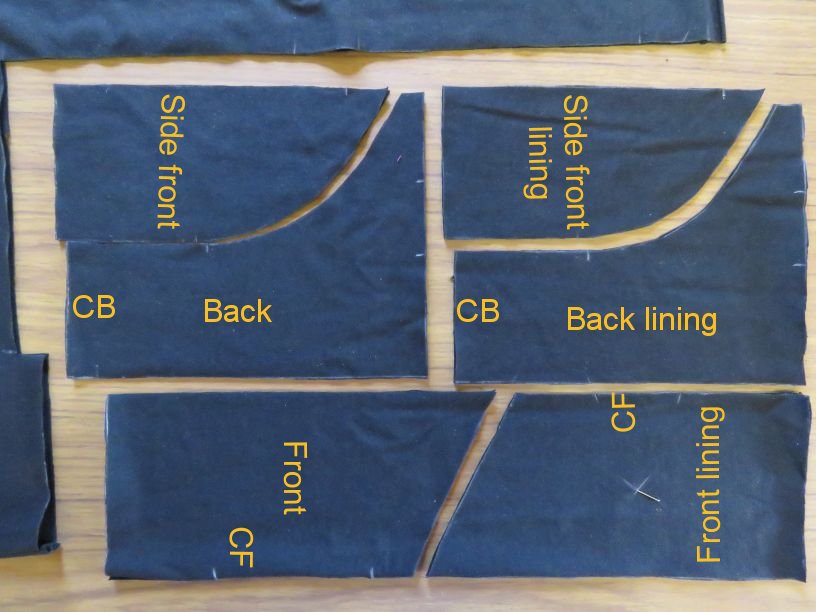
When everything arrived, I inserted the new cups into the yellow (pronounced: YELLOW!!!) bra I made last week and did another fitting. I made some small but significant changes to the shape and fit (significant in that after doing the changes I had to fit the pieces back into the zero waste layout). Much happier with it now; it’s a nicer shape.
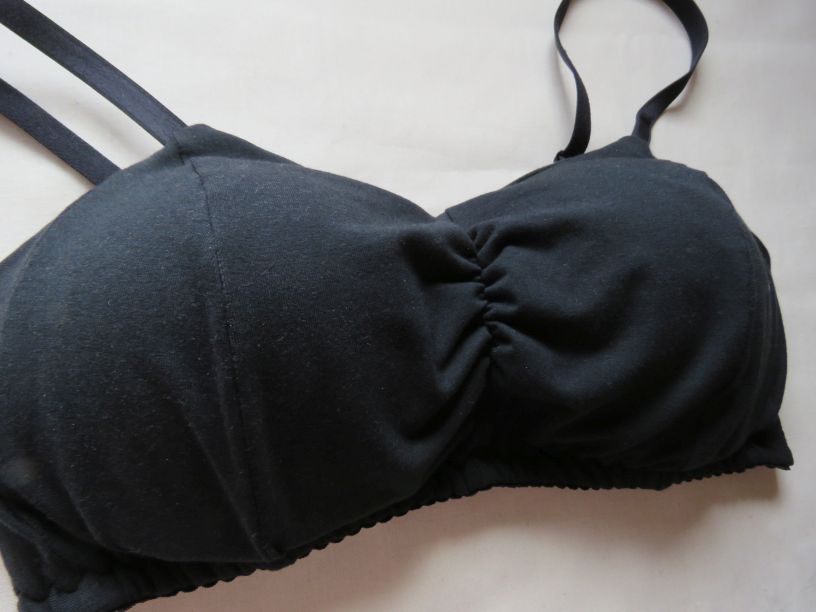
There was still time yesterday to make a bra, so I quickly made the changes to the pattern and cut one out. It’s a fairly unorthodox shape.


I managed to finish it before dinnertime.
The bra is being test-worn as I’m typing this, because of course the real test of fit comes with actually wearing it. No complaints so far.
So next week I’ll be reporting back. I’m still chewing over the pattern grading (ie making multiple sizes).
Til then,
Cheers!
I’m waiting with bated breath! I’m the same size as your daughter so was ready to cut out my bra with the changes you’ve previously documented, now I’m wondering about other changes?
The final verdict on the yellow bra was “this makes my bewbs look ginormous!”, so I lowered the height of the bra at the top (I’d thought it would make a more supportive bra, but I was wrong) and also added length at the bottom edge to accommodate the wide plush elastic I bought. This of course set off a chain reaction of things to tweak to keep it zero waste. I’m working on the pattern now!
I am also on pins & needles, waiting to see how they come out.
I’m much bigger than your daughter, which is a great reason to be able to sew
Eeep! The pressure!
The wheels are spinning. First off, I love Booby Traps and have ordered from them a couple of times. Second, I’m interested to know if the the cups shift during wear or did you somehow tack them in place? I’m also trying to visualize how you could use cut and sew foam for the front lining and then eliminate the preformed cups. I might try to give this a whirl myself this weekend.
The cups aren’t (at the moment) tacked in place but I will do.
Stand by for the adjusted pattern.