How to take good photos of yourself wearing clothes you’ve made
Sometimes I read comments on Instagram posts like I’m not good at taking pictures or Sorry about the photo, this is the best I can do.
I know this feeling; it’s how I felt when I first started taking blog photos of myself wearing things I’d made. It was really hard to get a good photo and I felt self-conscious prancing around in front of a camera.
No-one is born knowing how to take good photos, but I can attest you do get better with practice! Participating in Me-Made-May, where I took a photo of myself every day for a month wearing me-mades, saw a big leap in my photography skills.
Here are some ideas that have really helped me:
Pick the best time of day
The best light for outdoor photos is the first and last 1.5 hours of the day.
The very best light of all is late afternoon, which is inconveniently when children arrive home from school and one is doing dinner prep!
If you take photos too close to sunrise, the light looks blue-ish, and too close to sunset it tends to look orangey – I avoid this because it affects the colour of the fabric, but occasionally it hits the right note.
I find the strong Aussie midday sun is too harsh for good clothes photos. Apart from making the model squint it can drain the colour from fabrics. However, things improve slightly if it’s cloudy.
Left: see I’m squinting, the tripod’s shadow is visible and the sunlight is harsh.
Right: the sun went behind the clouds momentarily, which made all the difference, but later in the afternoon would have been a better time. And I could have picked a better background.
Composure!
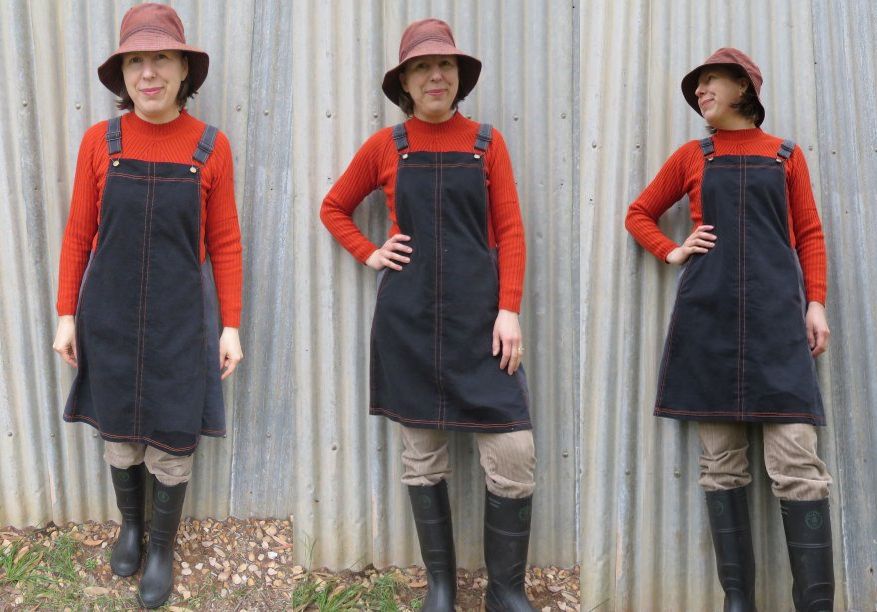
There are four ways I like to compose a photo:

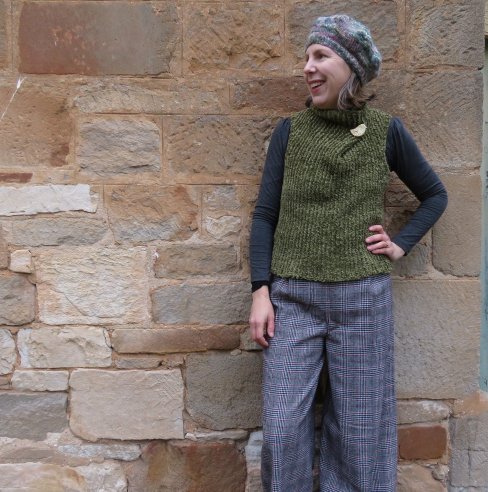
See how I’m not standing in the dead centre of the shot? Slightly to one side often looks better.
Do a background check
Pay attention to the background; it really is as important as the subject. If it’s too busy it tends to compete with the clothes.
I use a lot of corrugated iron sheds for backgrounds but you might have a suitably neutral wall at your place.
I make sure country shots don’t show ag pipe, fuel sheds or other unsightly necessities of farms!
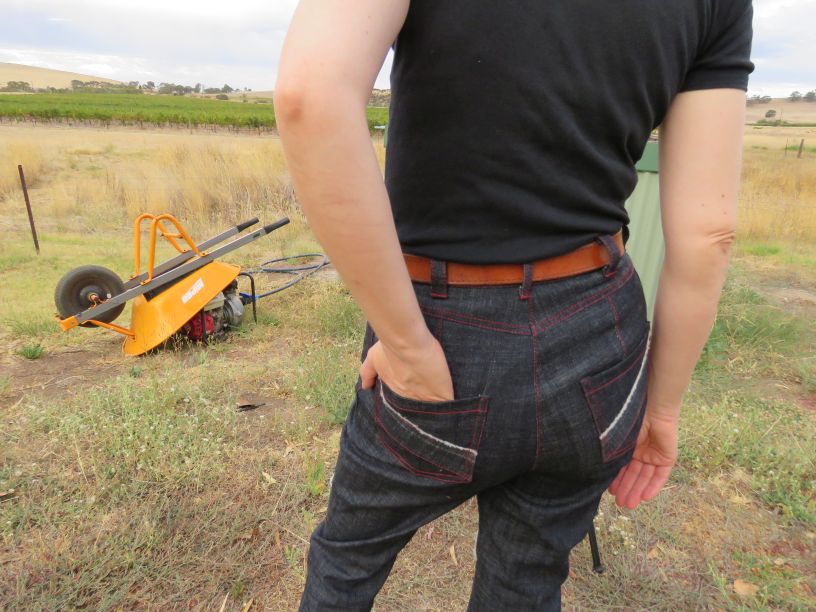
This photo is meant to be of the back pocket detail on the jeans.
My daughter (age 8) took this and I didn’t realise the wheelbarrow and firefighting pump were in shot.
The camera is a bit too high as well.
See how dull the landscape looks without a blue sky?
Here are some favourite backgrounds:


Murals or solid coloured bright walls make great backgrounds. Here are a few from around here:
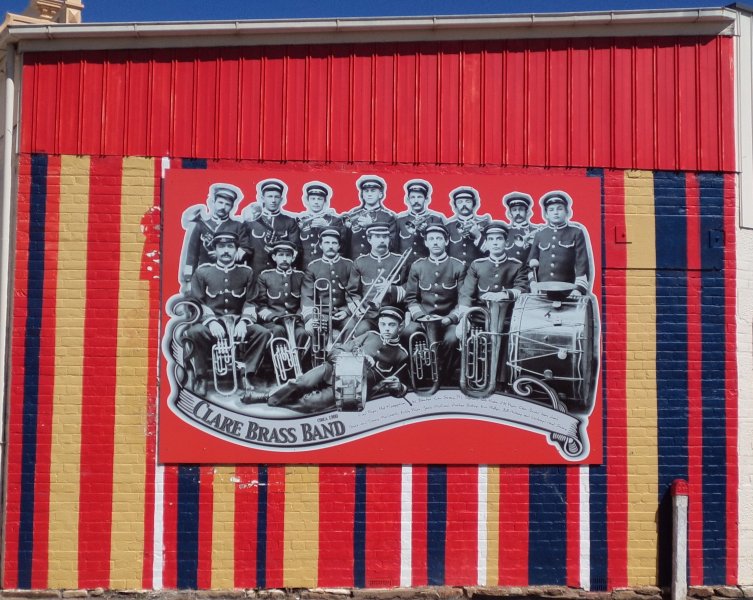
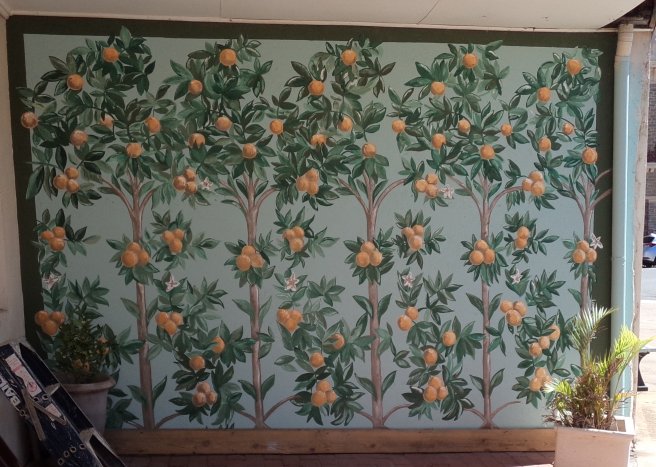
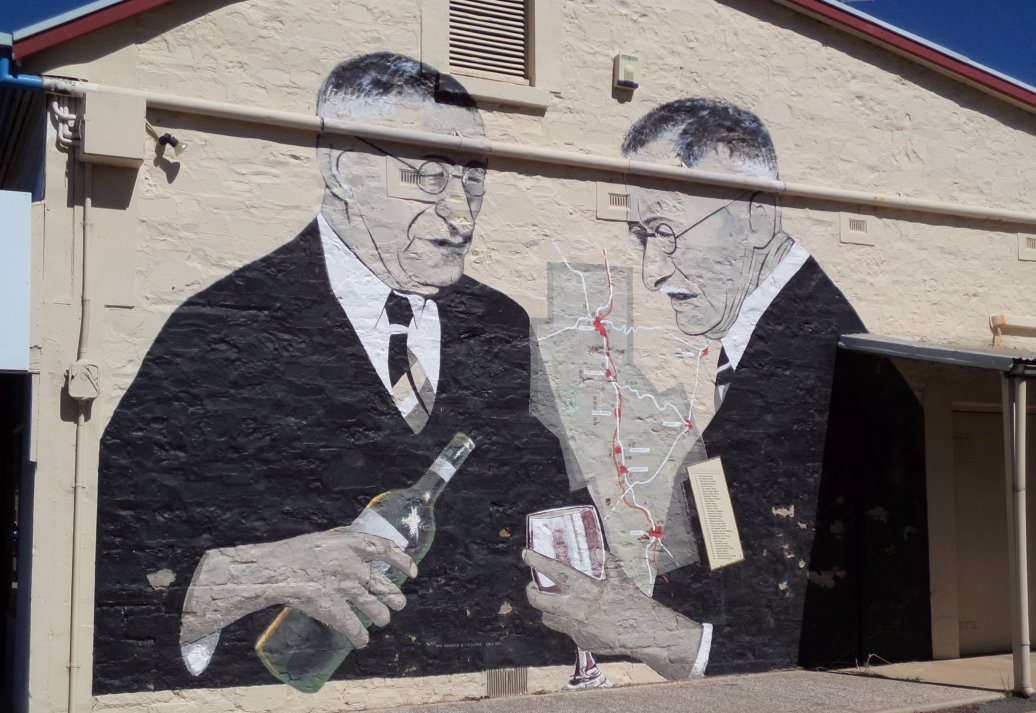
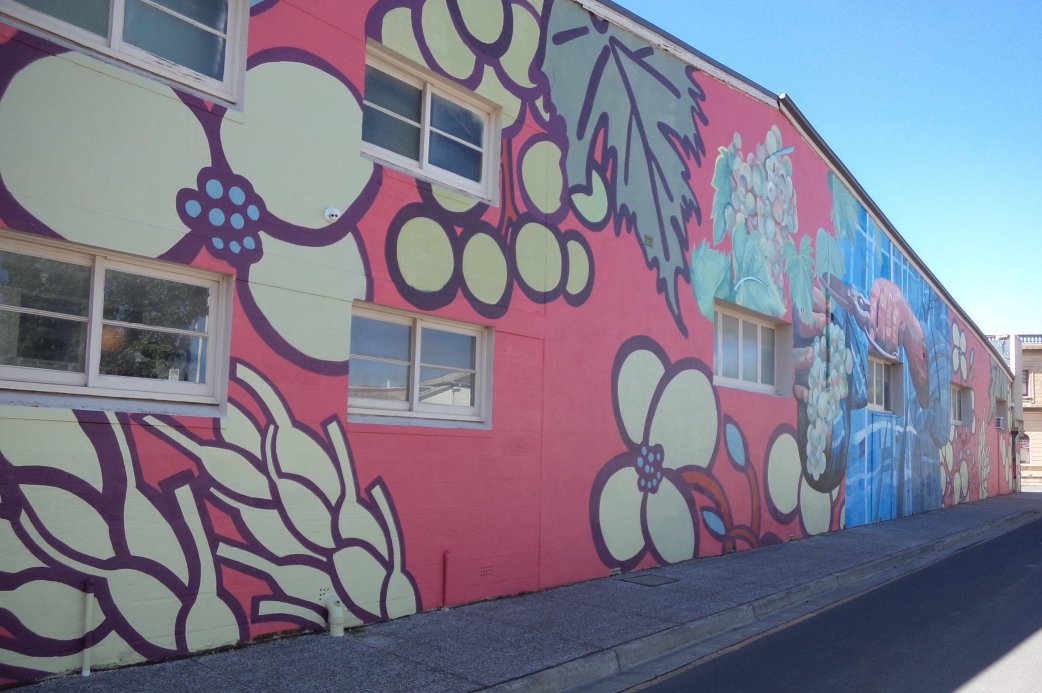
Regrettably I haven’t used these murals because I have to drive there, and being in the car wrinkles the clothes and there’s nowhere to get changed. I’m also aware some of the footpaths are a bit narrow for a camera and tripod; I would have to set up in the road.
Btw, if you use a fabric backdrop, iron it!
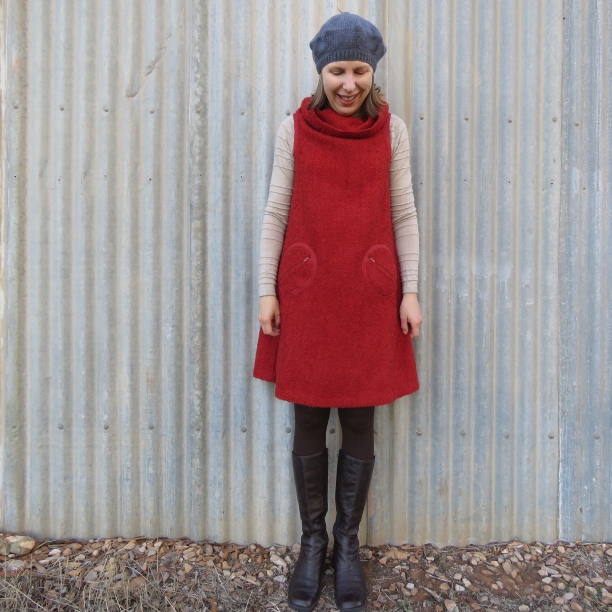
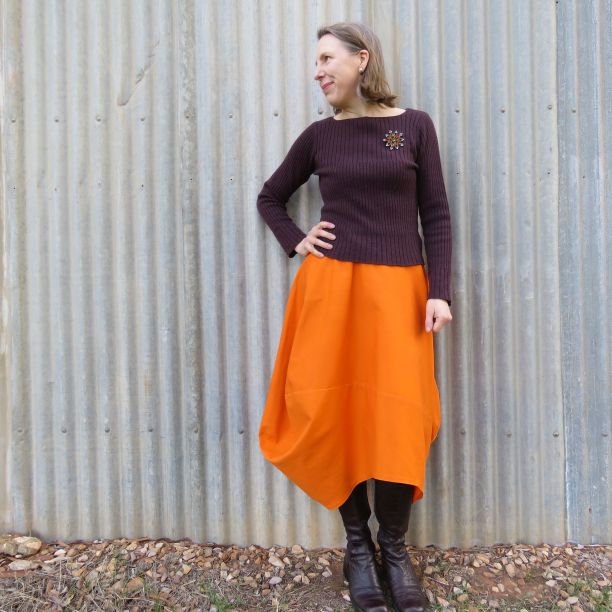
Aim for the belly button
On a full-length portrait, I set the camera up so it’s level with the person’s belly button. In other words, we want to aim for the centre of the person.
If the camera is level with the subject’s head, their legs will look short. This is very easily done if you’re taking a snap with a phone – try bobbing down a bit so the camera is more central.
If the camera is too low, the person looks like a giant.
Centre: the camera is level with the centre of me.
Right: Behold! Giant woman! The camera is at knee level.
Having said that, sometimes an extra high or low camera angle works and makes for a more dramatic photo, but generally I aim for the belly button.
Styling and posture
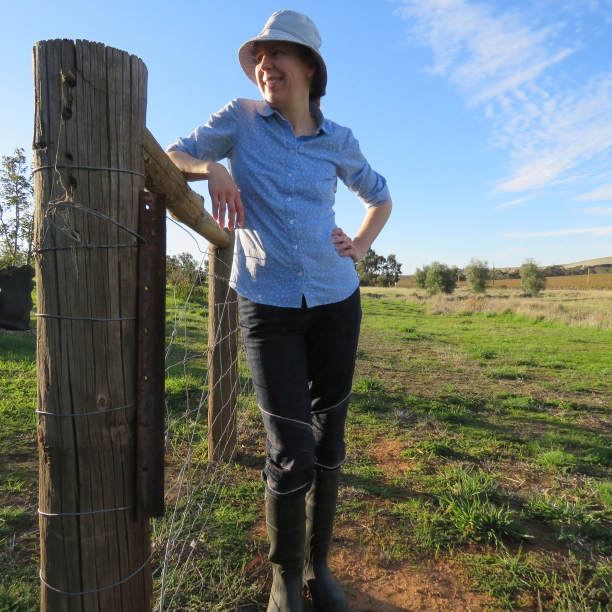
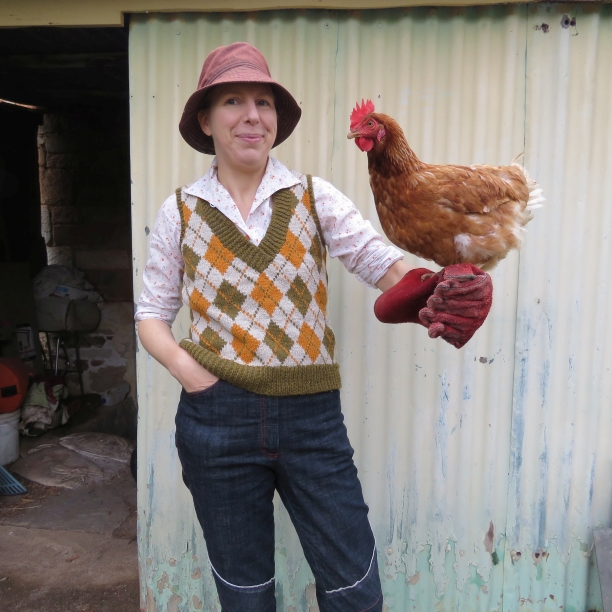
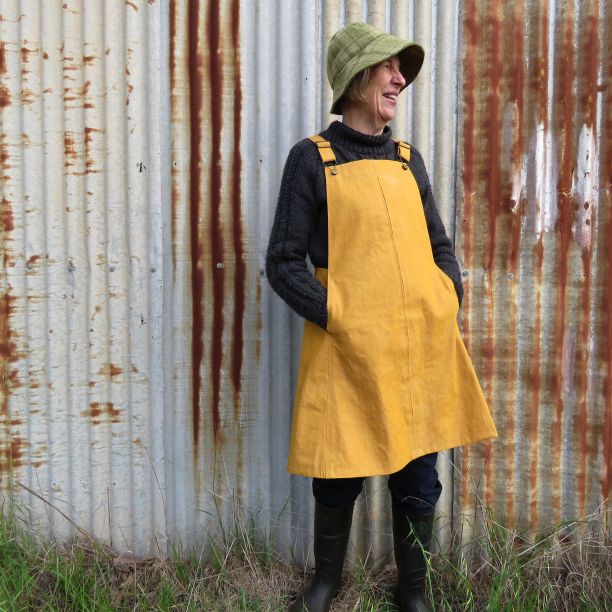
In a country setting, I find most outdoors outfits look good with a hat and rubber boots! A hat is very handy if you’re having a bad hair day 🙂
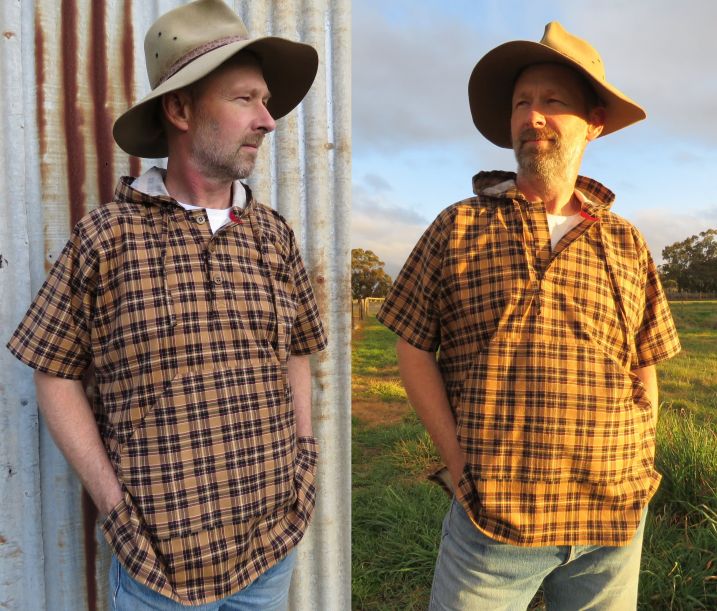
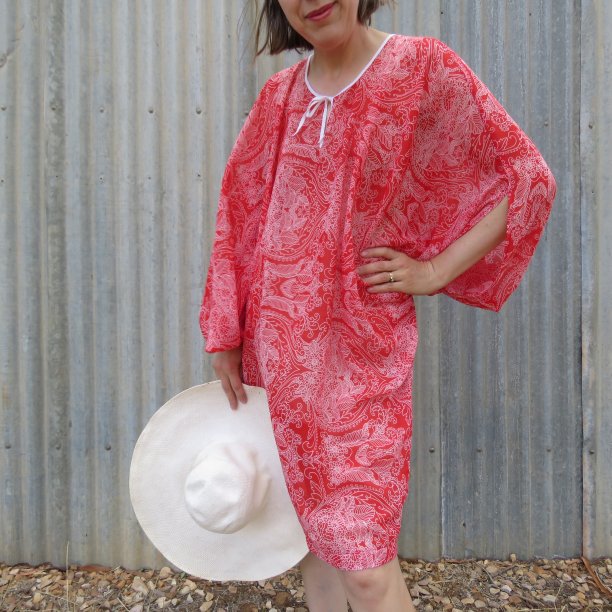
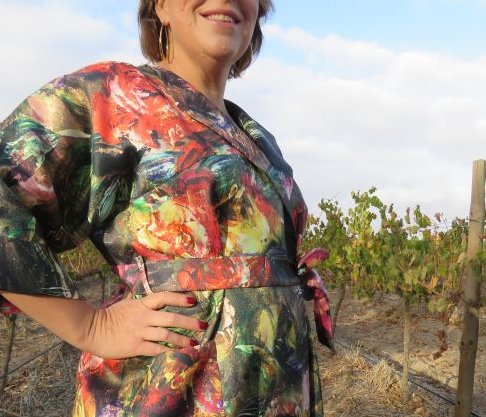
Accessorize. You might need to add more accessories than you normally would wear. Things like the right wristwatch, bracelet, necklace, clutch purse, dangly/not dangly earrings, tennis racquet, umbrella etc help set the mood of the outfit.
Left: a snap from the first photo shoot.
Right: we added necklace, corsage, shinier bracelet, and she did have an envelope clutch as well. This photo appeared in the book.
Spectacle wearers: avoid the kind that go dark when it’s sunny, and be careful not to get glare on the glass that covers the eyes.
Pay attention to what’s underneath. For example: smooth lines underwear, well-fitting bra of the right colour, half or full slip, natural coloured underwear, panty hose or fake tan, painted nails.
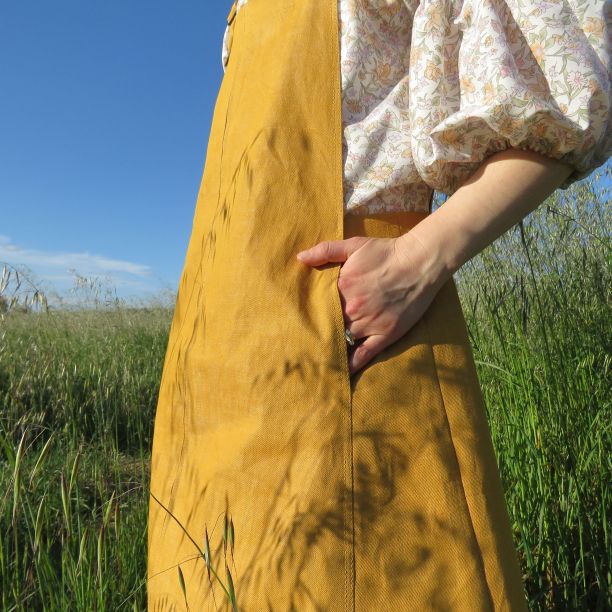
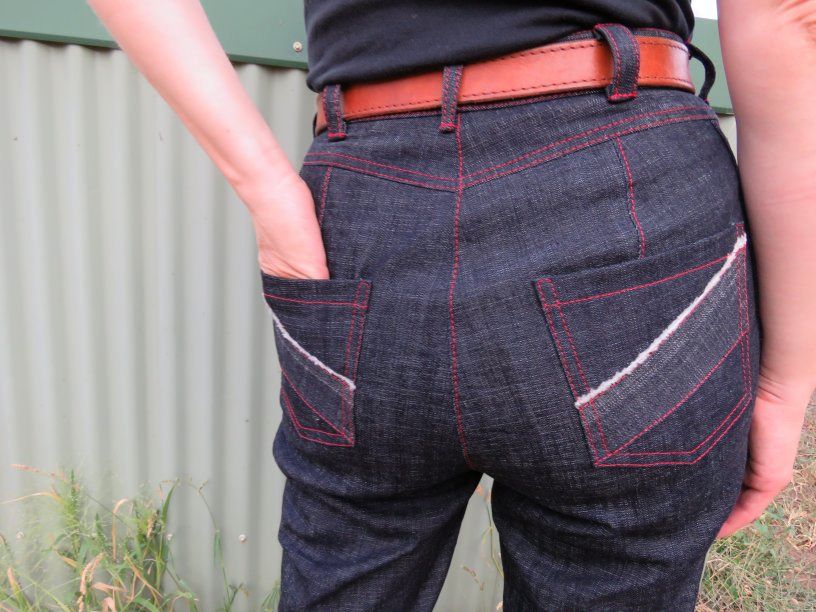
Photograph the details. While you’re there, remember to take up-close photos of the details such as button stands, necklines, pockets, etc
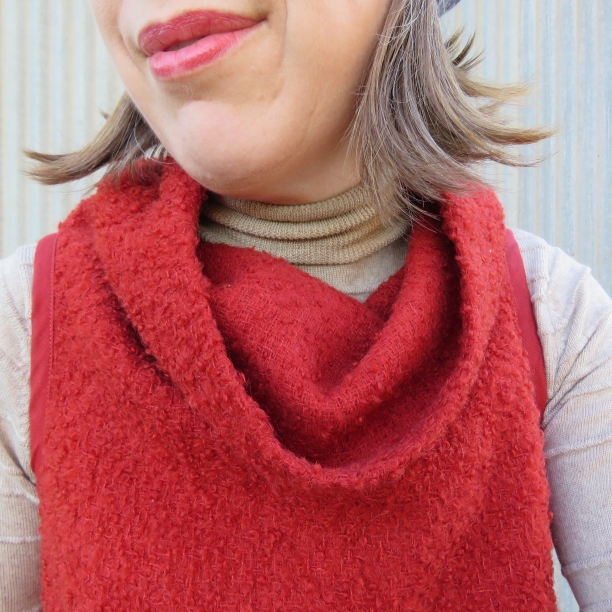
For this self-taken picture I just stood very close to the camera.
Clothes look so much better with a good posture: shoulders back, suck that tummy in, head jutting slightly forward eliminate the double chin. But you gotta remember to relax at the same time! Which brings us to…..
Relax! Relax! Relax!
If you (or your model) finds being in front of the camera hard, it will show in the photos.
My husband, who always looks relaxed in photos, says: the secret is not to care.
If you’re taking photos of someone else, here are some ways to help them relax in front of the camera:
- swap places with them to show them how you want them to stand.
- throw in some funny comments eg Okay, now show me Blue Steel!
- the relaxed moment is often just a millisecond after pulling a face or doing something silly.
- pose them leaning into a wall and looking away, so they relax into the wall.
- at intervals, invite them to look at the photos you’ve taken already and discuss.
- ask them to look down, then look up and give you a fresh and different face each time.
- ask them to laugh out loud.
- get them to breathe in deeply, then breathe out and smile.
- having pets, dogs or chickens around can be a relaxed mood-maker.
- older models sometimes relax more in the company of their young grandchildren or when similar aged children are watching and chatting to them. Sometimes not.
- Here’s a red carpet tip: put your weight on one leg, hand on that hip, breathe in, then breathe out and smile.
Some good poses

Pockets on trousers and skirts rarely look good if your whole hand is thrust into them – it creates drag lines and ruins the hang of the garment. Instead, slide your flat hand into the pocket and leave your thumb hanging out.

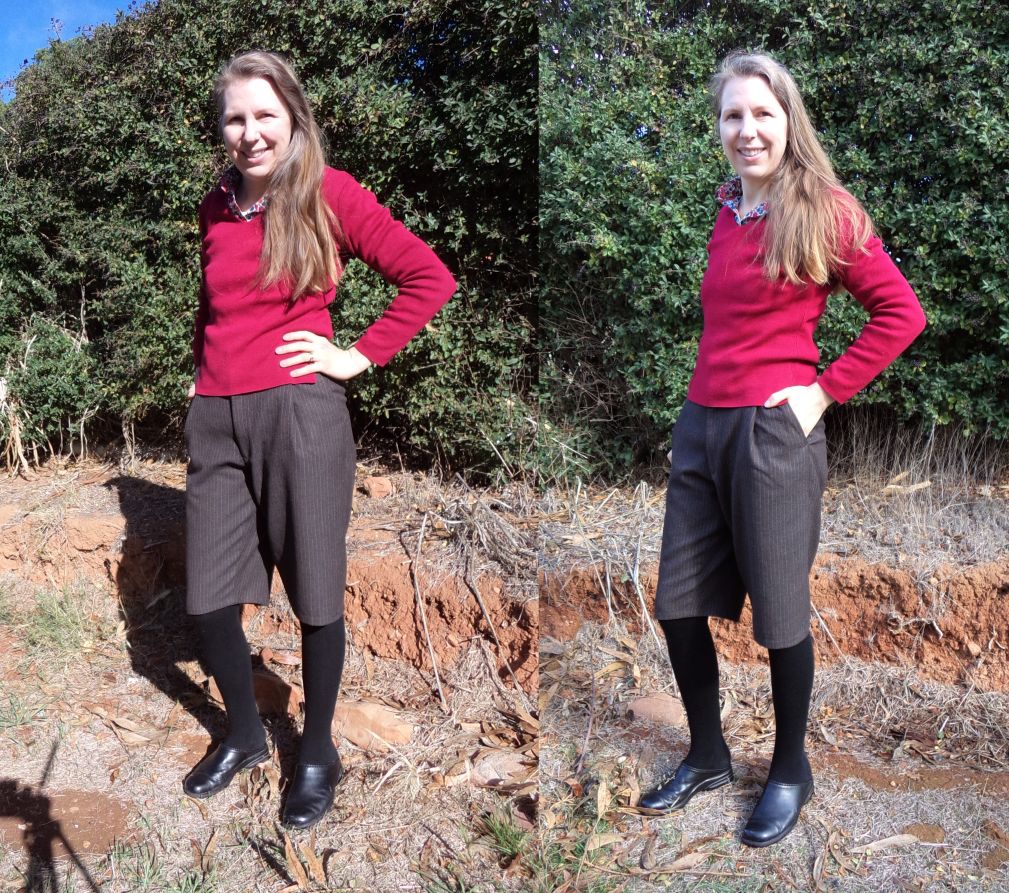
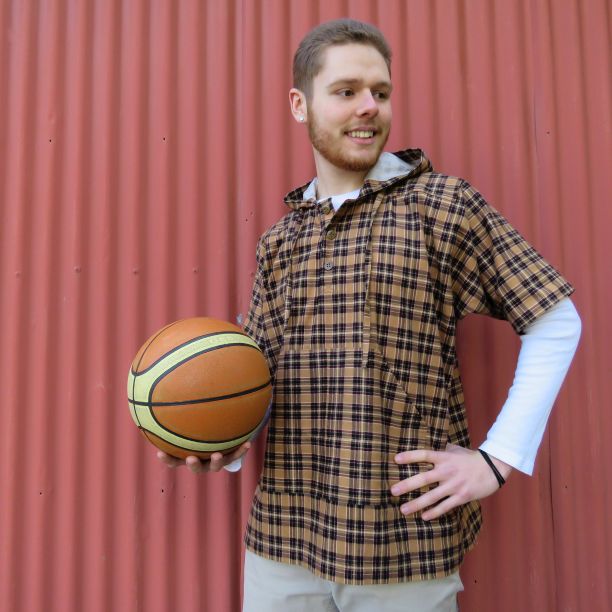
Some outfits look best shown 3/4 view rather than front-on.


Other stuff
Flash or no flash? I rarely take photos indoors and I never use a flash. Indoors, I use the light next to a window and have a few favourite spots around the house. For taking photos of sewing close-ups, I set up my ironing board by the window and arrange the sewing on that.
Orientation. Landscape looks best for blog photos, portrait works best for Pinterest, and Instagram needs a square. I actually use square for almost everything now.
Black and dark navy are hard to photograph and I almost never make samples in these colours. They just end up as silhouettes and all the detail is lost. Also sometimes I find that, with pale skin like mine, the contrast is too much for the camera and either my face is over-exposed or the garment appears as a black mass.
What do I use for taking photos? Up until a year ago I used a little Olympus camera and a second hand tripod. Then I bought a Canon Powershot SX60 which I like using but I confess I mostly leave on automatic mode. But…
…..did you notice none of the things in this post rely on amazing photography equipment? It’s helpful to remember that the camera is a tool and the most important part of taking good pictures is YOU!
Cheers!
Discover more from The Craft of Clothes
Subscribe to get the latest posts sent to your email.
Great blog post. Thank you
Cheers Tracy!
Thanks for this! I really struggle with the relaxing bit so will try those tips.
You’re welcome – I find relaxing the number one hard thing to do!
I always thought your photos were rather good 🙂
Very helpful
Thanks Kim!
Thanks! This is just-in-time info for me…
Cheers Emma!
Oh the orange skirt ! Which pattern is it ? Thanks for the great tips ,I am off to navel gaze
The skirt is this one: https://thecraftofclothes.etsy.com/listing/820407826