Free pattern: zero waste ruffle tank

It’s been nearly a year since this blog offered a free pattern, so ladies and gentlemen, I give you the zero waste ruffle tank.
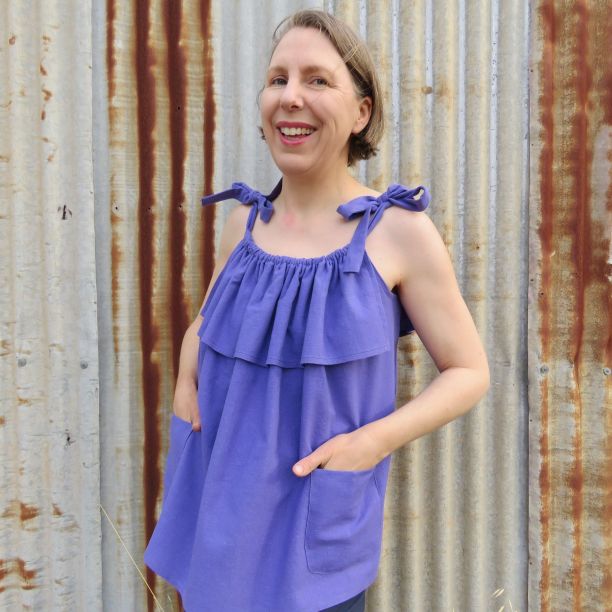
The ruffle tank is a summer top in 15 sizes, and very simple to make. UPDATE: I’ve since made this top as a dress here.
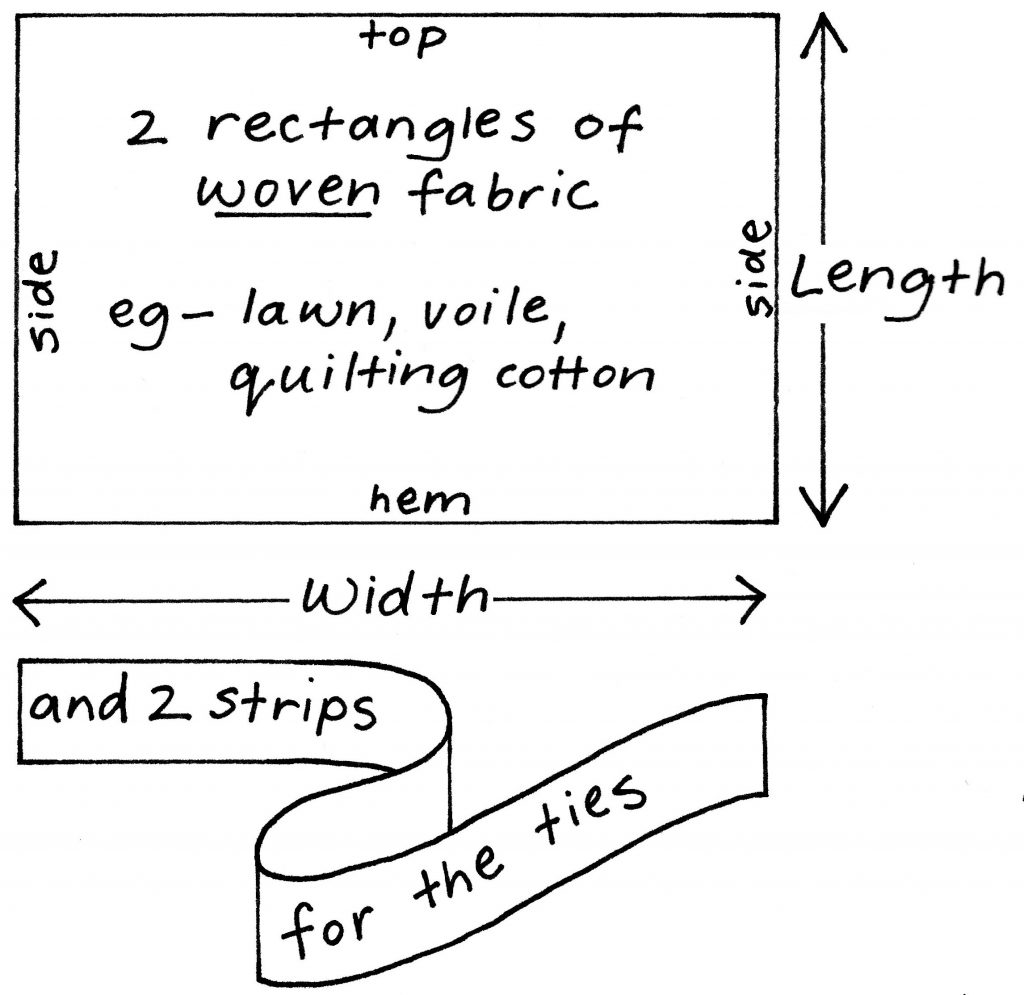
It suits lightweight fabrics such as cotton lawn, voile, quilting cotton, lightweight linen or any fabric that’s light with a crisp handle and a bit of body. It’s very suitable for stripes and one-way fabrics.
I started this pattern during the summer holidays after my girls thought they’d like to do some sewing with friends…but the end of the holidays came up quickly (as usual – they always start slow and end quick) and we never did it. However, there’s still some warm days left in March to make & wear, and our Northern Hemisphere friends are approaching summer.
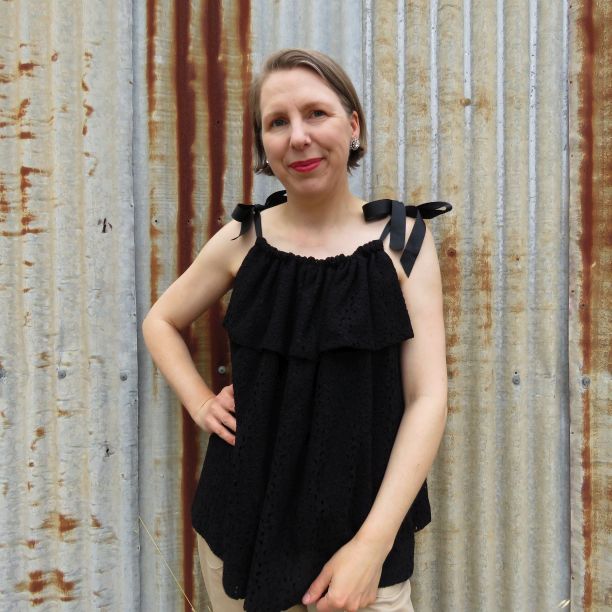
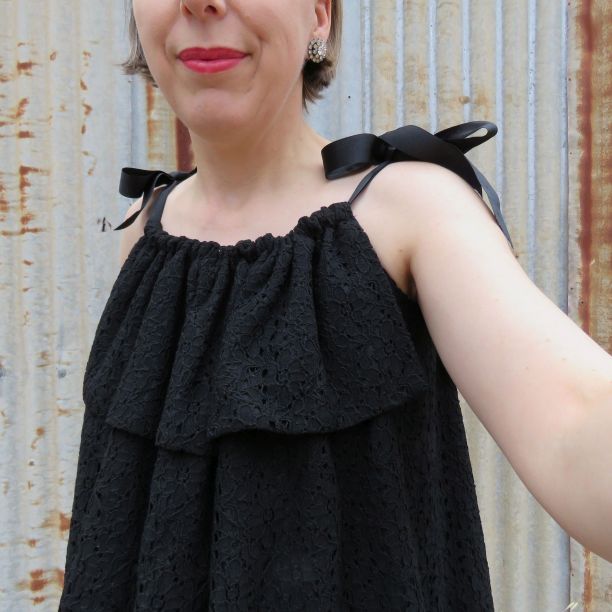
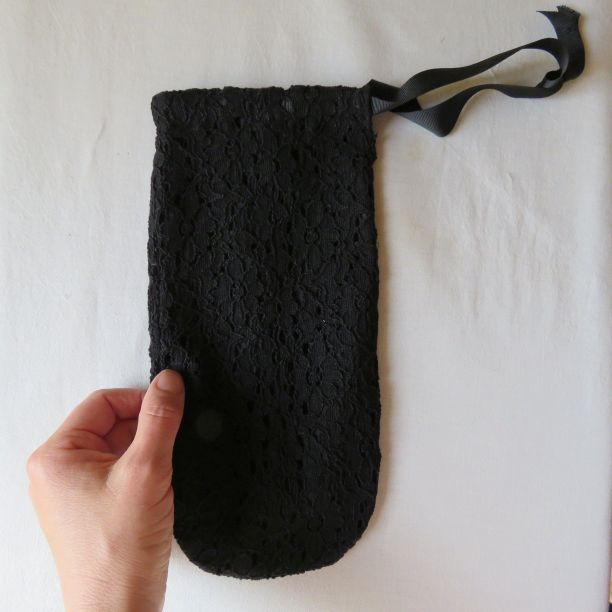
I tried this pattern out in some black lace and found that it made quite a good evening top. I used grosgrain ribbon for the shoulder ties.
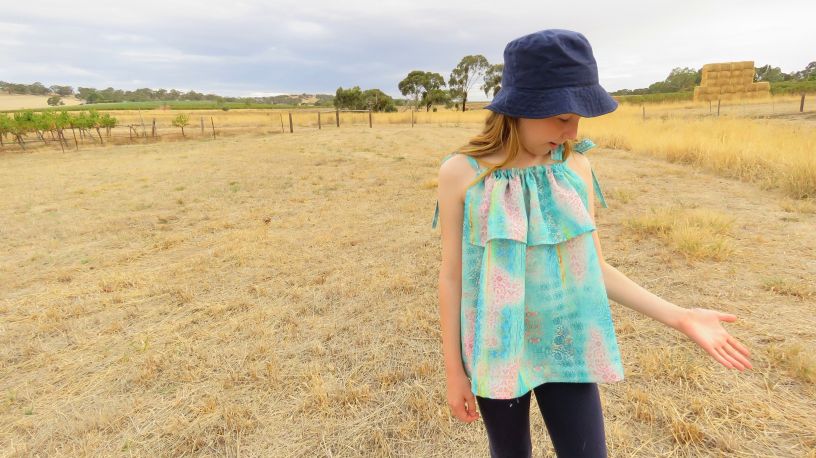
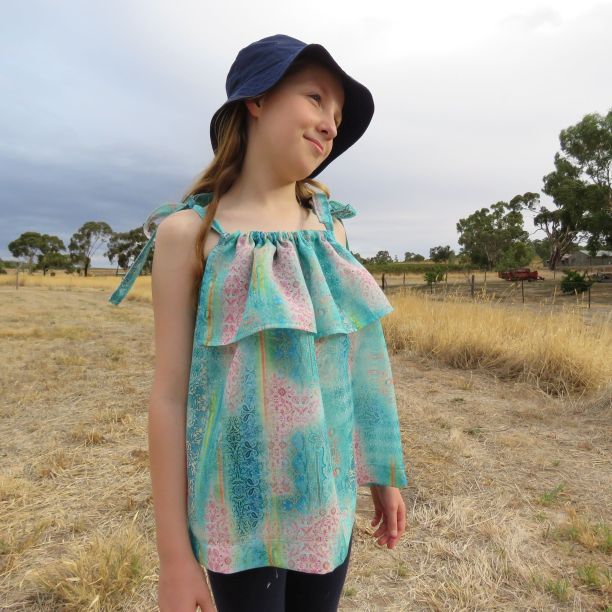
I apologize for the non-variety of models to show you this top. It’s just me and my favourite-almost-10-year-old. I fit-tested the top on some larger ladies and the general consensus was that no-one was keen on going braless, and all politely declined to be photographed, understandably. (But they thought it would be good top to wear at home when it’s hot, or as a nightie.)
Therefore, since this top is so easy to sew, I added an extra 3 sizes onto the beginning of the size chart for younger sewists.
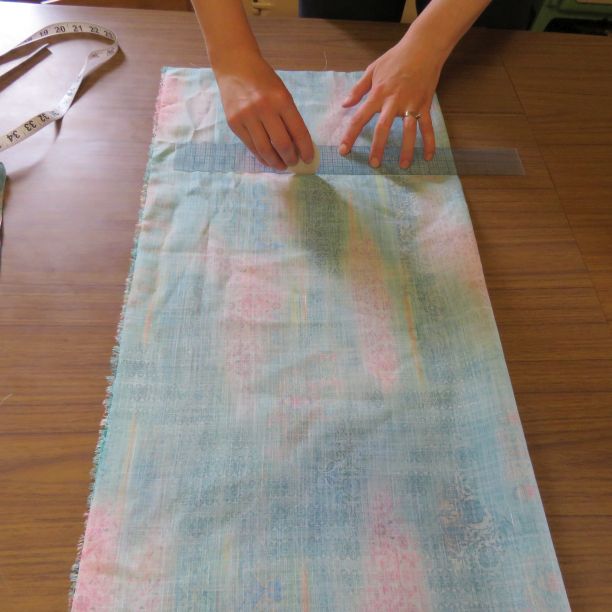
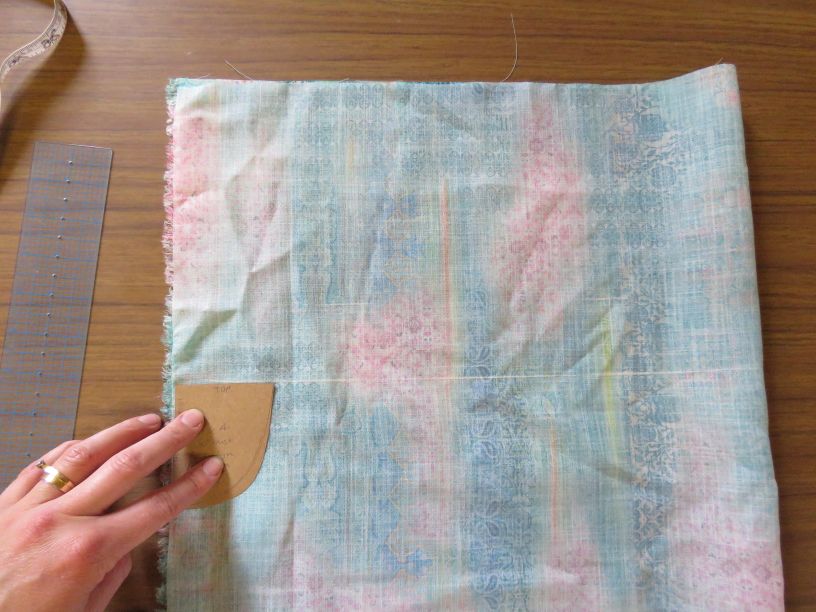
The instructions are condensed to fit on just two pages, cartoon-style, + an armhole template. There’s photos showing extra detail further down on this page. If you’d like to download the pages as a pdf here they are:
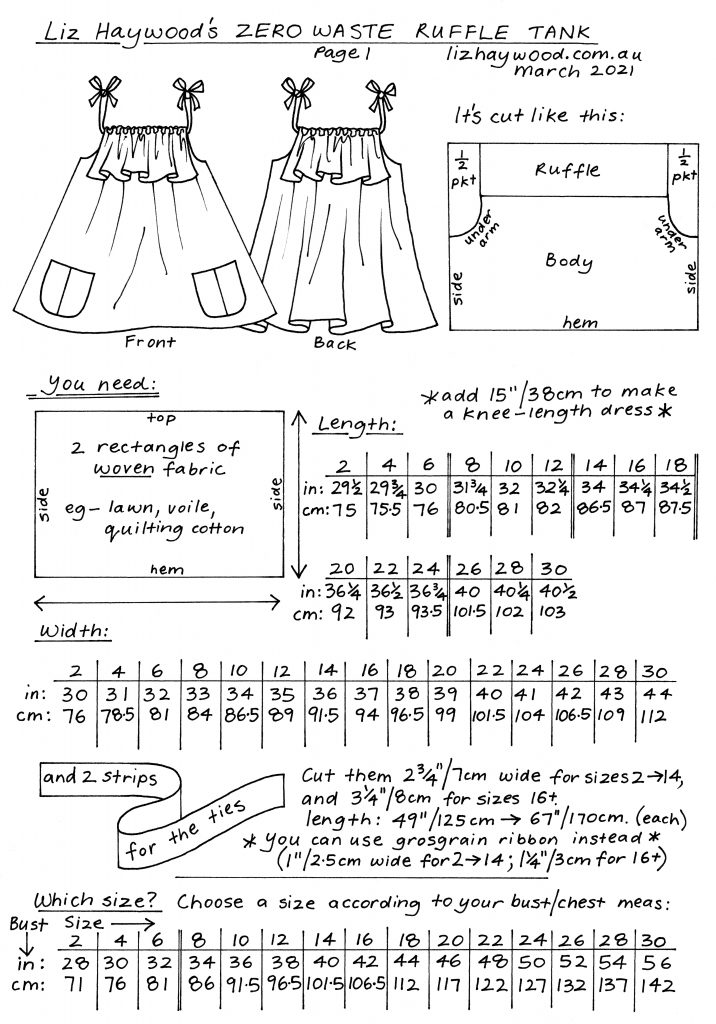
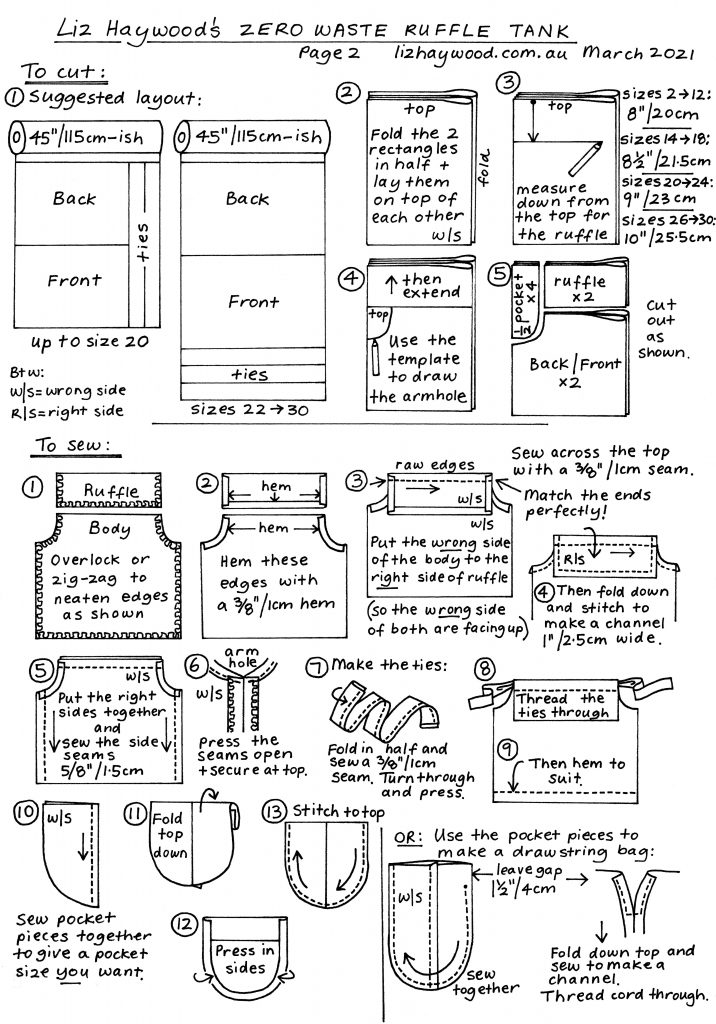
Pick a size according to your bust measurement. For pattern-writing clarity, the measurements have been assigned a size.
What if you want to make a bigger size? Just follow the numerical sequence to create more sizes eg- the width of the rectangle for sizes 32-34-36 would be 45″/114cm – 46″/117cm – 47″/119.5cm. Draw in a new line on the armhole template, following the sequence of the previous ones.
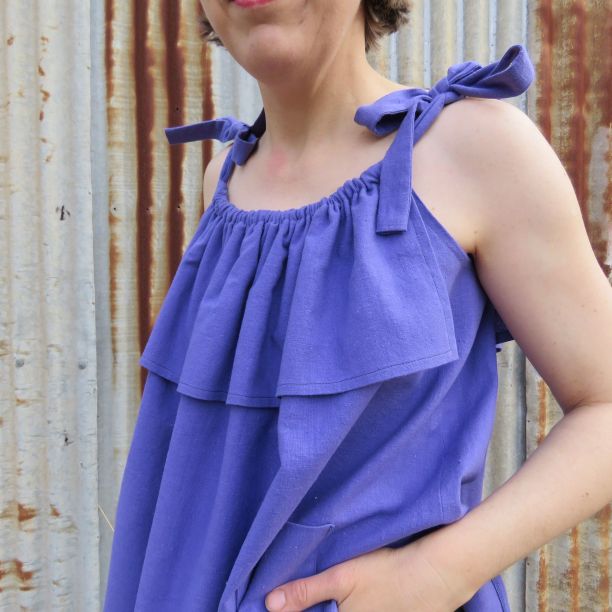
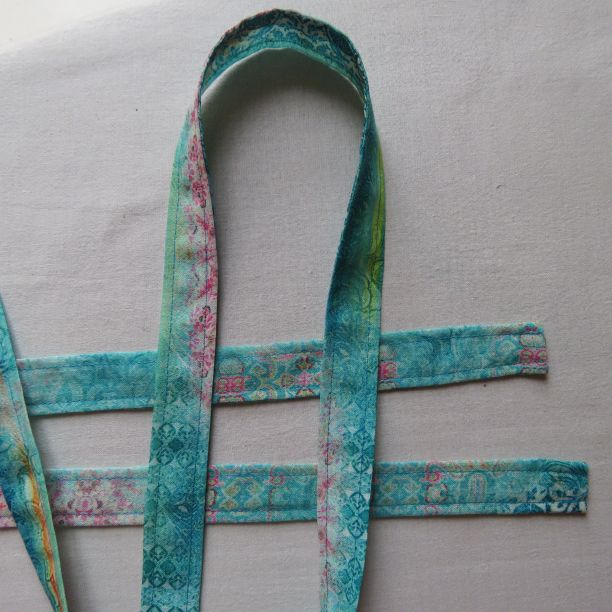
Exactly how long should the ties be? Anywhere between 125cm and 170cm. All the tops in this blog post have 125cm long ties (they’re sizes 10 and 4) and you can see they tie ample bows. The larger sizes I made had ties each made from 1.5 x 112cm long strips with a join (ie I cut 3 strips across the fabric and used one and a half for each tie) and there was plenty to tie bows with.
If you’re stuck for fabric, you can make the ties shorter and the bows could be knots with short ends.
If you’re using ribbon for the ties, grosgrain is preferable to satin ribbon, so the bows grip and don’t slip.
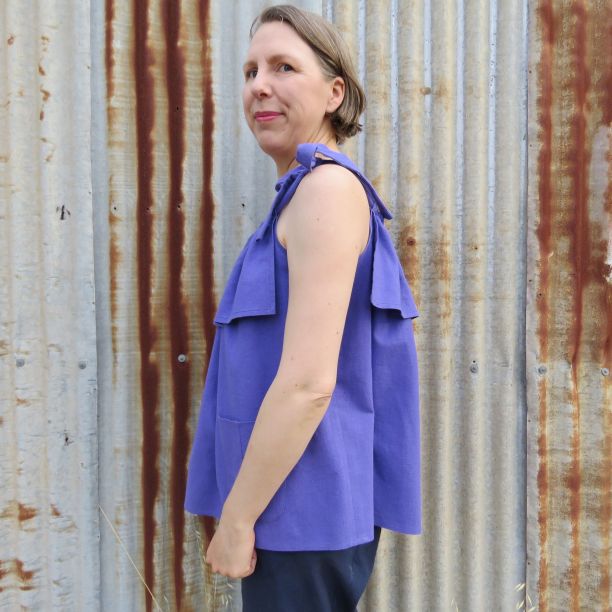
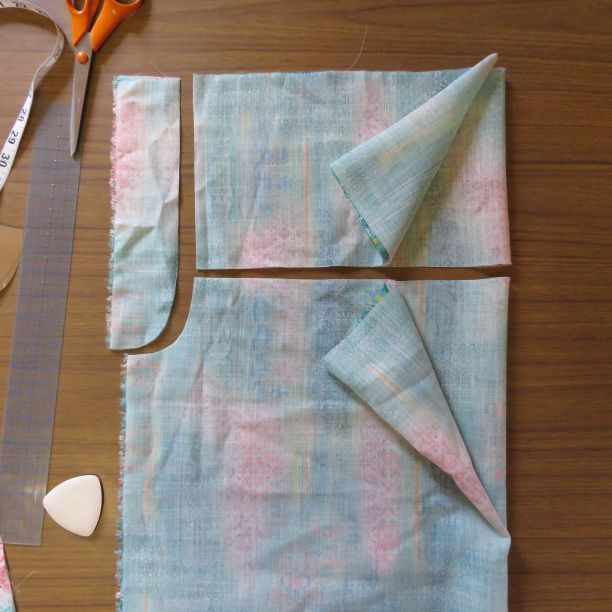
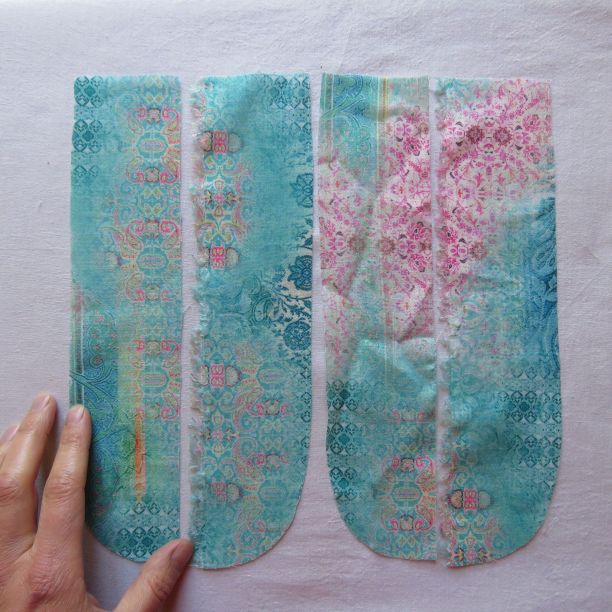
Note that the rectangles are all wider than they are long (although for the small sizes they’re only just wider).

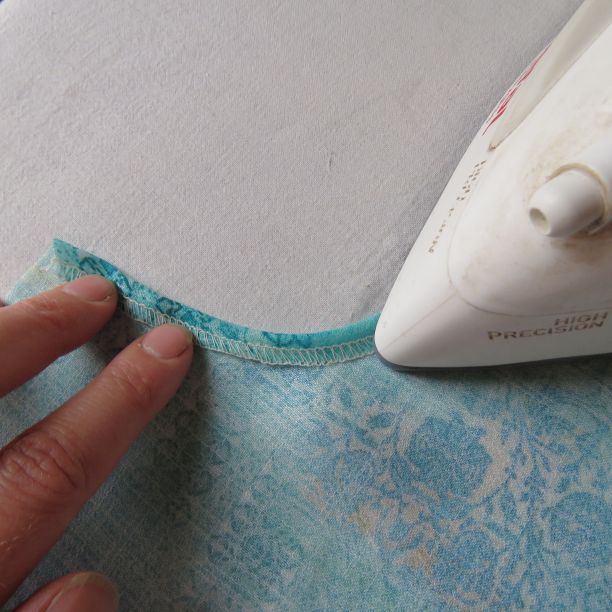
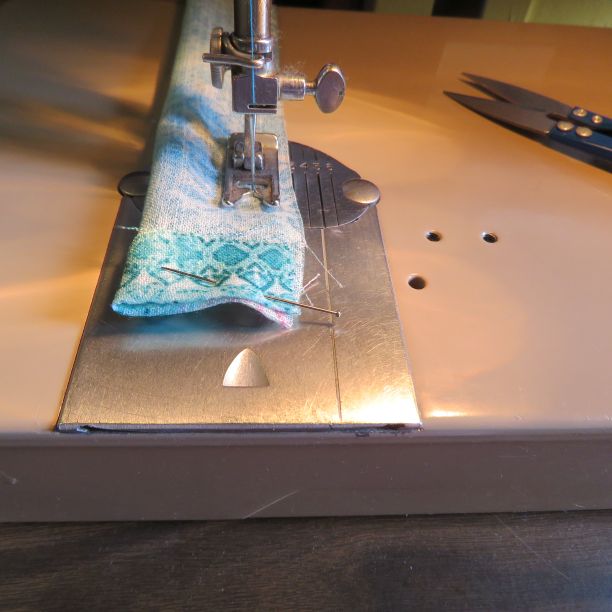
Around the curved armholes, stretch the edge as you overlock – I know, we don’t normally do that! But it will help you when you hem the curve.
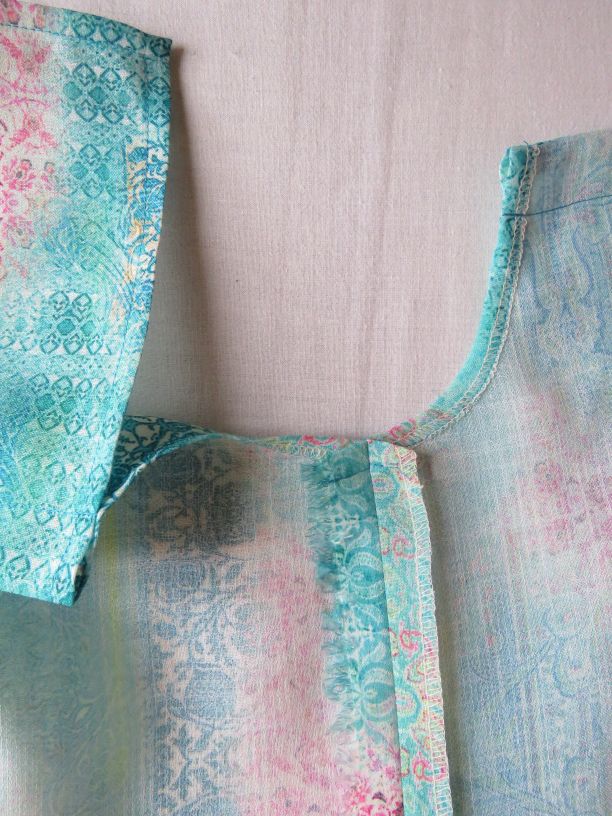
Side seams sewn and pressed open – you can see I saved myself overlocking one edge because I used the selvedge.
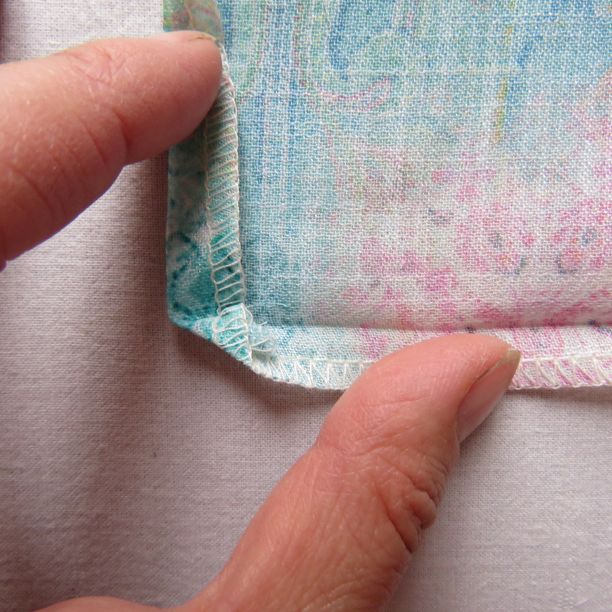
Hem to suit – a 4cm/1.5″ hem is allowed in this pattern, but do whatever looks best on you.
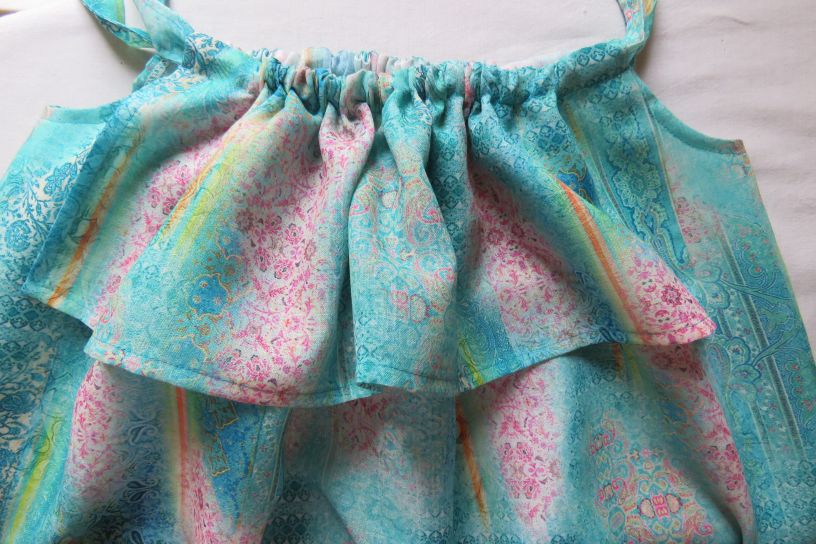
The larger the size, the larger the pockets. Sew these to give you the dimensions you want. To give you an idea: for the purple top (size 10) I sewed a 6mm central seam, folded the top down 5cm then another 5cm, then pressed under the curved edge 6mm. For the largest size (30), I sewed a 2cm central seam, folded the top down 7cm then another 7cm, then pressed under the curved edge 1.5cm.
The pocket pieces are quite small in the size 4, so my girl decided to have a pencil bag instead.
Cheers!
Discover more from The Craft of Clothes
Subscribe to get the latest posts sent to your email.
Still sniggering at ‘ruffle droop’ – it sounds worse than it is!
Great looking top with adaptable style though it is far too chilly to contemplate wearing here at the moment. Thanks for the free pattern Liz. Your cartoon instructions are discernibly different but still definitely ‘yours’; they look like they were fun to draw.
Thanks Wendy. I like this style of pattern writing; it’s heavily influenced by Len Deighton’s Action Cook Book which Mum had. Great for simple patterns but unfortunately not enough room for the detail needed on my other zw patterns.
Thanks for the link! We had plenty of Len Deighton’s books but they were all of his other genre. (And Michael Caine lives very near me – he has a big house on the hill over-looking the Mole Valley)
Lovely pattern-thank you for making it available. I’ve never been able to wear tops like these solo-but under a jacket would be a different story. Can’t wait for other’s makes to start showing up in Instagram.
Great idea Terri – would work well under a jacket to fill in the front. You would rock that look!
If a bra is desired and the bra straps will unhook at one end, you can sew a little tube to slip over each strap in the fabric of your choice. You end up with four straps instead of two, but playing around with strap widths, colours etc could produce a pleasing look. (In the olden days my crazy mother insisted on doing this even though I had no real reason to be wearing a bra in the first place!)
Thanks Adele – some good ideas to play with here 🙂
Love it! I can see this becoming a stash-busting summer staple. I’m thinking for an even dressier option one long strap, two buttonholes in the front to thread it through for a single front tie?
Ah yes! – we thought of that but didn’t get around to incorporating it in a sample. Definitely dressier.
My junior model suggested some sort of frill around the upper arm, sort of a cold-shoulder thing, attached to the casing.
Yes, please!
I’m supposed to be sewing masks, but this is spread out on my cutting table now. Something to look forward to when the weather warms up here in Deutschland 🙂
Hi
Beautiful free pattern for zero waste.I like so much.
Thanks!
Thanks so much for making this pattern available. I’m looking forward to sewing some tops for my young nieces.
That’s great Susan – think this is a good pattern for young people.