A small gallery of Visible Mending
Hello Folks, I’ve been preparing some samples for a visible mending workshop in November.
While I tend to be a fan of invisible mending (as explored in this post), I do like the combination of embroidery, denim, running stitch and creatively working through the household’s mending pile.
The technique is very simple and kinda fun.
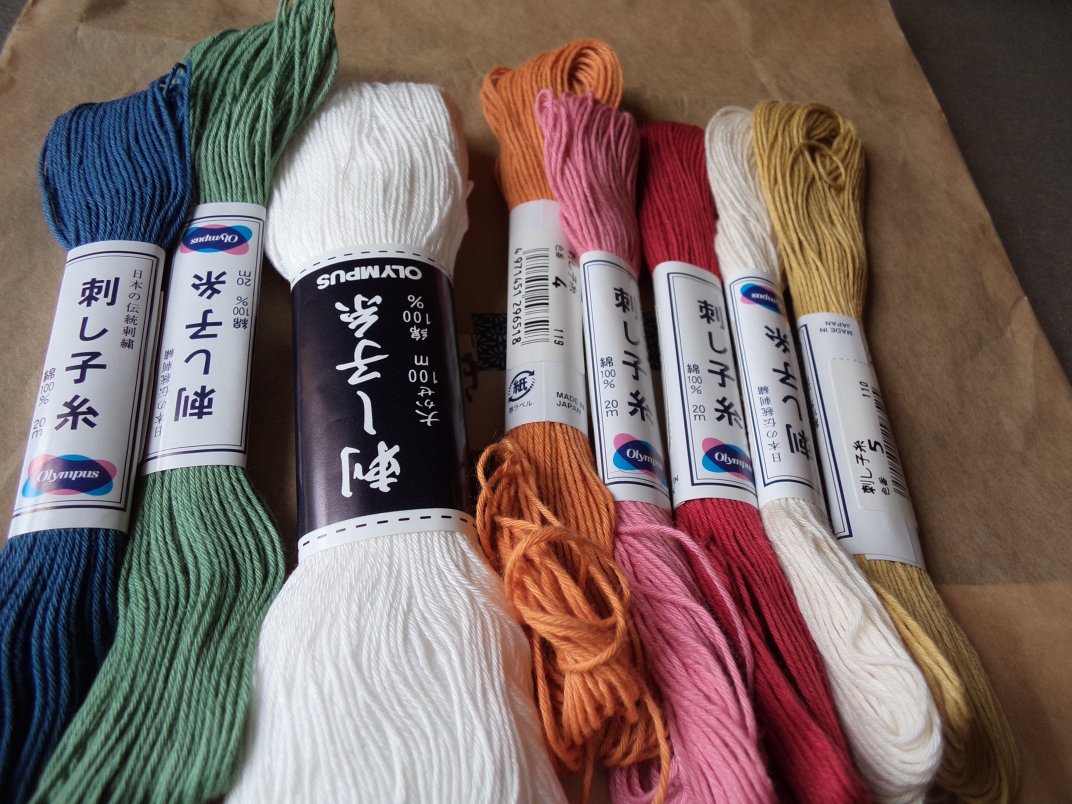
I’ve been using regular embroidery needles and sashiko thread bought online here. Then I discovered I could use pearl cotton too, although I prefer sashiko thread.
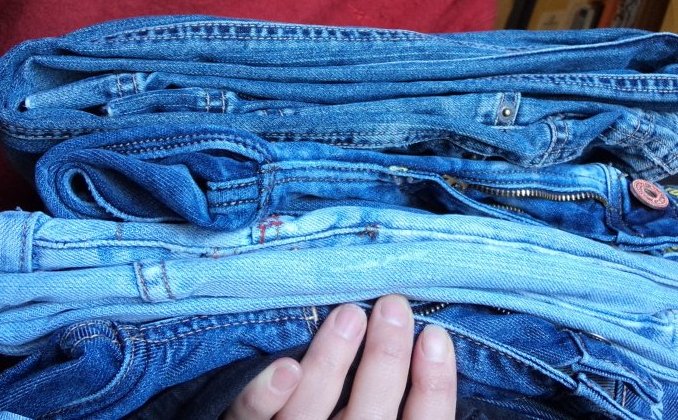
All the mending samples have a piece of denim behind the stitching, whether it’s used as a patch or as reinforcing. I have a supply of denim from the op shop to use.
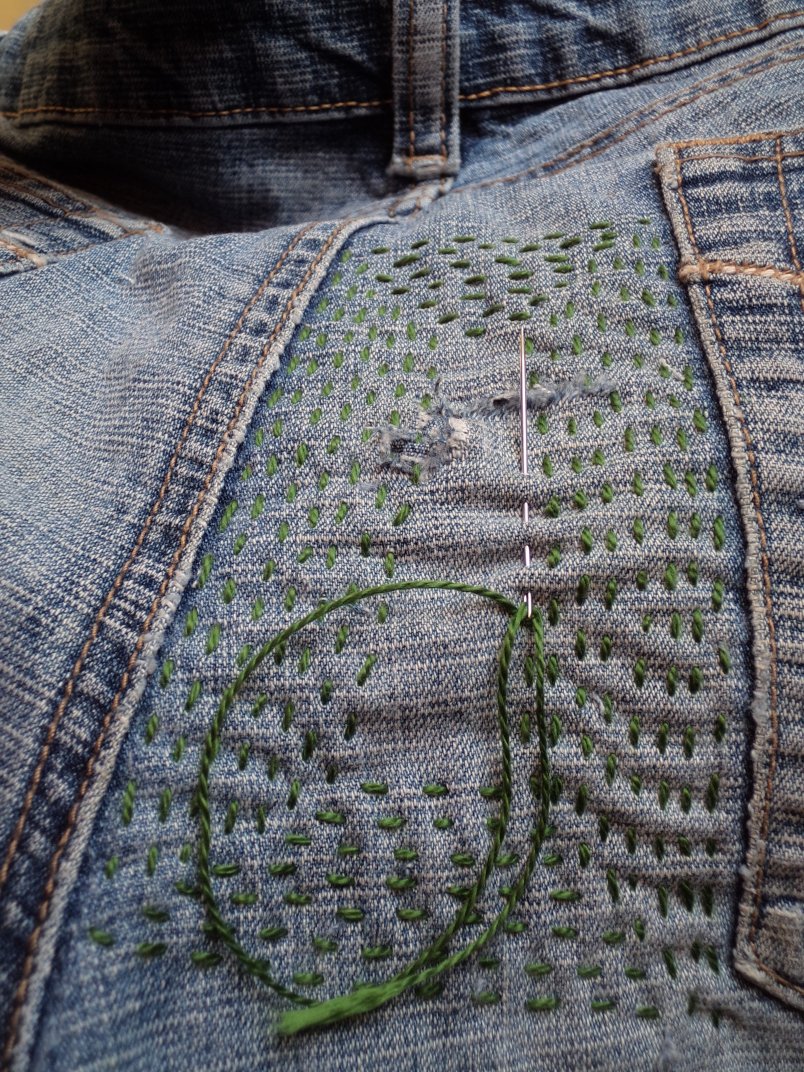
The seat of a pair of jeans, with green pearl cotton stitching.
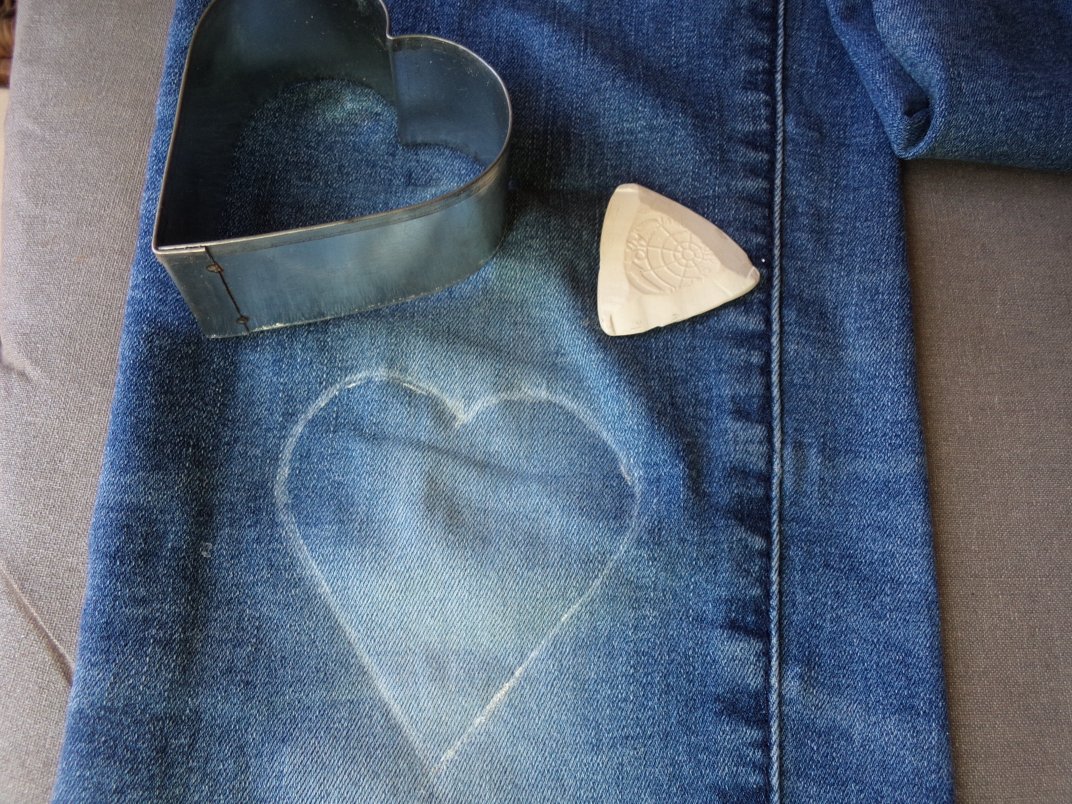
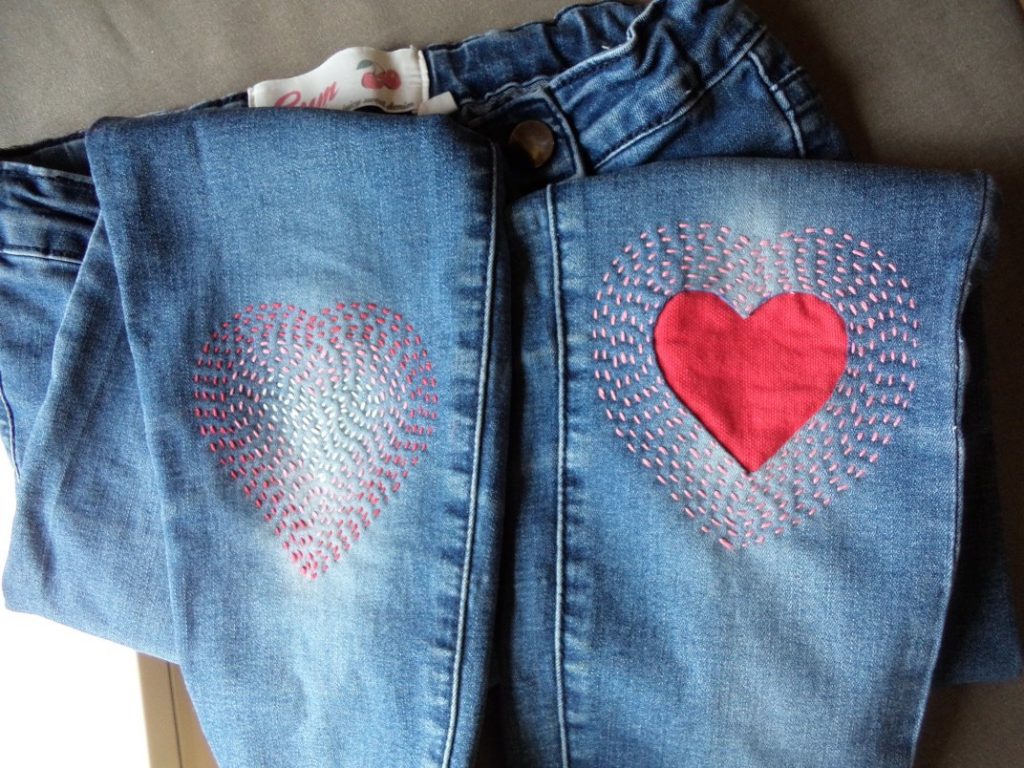
Heart shaped reinforcing: I traced a heart shaped cookie cutter with chalk.
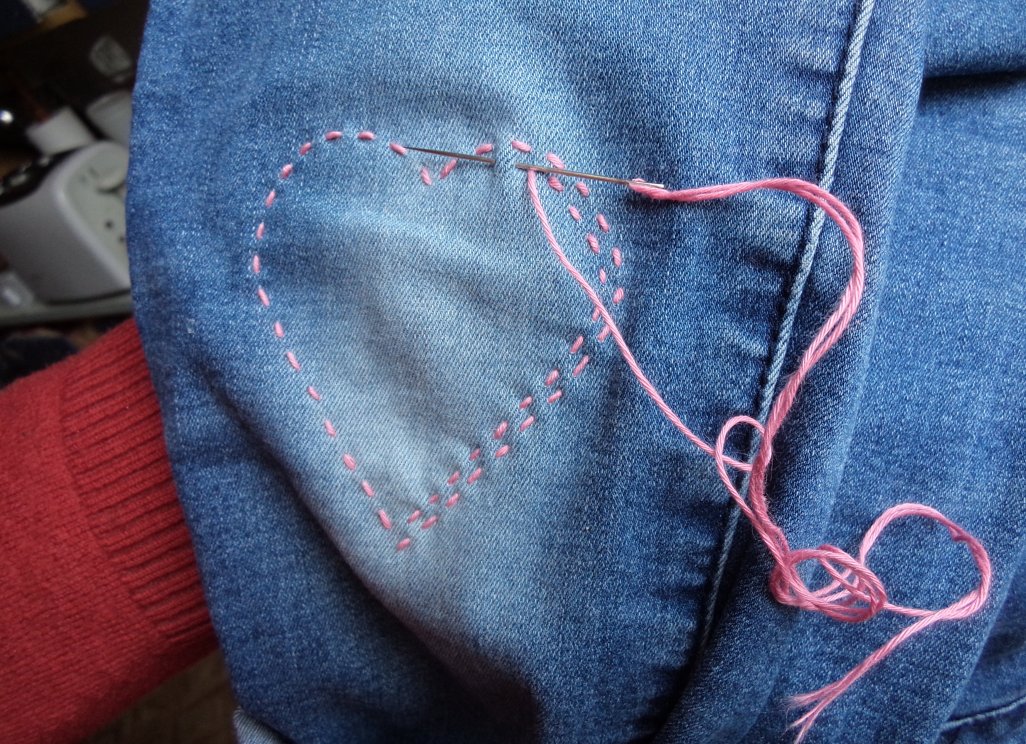
Placed a denim patch underneath and started stitching in pink…
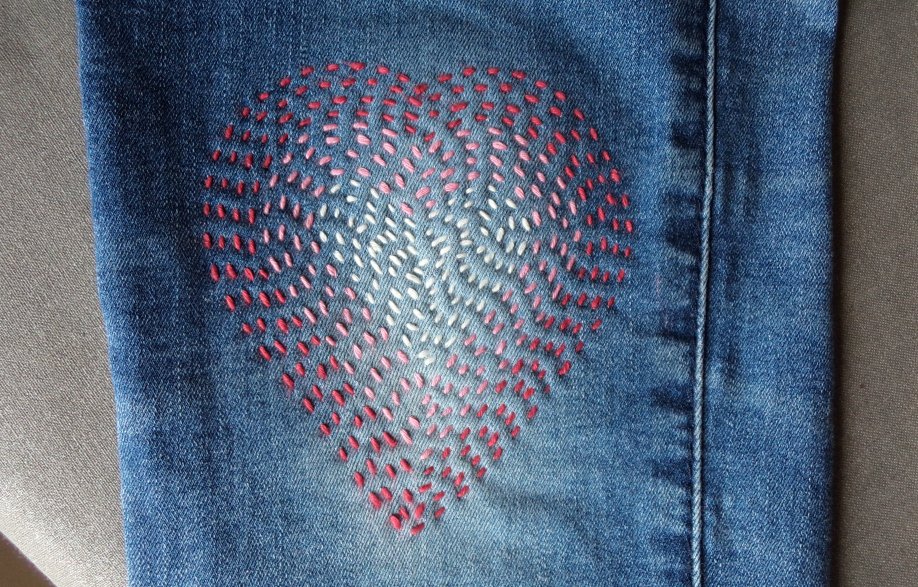
…and stitched red around the outside. Filled the inside with cream!
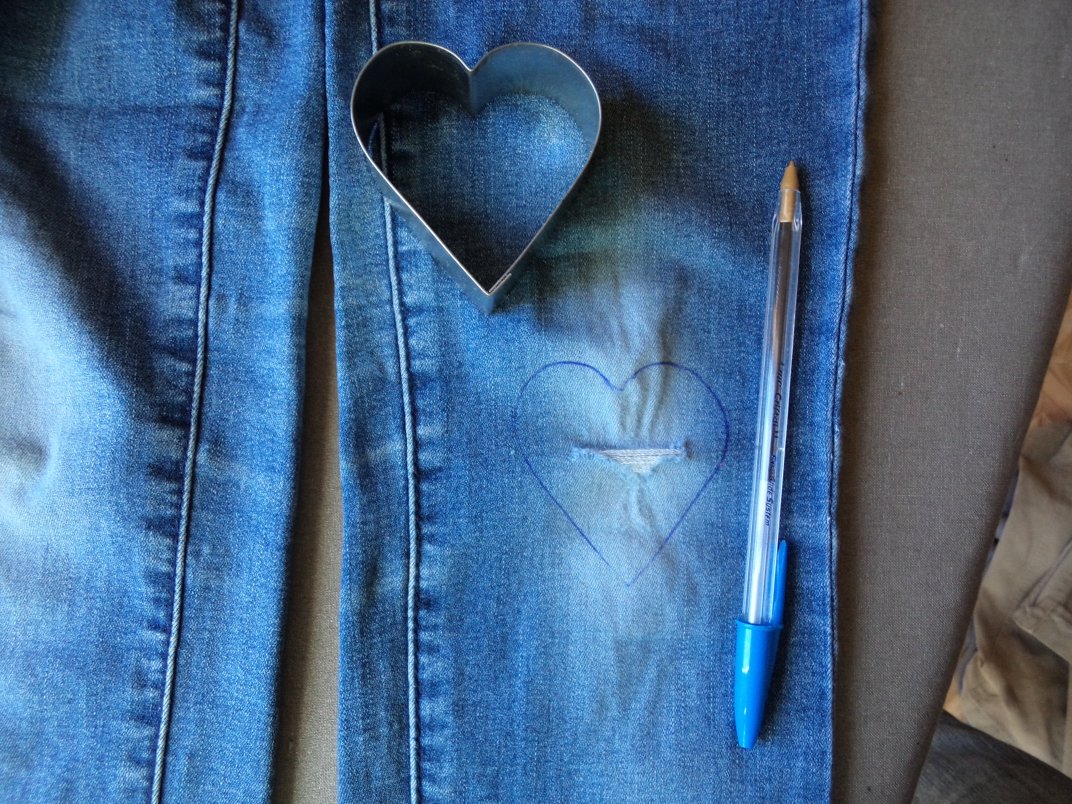
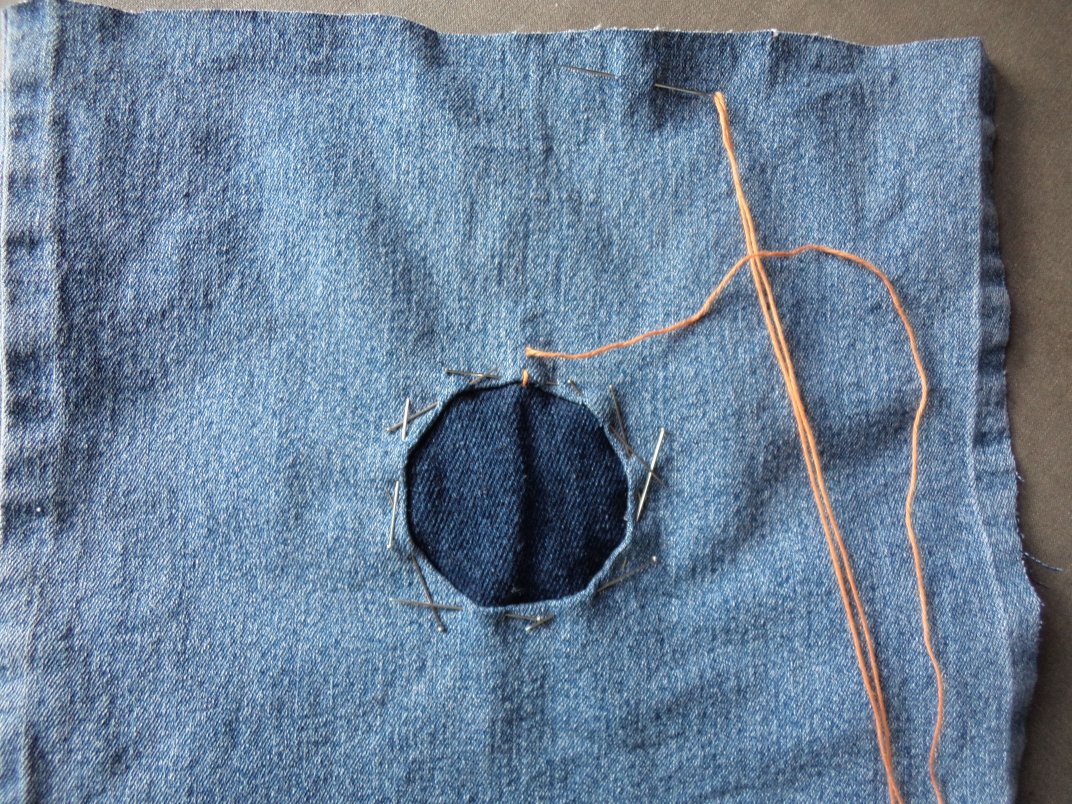
Here’s the same cookie cutter, traced around a rip.
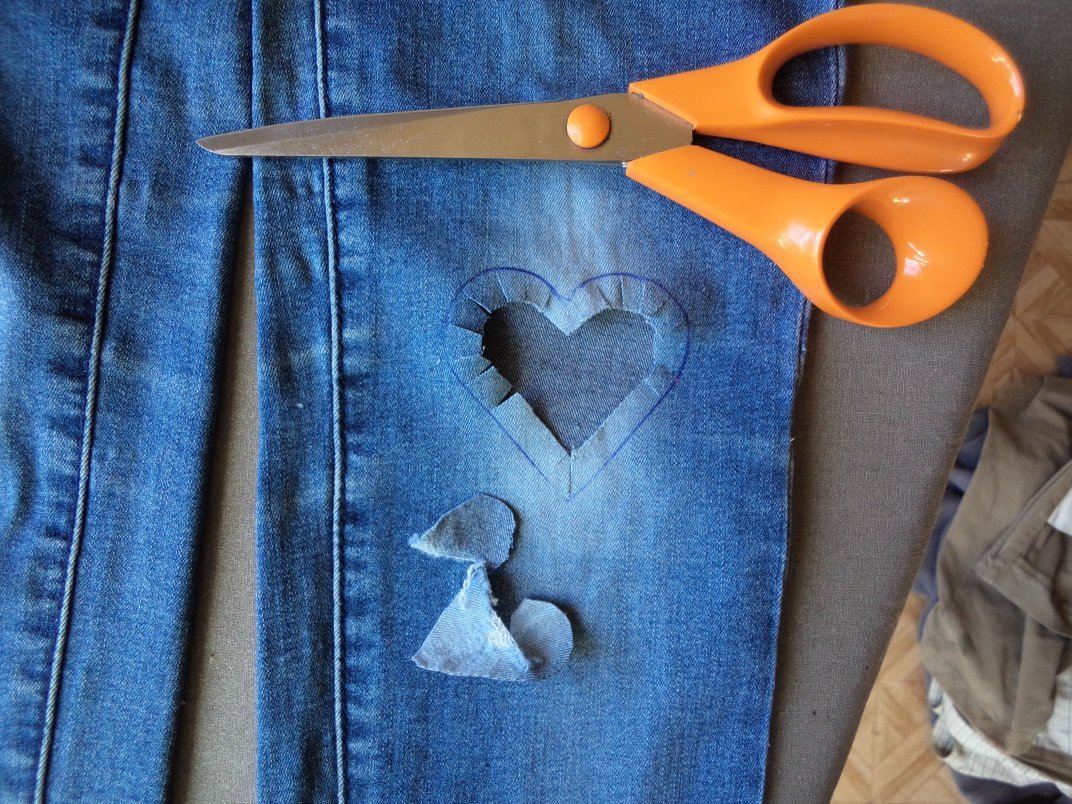
The inside is cut out 6mm from the line, with snips to allow the raw edges to turn under evenly.
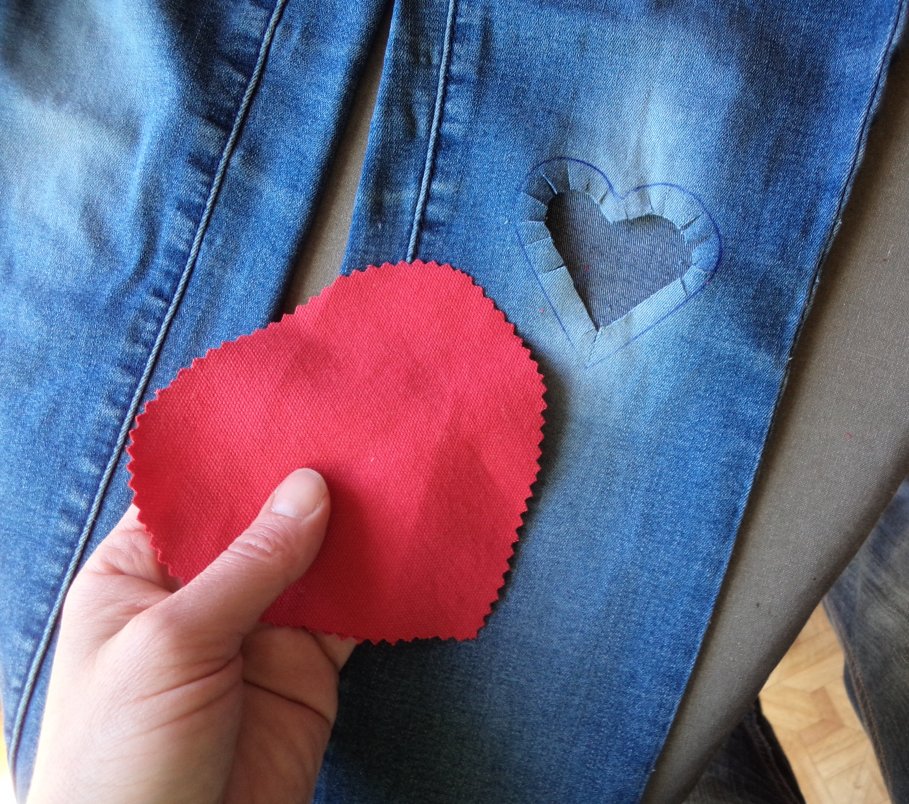
A red piece of canvas to place behind the cutout.

The edges tucked under and pinned.

Ready to sew.
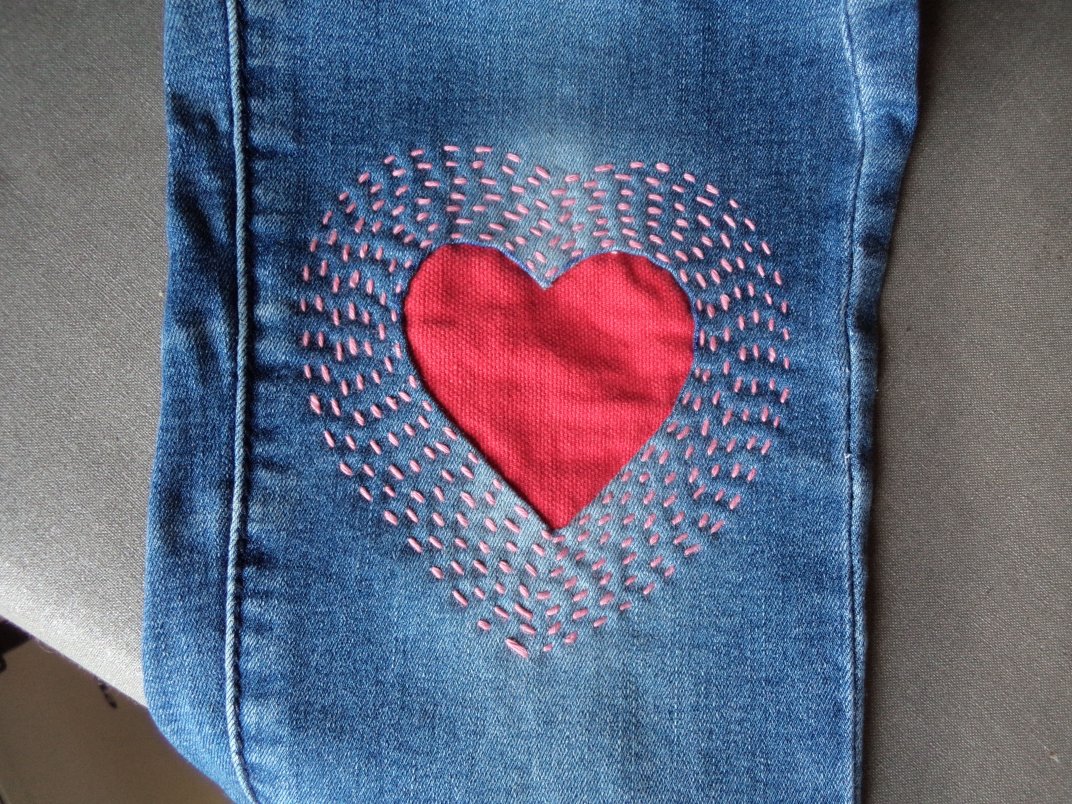
Running stitches around and around and around.
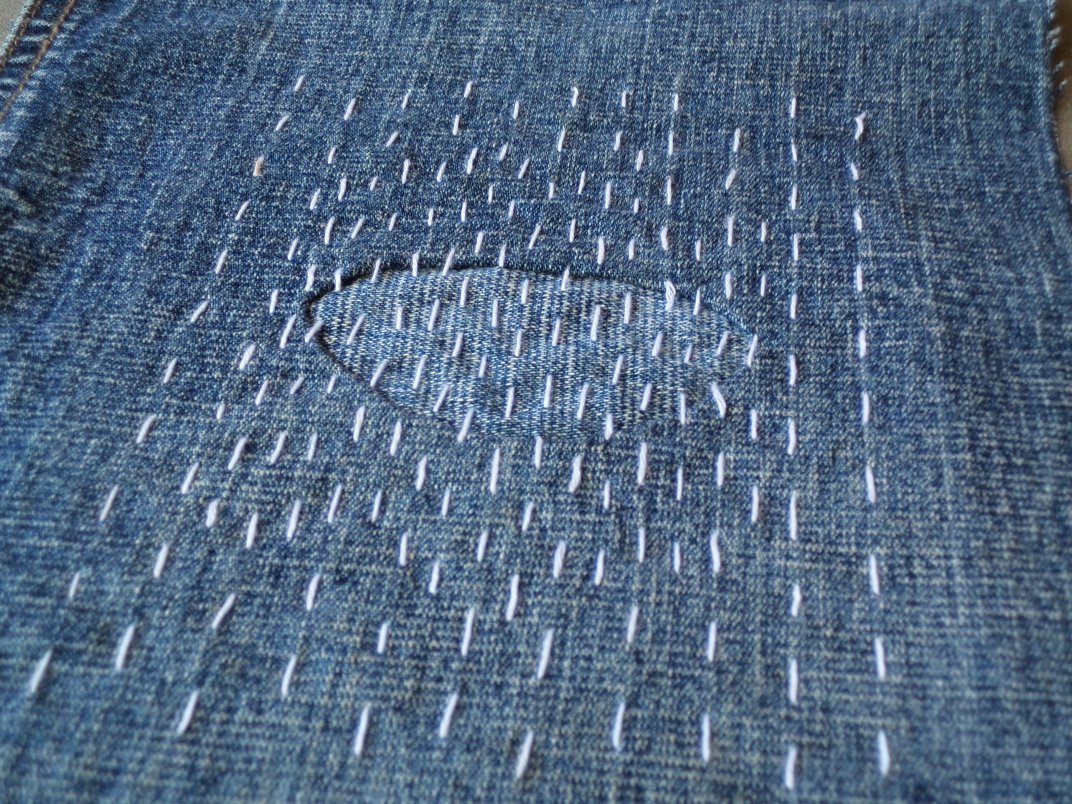
An early sample, with big stitches. It looks like embroidered rain falling.
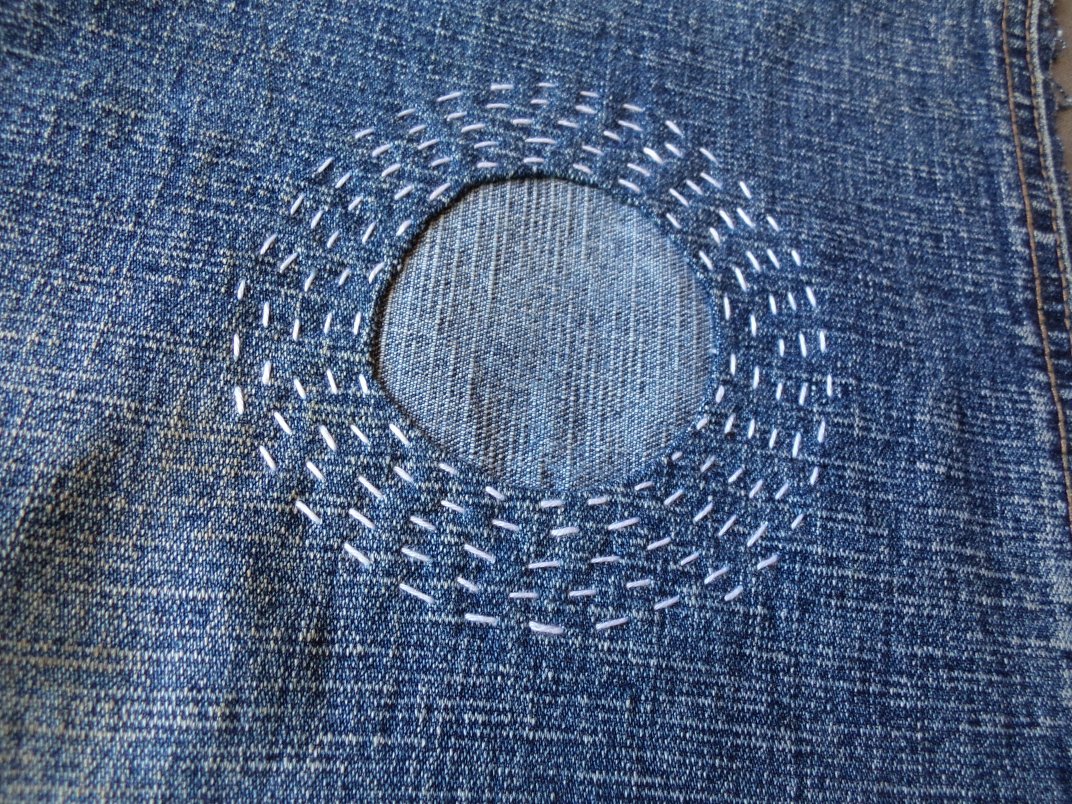
Love this one, and it was easy. I drew around a cup for the circle and stitched it like the red heart.
A version of the circle…
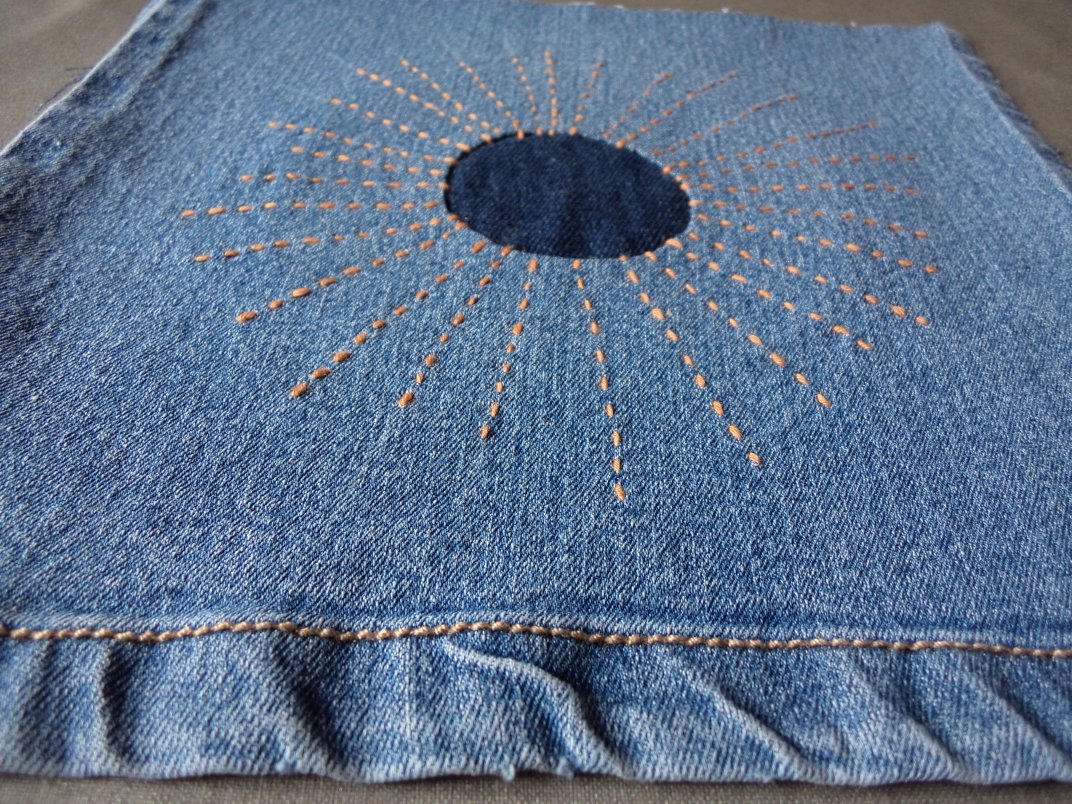
…this time with sunrays.
Some lessons learnt:
- Stitch length looks best if it’s 4mm or shorter, but straight stitching is more important than inconsistent stitch length (if one had to list these in order of visual importance). To draw stitching lines, use a sharp piece of tailors chalk, chalk pencil, chalk wheel or water soluble pen. A small quilting ruler with eighth and quarter inch markings on is helpful to mark a grid, if needed.
- How do you neaten the edges of the patch fabric so it doesn’t fray? Ideally, a (4-thread) overlock around the edges would be the flattest and neatest solution. However, I just pinking sheared mine and when I did the stitching I extended it beyond the pinked edges to hold it. Pressing the edges of the patch under, while neater, makes it too hard to stitch because it gets too thick at the folded edges and corners.
If you’re in Adelaide, come and join me at Marion Cultural Centre on Saturday 24th of November for a short Dressmaker’s Companion book talk followed by a visible mending workshop. This is a FREE event; details and bookings here. Bring along your jeans to mend!
Cheers!
Discover more from The Craft of Clothes
Subscribe to get the latest posts sent to your email.
Great!
This is lovely