That old dressmakers model Part 3: Got it covered
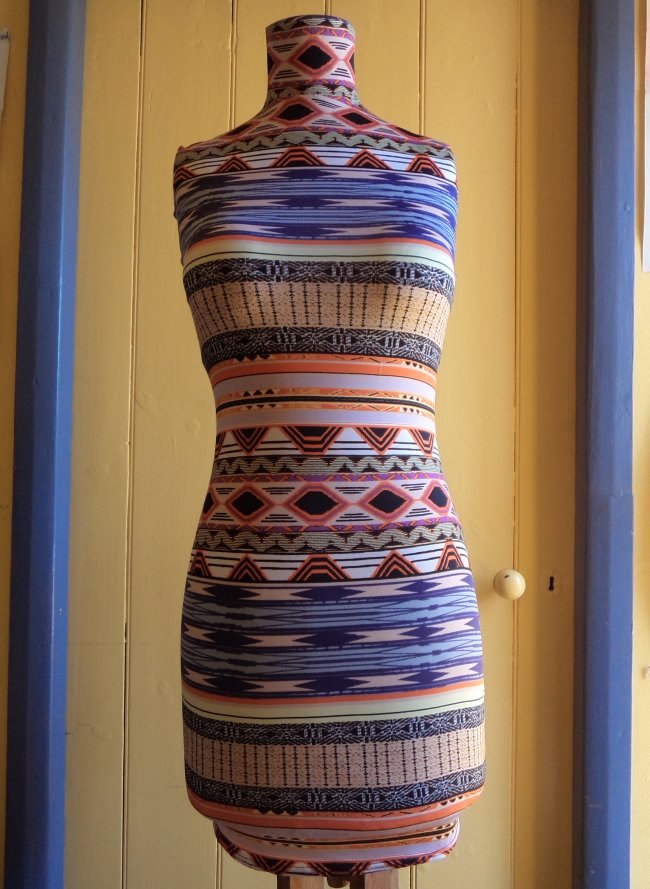
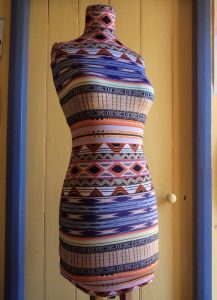
It’s now the final week of my dressmakers model makeover: the cover. This turned out to be harder than I thought.
(For the background on my dressmakers model, read part 1 and part 2.)
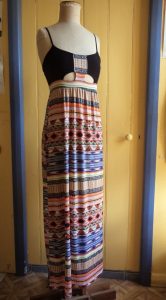
For fabric, I bought a maxi dress from our excellent op shop. The dress racks in this op shop are a catalogue of fashion mistakes, impulse buys and dresses worn once for an event, with the occasional gem thrown in. I had at least three maxi dresses to choose from, and my favourite nine-year-old helped me choose this one.
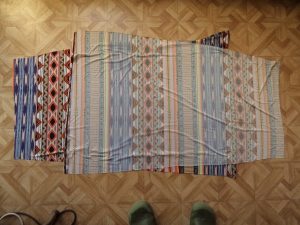
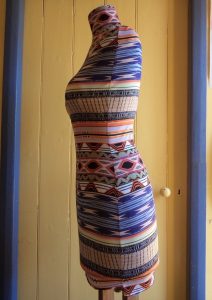
I didn’t notice until I got home, though, that the stripes didn’t match at the side seams. No matter, I thought, I can make them match when I make the cover. However, the stripes are directional and the back is cut around the other way, meaning that I had to cut the front and back apart and turn one upside down to get even close to matching. Of course they didn’t line up. Of course the matched part is shorter than the model’s length.
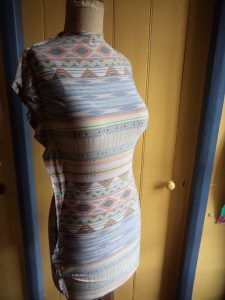
With the pattern matching approximately I pinned the back and front on. This was not easy. Why oh why did I pick a striped fabric?
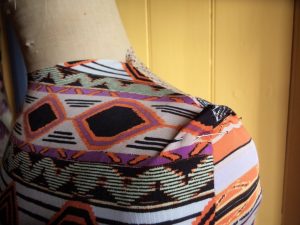
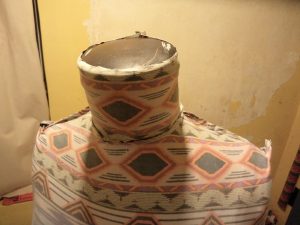
We’re getting there. I sewed the shoulders and sides, and then sewed across the top of the armhole to remove the sticking up “ears”. My machine hates this fabric. I tried different brand threads, changed the needle, but the only thing that stopped the top thread from abrading and breaking was sewing very slowly.
Cheers!
PS, Adelaide readers, it’s not too late to book for this Thursday’s author talk at Greenacres library. I’ll be talking about working in the fashion industry, how I came to write The Dressmaker’s Companion and my publishing story. I’d love to see you there! Details and bookings here.
