The Scout Pants and my sewing blunders
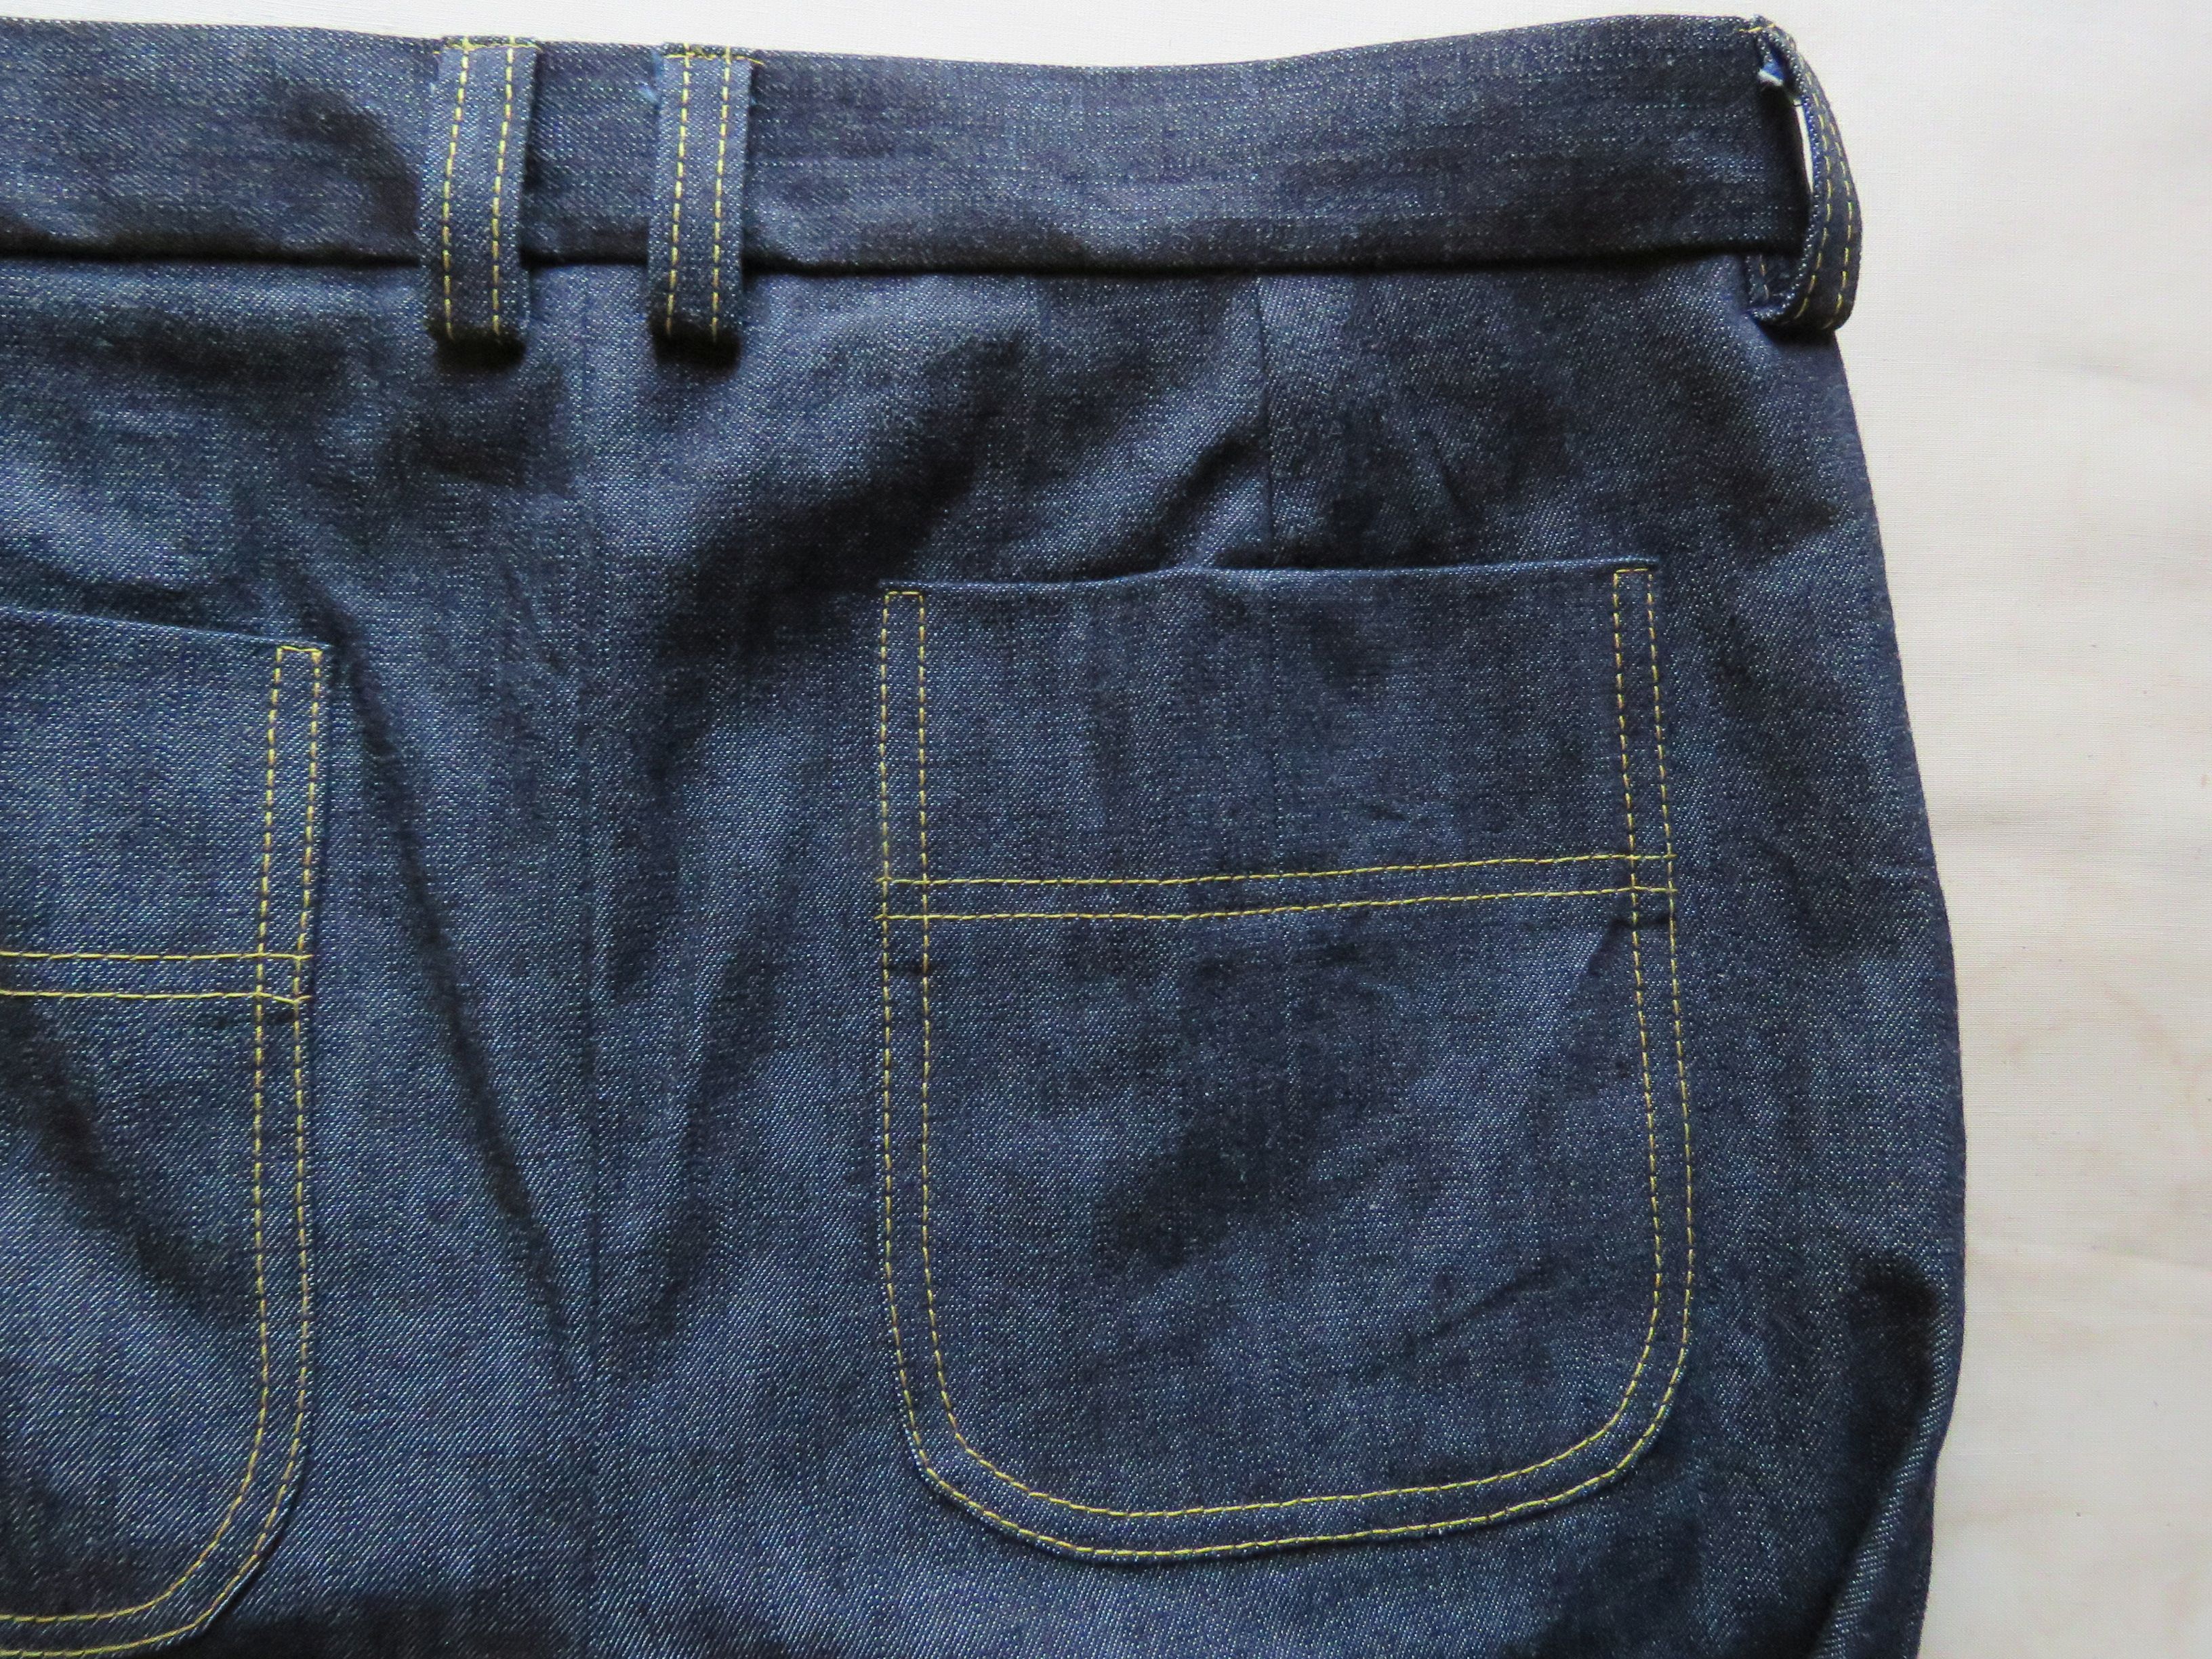
On the weekend, I finished sewing Danielle Elsener’s Scout Pants from Sewing Without Scraps.
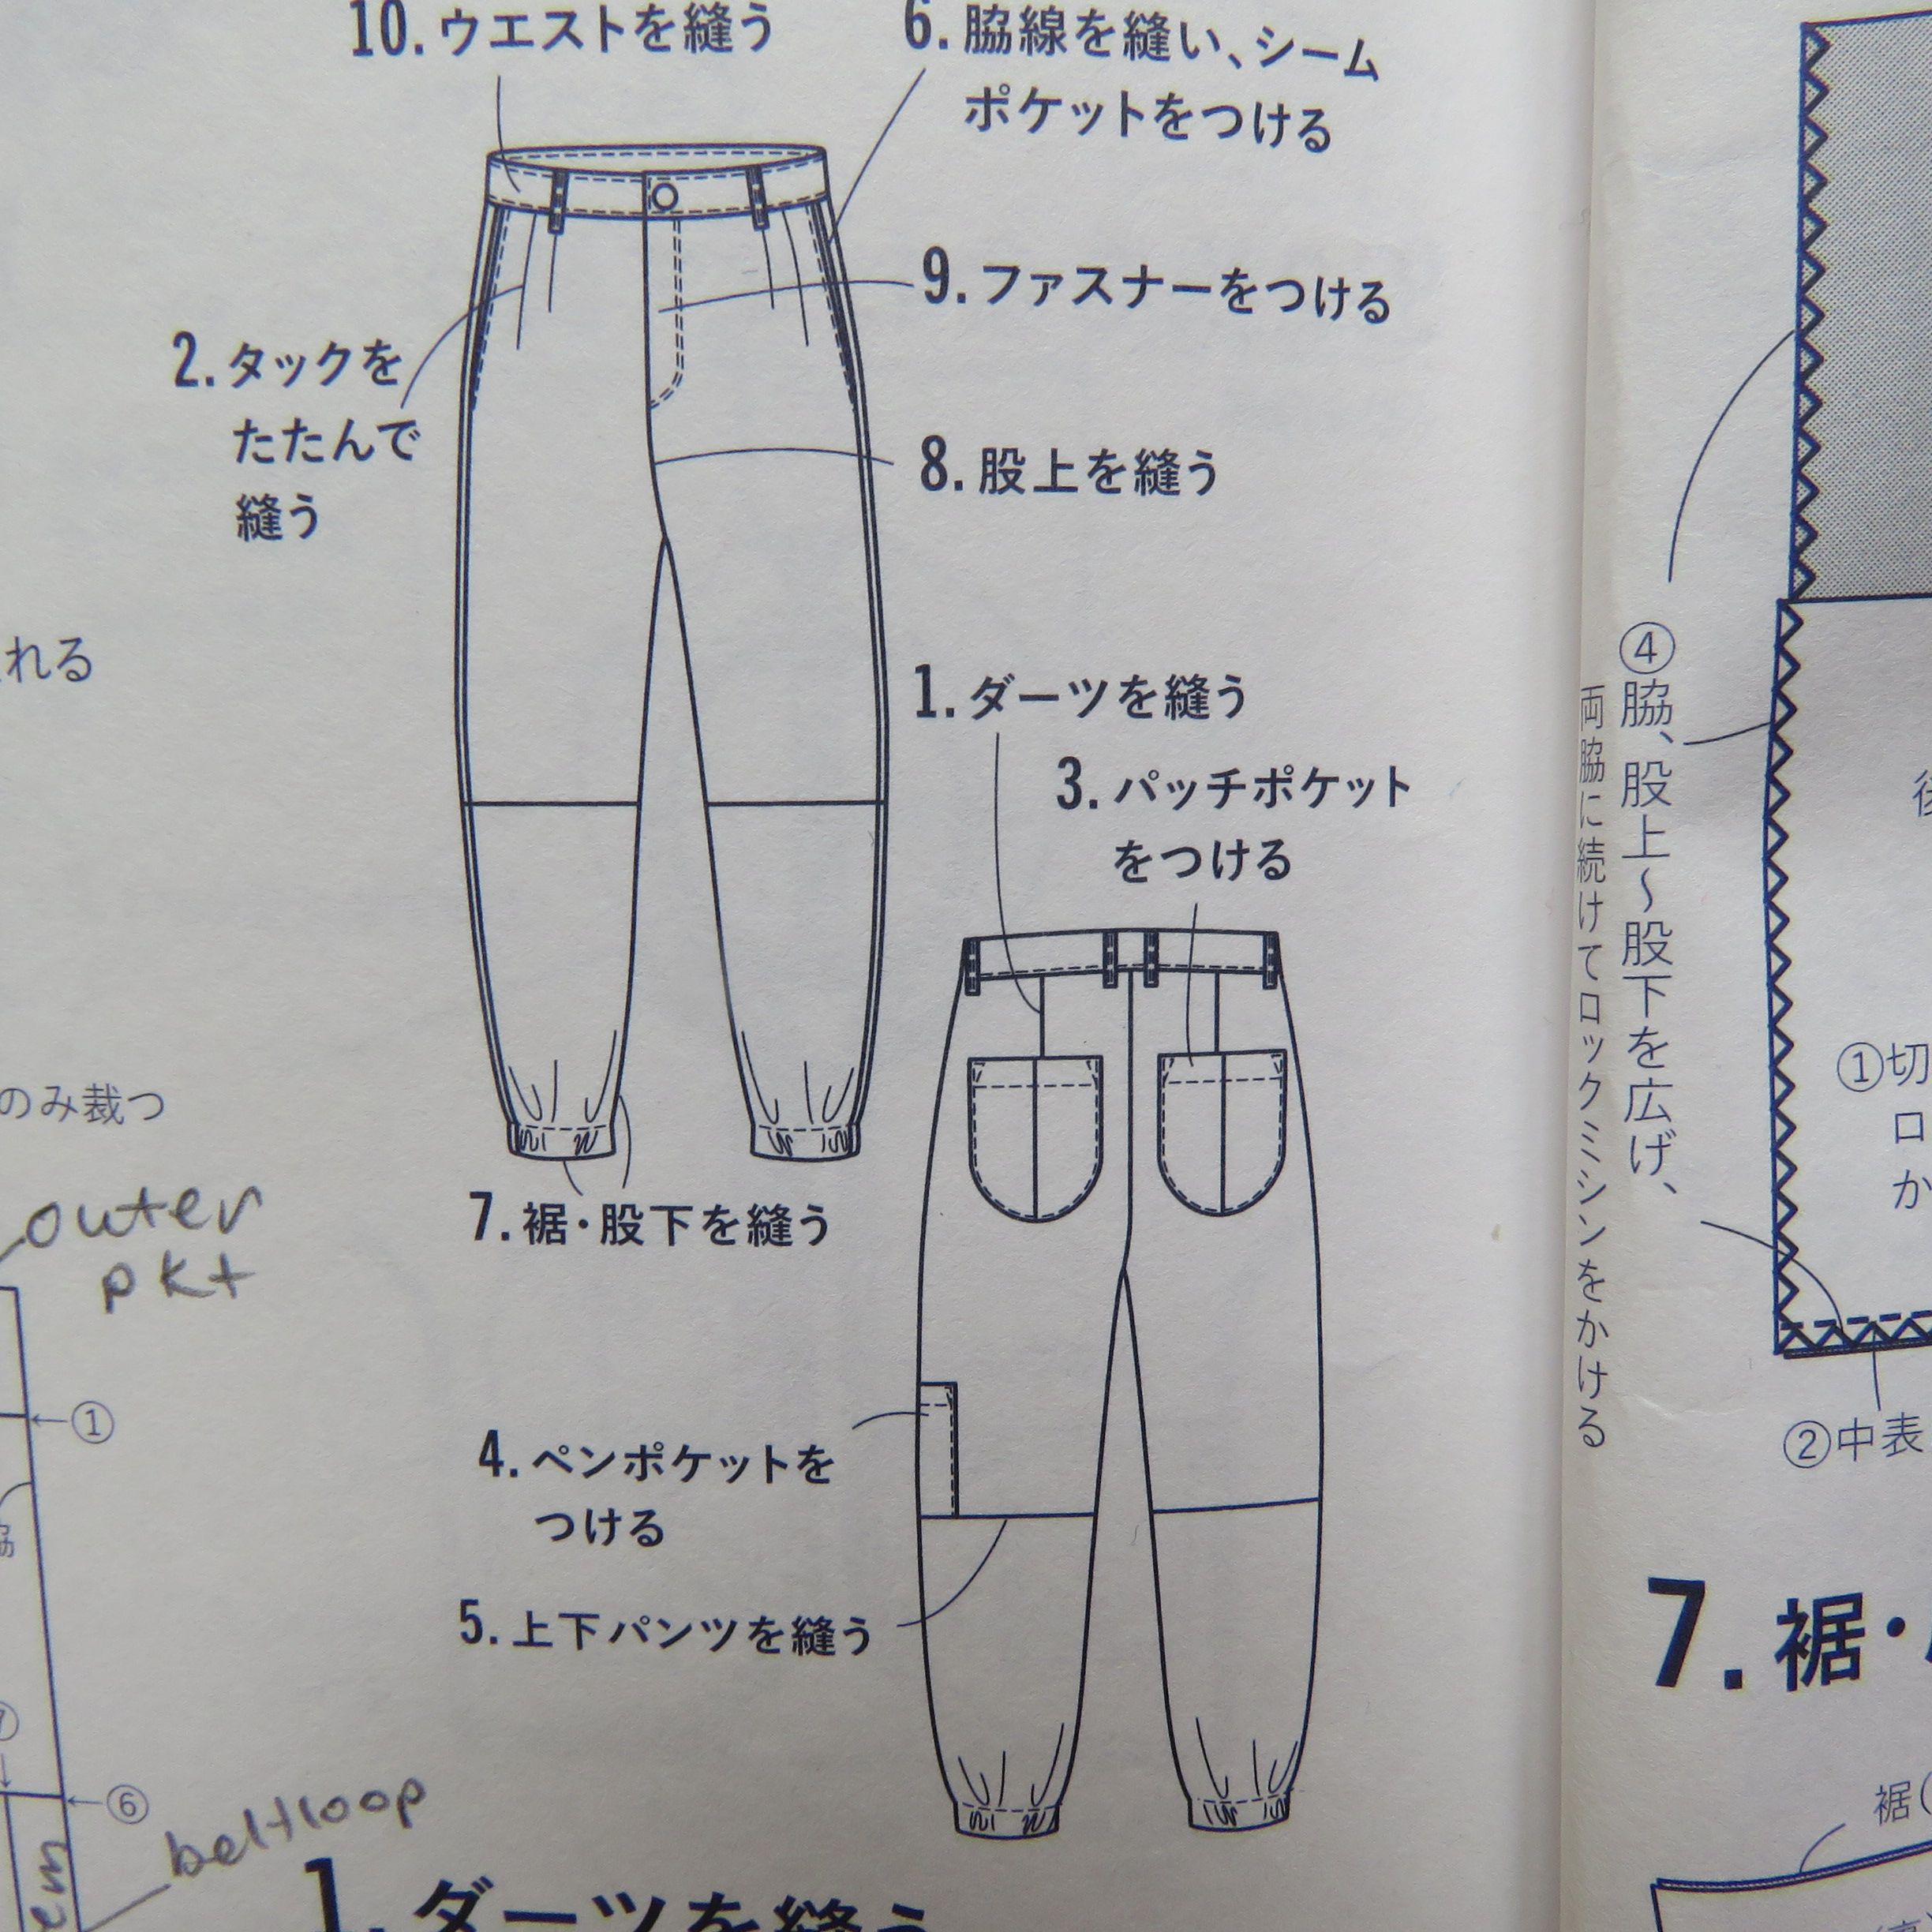
The instructions are in Japanese, so I ran them through a translator, skim-read them, then went my own way. I’ve made plenty of trousers in the past and I’m fairly stuck in my favourite ways to do things.
But I was so keen to make these I barged in and made mistakes, so I hope you won’t make any after reading about mine!
My fabric is deadstock ex-Celine denim from Potter & Co in Western Australia, made in Japan. Despite having 2% PU, it’s quite stiff and unforgiving, but will probably soften up after a couple of washes. I used it to make the coat version of Optimatium. To avoid giving my sweet little overlocker a hernia, I overlocked around all the pieces before starting.
Back pockets
Things started off very well. The back pockets were a lovely topstitching opportunity. If I were making these again, I might make a cardboard template for the curved edges, then the curves could be easily pressed under to give a smooth U shape.
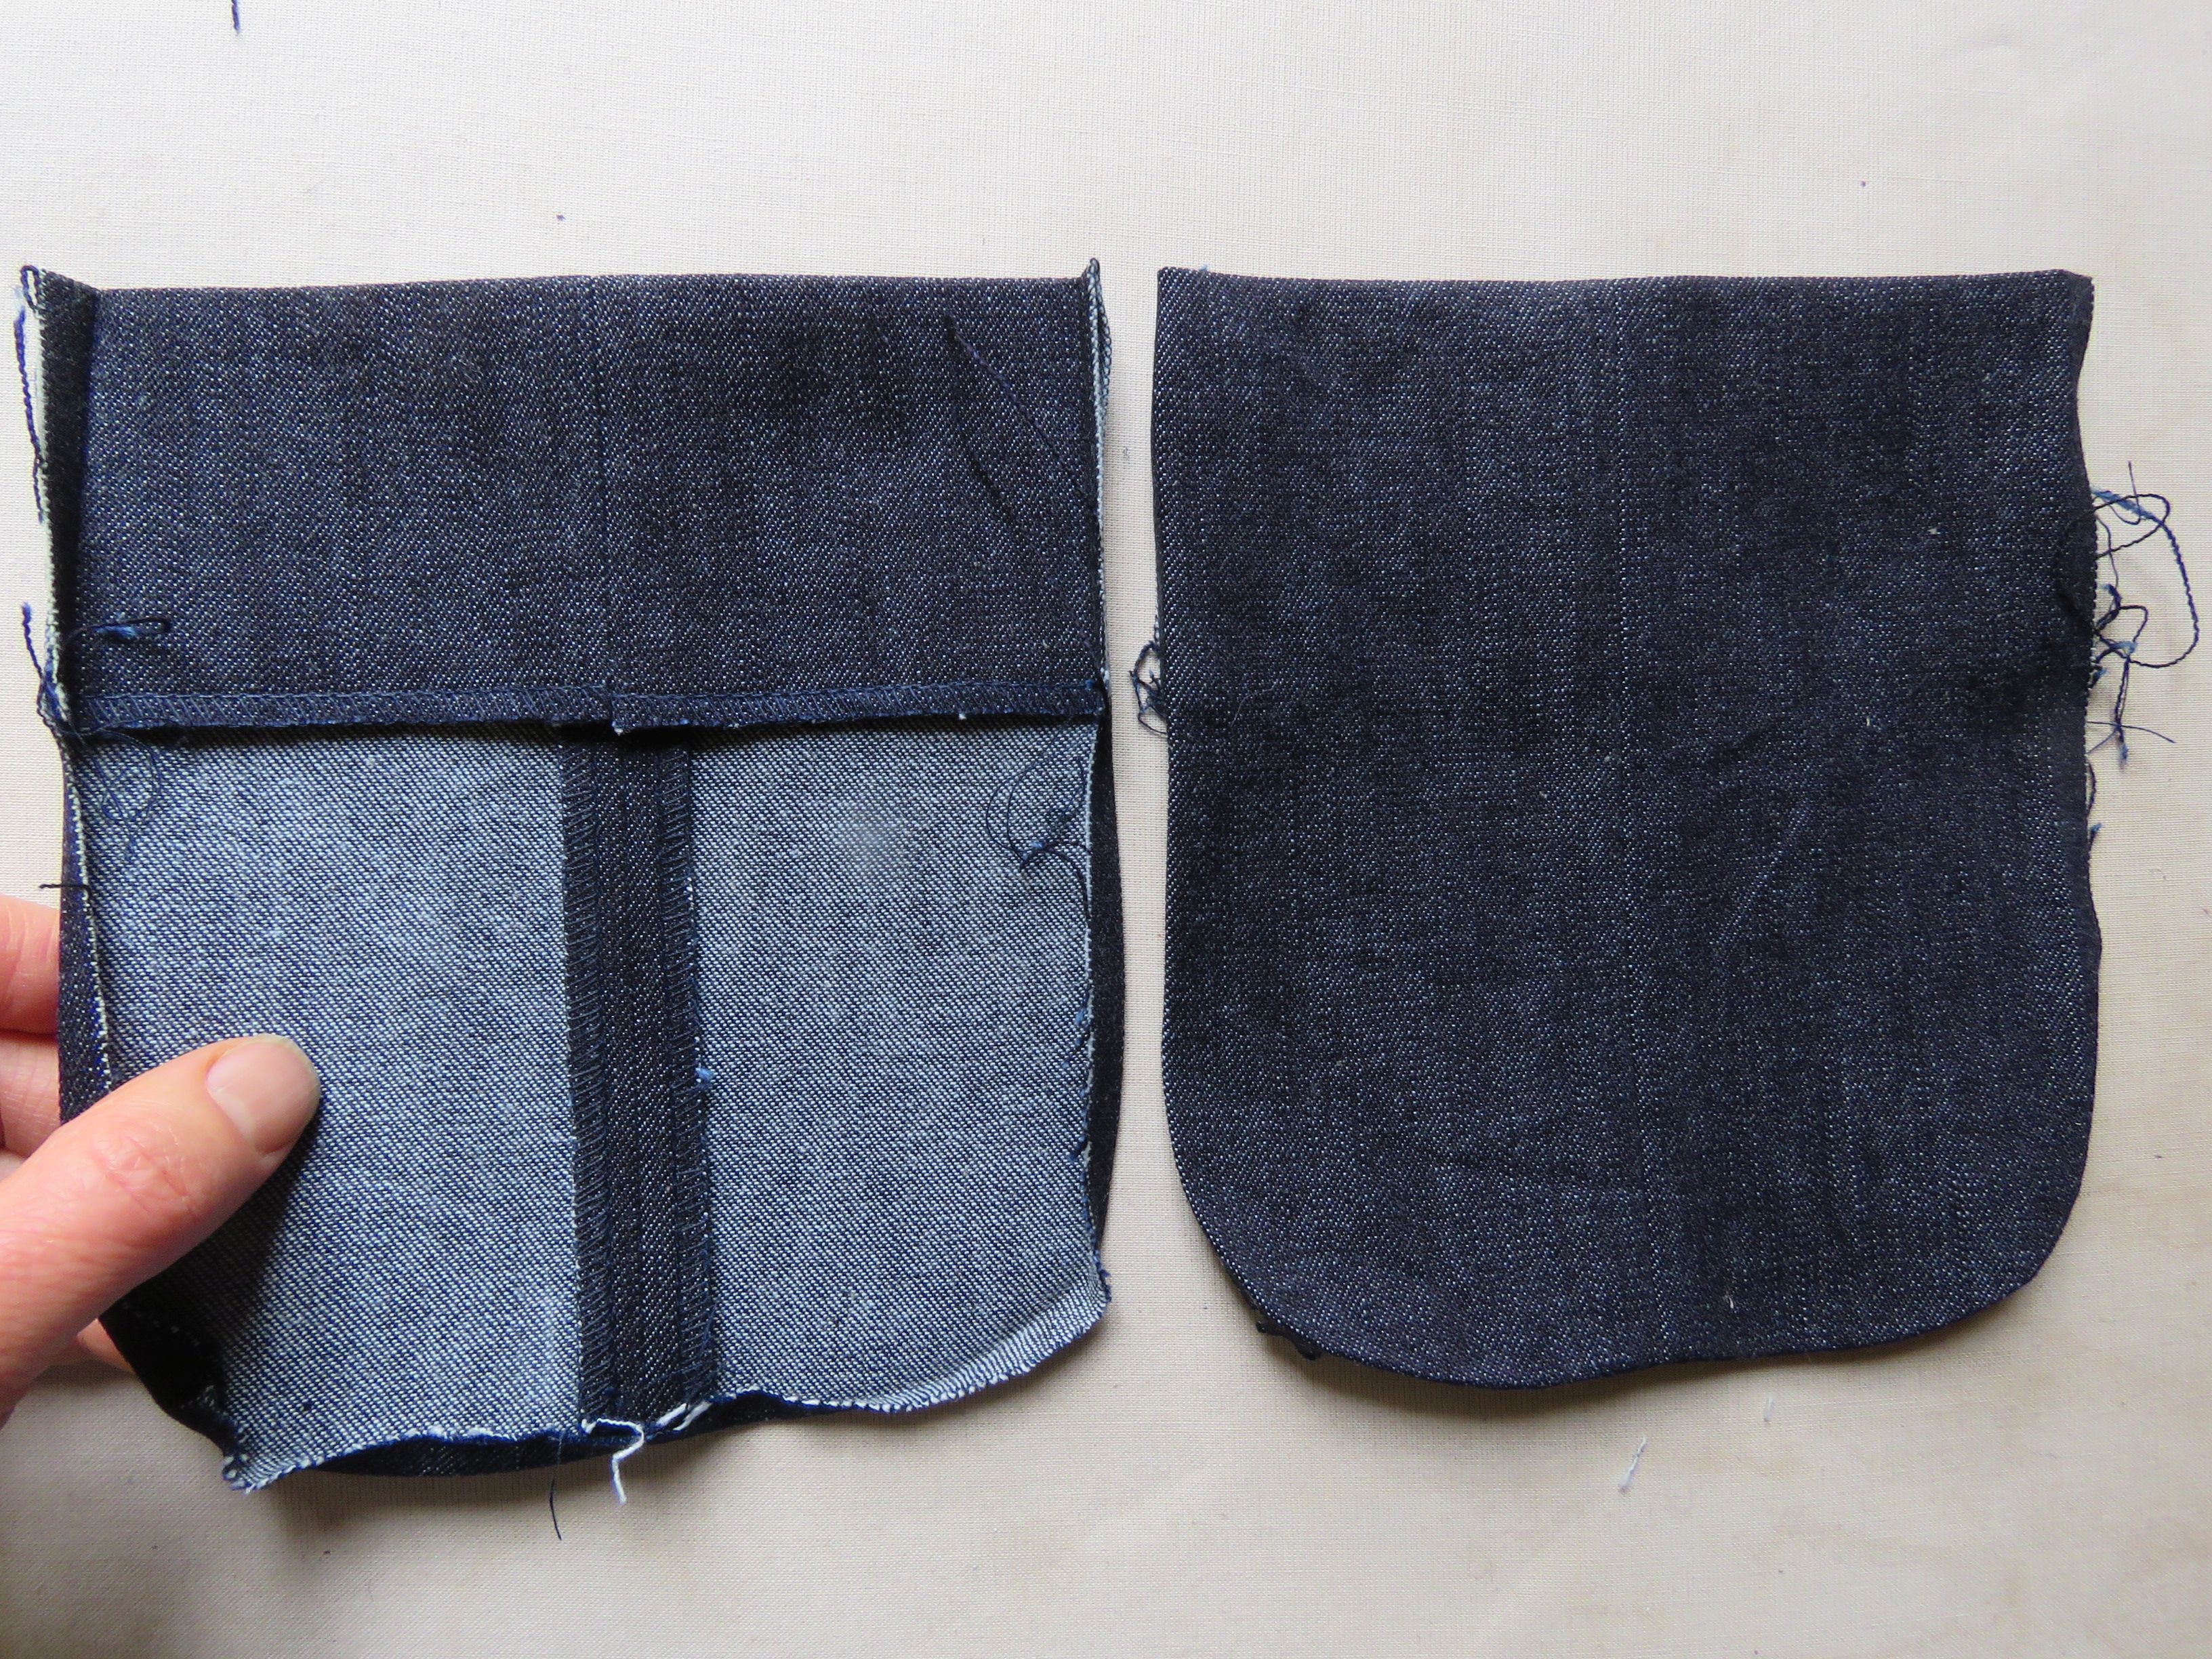
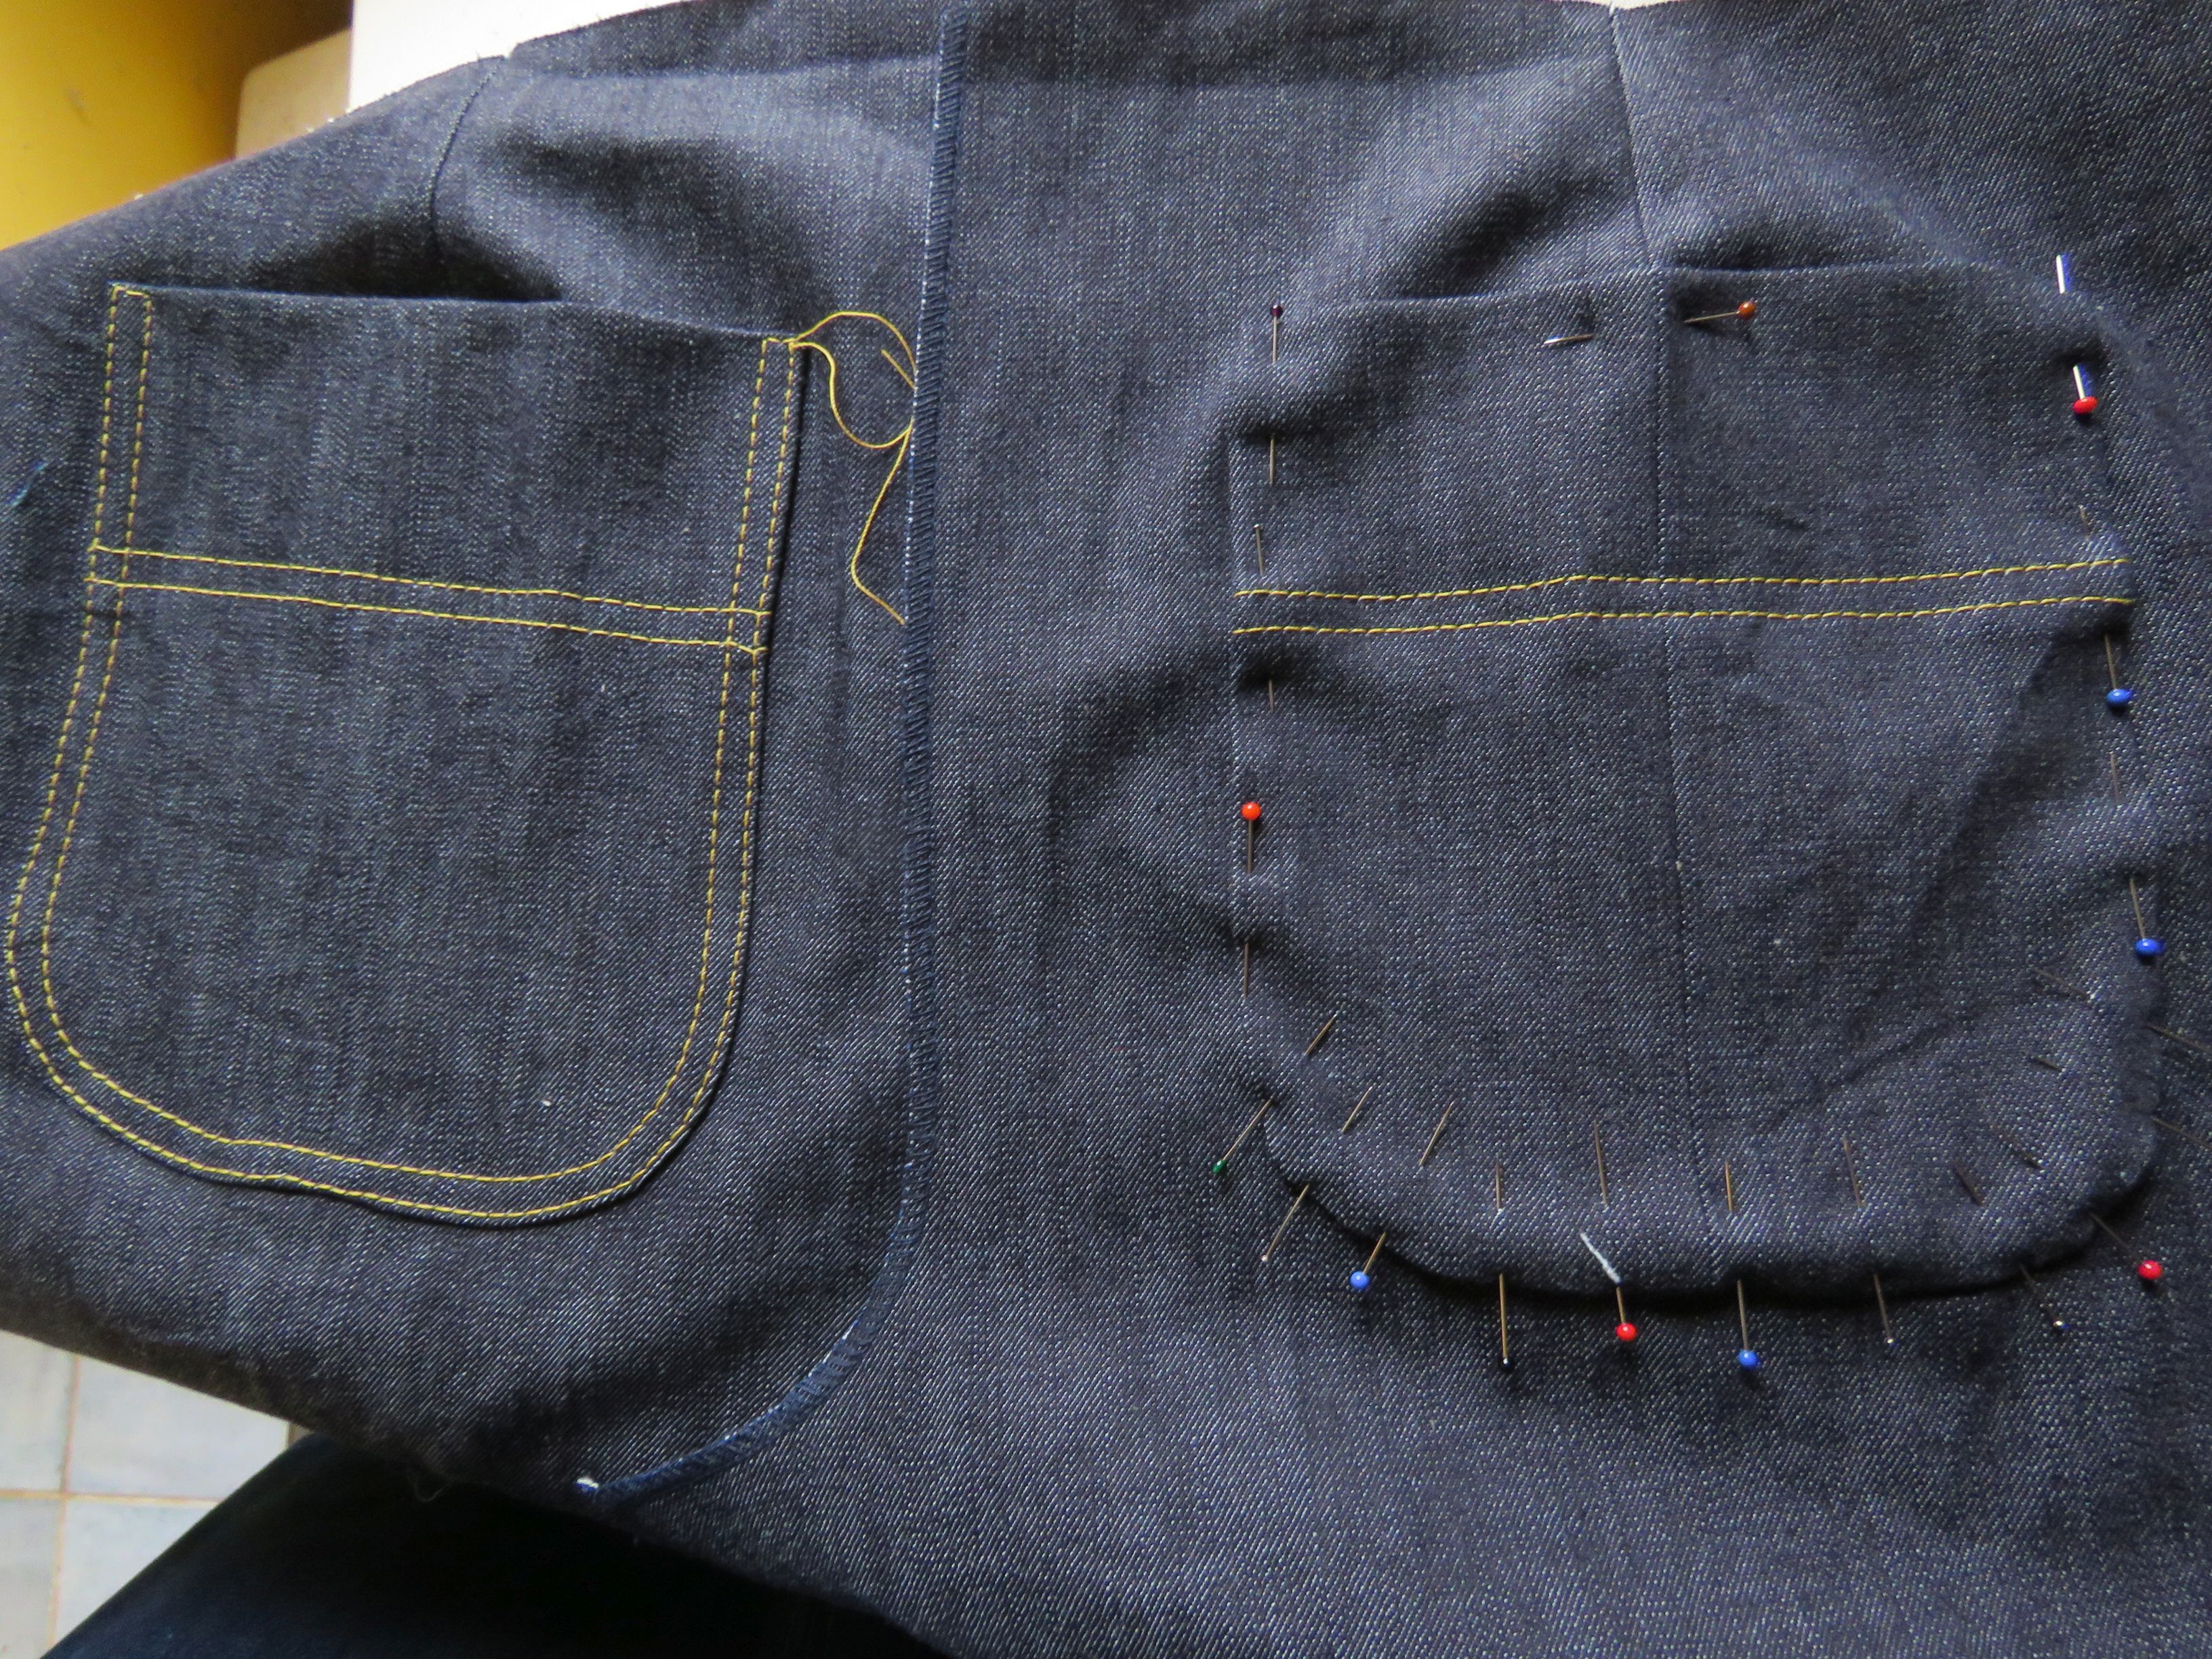
Front Fly
Then things got harder. I used this method for the fly front, and all went well, however I had a dilemma with the zip length. I hadn’t bothered to check if we had the correct zip at home; I just assumed there would be one in the zip box. But we only had 15cm long zips, not the 14cm required, and this meant the fly shield and fly facing were a bit too short. Dang! I could have cut them longer if I’d thought to find the zip first.
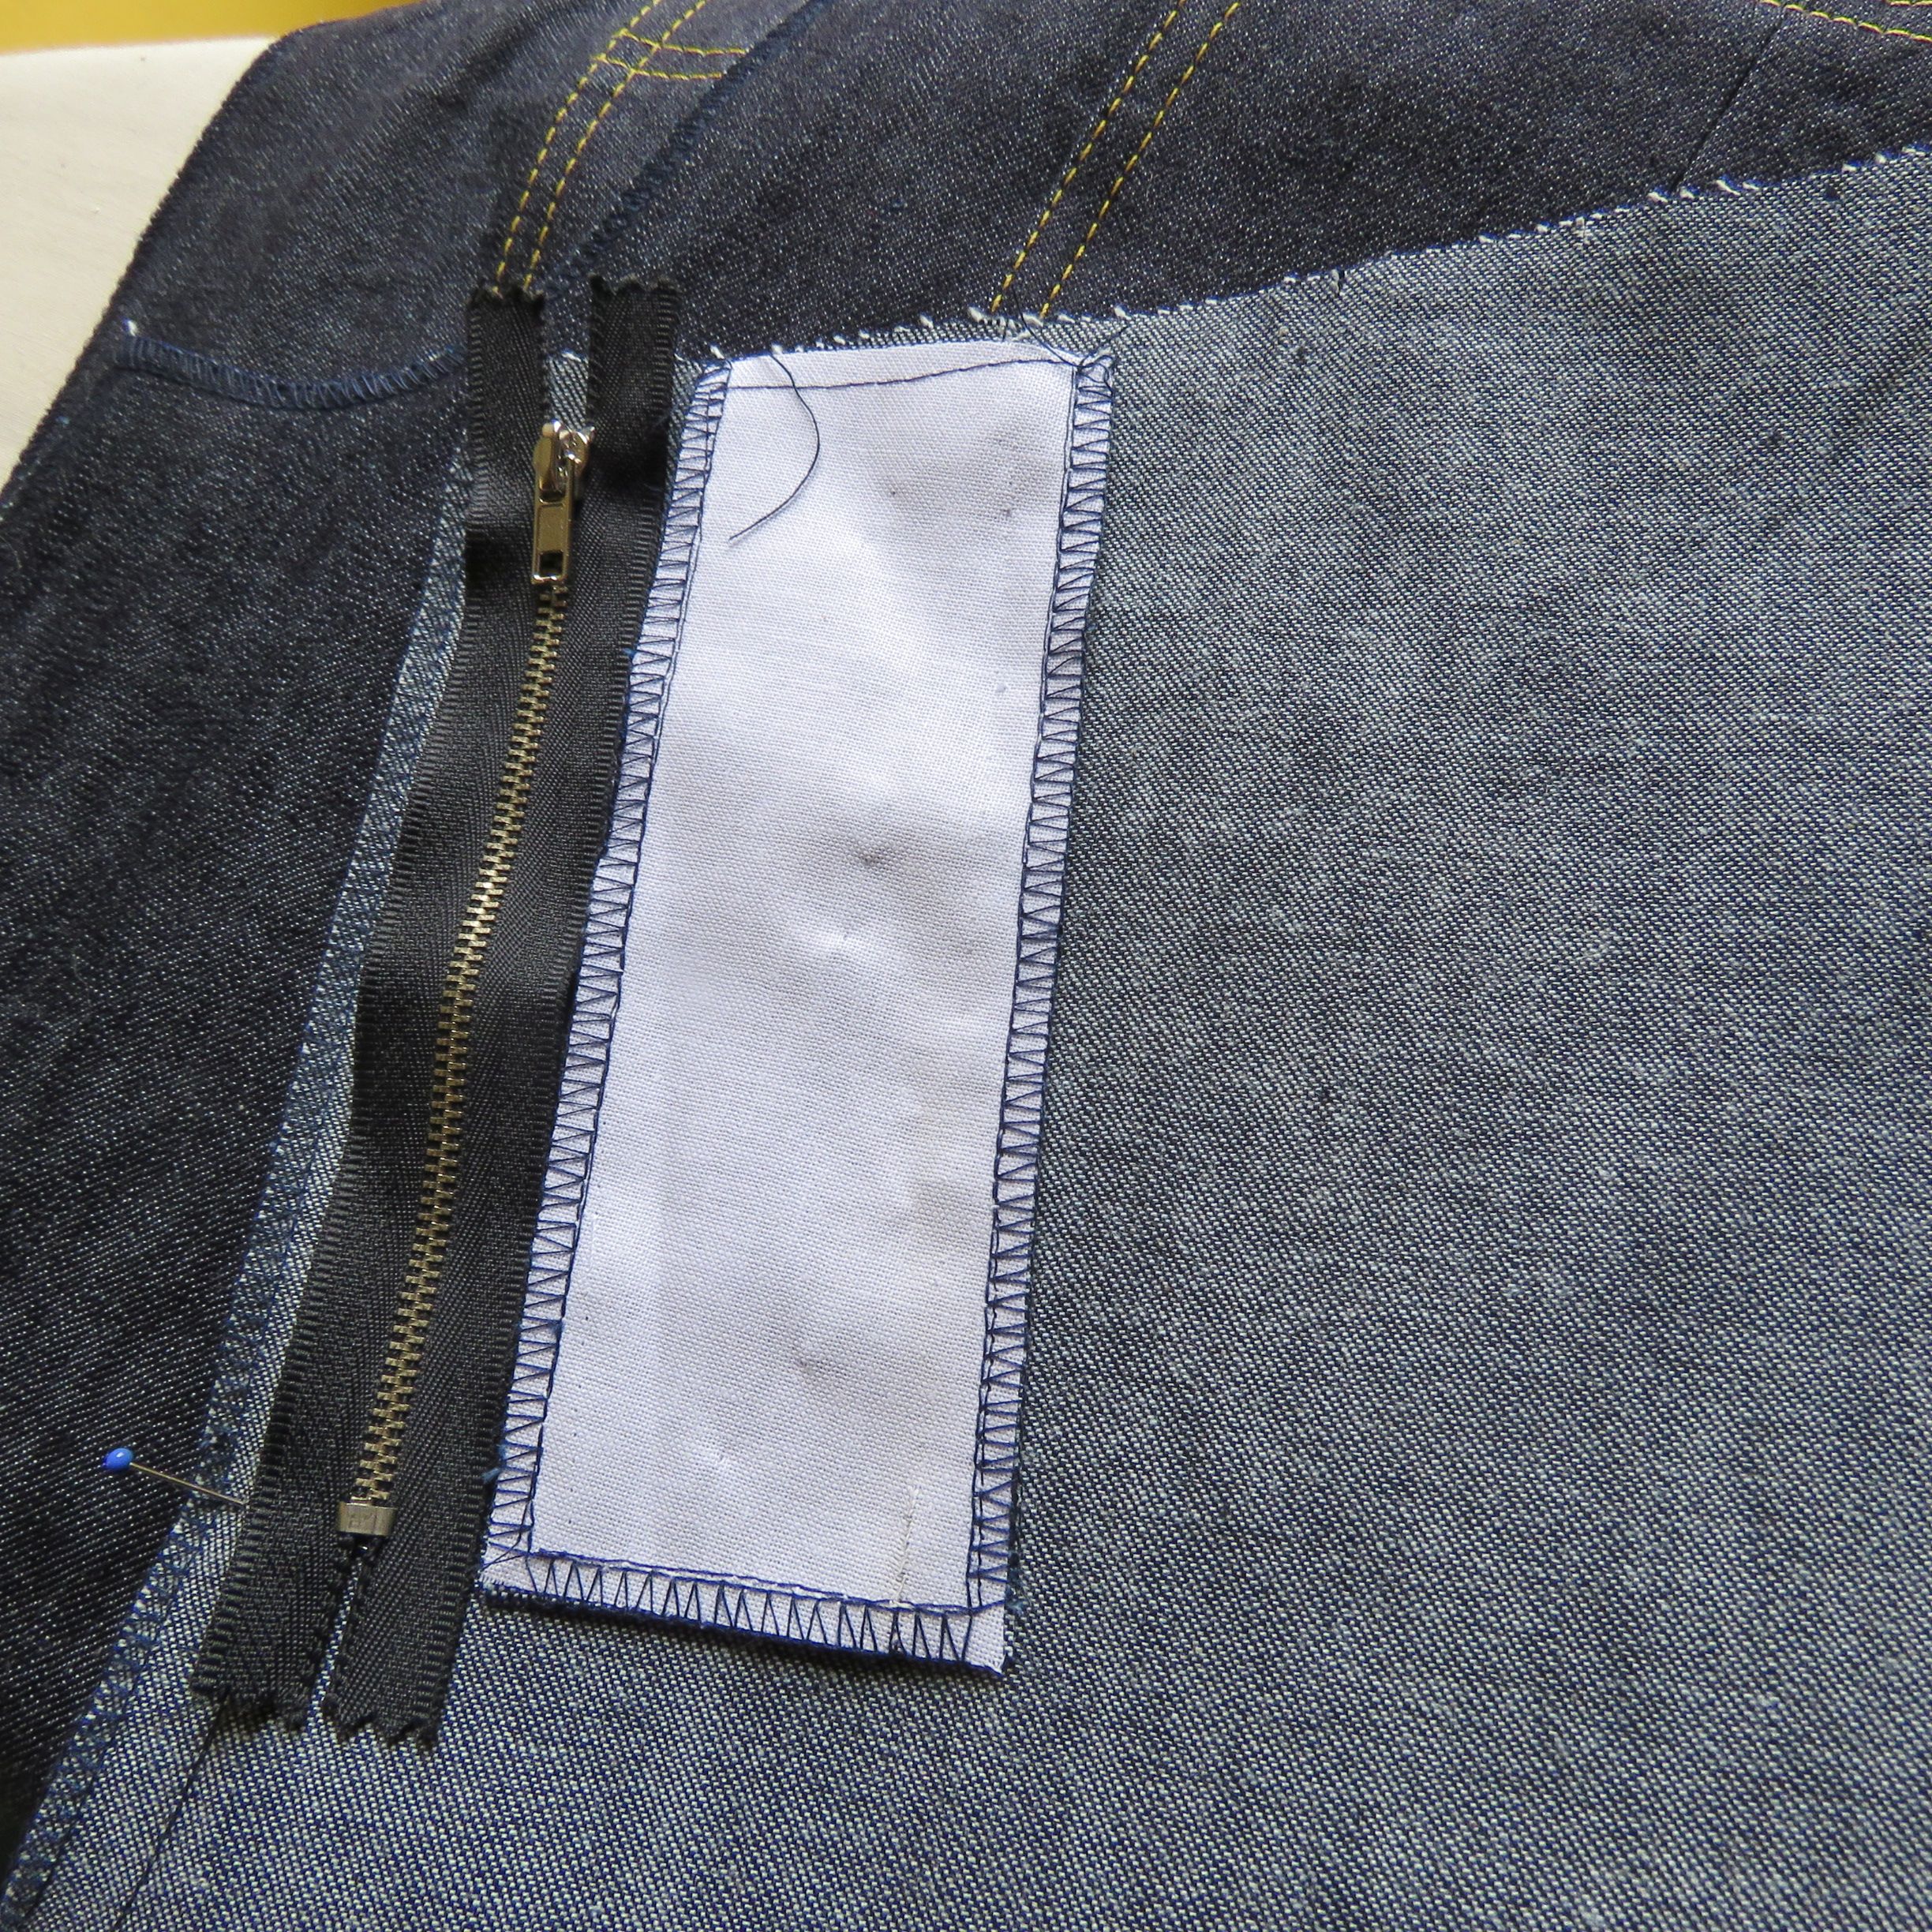
Options:
(a) Wait until the shops open on Monday and ask Mr H to buy a 14cm zip.
(b) Shorten the zip (it’s metal, so would need to find the tool to do it).
(c) Re-cut the shield and facing, and haul the overlocker out again. Did I have the energy?
(d) “Make it work”.
I picked (d) and “made it work” by lowering the facing and shield 5mm from the top. It turned out okay.
Waistband
The classic blunder: I rushed in without checking my measurements. I made the biggest size in the book, which is LL/3L. Size 3L on the size chart is waist 80cm/31.5″ and hips 104cm/41″, however the size for these trousers falls between the two sizes.
My waist is 32″+ and hips 40″. I don’t think these pants would fit a bigger size hip, as they’re reasonably snug on me. If you have a low, flat, middle-aged bottom like I do, I predict the seat will fit you well, as the centre back is straight rather than angled.
The finished waistband measures 31.25″, so at 32″ I’m larger and my waist regularly fluctuates by 2″ bigger. I tend to wear waistbands a little loose with a belt, or with back elastic, or all elastic, but prefer the first two.
Obviously the waistband was far too tight for my waist. I tried to “make it work” by folding in the fly shield and reducing the seam allowance at each end to the bare minimum, but in spite of summoning all my sewing powers, and although the waistband did up okay, it was uncomfortably firm.
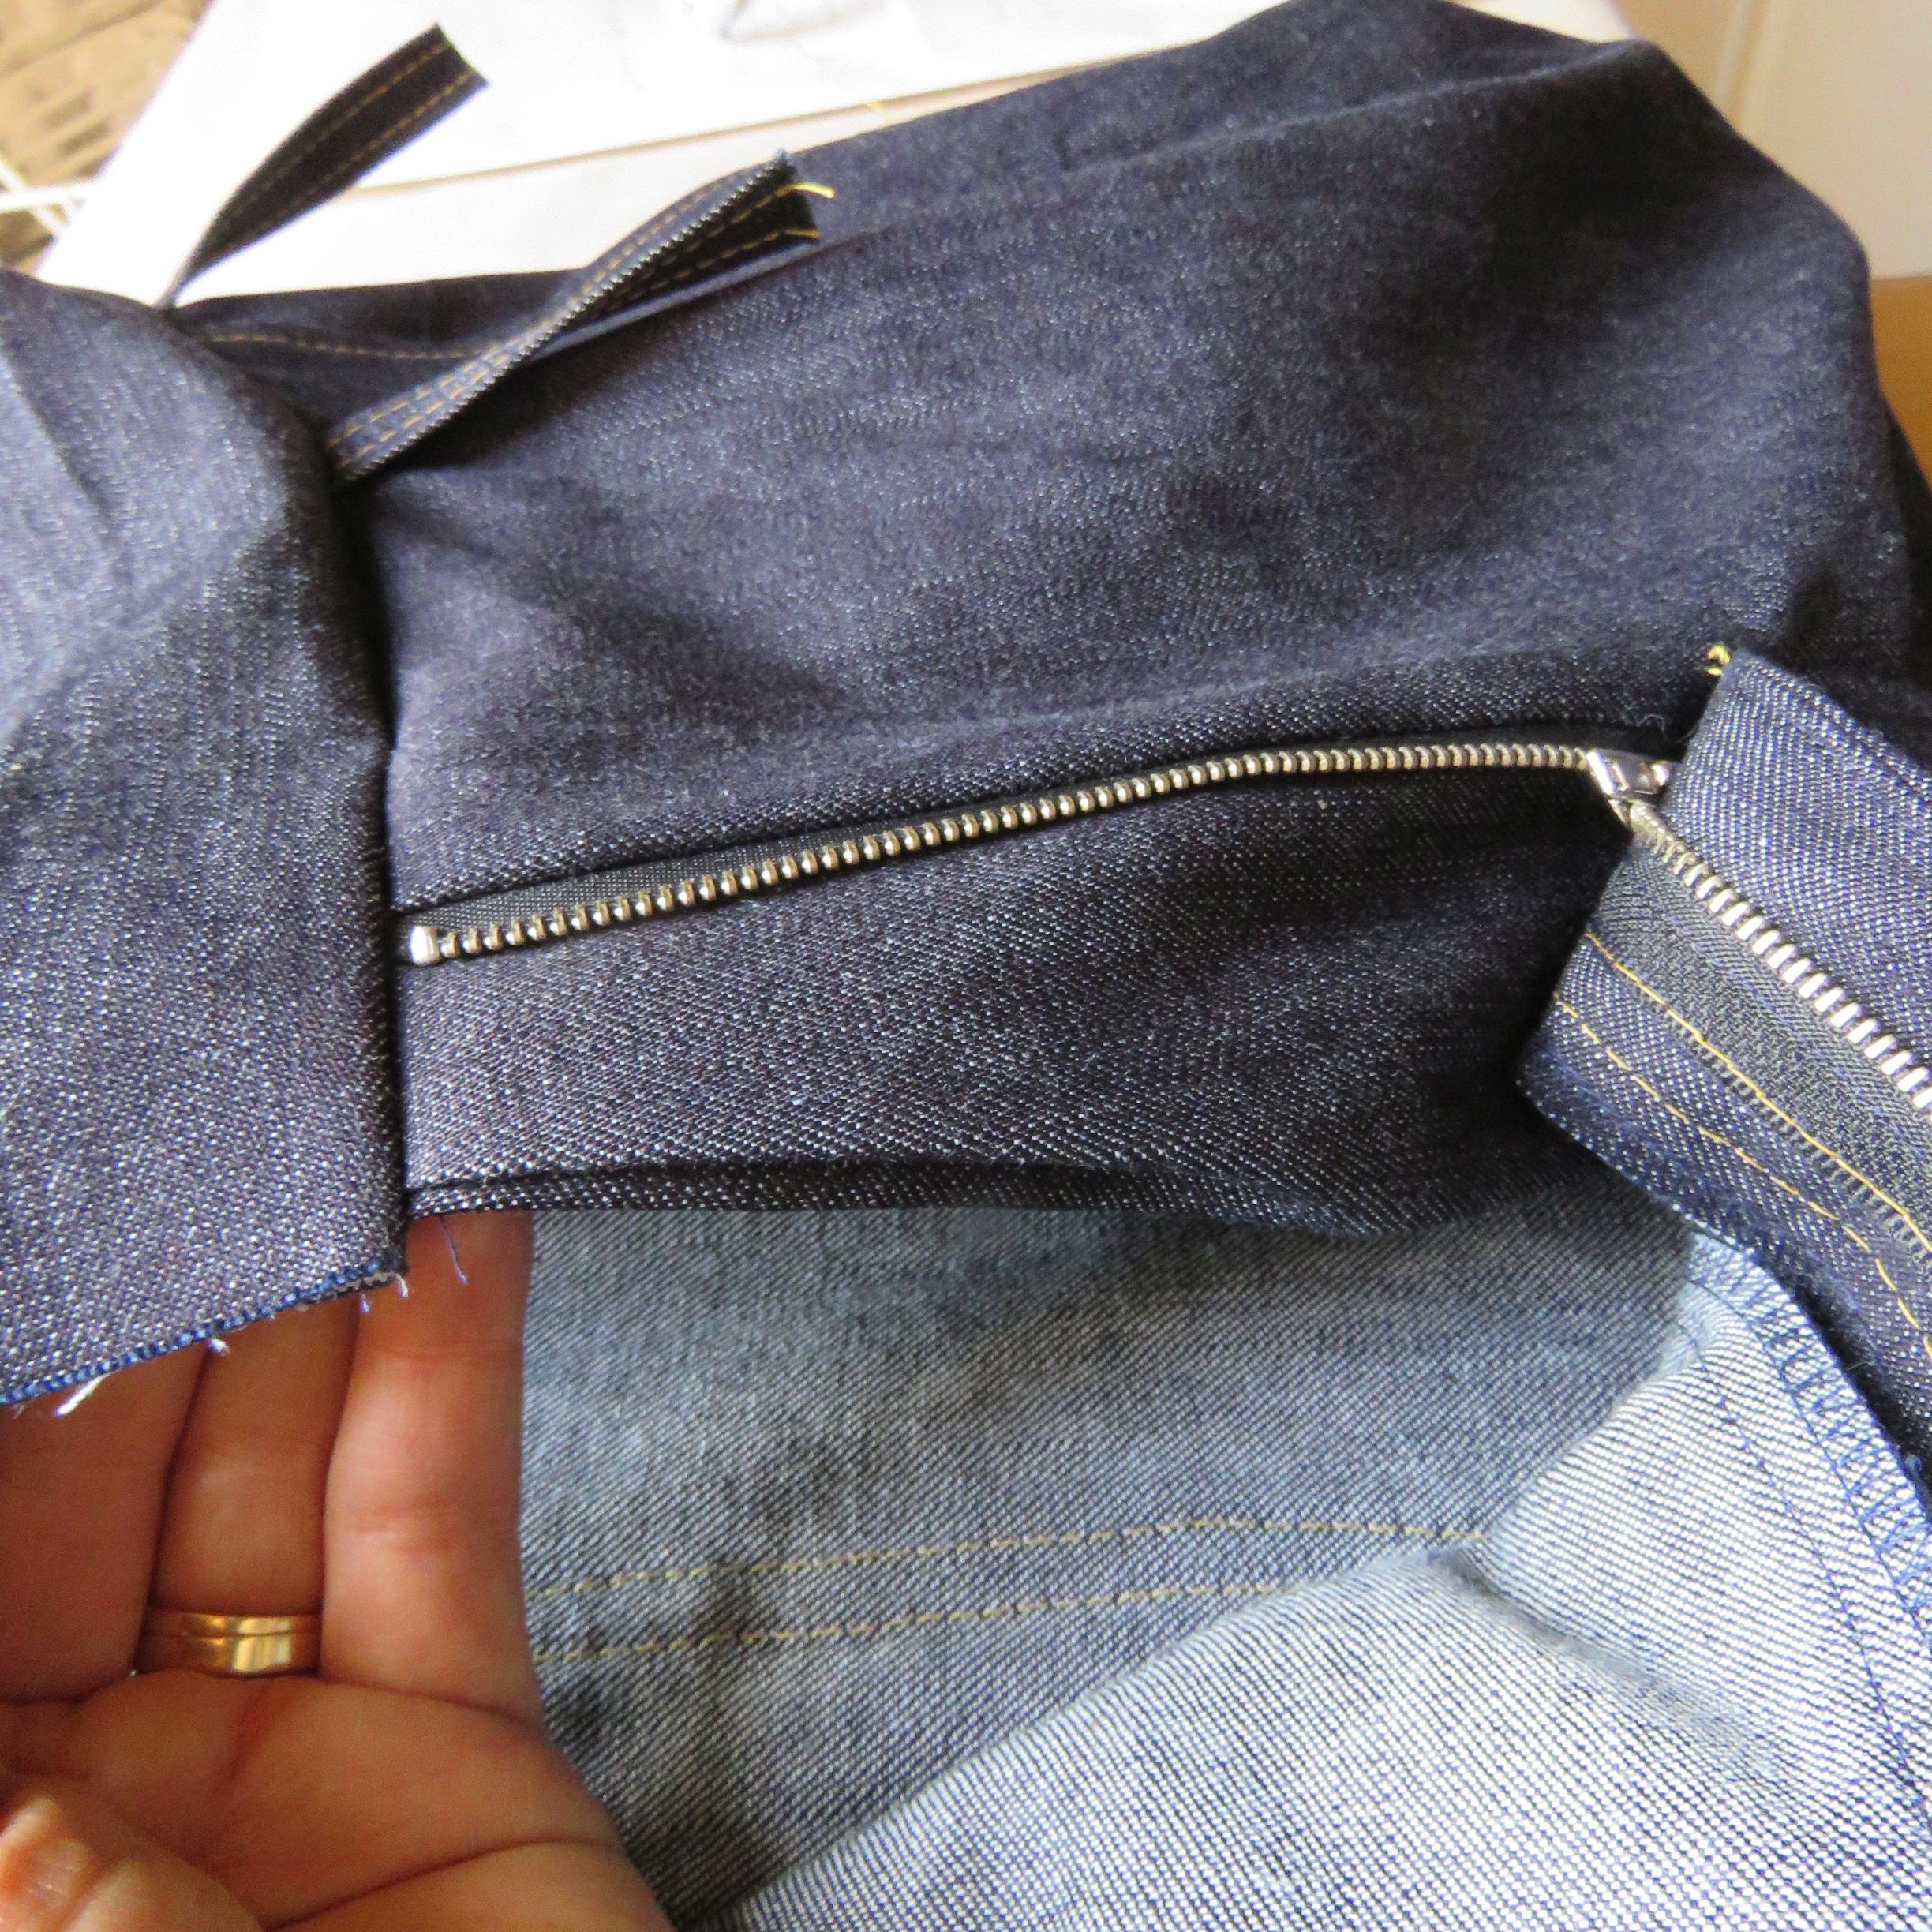
I bit the bullet and unpicked the waistband and beltloops, and re-cut the waistband a massive 10.5cm longer, and reduced the two front pleats to one smaller one. It fits like a dream now.
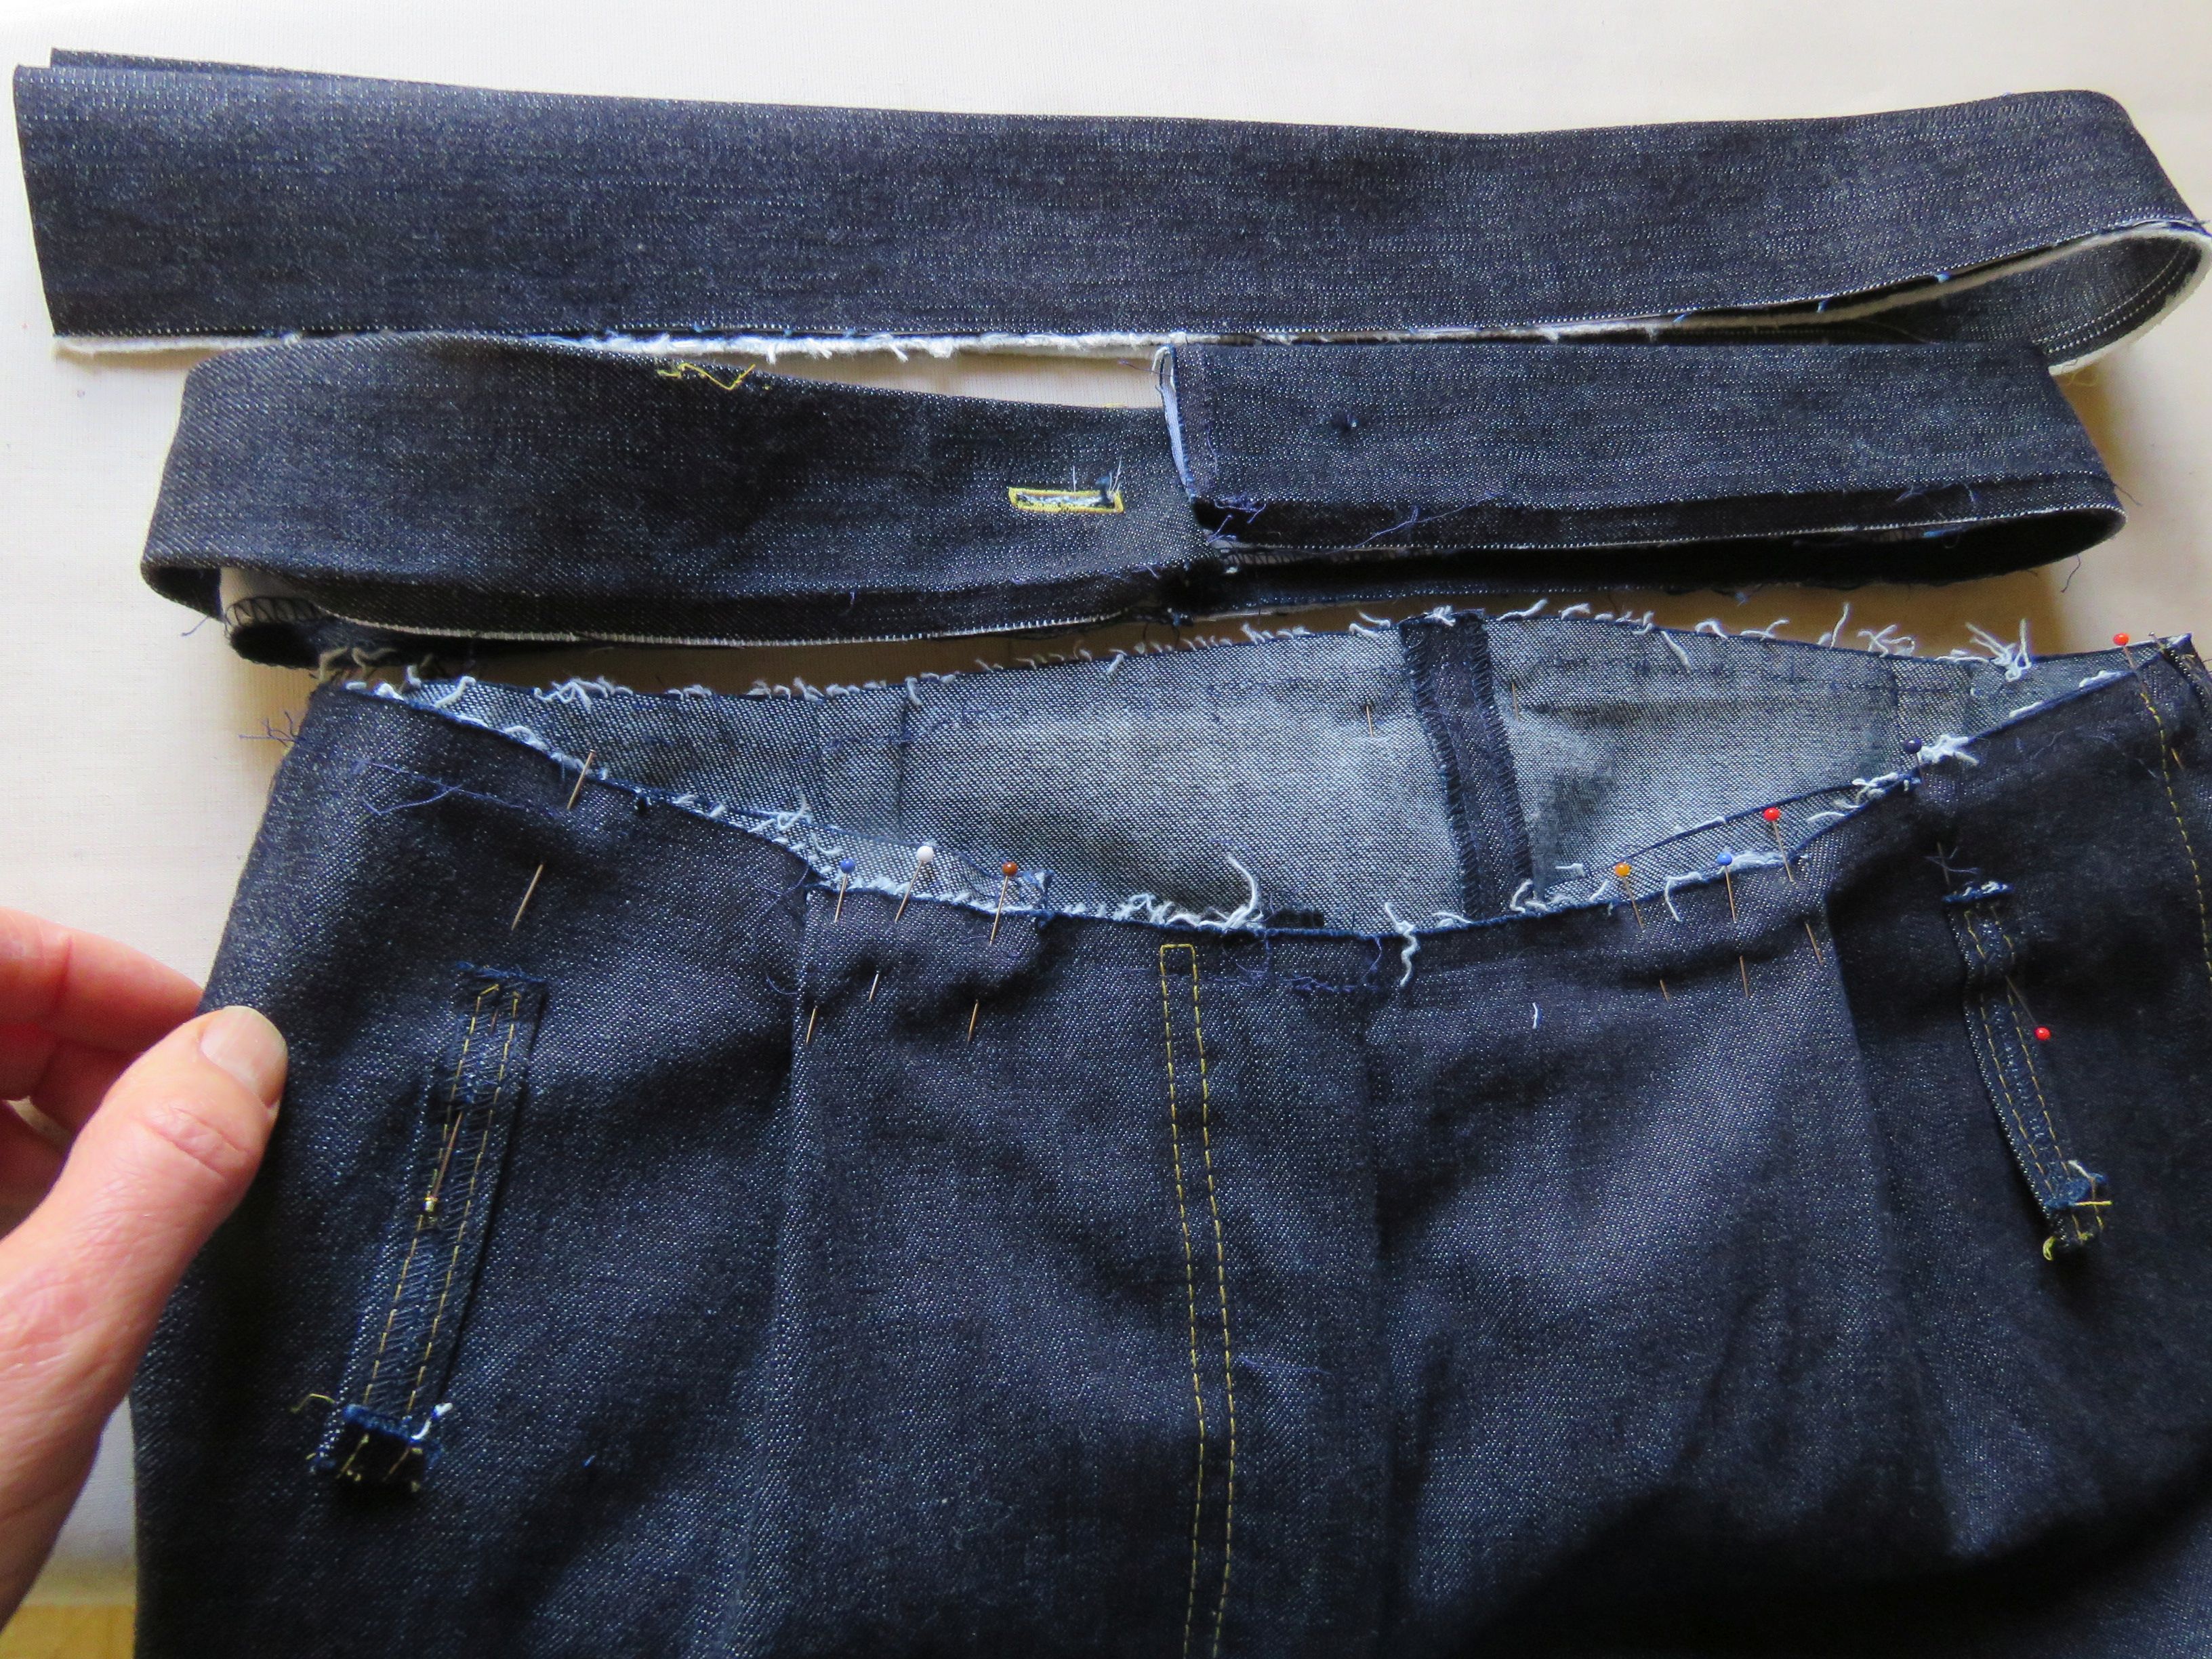
If this is you, the waistband formula is (your waist + 1.5cm-2.5cm ease or whatever you prefer) + 6.5cm for the fly shield + 2cm seam allowances for the ends. Adjust the pleats to fit the waistband.
For the new waistband, I used the selvedge as the inside edge and I like it.
Tweaks
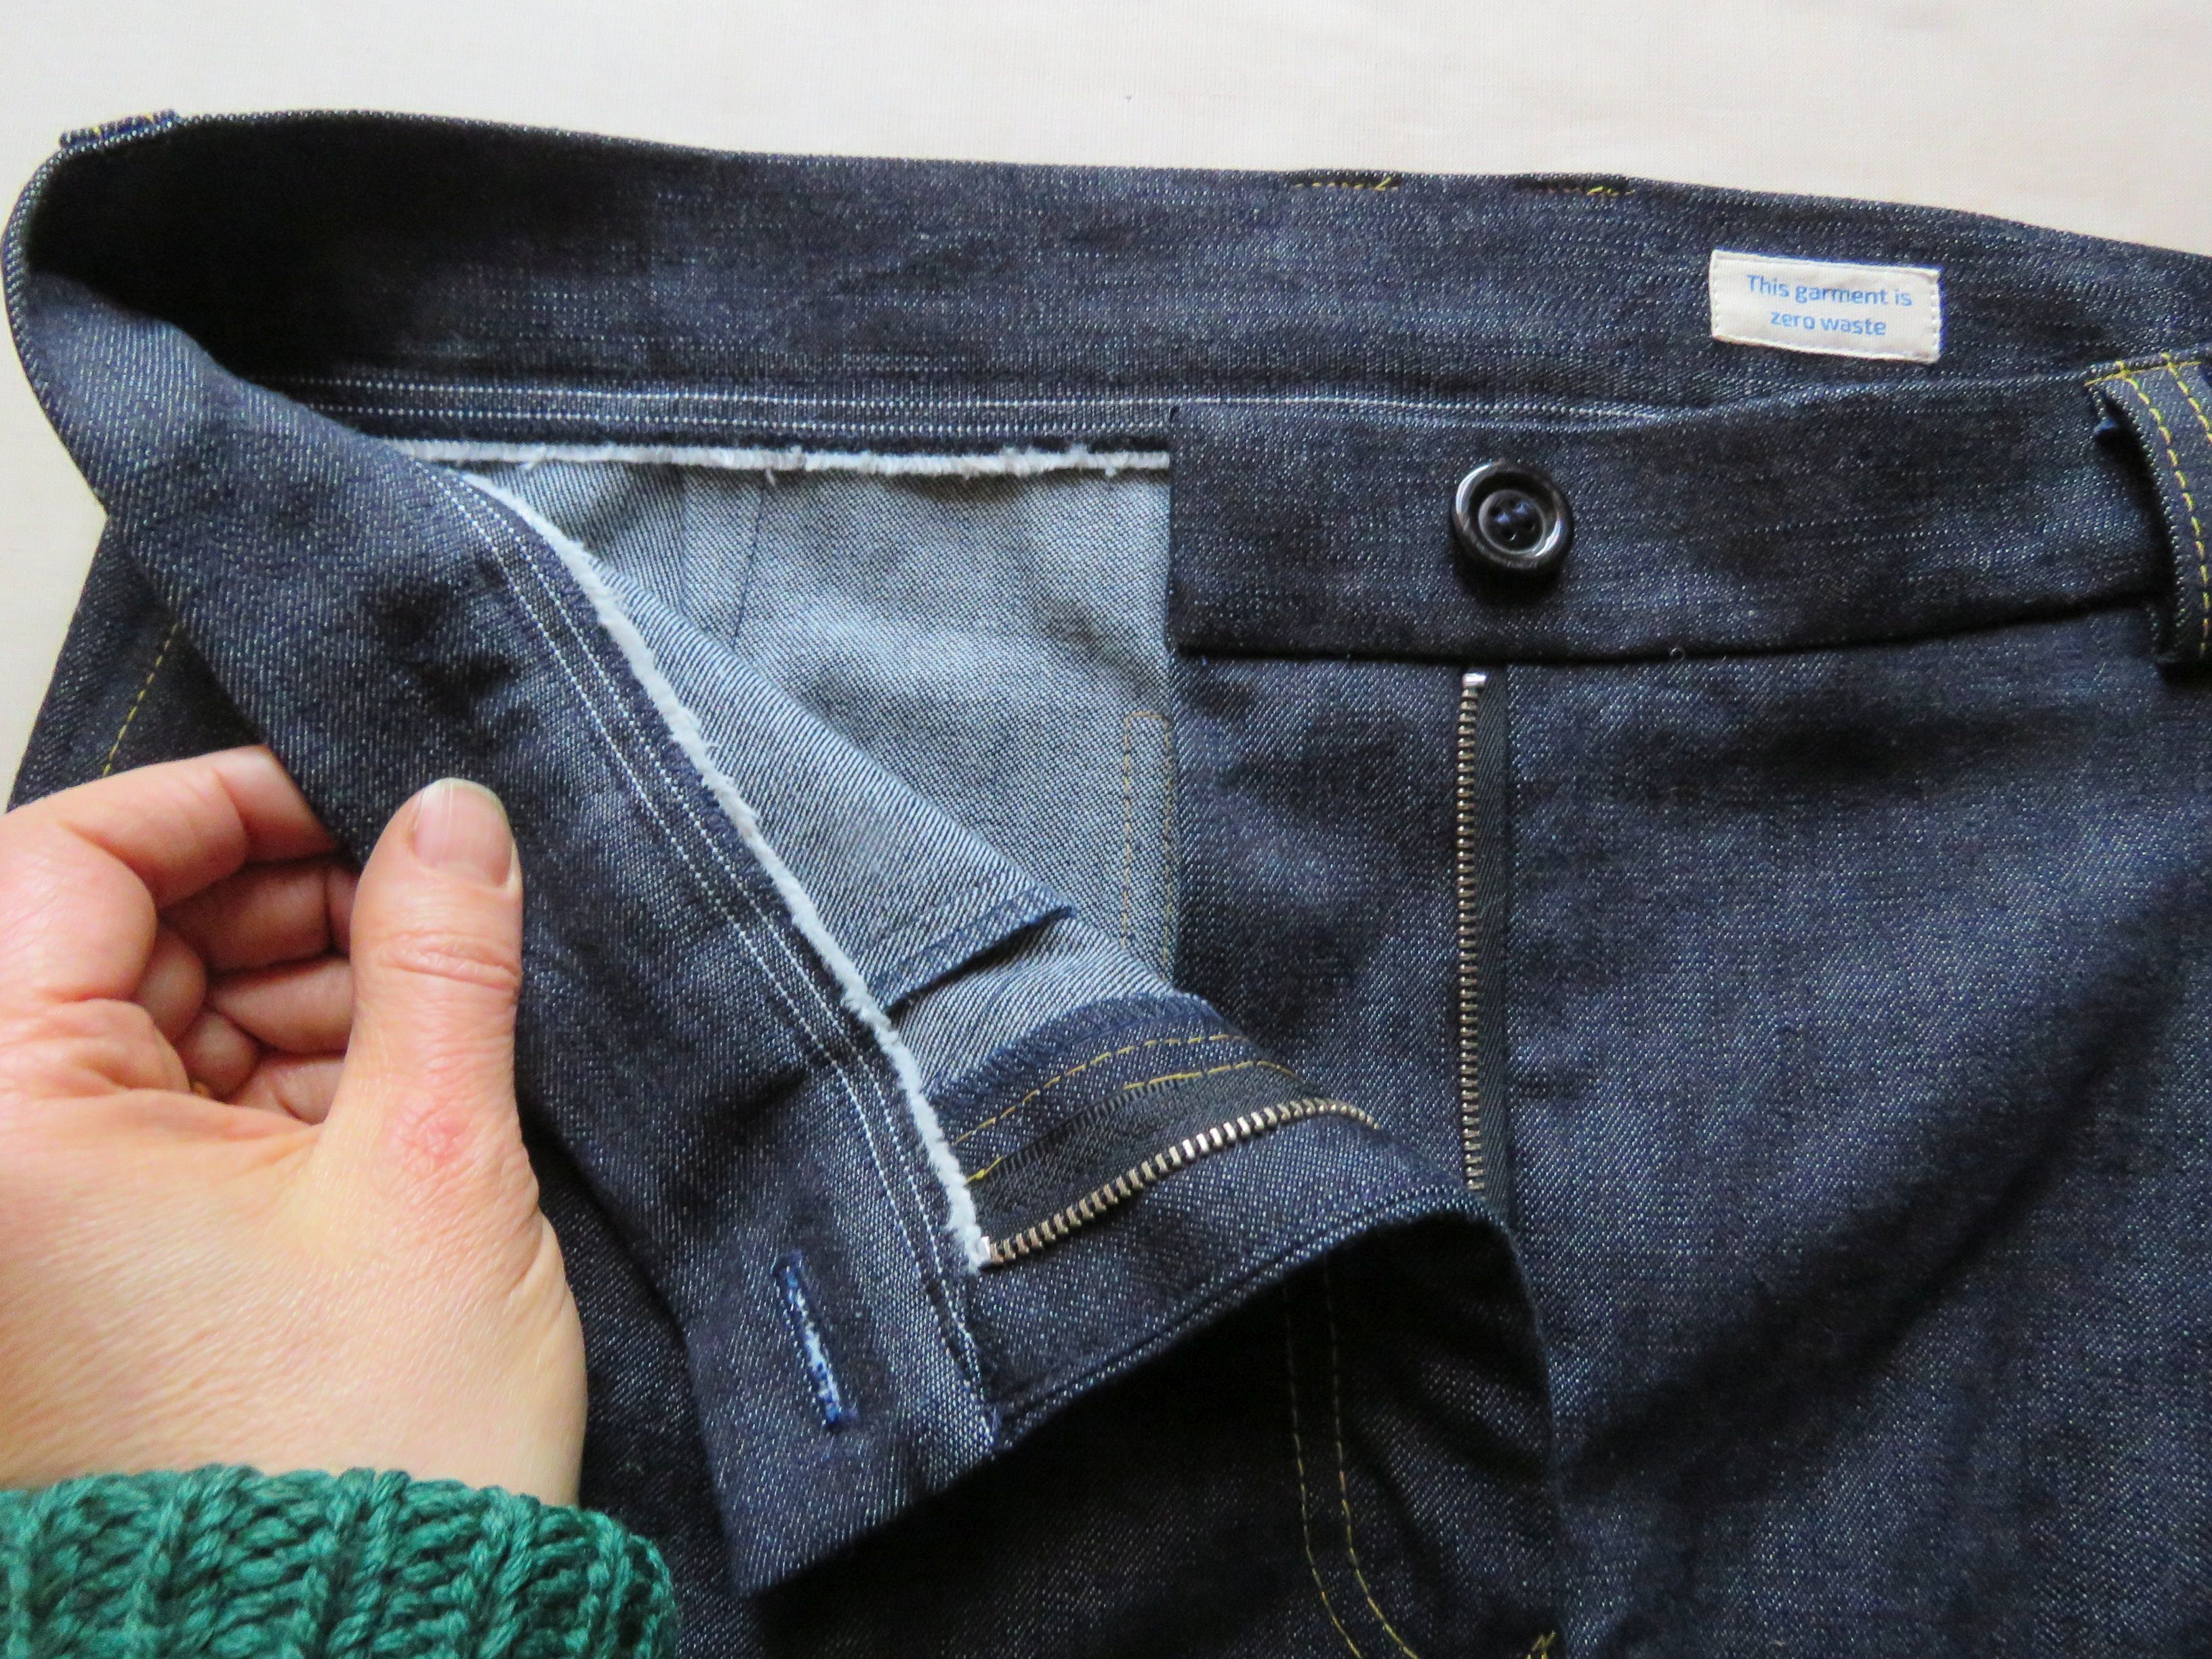
I made a couple of tiny tweaks to the pattern to suit my body shape and preference. If you make these (or other trousers), maybe they’re useful for you too.
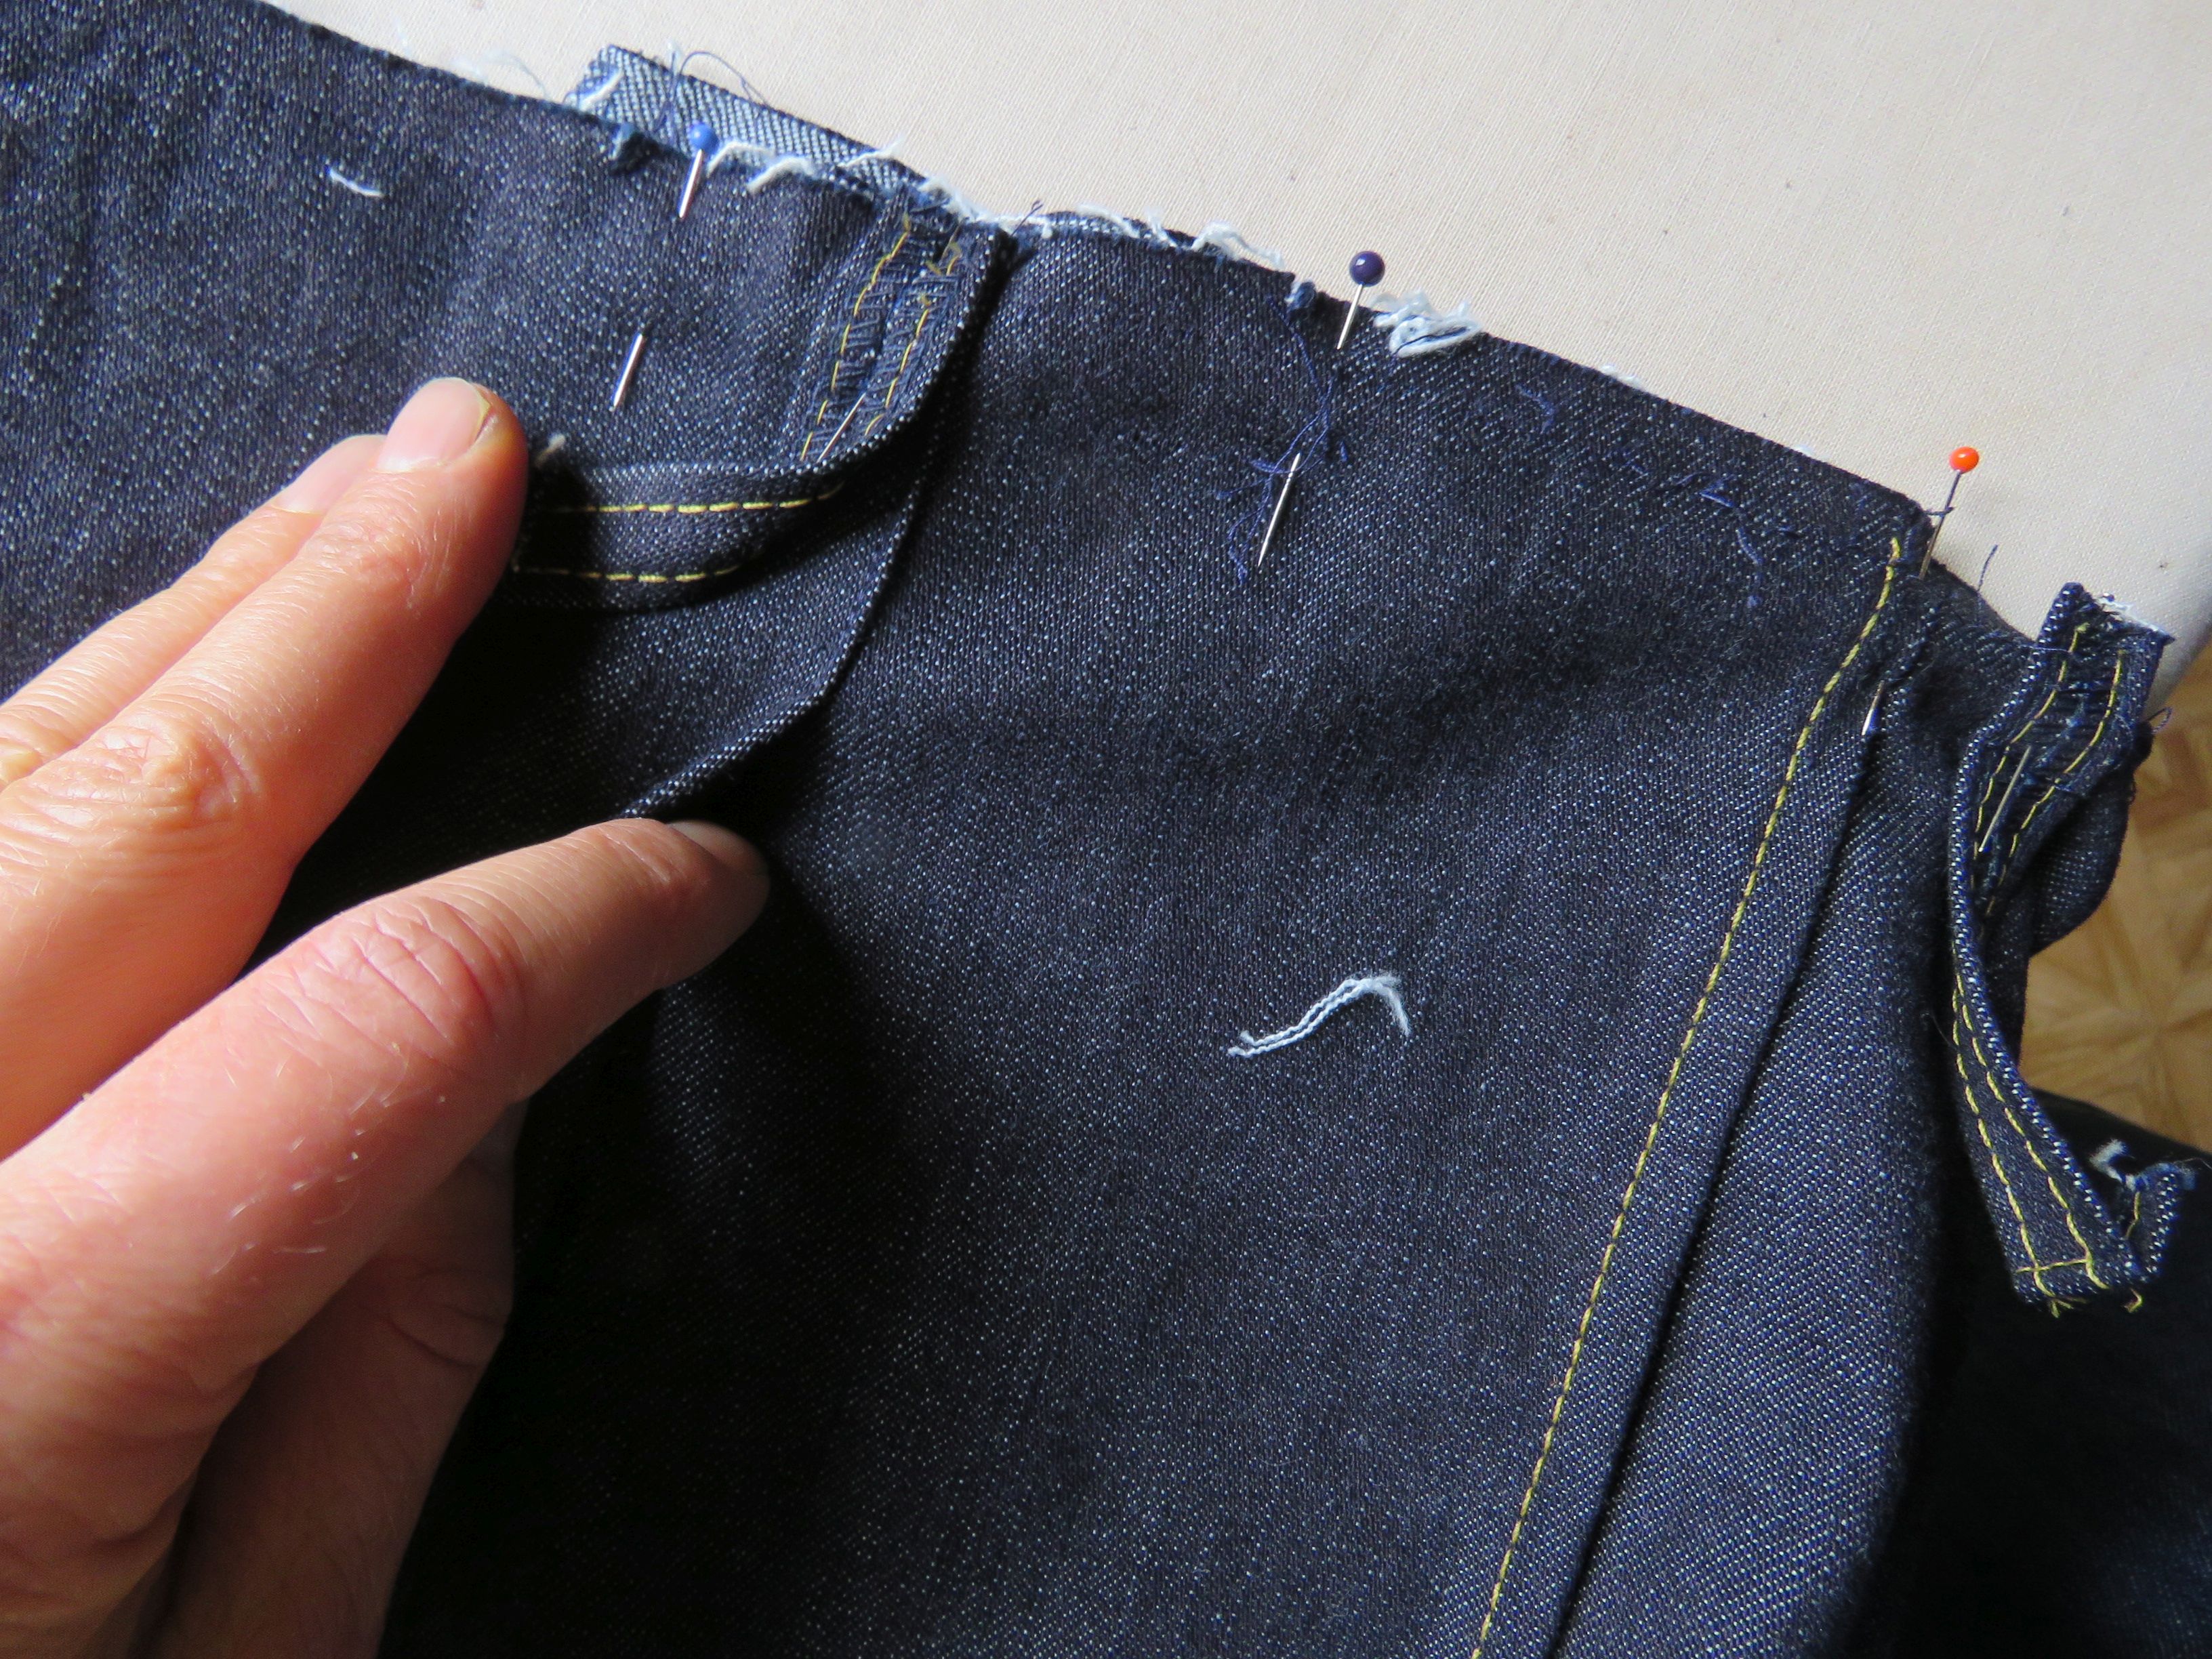
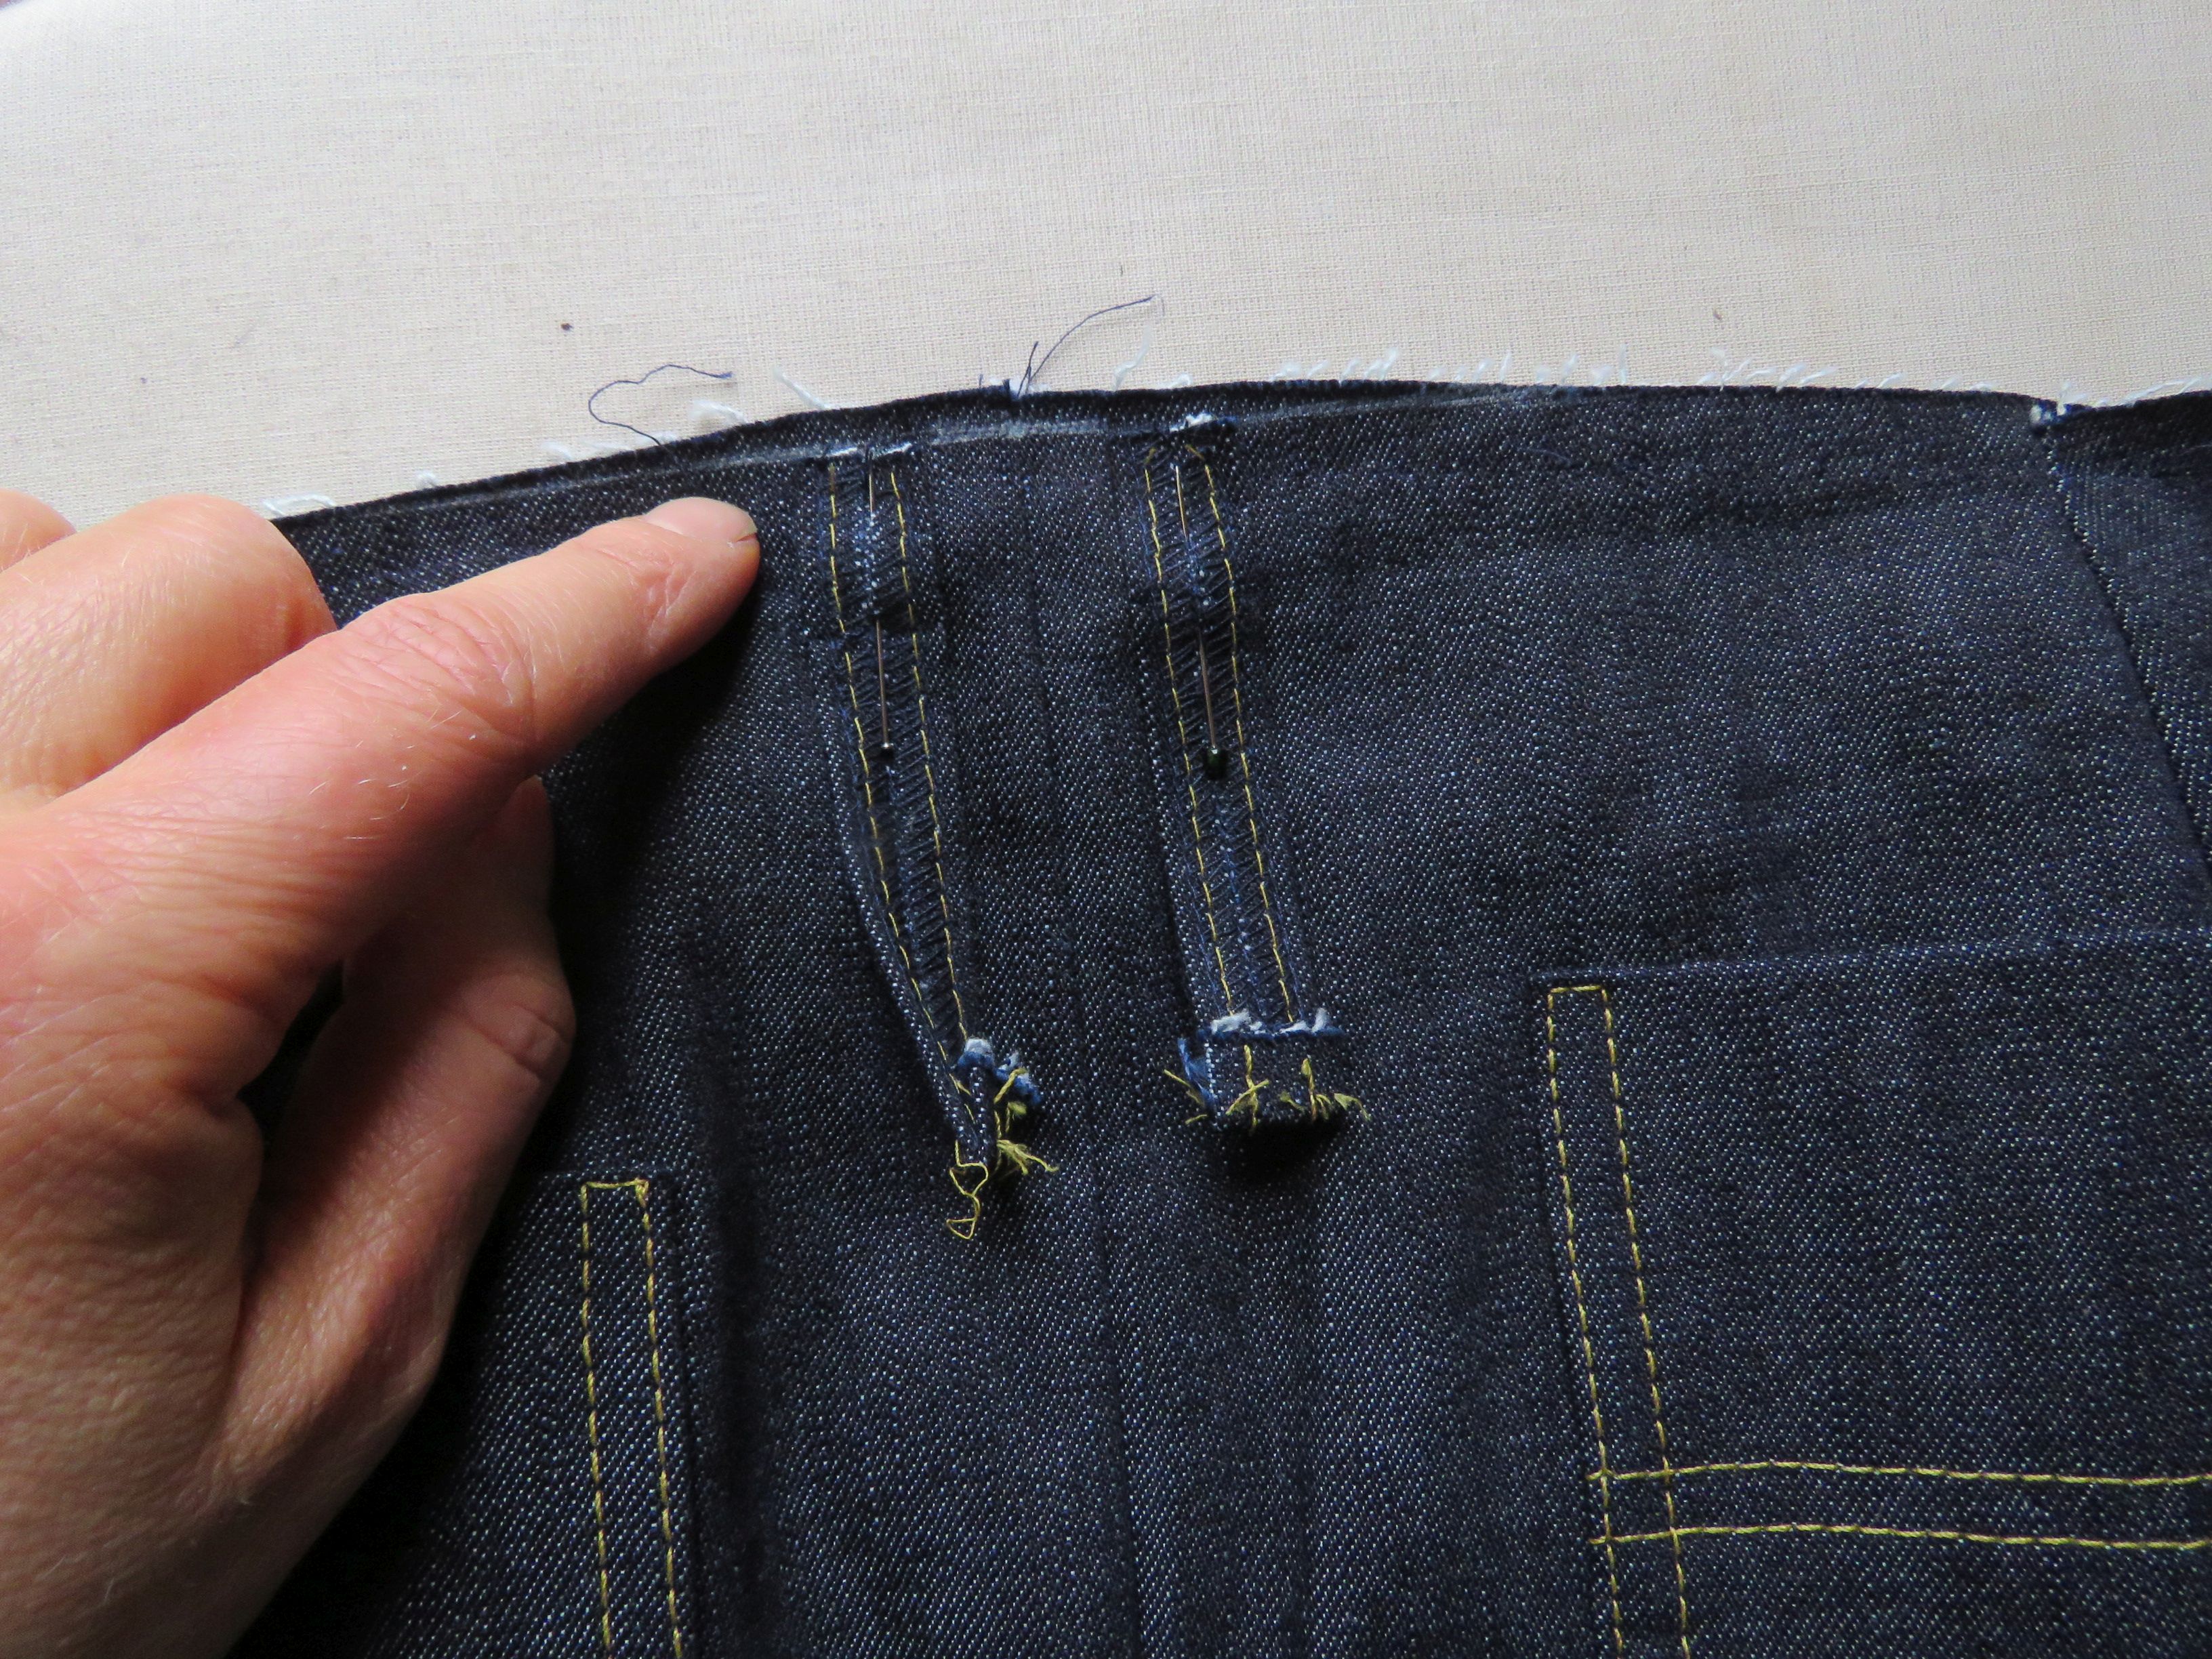
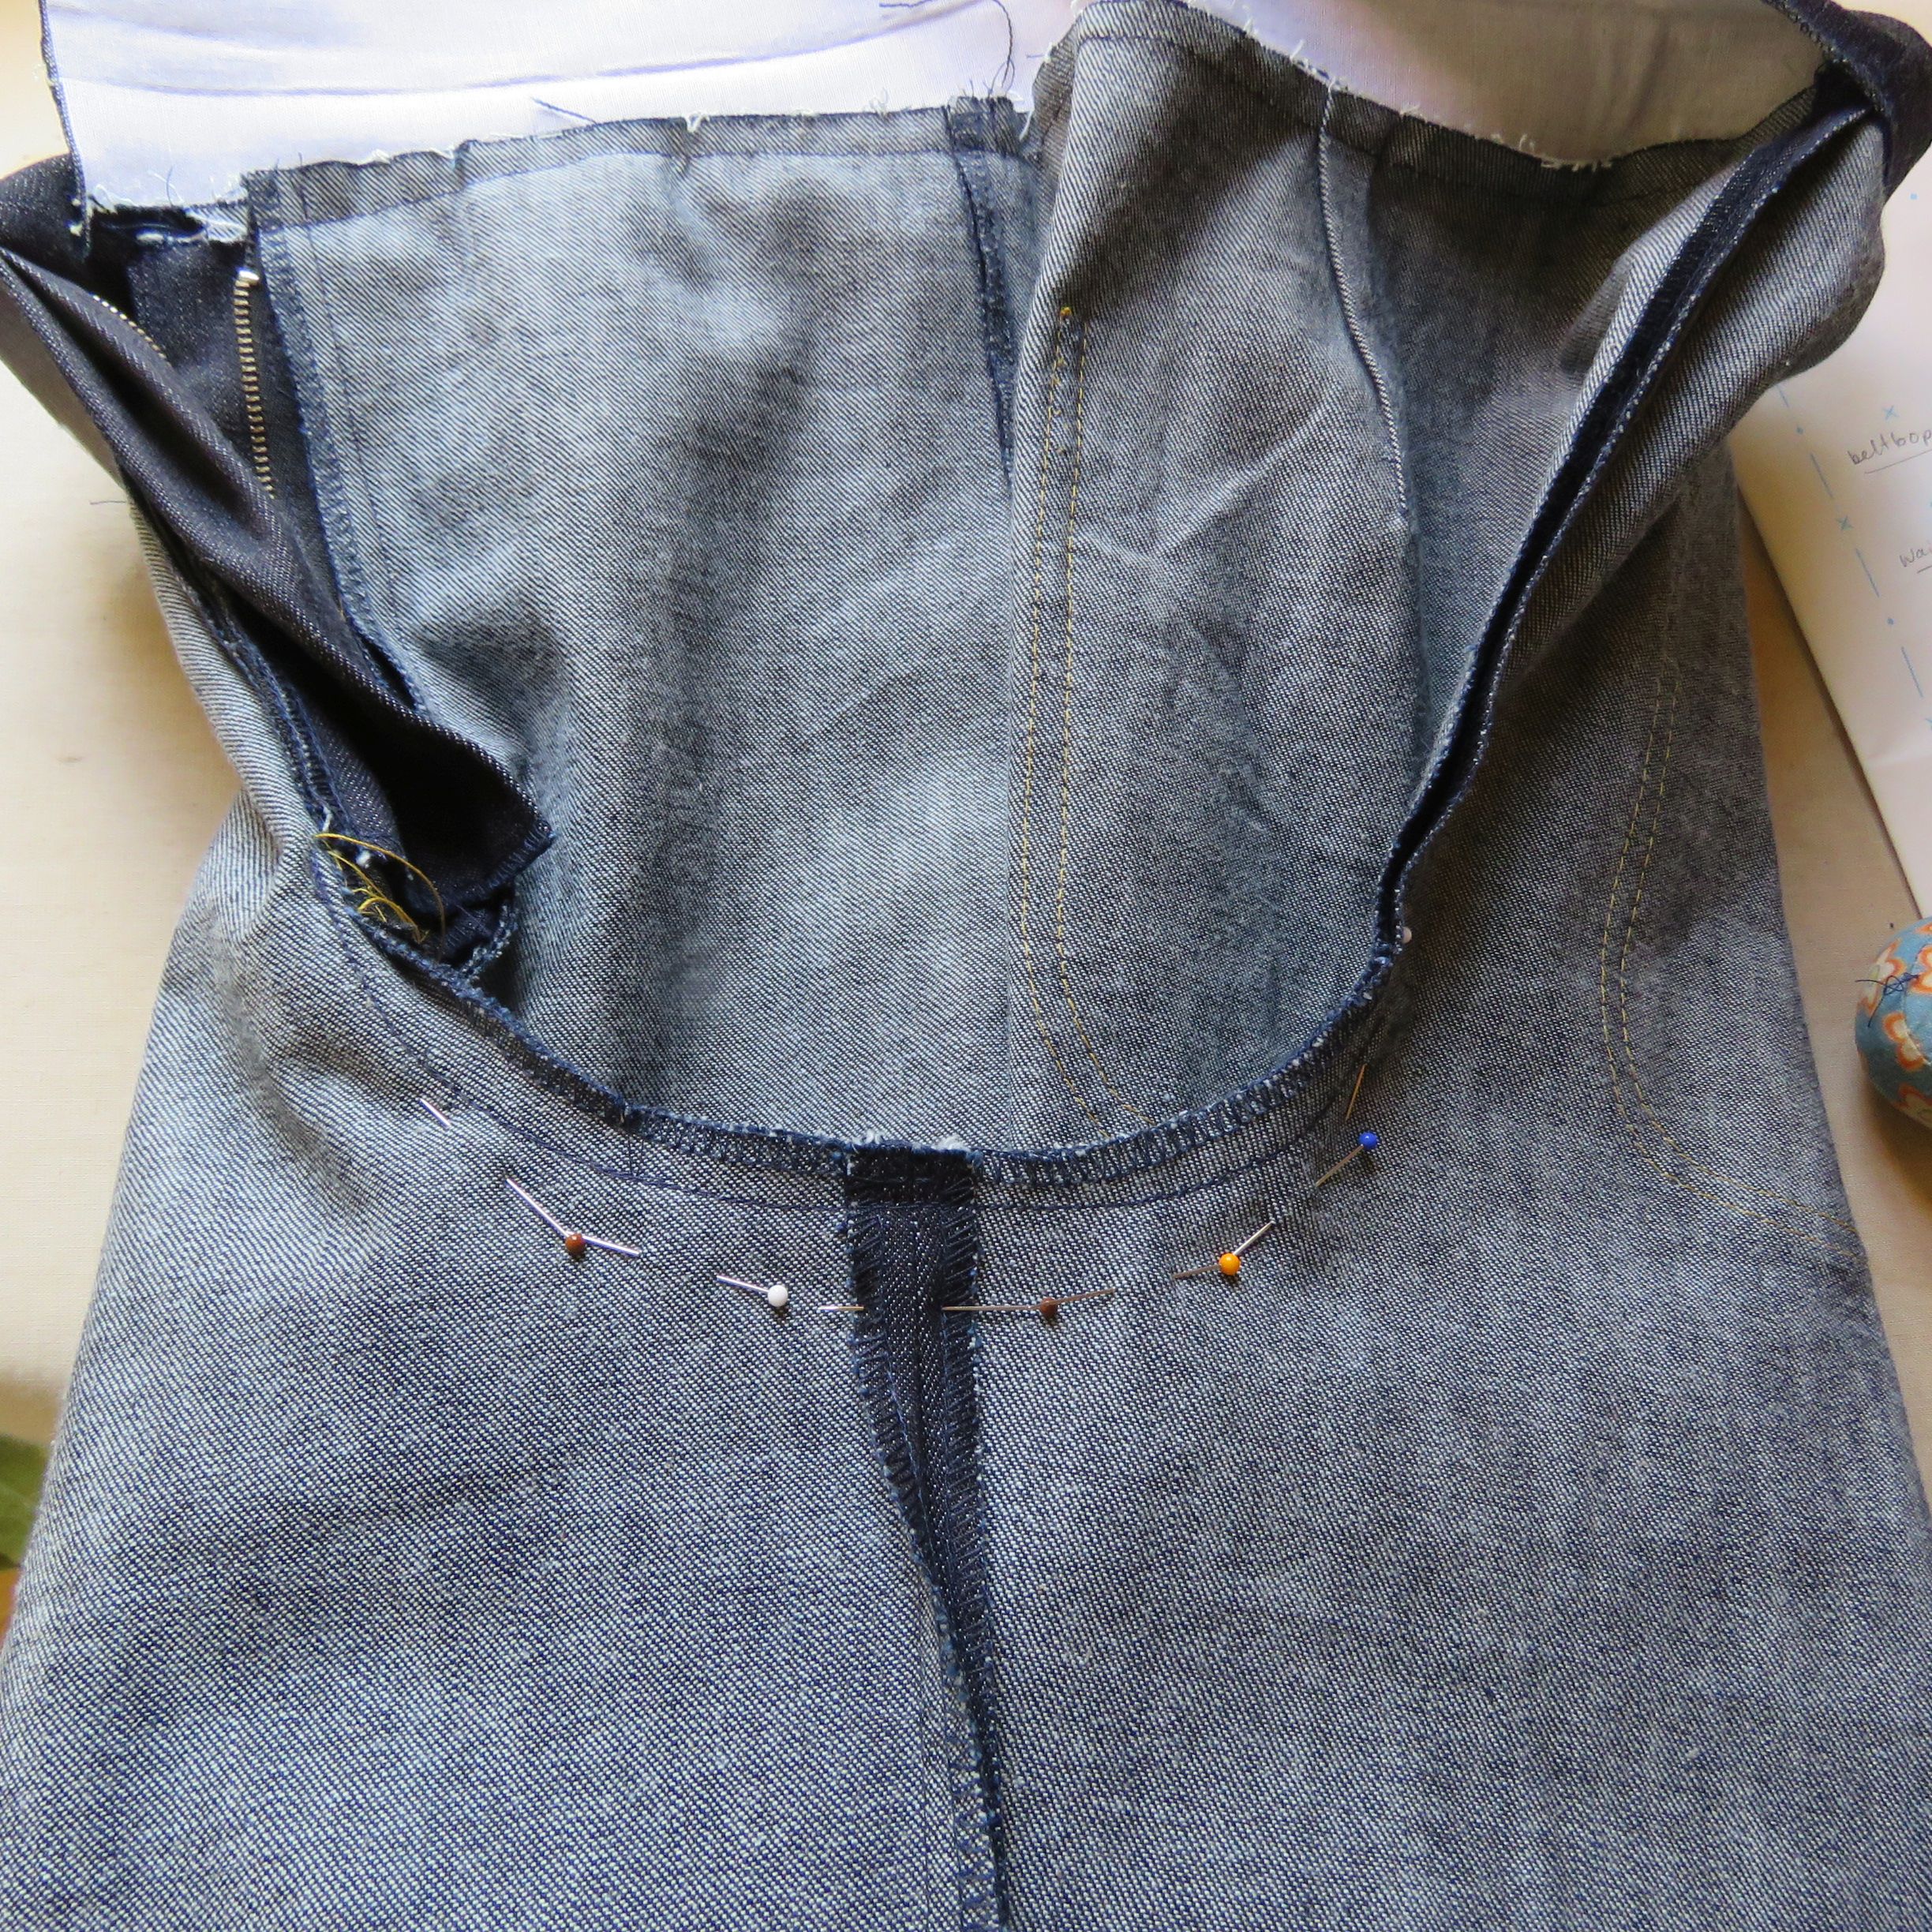
Lowering the crotch is incredibly easy to do – you can even do it when the pants are all finished. Simply put one leg inside the other and sew a new crotch curve in lower down, blending it back to the original sewing line. Then trim and re-neaten the seam. Note that it makes the trousers shorter, because the waist will now naturally sit higher.
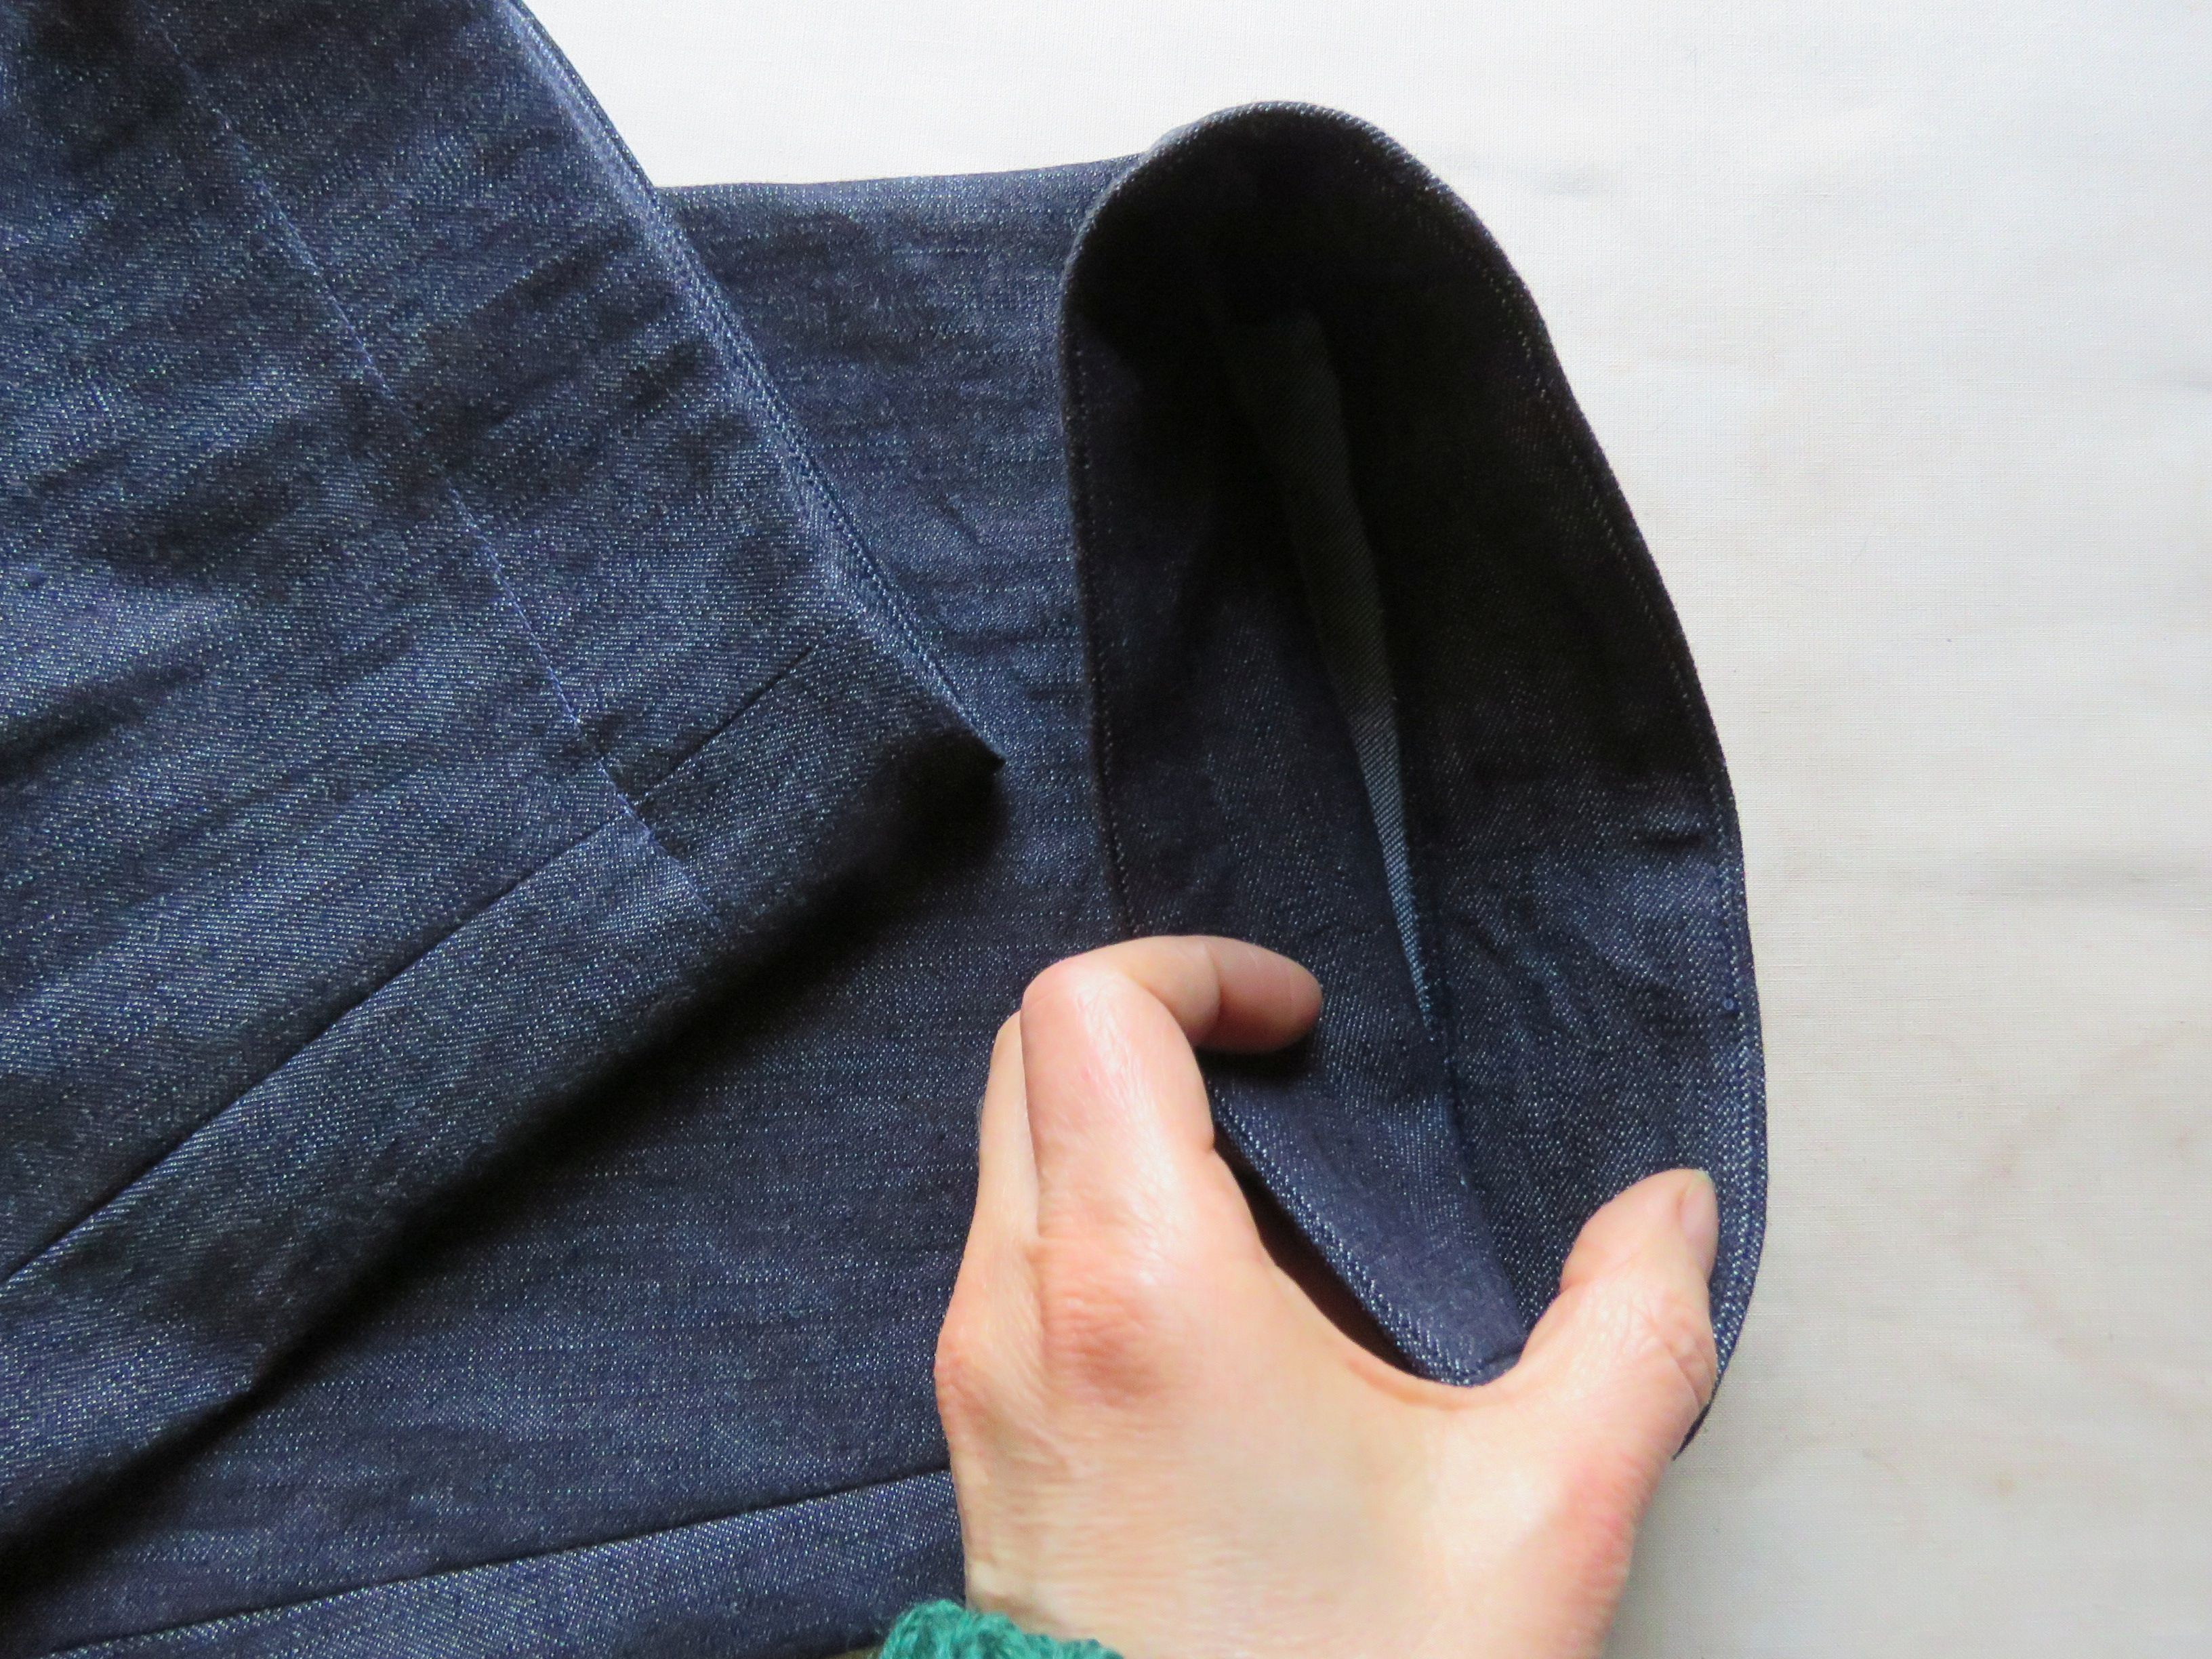
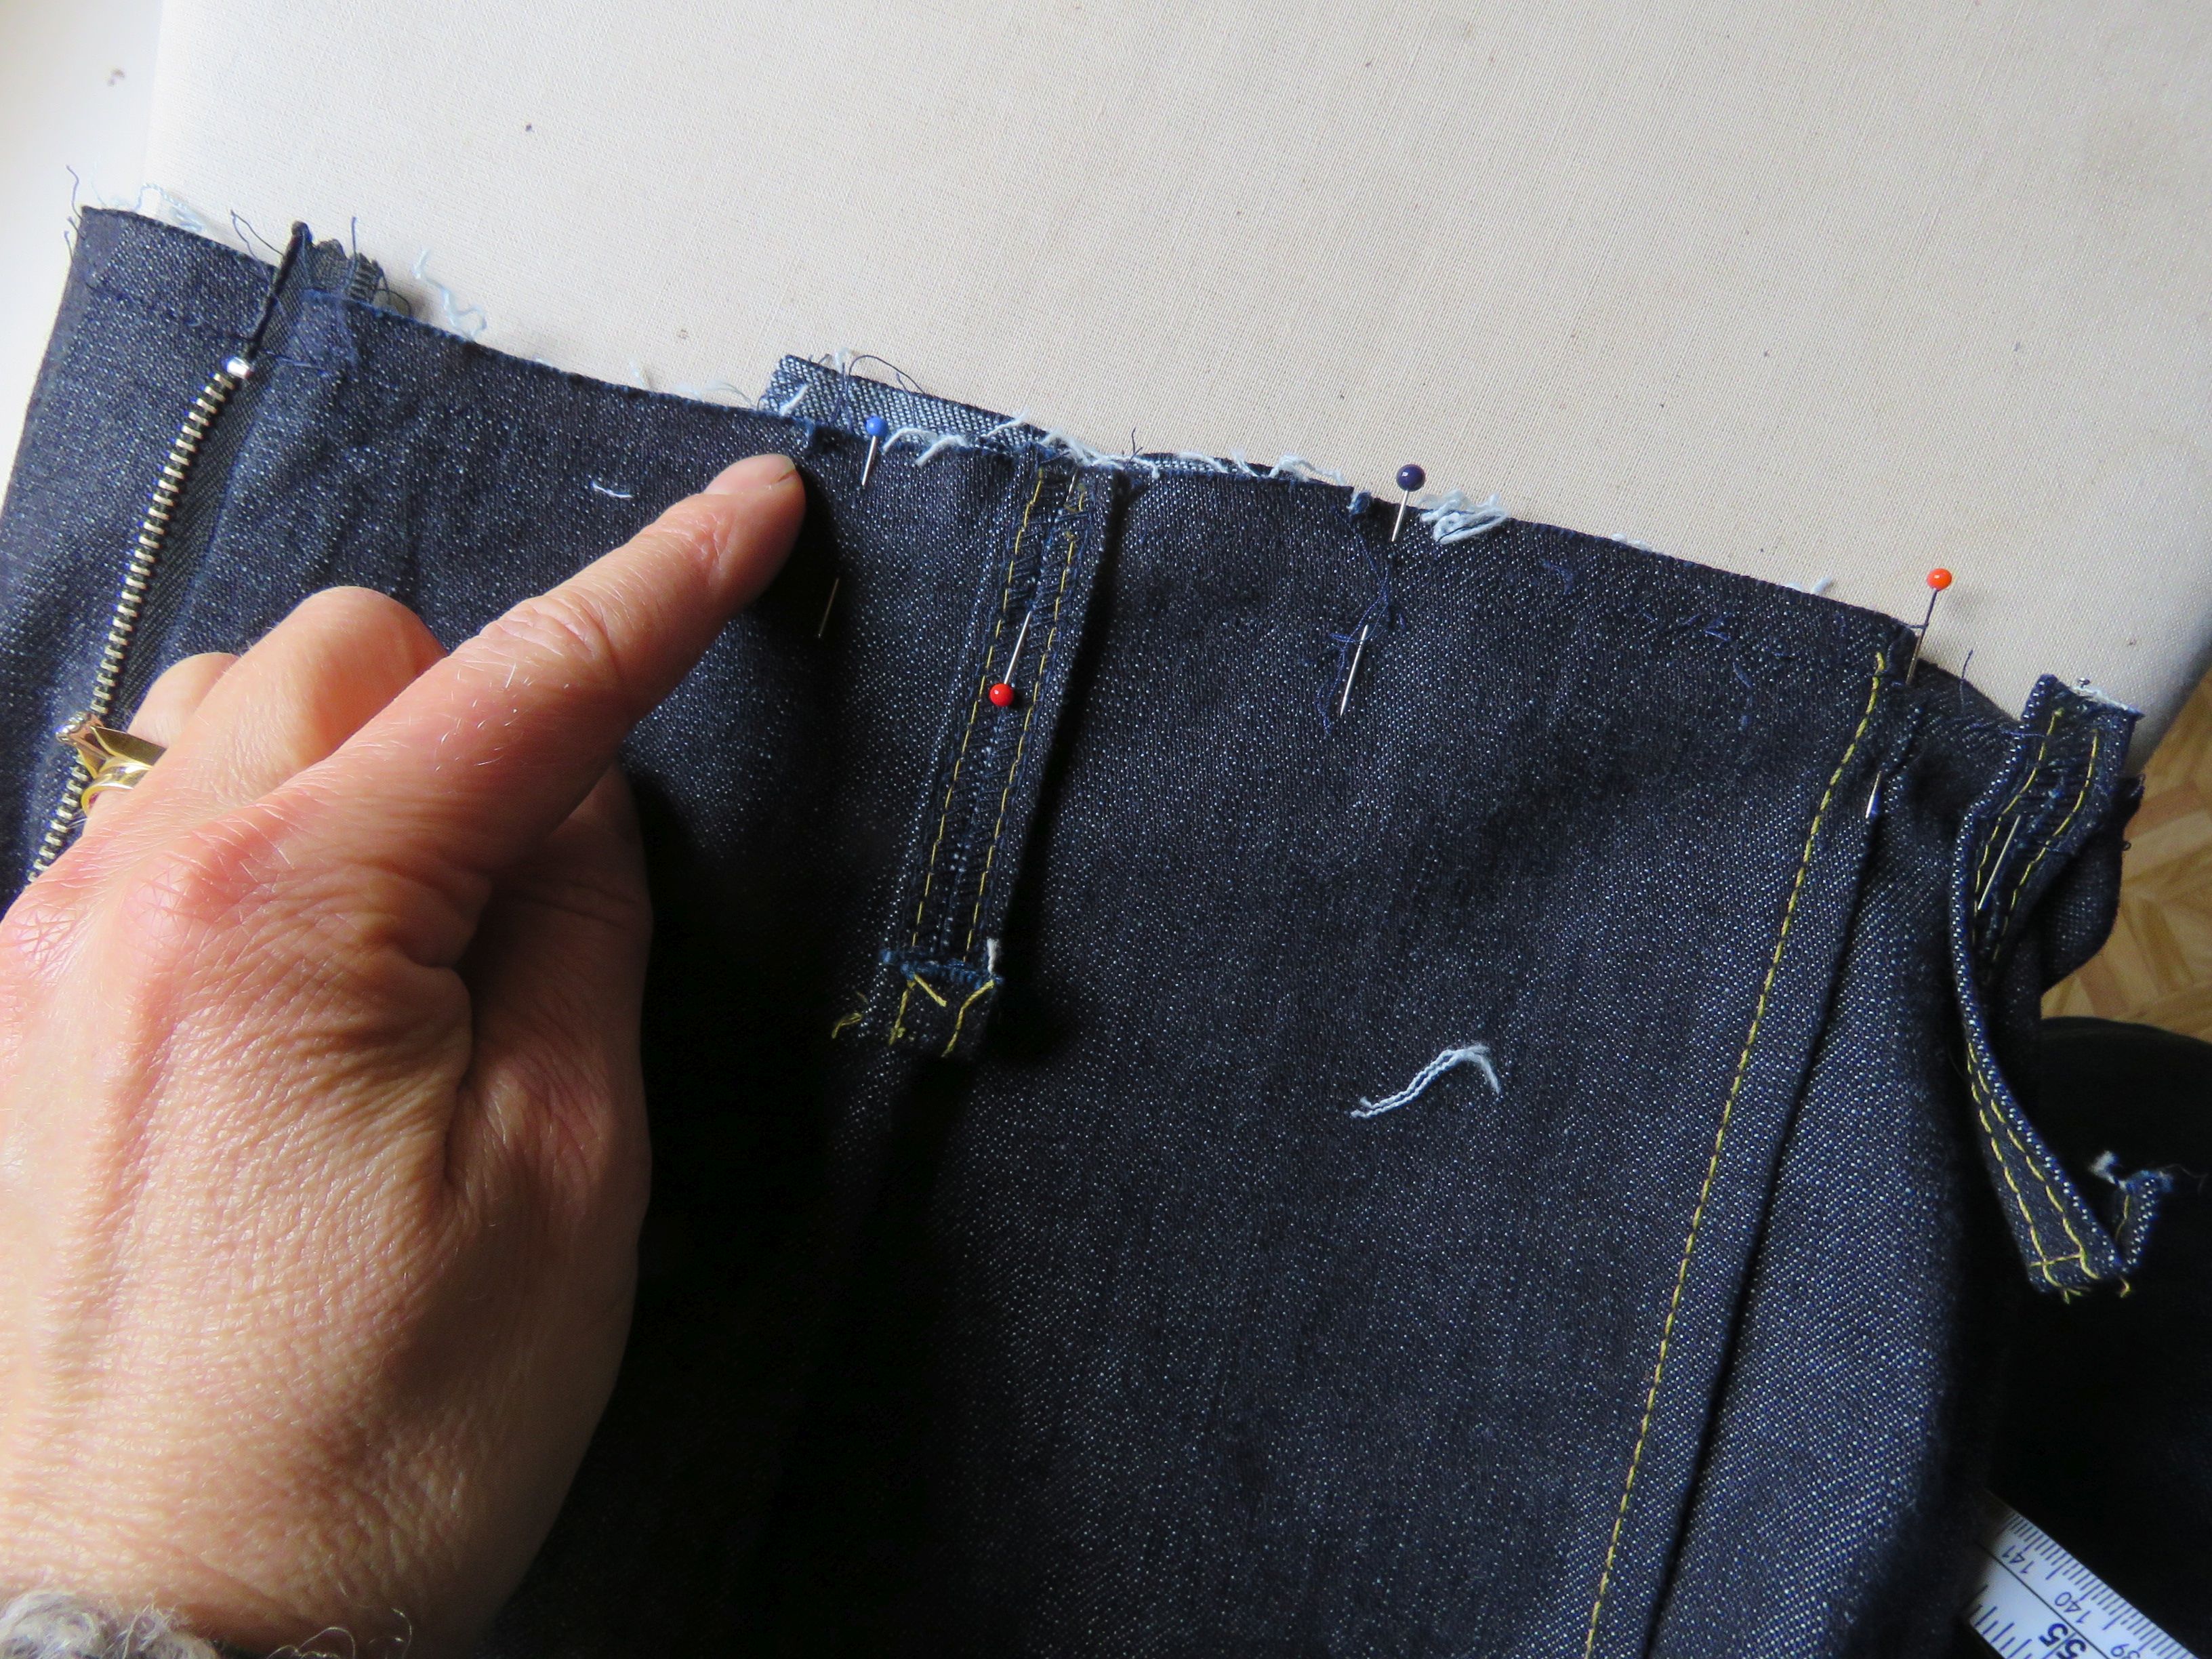
If you make changes to this pattern in the name of fit, it may not be zero waste anymore. But it’s better to be minimal waste and make a garment that fits you and you’ll enjoy wearing, otherwise you’re just making a different type of waste.
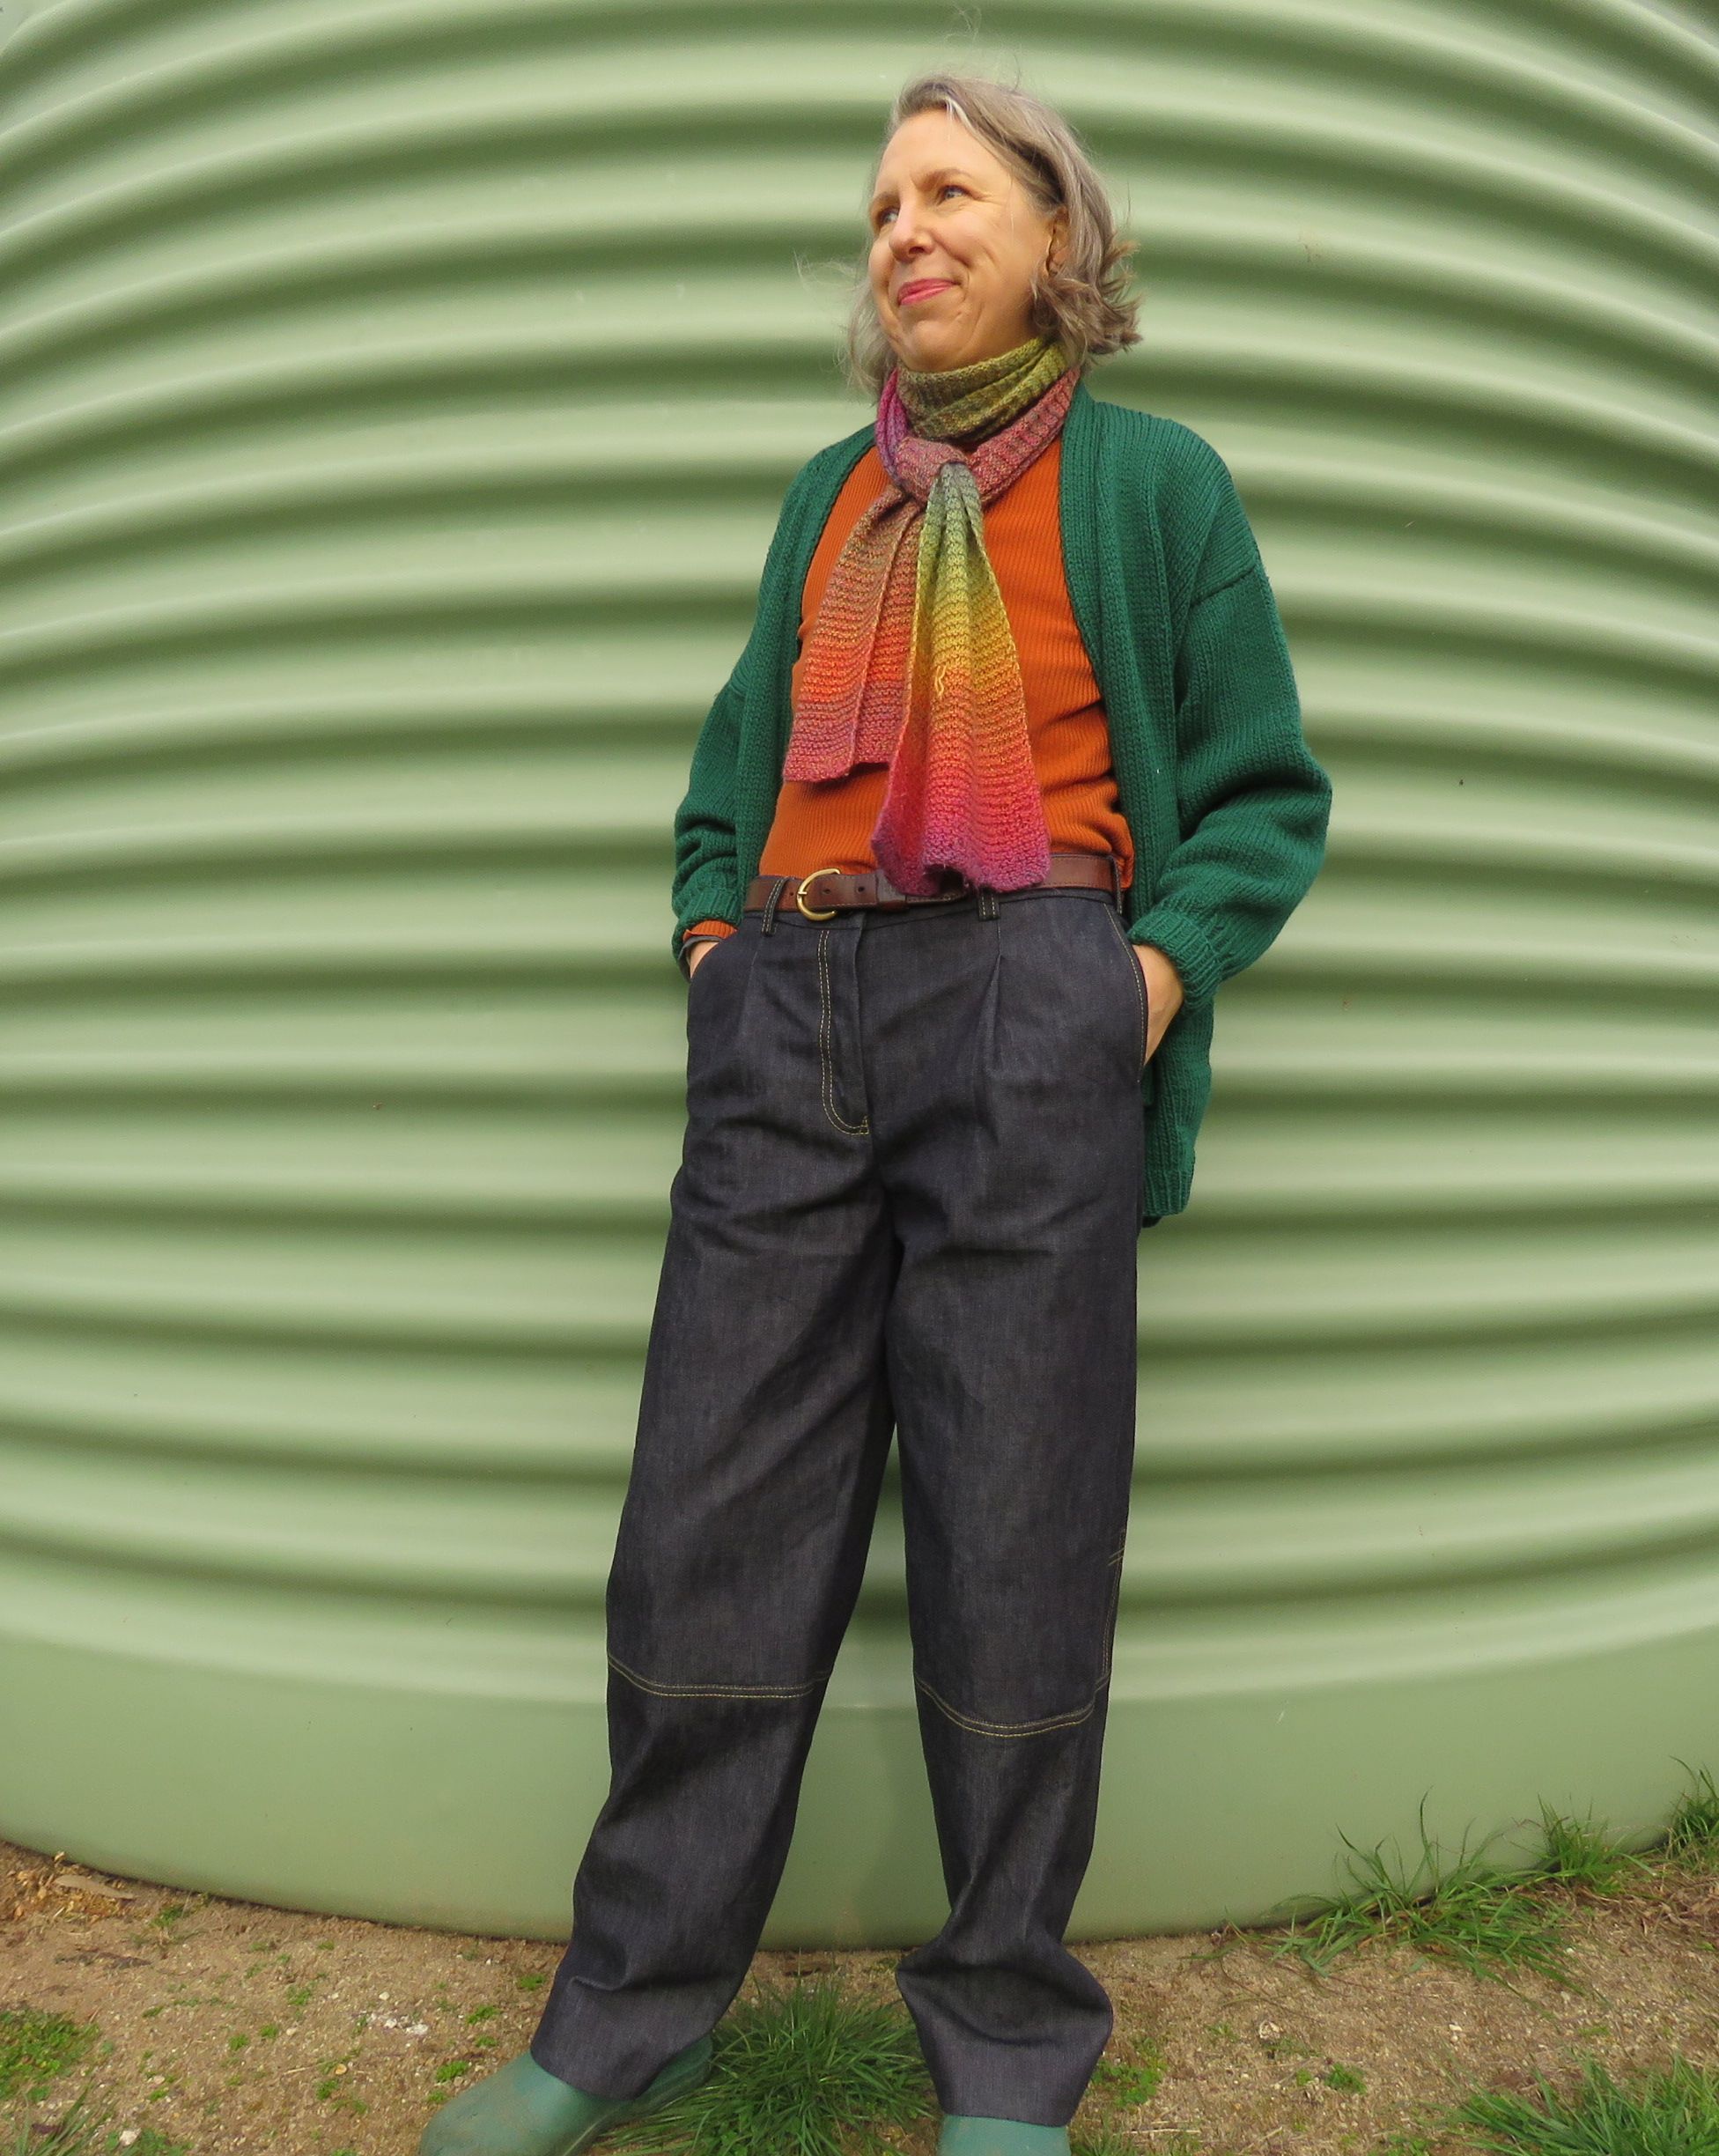
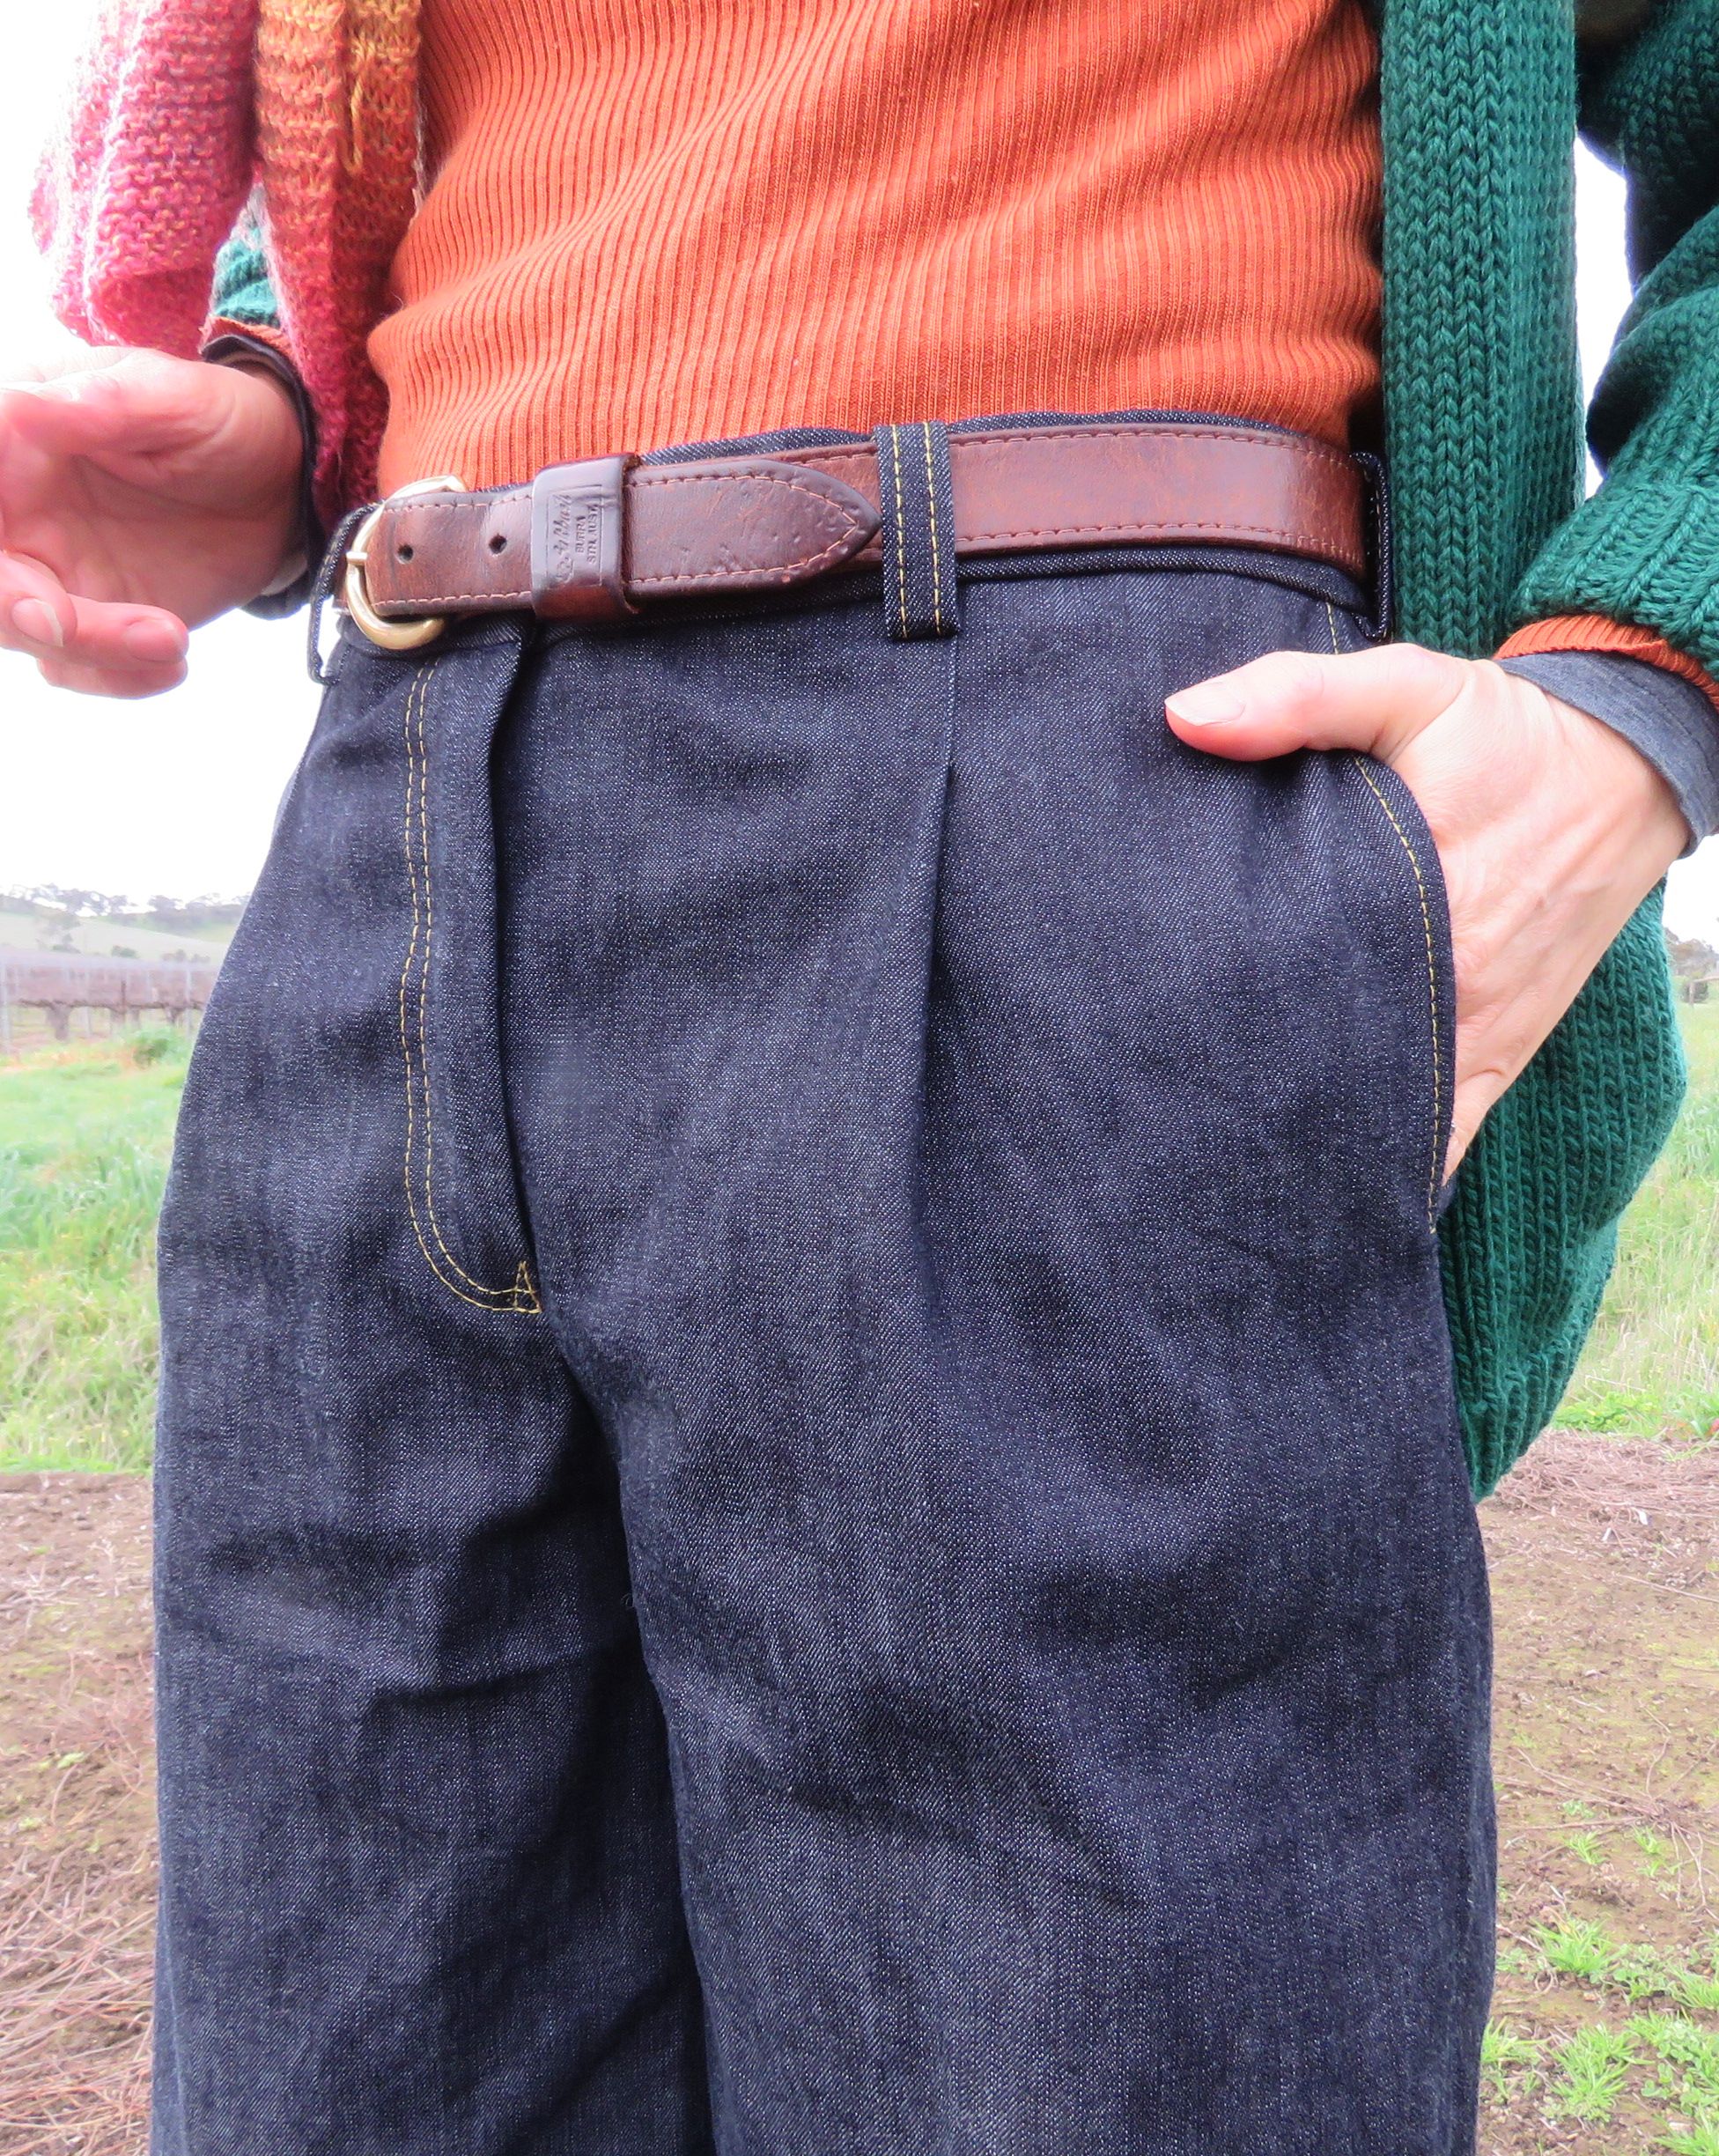
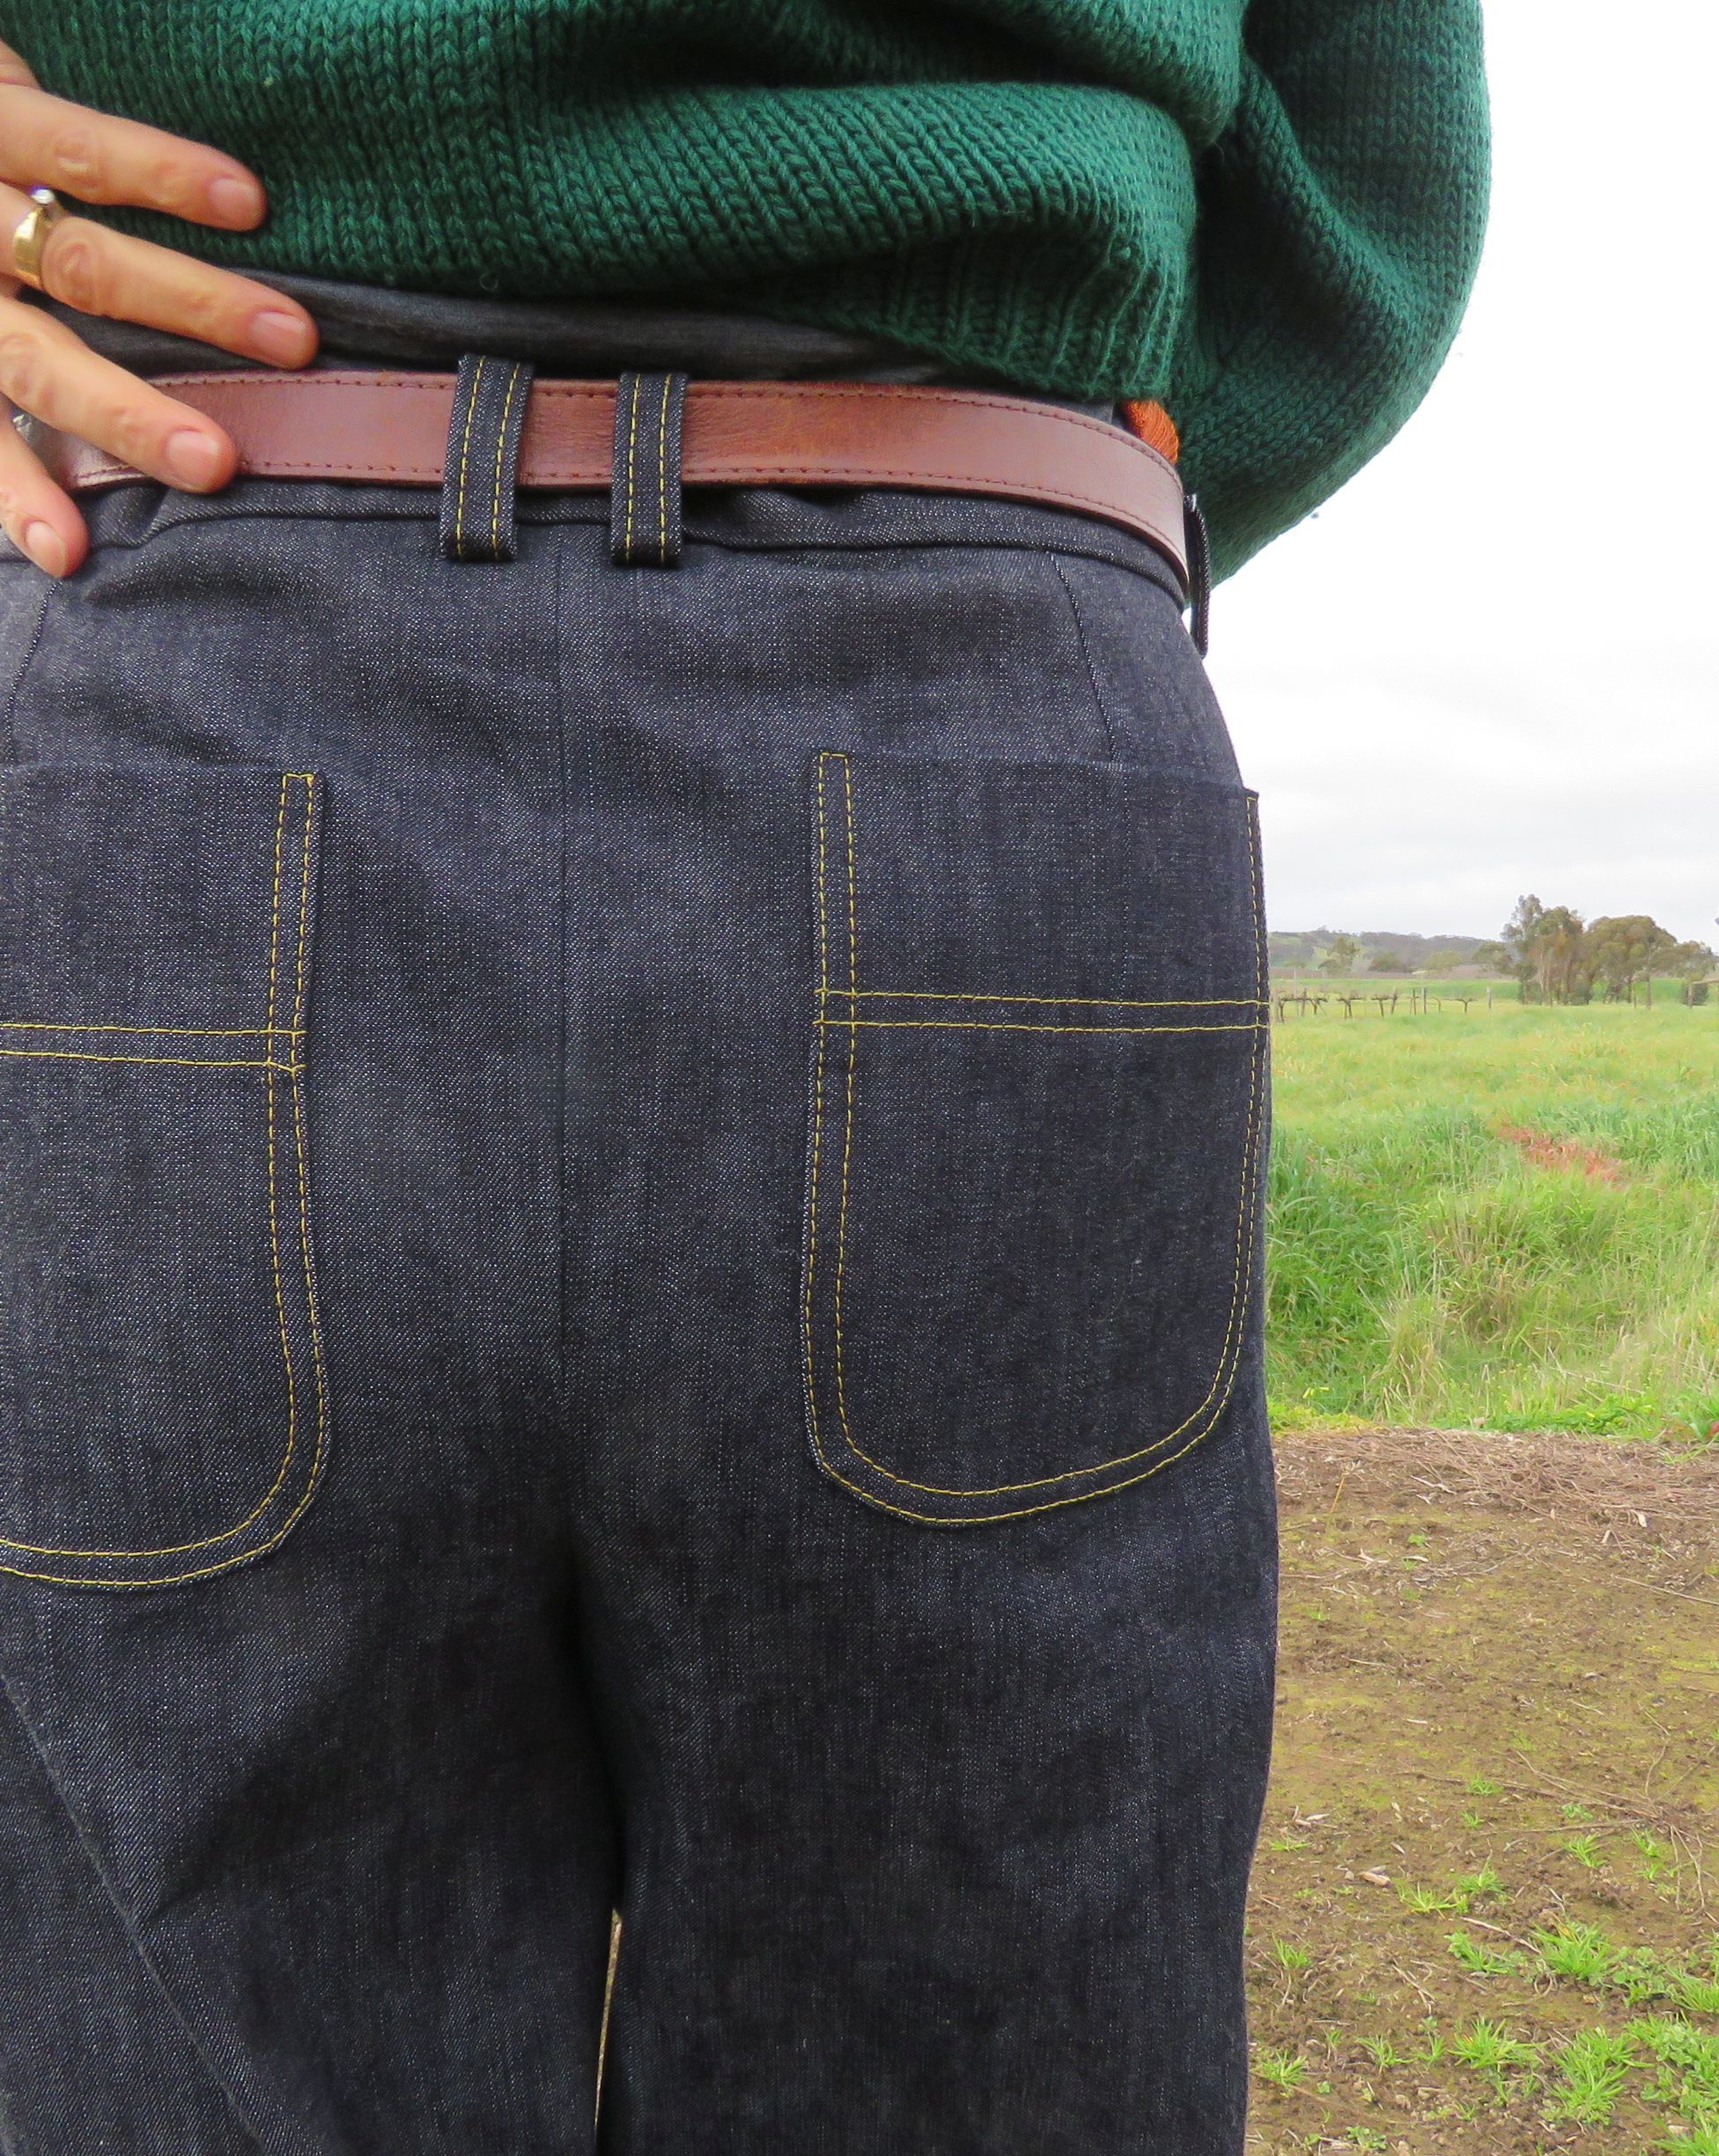
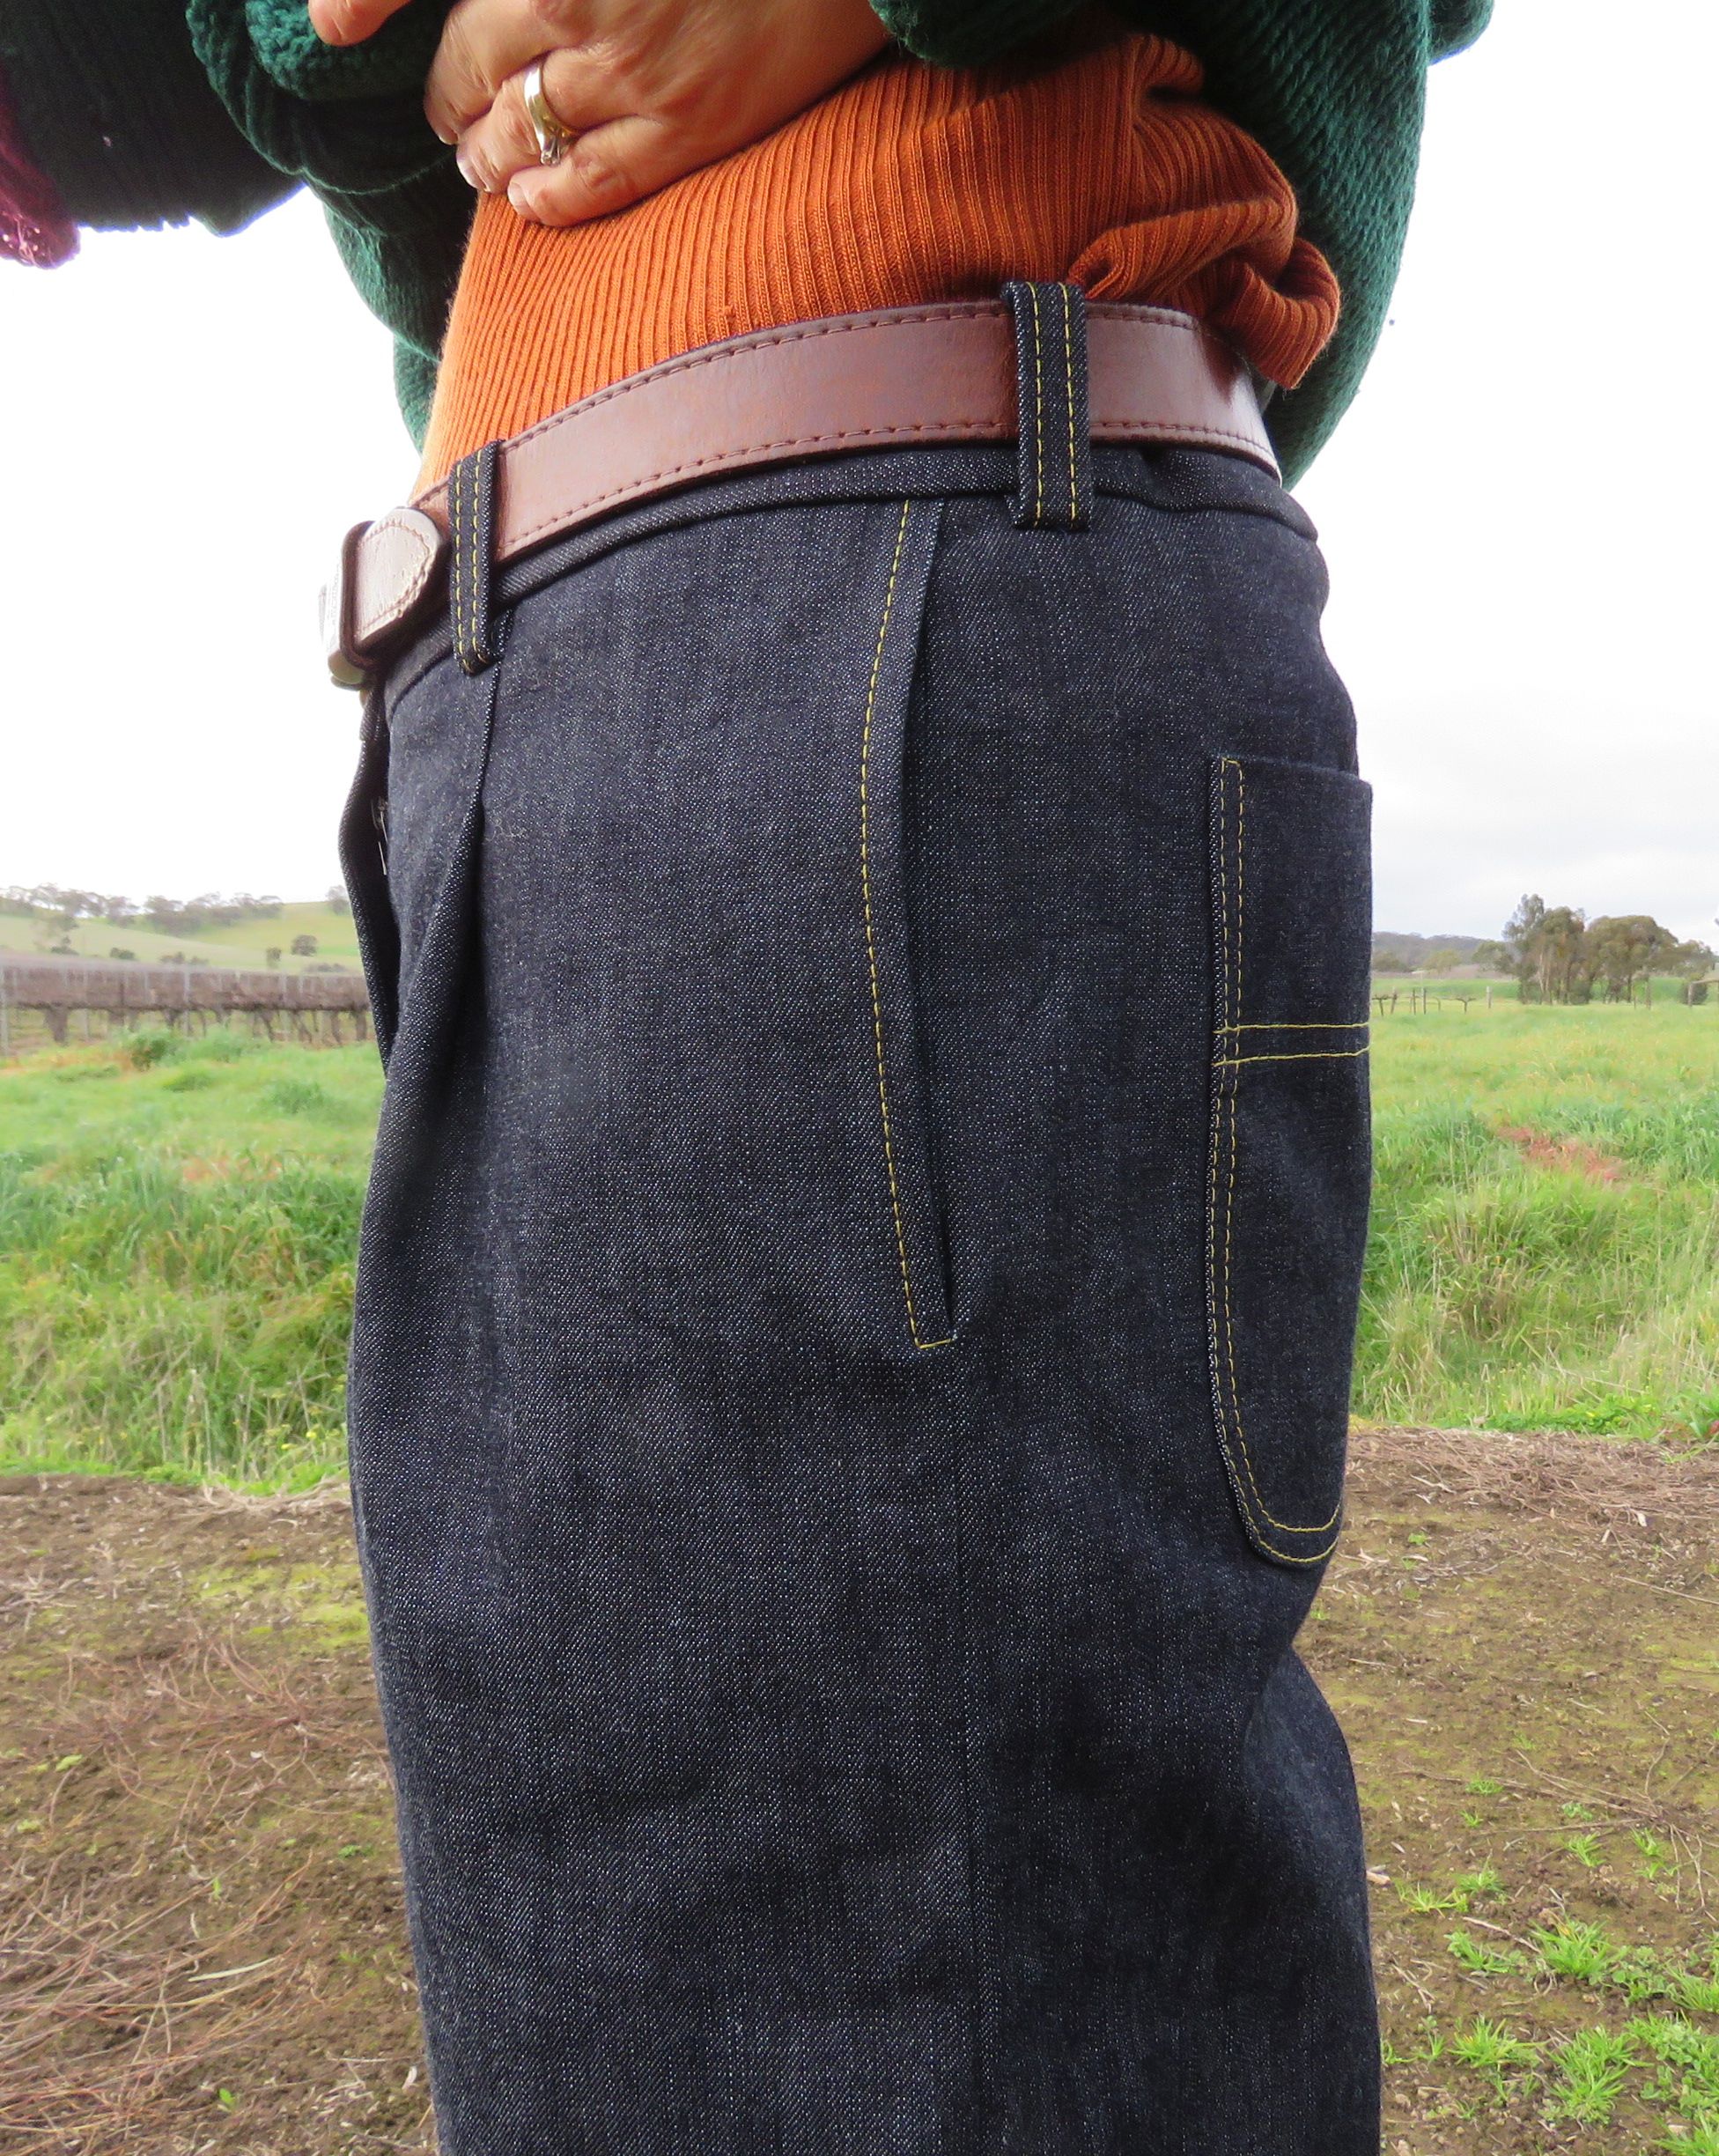
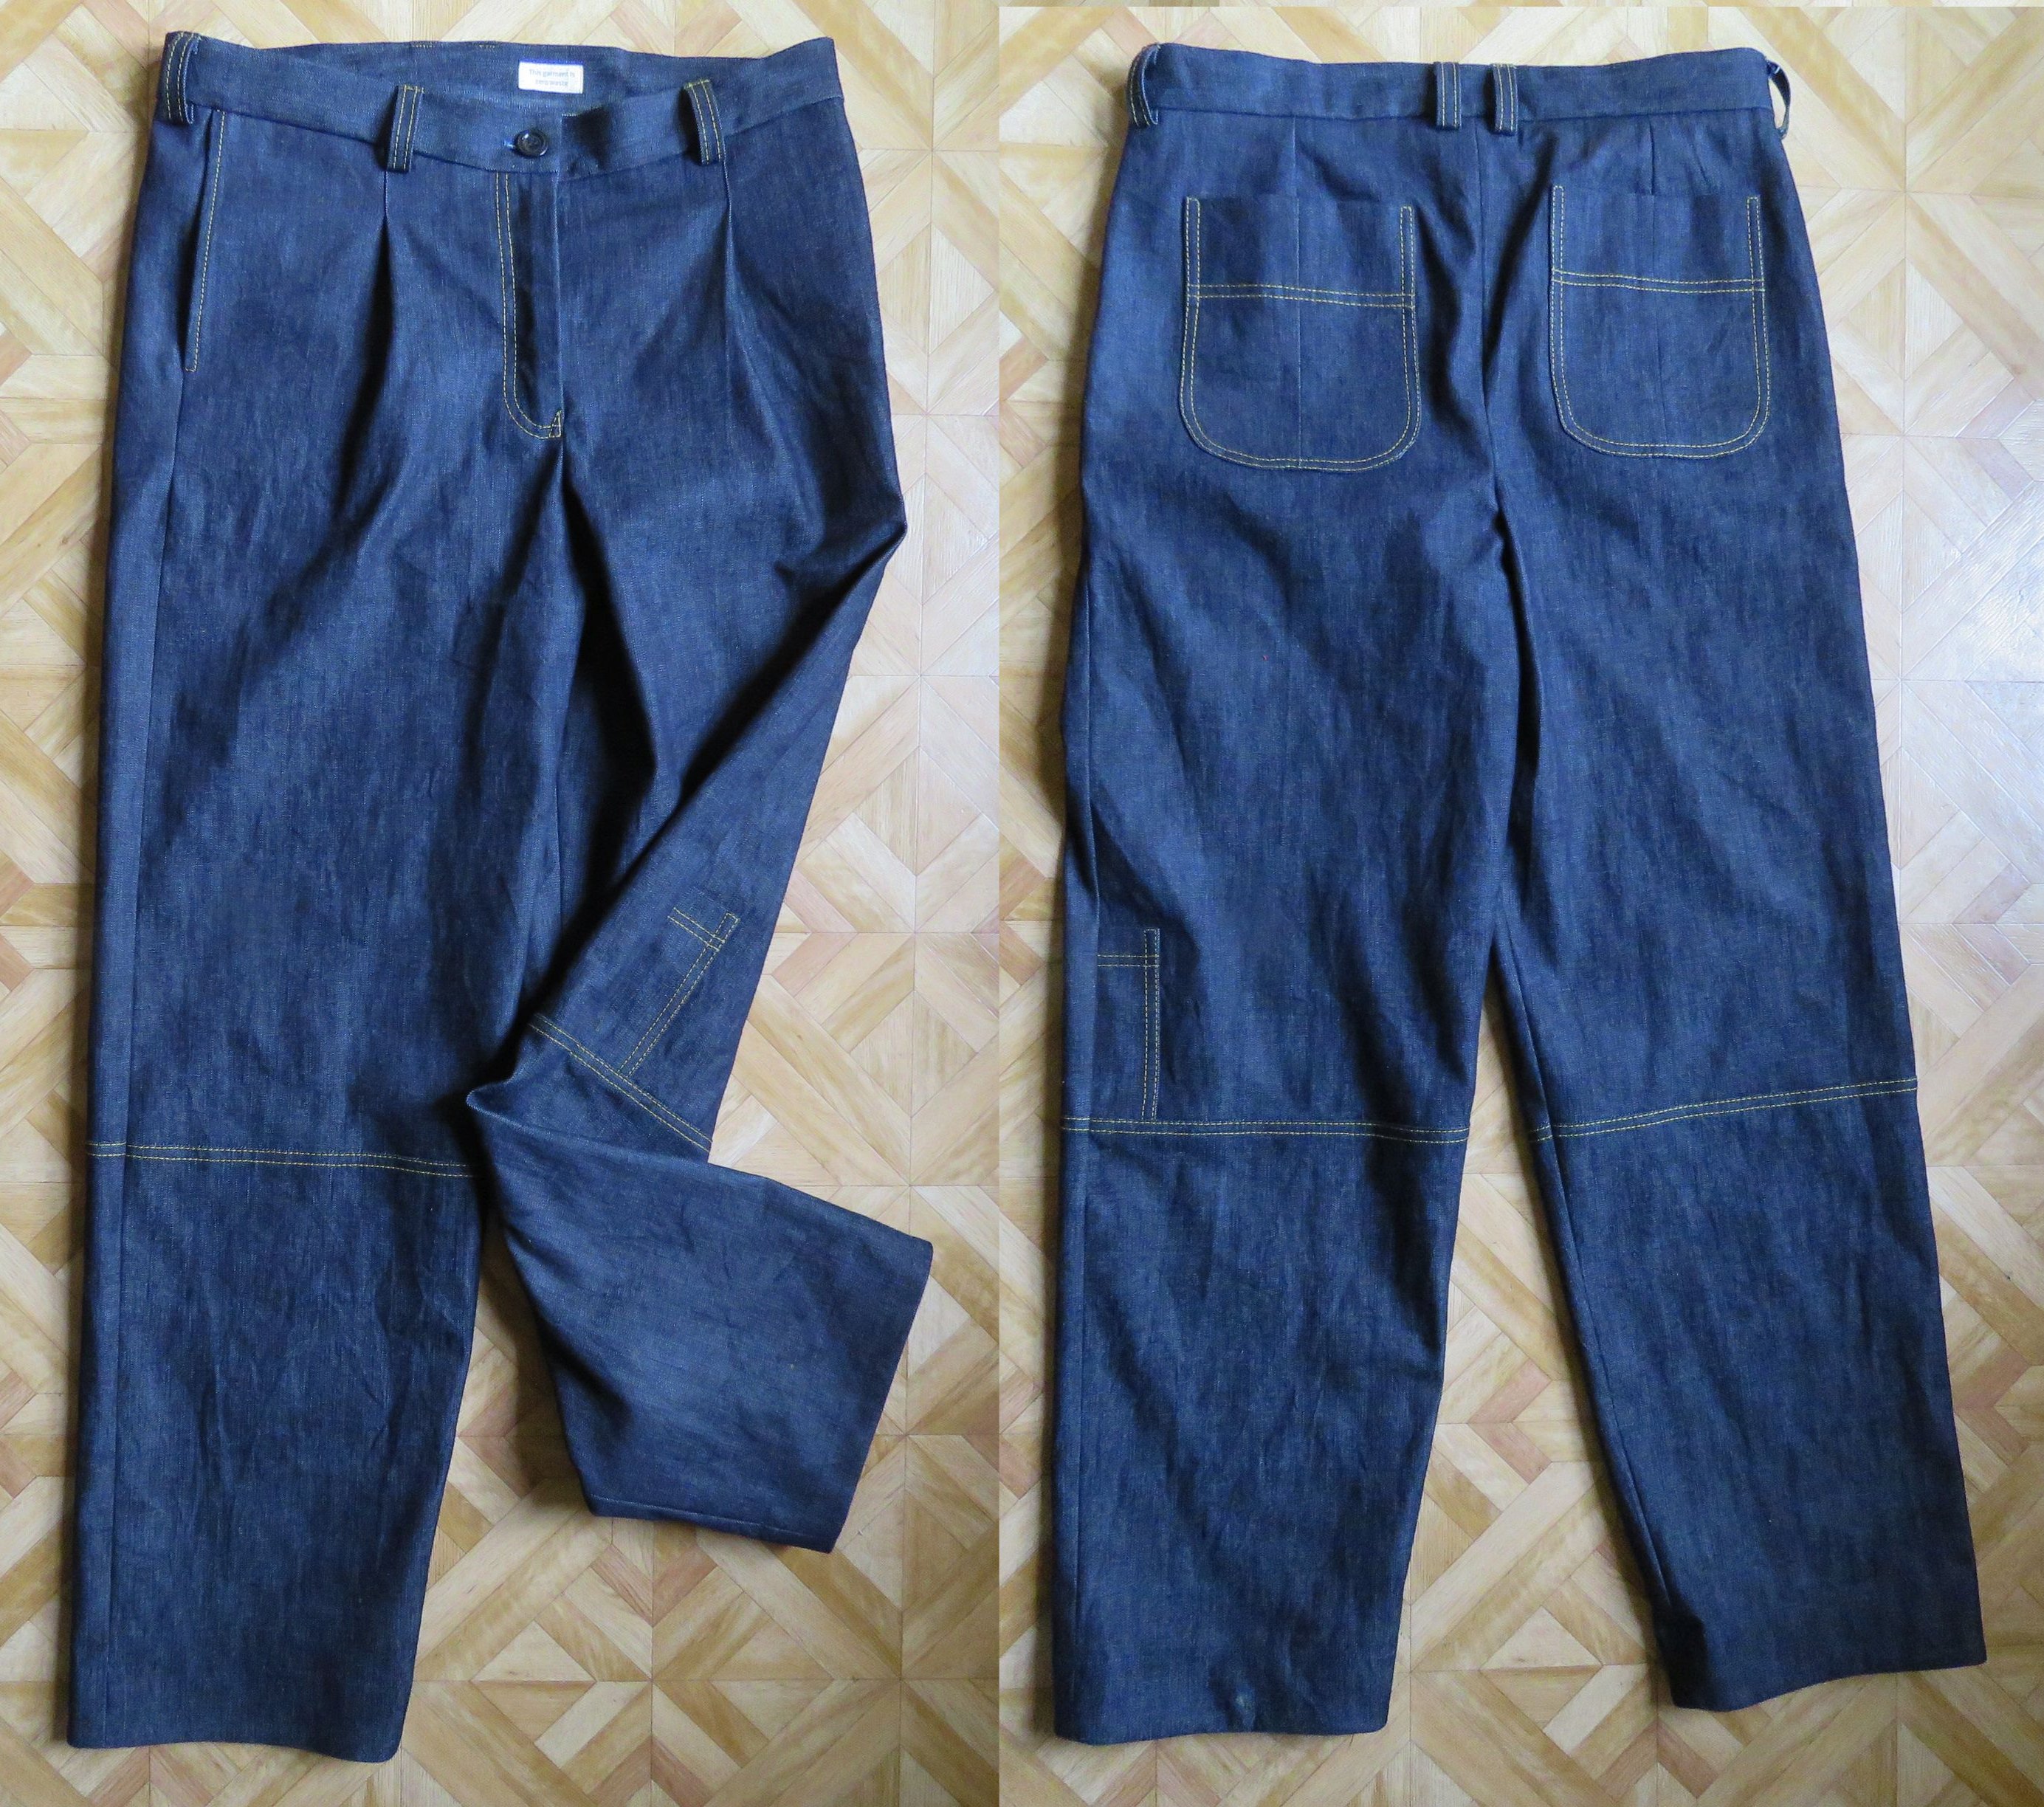
I’m very happy with these – it was worth pushing past the sewing mistakes – and I’m looking forward to wearing them. I think they’ll go with everything.
If you’re new to trouser making, I recommend making the elastic waist version of these. Later if you decide to make the fly front version, you’ll already have the pattern.
Discover more from The Craft of Clothes
Subscribe to get the latest posts sent to your email.
Hello Liz! I loove your Scout pants! They look fantastic❤️❤️❤️
Best, Giul
Thanks Giul. I’m thinking these could easily be adapted to overalls, and the side pockets could be the side openings.
What a fabulous make, Liz and you have the perfect skill set to get yourself through the fitting challenges and into those trousers. They look brilliant on you.
Thanks Lesley, waist size aside they fit very well, and making a new waistband wasn’t hard…just all the unpicking.
They came out great!
Thanks Laurinda, I’m actually quite thrilled with them.
Wow! I looked at these and was intrigued by the cutting pattern design. Yours are great and your tips are excellent. Bookmarking/saving for my make of these pants.
Thanks Melinda, I hope yours go well 🙂
I do enjoy reading your construction journeys – they are refreshingly honest and I always learn something. I am certainly grateful for your flagging of possible stumbling blocks! Zip length is a minefield- the metric/imperial ‘not quite accurate’ conversions worry me at the best of times.
I’m glad you enjoyed the topstitching (conventional yellow gold, not red or orange! Shocking!) and the eventual trousers look really good. I intend to make these eventually, but I have a wardrobe of ZWJones trousers to keep me going for a while.
Gotta keep it real, Wendy! Yes, I was tempted with the red topstitching (and orange, and pink, and even entertained pale grey), but pleased I picked conventional gold.
These pants look incredible. I like your way of summarizing your choices for the zip problem. Even without long covid, I end up using the same strategy most of the time and it’s so gratifying when it works 🙂 I’m also noting the cut under the knees, that probably means you can fit the pants on a smaller amount of fabric even if the pattern isn’t zero waste. I really want to use a 150x150cm coupon of velvet for trousers this winter and I feel I’ll have to go for some kind of trick like that to get the velvet the right way up AND the whole pattern to fit in the coupon.
They are a great pattern. Cutting these with velvet would be tricky. The only zero waste trouser pattern I’ve seen that works with napped fabrics is the pink pair in this blog post (I wear these LOTS).