Vested Interest (a tutorial and more)
I’ve been sewing a vest for my brother, by special request, and I thought it would be a good opportunity to share a tutorial on lining a vest.
So, first here’s a tutorial for you to file away for when the need arises, and below that I’ll show you my brother’s vest.
Over the years I’ve tried several ways to line a vest, and settled on this method as the best. You can find it in The Dressmaker’s Companion (along with loads of other useful stuff).
How to line a vest
This method requires understitching, to give a neat finish. Sew the seam first, then understitch: press the seam allowances towards the lining and stitch through all three layers, about 2-3mm from the seam. If you’ve snipped any curves, make sure all the little sections between the snips are pushed to the same side.

STEP 1. Assemble the main fabric vest and lining vest separately BUT leave the side seams undone on both (very important). If there’s a front facing, attach it to the lining so you have two vests the same shape – the inside and the outside.
STEP 2. Place the vest and its lining right sides together and sew around the edges, leaving the side seams open.

Unless the vest is reversible (where you won’t be understitching), do this in four stages for a higher quality finish:
First, sew the centre front edges and the back lower edge and understitch. The reason I suggest doing the centre fronts first is to make the understitching easier to do—you’ll be able to understitch the entire length without trying to get into the corners. When the vest is finished, the front understitching will extend all the way into the corners.
Second, sew the neckline and understitch as far as you can go around.

Third, sew the armholes with the lining underneath. At the shoulder point, extend the lining out 6mm (¼”), blending it back in about 10cm (4”) either side. Keep the stitching line the correct distance from the main fabric raw edge. The purpose of this is to ensure the lining doesn’t show at the shoulder and the shoulders are flat and smooth. Understitching will tuck the underneath layer (the lining) further under, away from sight. On a narrow area like the shoulder seam that has understitching at each end, you’ll end up with an excess of lining fabric if you don’t make the lining smaller. To solve the problem, either it slide away (as described) or actually trim 6mm (¼”) off the lining on the armhole side.
Understitch each armhole from the underarm towards the shoulder seam on each side as far as you can sew. It doesn’t matter if there’s a small section with no understitching at the top of the shoulder.

Fourth, sew the lower edges of the front and understitch them as far as you can.
STEP 3. Turn the vest through to the right side and press. All the understitching should make pressing the edges very easy. I often understitch even if I plan to topstitch as well later.
STEP 4. Sew one of the side seams, matching main-to-main and lining-to-lining, accessing the seam through the opposite back side seam. You’ll be sewing the seam in a circle.


STEP 5. Sew the remaining side seam, again in a circle, but leave a gap in the lining so you can get to it. Close up the gap by handsewing it closed or simply press the two edges together like a pair of lips and machine sew on the edge. If the vest is reversible, invisibly sew the gap by hand.
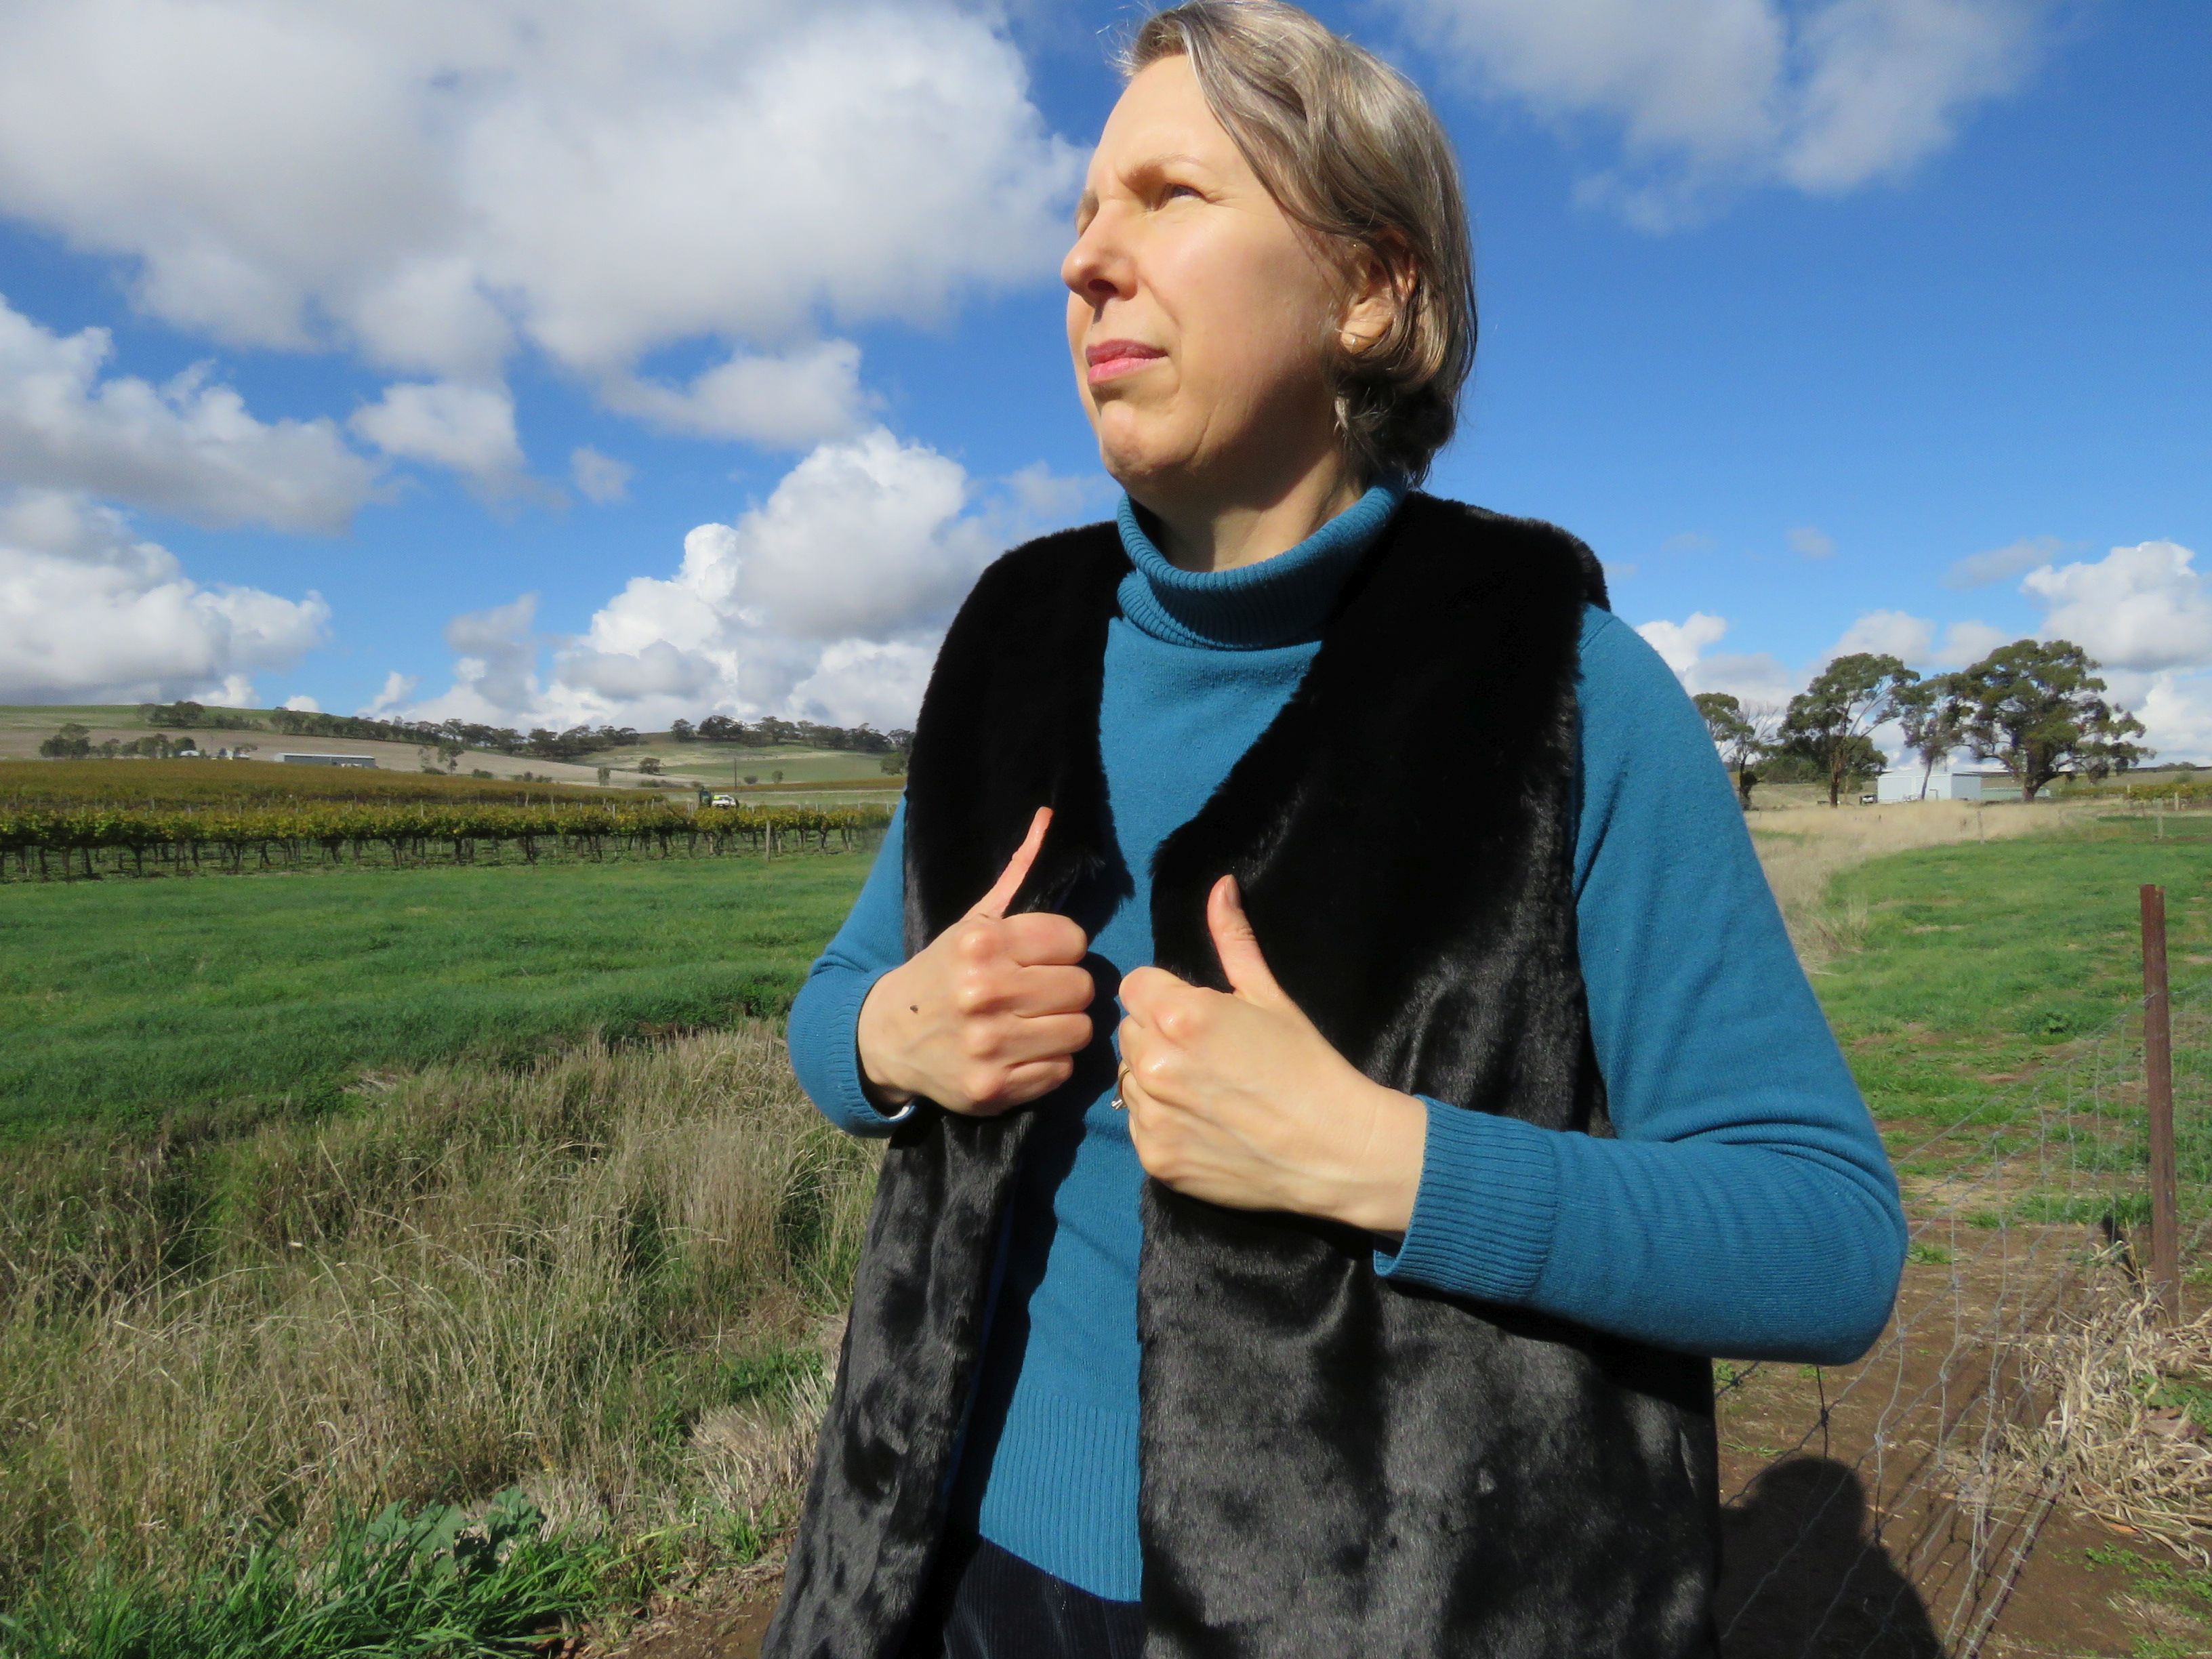
My brother’s vest
My brother is very easy to sew things for. As well as being a really nice guy with cool taste in fabrics, he’s incredibly standard in size – his height, leg & arm length, and chest-waist-seat ratio are all size chart textbook.
He supplied the fabrics. The main fabric is fake fur, the softest and most luxurious I’ve ever seen. It feels like holding a kitten. He said that at the shop where he bought it, there was a woman literally hugging a roll to enjoy the softness!

The lining is a special satin he bought as a holiday souvenir. Yes, fabric as a holiday souvenir – Readers, I’m sensing you totally approve and you’ve now embraced him as one of our own.

For a pattern, I simplified a waistcoat pattern I already had. From memory it was from a 1990s era Burda, probably a special menswear feature. He already has a waistcoat from this pattern so we knew it would fit.
Even though a vest is pretty simple, the fabrics made it challenging and I had to summon all of my powers.
The satin, while it had body, frayed when one merely glanced at it, and each piece had to be overlocked before starting to sew. I included interfacing around the neck and fronts for stability.

The fur was like sewing velvet with a half inch pile. I basted it together by hand for a fitting.

When I sewed it properly, all the seam allowances got a little haircut first. The shoulder seams got stitched flat with herringbone stitch.

To stop it shifting, all seams were pinned heavily in both directions – parallel and perpendicular. I removed the parallel pins as I came to them, and stitched slowly over the perpendicular ones. I think I spent more time pinning than sewing. Sure, I could have basted them, but this worked OK and I’m no basting addict.

I’d hoped to get all the sewing done in one session, so I only had to clean up fur once, but things drifted into two days. The cutting out (done prior to my brother’s visit) was messy, but contained.
The vest is fairly featureless, as fur patterns tend to be very simple shapes, but I included little side slits which came out very well. (These I sewed in Step 2, part 4. I sewed the lower front edges, and just went up the sides a little for the slits. Then the side seams in Steps 4 & 5 officially started at the top of the slits.)

The vest isn’t finished yet, as Bro has yet to choose some front closures. I brought out my collection of rouleau samples (instructions for which in The Dressmaker’s Companion) and he took them home with him to decide.

I made a small rouleau sample out of the lining satin, but really almost any satin will look lovely. There’s enough of his lining satin to make another entire waistcoat, so I didn’t want to chomp into it.

And of course I tried the vest on myself!

I rarely sew with fake fur or conventional patterns, so this was a bit different for a change. A zero waste vest is on my pattern bucket list, although I know a few others have successfully made one.
Thanks for making it to the end of this long post!
Cheers, Liz
Discover more from The Craft of Clothes
Subscribe to get the latest posts sent to your email.
I have a cheongsam in that satin (a HK souvenir from almost 30 years ago that is ‘a bit tight’ these days). I keep it thinking I should refashion, especially as I have a matching little handbag covered in the same fabric. I hadn’t really thought of using it for lining.
Love those rouleaux samples! Your brother is spoilt for choice. Bespoke fur and fancy satin – a departure from your more usual fare but I hope ‘fun’ now that all the fur control is behind you.
No way! I bought a cheongsam in HK 30 years ago too! Mine was green. I no longer have it though – I was underweight when I bought it and it was too small after being back in Australia for a few months, so I passed it on.
Will be interested to see what Bro decides for the closures. He says he has some other coloured plain satins at home to choose from.
A fur vest feeling like a kitten… I’m freezing home working in my 14°C flat right now, it seems sooo nice! And the result is great. What did your parents do to have their children so found of fabrics and sewing?
Perhaps you need a floor-length fur coat, with interior pockets for hot water bottles? And matching hat?
Bro and I are the only ones who are into fabrics and sewing – the other two have other creative interests. Mum did lots of sewing when we were young.
fabric for a holiday souvenir? one of us! one of us!
wow there are sooo many skills involved in this. “oh i just whipped up some rouleau samples to give him some ideas….” you are so cool.
i feel like with vests, it would be a great excuse to use any potential offcuts as endless pockets. pockets on the outside, pockets in the lining…ever since i saw your mini zine on pockets (or was it a blog post!?) i’ve seen pockets in every scrap of fabric big enough to fit my paws into.
this looks like a very messy, kitteny-soft fun project.
I think he’s always been One of Us. When we were children he sometimes made things with fabric (although he preferred wood and metal). I confess I enjoyed bringing out the rouleau samples – it was a cool big sister moment.
Maybe I should have put pockets on this vest? A bit tricky with the fur but doable on the lining.