The jeans waist expansion project
My waist measurement fluctuates wildly these days, growing by up to 10cm/4″ (ie 2 sizes). I don’t think I can conveniently blame the pandemic – I think it would have happened regardless. My tummy muscles are shot to pieces, post-partum and beyond, and I’m becoming a woman of a certain age.
Those blog photos where I have a flat tummy? Don’t be fooled – I’m standing up straight and sucking it all in.
I find myself preferring soft adjustable waists or waist-skimming styles. Most of my jeans are too tight around the waist, including, alas, my favourite zero waste jeans.
The situation is probably not going to reverse itself, so I thought I’d try adjusting a jeans waistband to make it bigger.
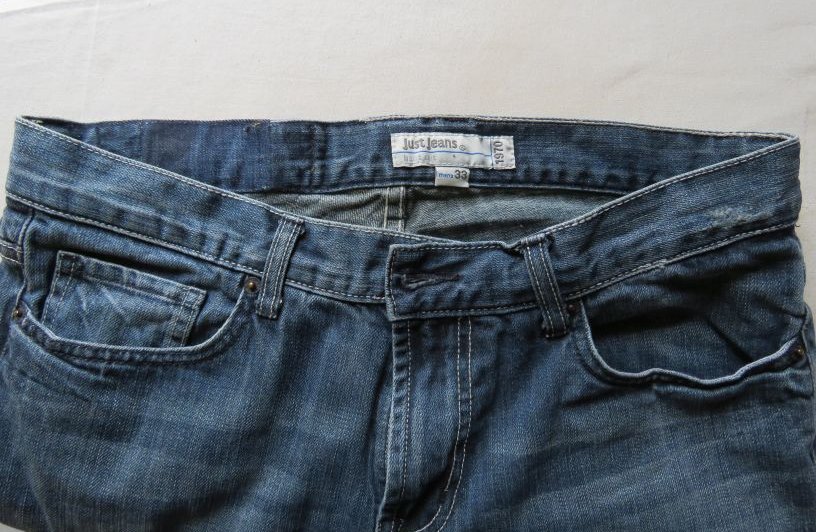
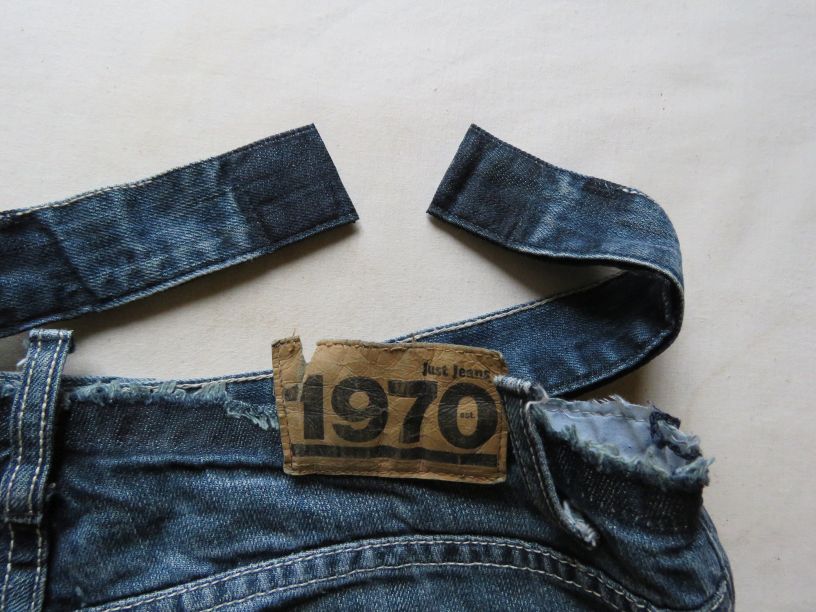
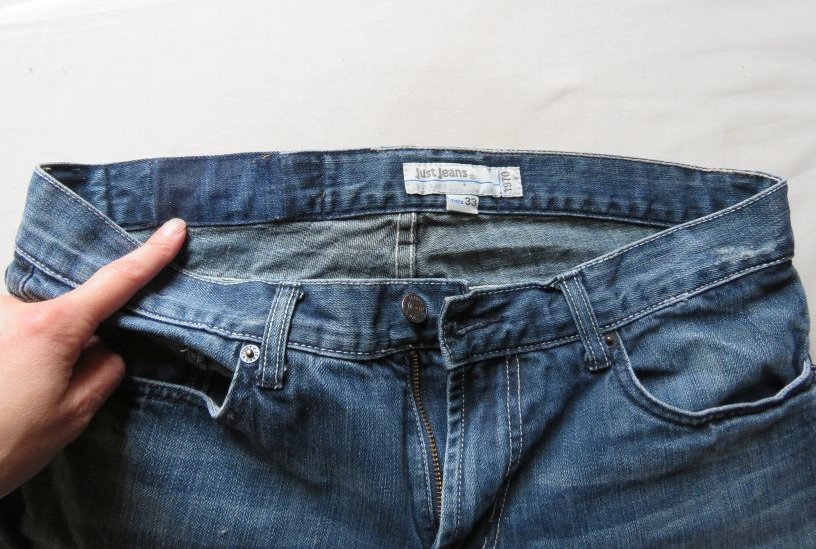
I have a pair of (mens) jeans which came in a bag of denim from the op shop. They were too ragged at the back heel for the shop to sell, but otherwise fine. I had to shorten them so the hem got cut off anyway. They fit well and button up okay, and they’re comfortable enough when I’m standing up, but as soon as I sit down the waist presses into my squashy tummy and cuts me in half, unbearably.
Making the waist bigger wasn’t as hard as I thought it would be.
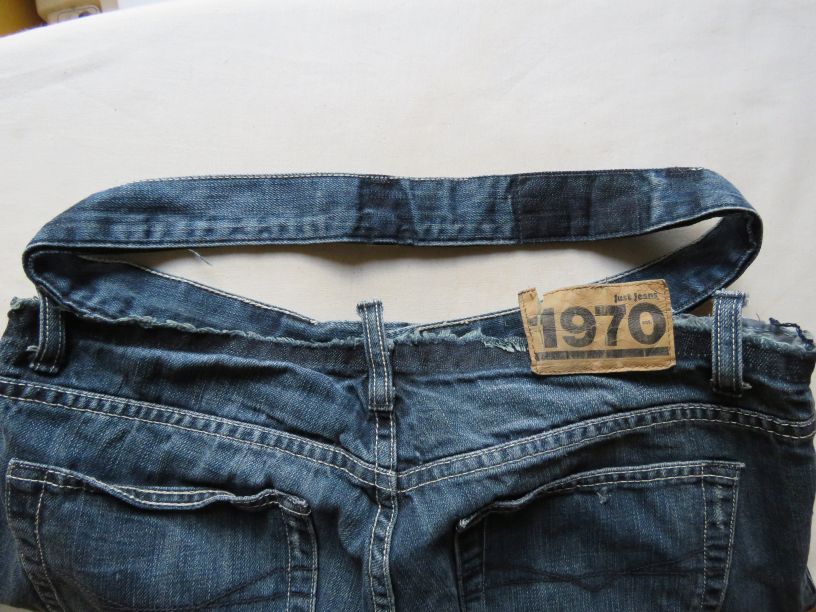
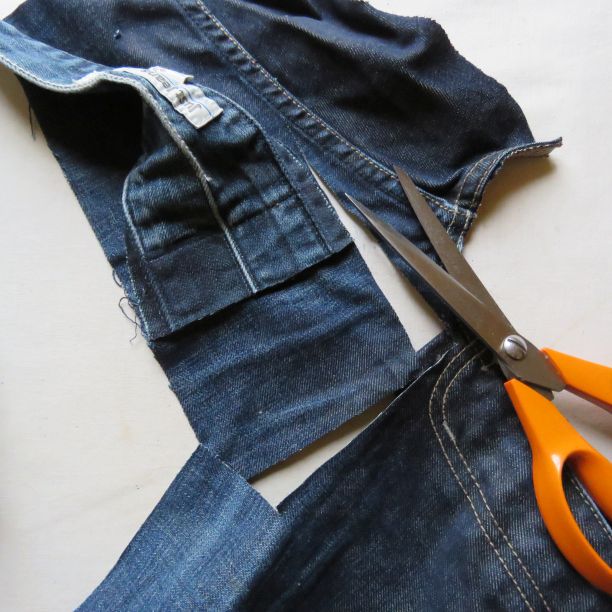
First I unpicked, but only east and west of the front beltloops. I left the button, buttonhole and front beltloops intact.

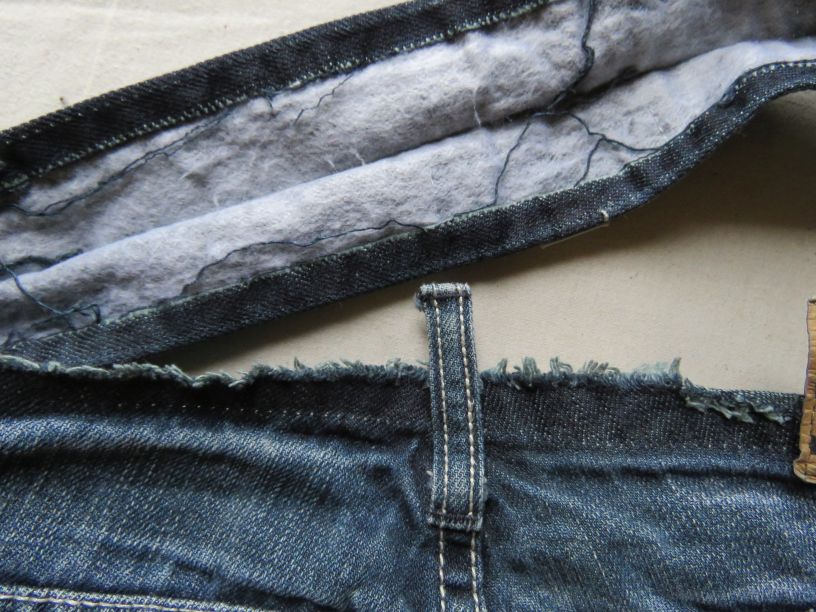
I forgot to take a picture of the new piece sewn in, but I just sewed it to each side and pressed the seams open.
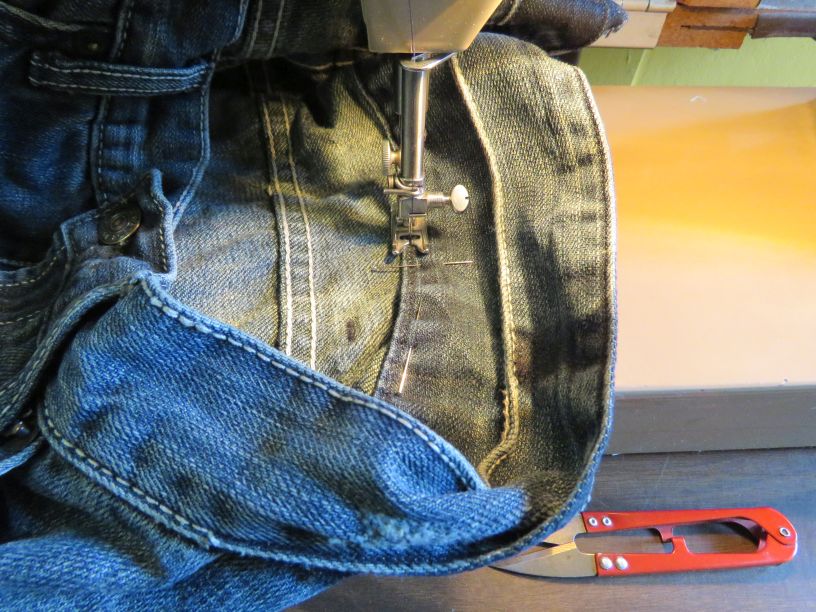
I sewed the waistband on the inside first – I basically topstitched it on, using matching thread, and I flipped the beltloops out of the way underneath as I went along.

(My machine hates topstitching thread, but I forced it to comply.)
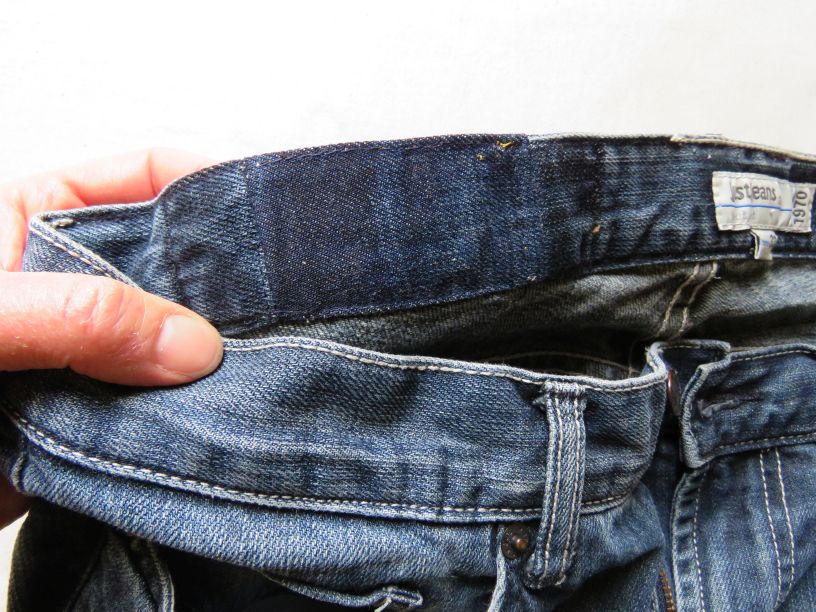
Verdict: totally worth it, and not as hard as I’d thought.
Cheers!
Discover more from The Craft of Clothes
Subscribe to get the latest posts sent to your email.
Wow Liz, what a beautiful job, you cannot even see where the new stitching starts and stops! And your directions made it look very do-able. Thank you!….. Now I’m remembering all the jeans whose life I could have saved 🙂
Cheers, Julie! One to file away… 🙂
Hi Liz, I’m confused. Didn’t you need to make the body of the jeans bigger to fit the newly expanded waistband?
No, I didn’t need to – the waist just kind of stretched (on its own, without me doing anything) and fitted the bigger waistband. The waistband was 5.5cm bigger, but it wouldn’t have worked if it was any bigger – I was on the limit!
Thanks Liz, this is really helpful! I will give it a try : ).
You’re welcome Miranda 🙂
Rather more professional than my “safety pin and elastic band” expanding buttonhole!
Haha! That’s what I’ve been using up until now!
Well done! I’ve bought some lovely braces from the op shop. Now just have to see buttons on the waistbands. Even if pants are comfortable when I’m standing up, they tend to cut me in half when I’m sitting.
Hmmm…braces. That’s a good thought!
Excellent strategy! Way better than walking around with the button undone, or imagining I’m only going to wear overalls from now on. Plus I have a stash of fake suede to make labels for jeans style pants without one. It was the midlife expanding waistline problem that got me sewing again in my late forties, but this is one of the best re-do solutions I’ve seen in the past 15 years! Thank you for sharing.
Cheers Susan 🙂 I’m no doubt not the first one to try this, but it was totally worth it. Beats wearing tops untucked with semi-undone trousers underneath.
Well, I just followed your instructions to add a couple inches to the waistband of a pair of black jeans. It was very quick work, totally invisible and adds just enough to make them so much more comfortable when I am seated. Thanks again Liz!
Excellent! So good to hear.
Just like all of your writing and lessons, this is really interesting and helpful! Thank you for sharing!
This doesn’t directly relate to this topic, but it has to do with the topic of zero-waste; I found a retail fabric website that sells fabric by the inch! They are based here in the US, but they ship to any country. I feel like this is the perfect way to make any zero-waste pattern 100% waste-free! Here’s a link to the website: http://www.sallietomato.com
I tried Google searching to find additional retailers using this same idea, but haven’t found any more as of yet; if I find others I will surely share them!
Thank you Kat 🙂 Just had a look at Sallietomato – what a find – think I will put this in my newsletter. Many thanks. With online fabric shopping, the only way I’ve been able to order not in 25cm increments is to, if possible, phone the shop and order over the phone.
Recently I was also wanting to increase the width of my jeans at the waist. After looking at the internet, I tried the stretching method using a quick ratcheting clamp. The type that has a squeeze handle, used for woodwork etc. My husband changed the clamp end around so it would stretch out and put pressure on the waist band. In about an hour of leaving the clamp in the jeans, surprisingly, it had stretched out over 3 cms. A quick fix if you have that tool available.
Thank you, that is a great tip! 3cm is impressive.
Excellent! Thanks Liz!!
Cheers Cath!