Finished! The Shirt from Couture Zéro Chute
Continued from last week…
The shirt I’ve been sewing, from the French book Couture Zéro Chute (translated: Sewing Zero Waste), is now finished. It turned out great and I’m very happy with it.
After last week’s start, there was “only” the collar, hem and buttons to sew.
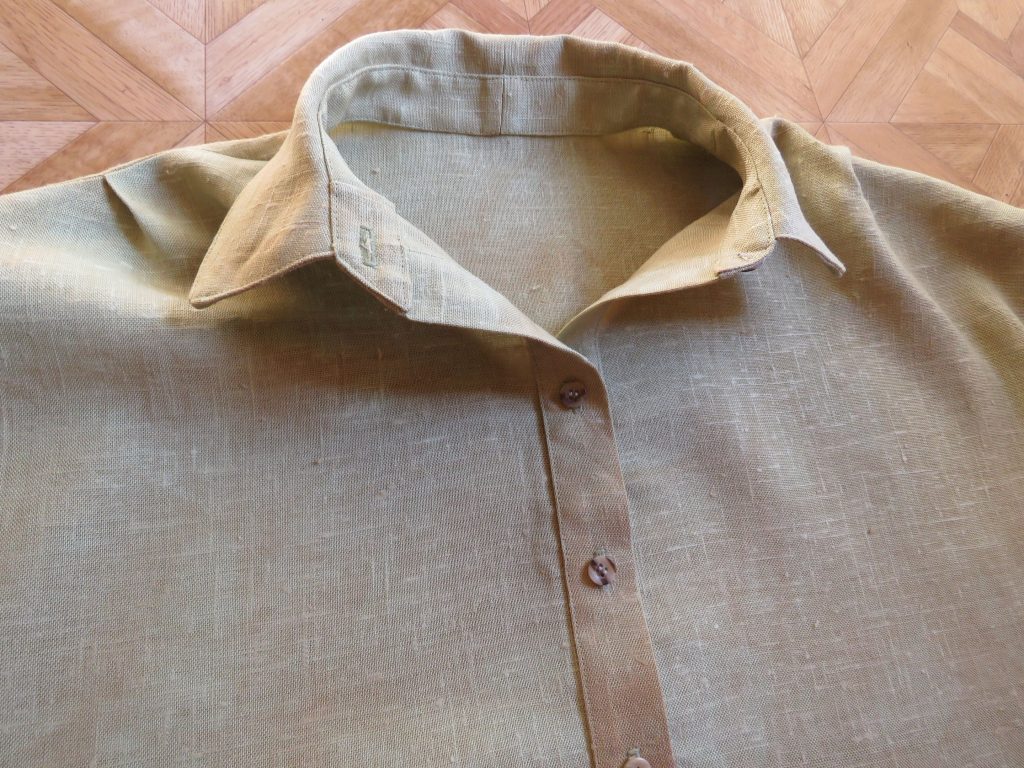
The collar is interesting; it’s a conventional shape when the shirt is finished, but is pieced from several parts, allowing for some fun opportunities if you’re doing colour blocking. It pays to be organised with the pattern pieces, and not be rushed with the sewing.
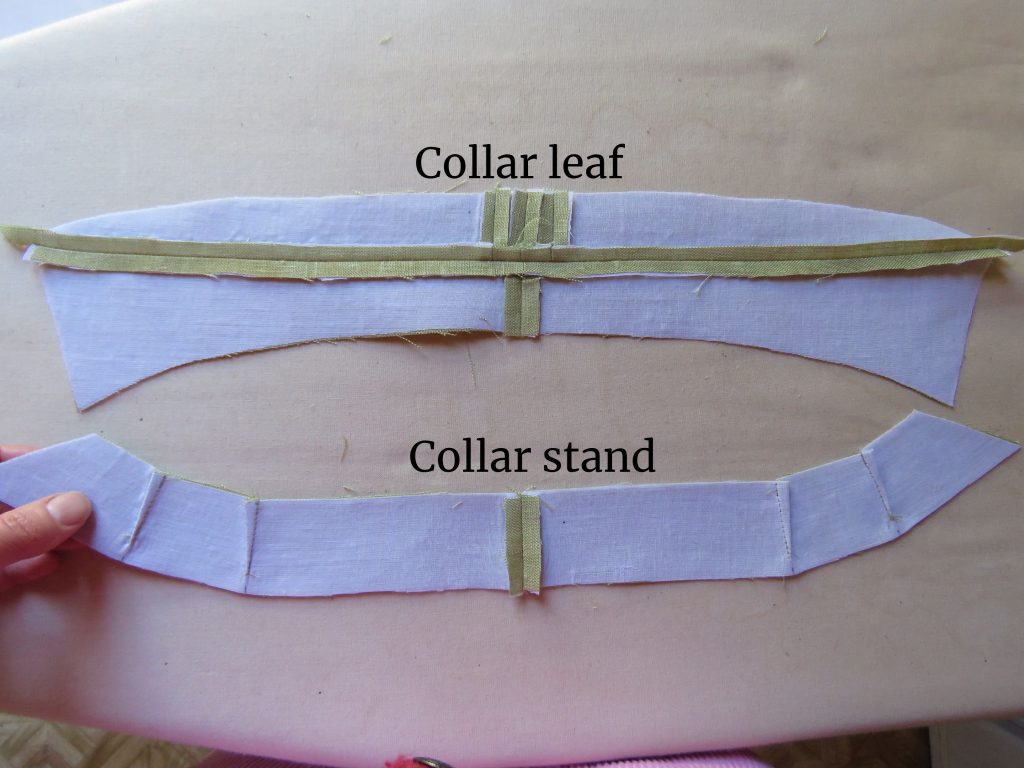
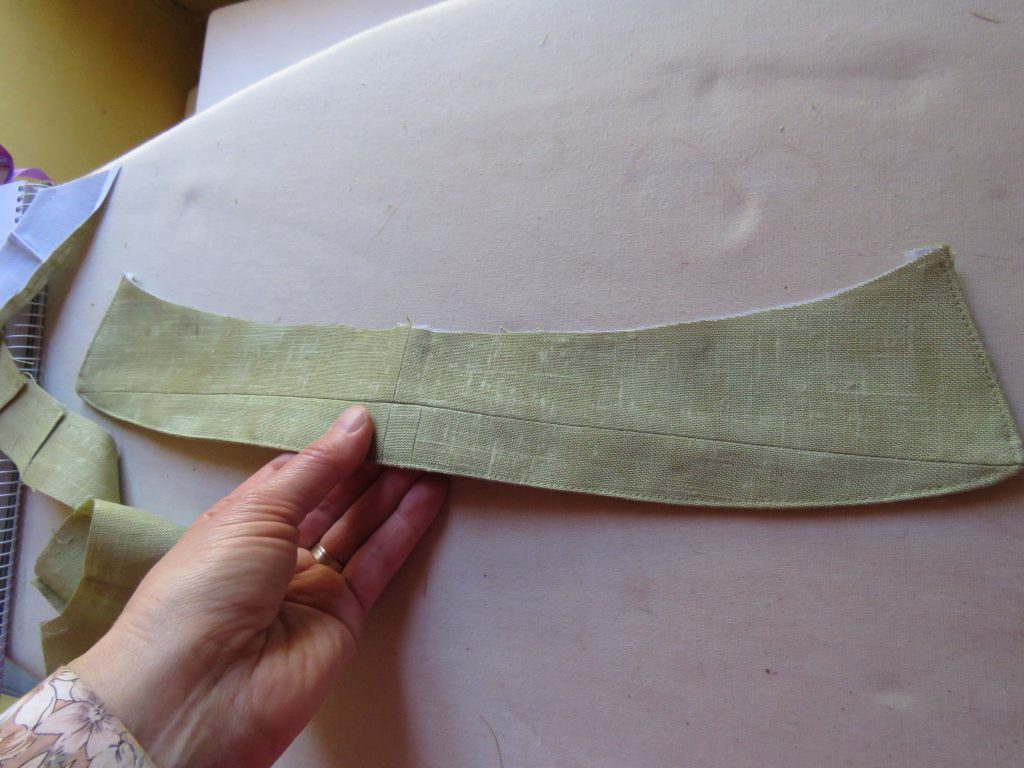
The collar stand is cut on the straight and shaped with little darts. I thought sewing eight tiny darts would be tedious but it turned out to be no big deal.
With the stand and leaf assembled, I departed from the book’s (totally fine btw) method of attaching the collar to the shirt, as I’m stuck in my ways. My preferred method is in The Dressmaker’s Companion.
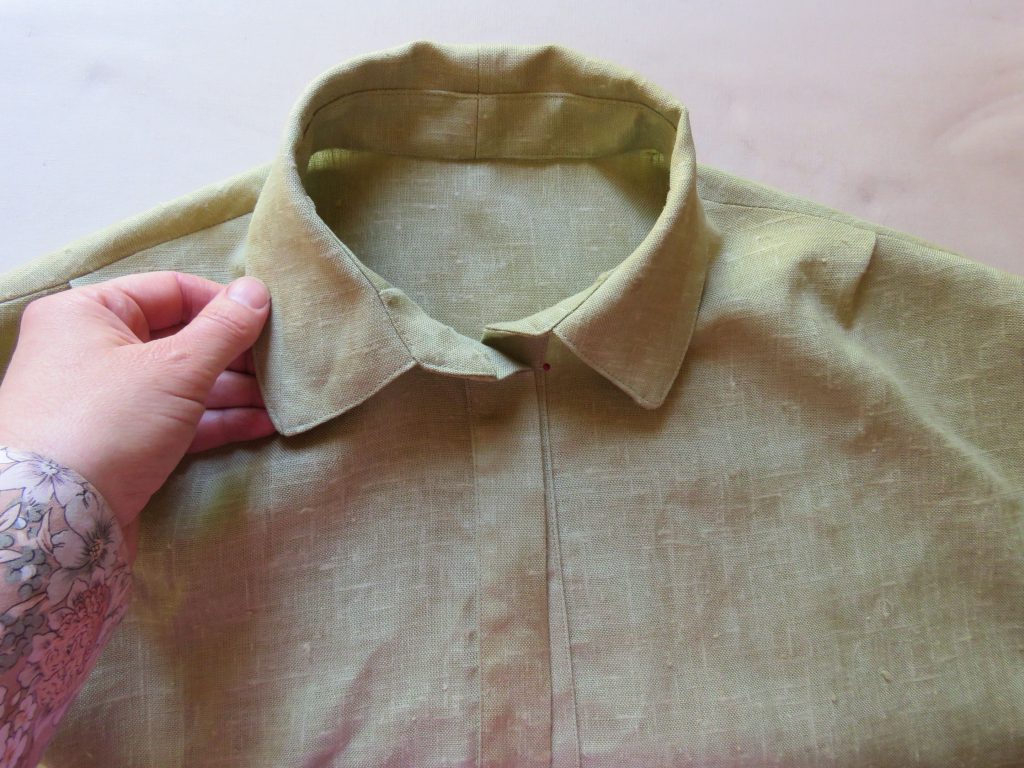
The finished collar is an excellent shape and fit. Mega impressed.
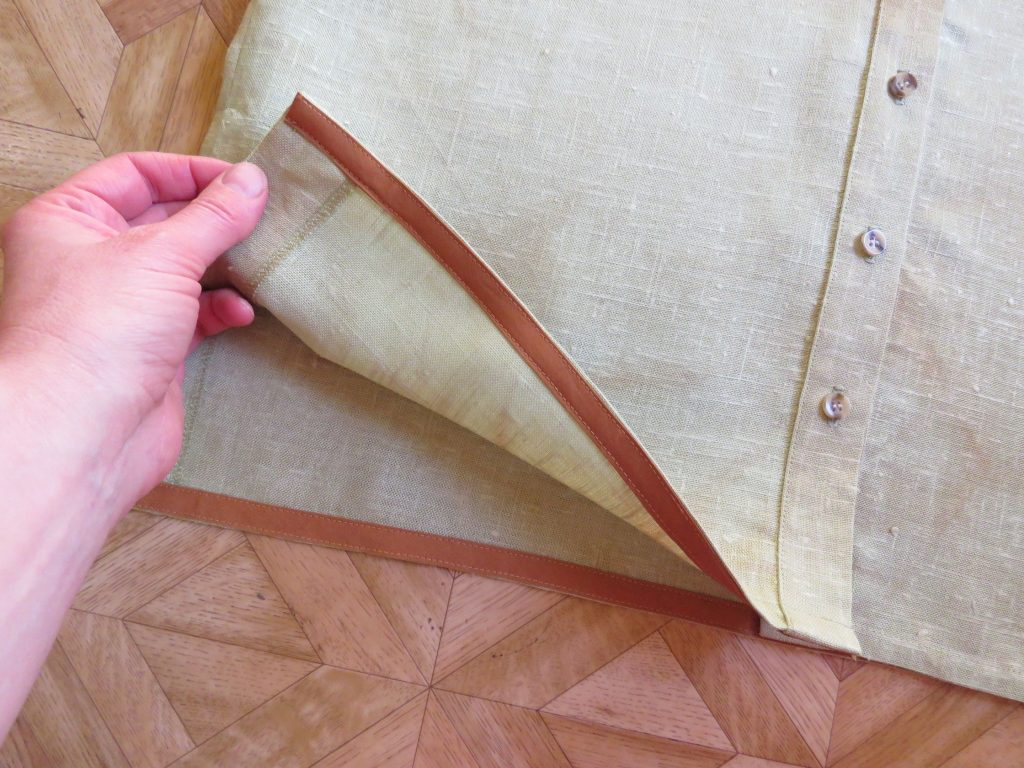
For the hem, I made a faced hem with bias binding, as this shirt is already 5cm/2″ shorter due to how much fabric I had.
When it came time for the buttons, it was a sorry story: the beautiful mother of pearl buttons turned out to be too pale and shiny for the shirt. Sob! But I found some others to use instead.

1. Mother of pearl. Too shiny!
2. Plain green plastic. Too green!
3. RM William’s buttons from an old shirt. Too much contrast!
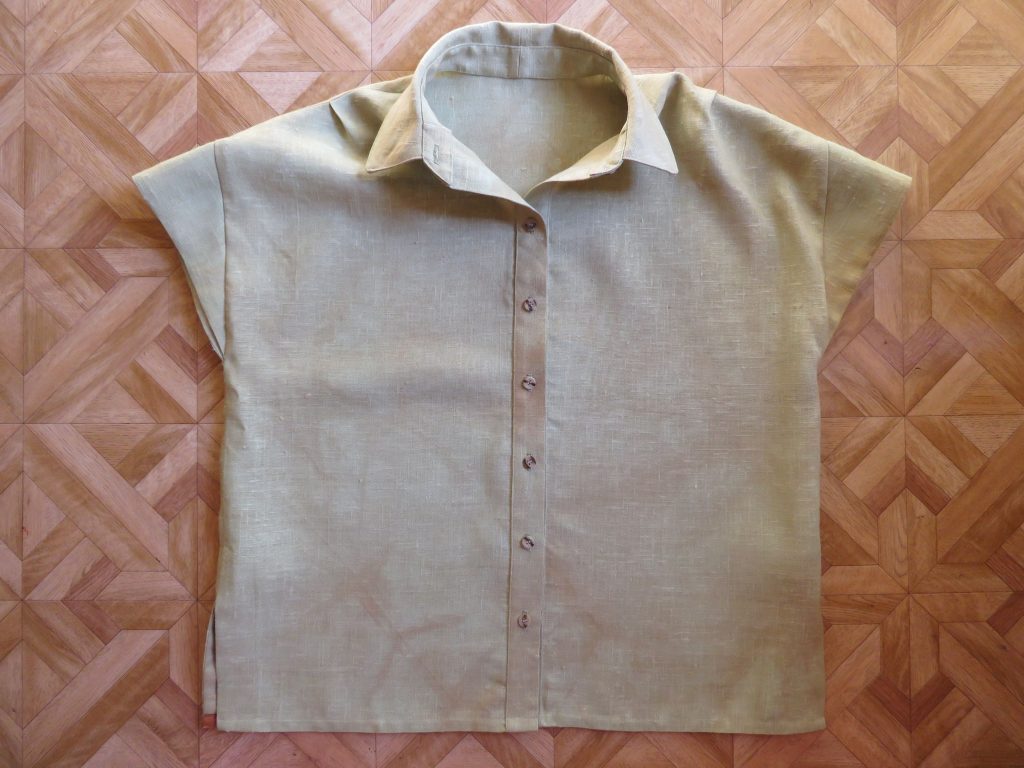
4. Beutron buttons, variegated plastic. Just right!
And here it is finished.

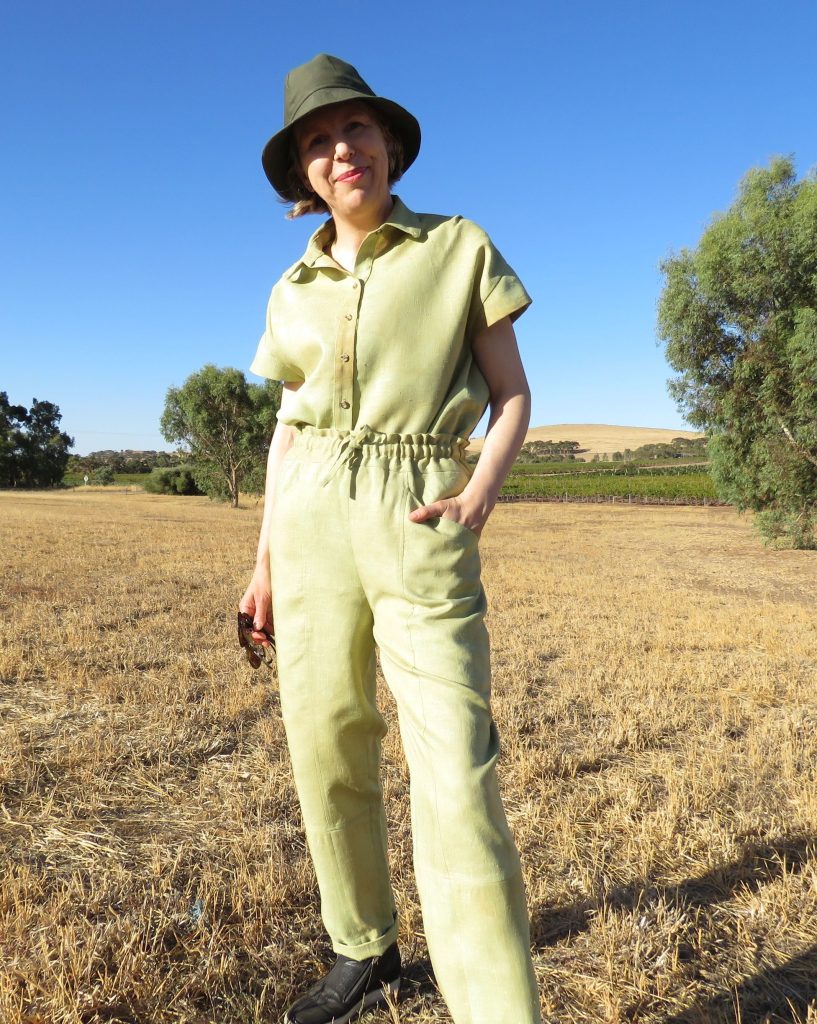
Then I tried it on with the matching green trousers from the same book, for the much desired two-piece jumpsuit ensemble. I think it’s a good look! My teen, who now owns the trousers and shirt, was unavailable for modelling duties.
The Verdict: very economical for using a small amount of fabric, and great fit. No “five-minute make” but a very rewarding sewing experience.
Please do visit the other posts for this sewing book, where I made the trousers, and then styled them.
Cheers!
The shirt is a good length. (But if you’d hemmed it with itself, I imagine you’d always be coming untucked).
I love the jumpsuit with toileting convenience!
Agree – I think it is just right. Yeah, the getting-undressed-just-to-visit-the-smallest-room-in-the-house gets ordinary very quickly.
The shirt looks amazing! I need to get back to my sewing machine. I did purchase this book, but haven’t done anything with it. All I’ve wanted to do lately is knit sweaters.
Soon it will be summer shirt weather again, Michelle 🙂
It looks very lovely! The sleeves look shorter when laid flat than when worn–my brain keeps insisting that the seam would be at the top of the shoulder instead of on the shoulder.
I absolutely love the matching pants and shirt, a very pleasant combination.
Thanks Hann – I thought the same thing myself when I took the flat lay photo. It looks quite different when worn.