Making Danielle Elsener’s Scout Shirt
The Scout Shirt is a pattern in the new book Sewing Without Scraps.
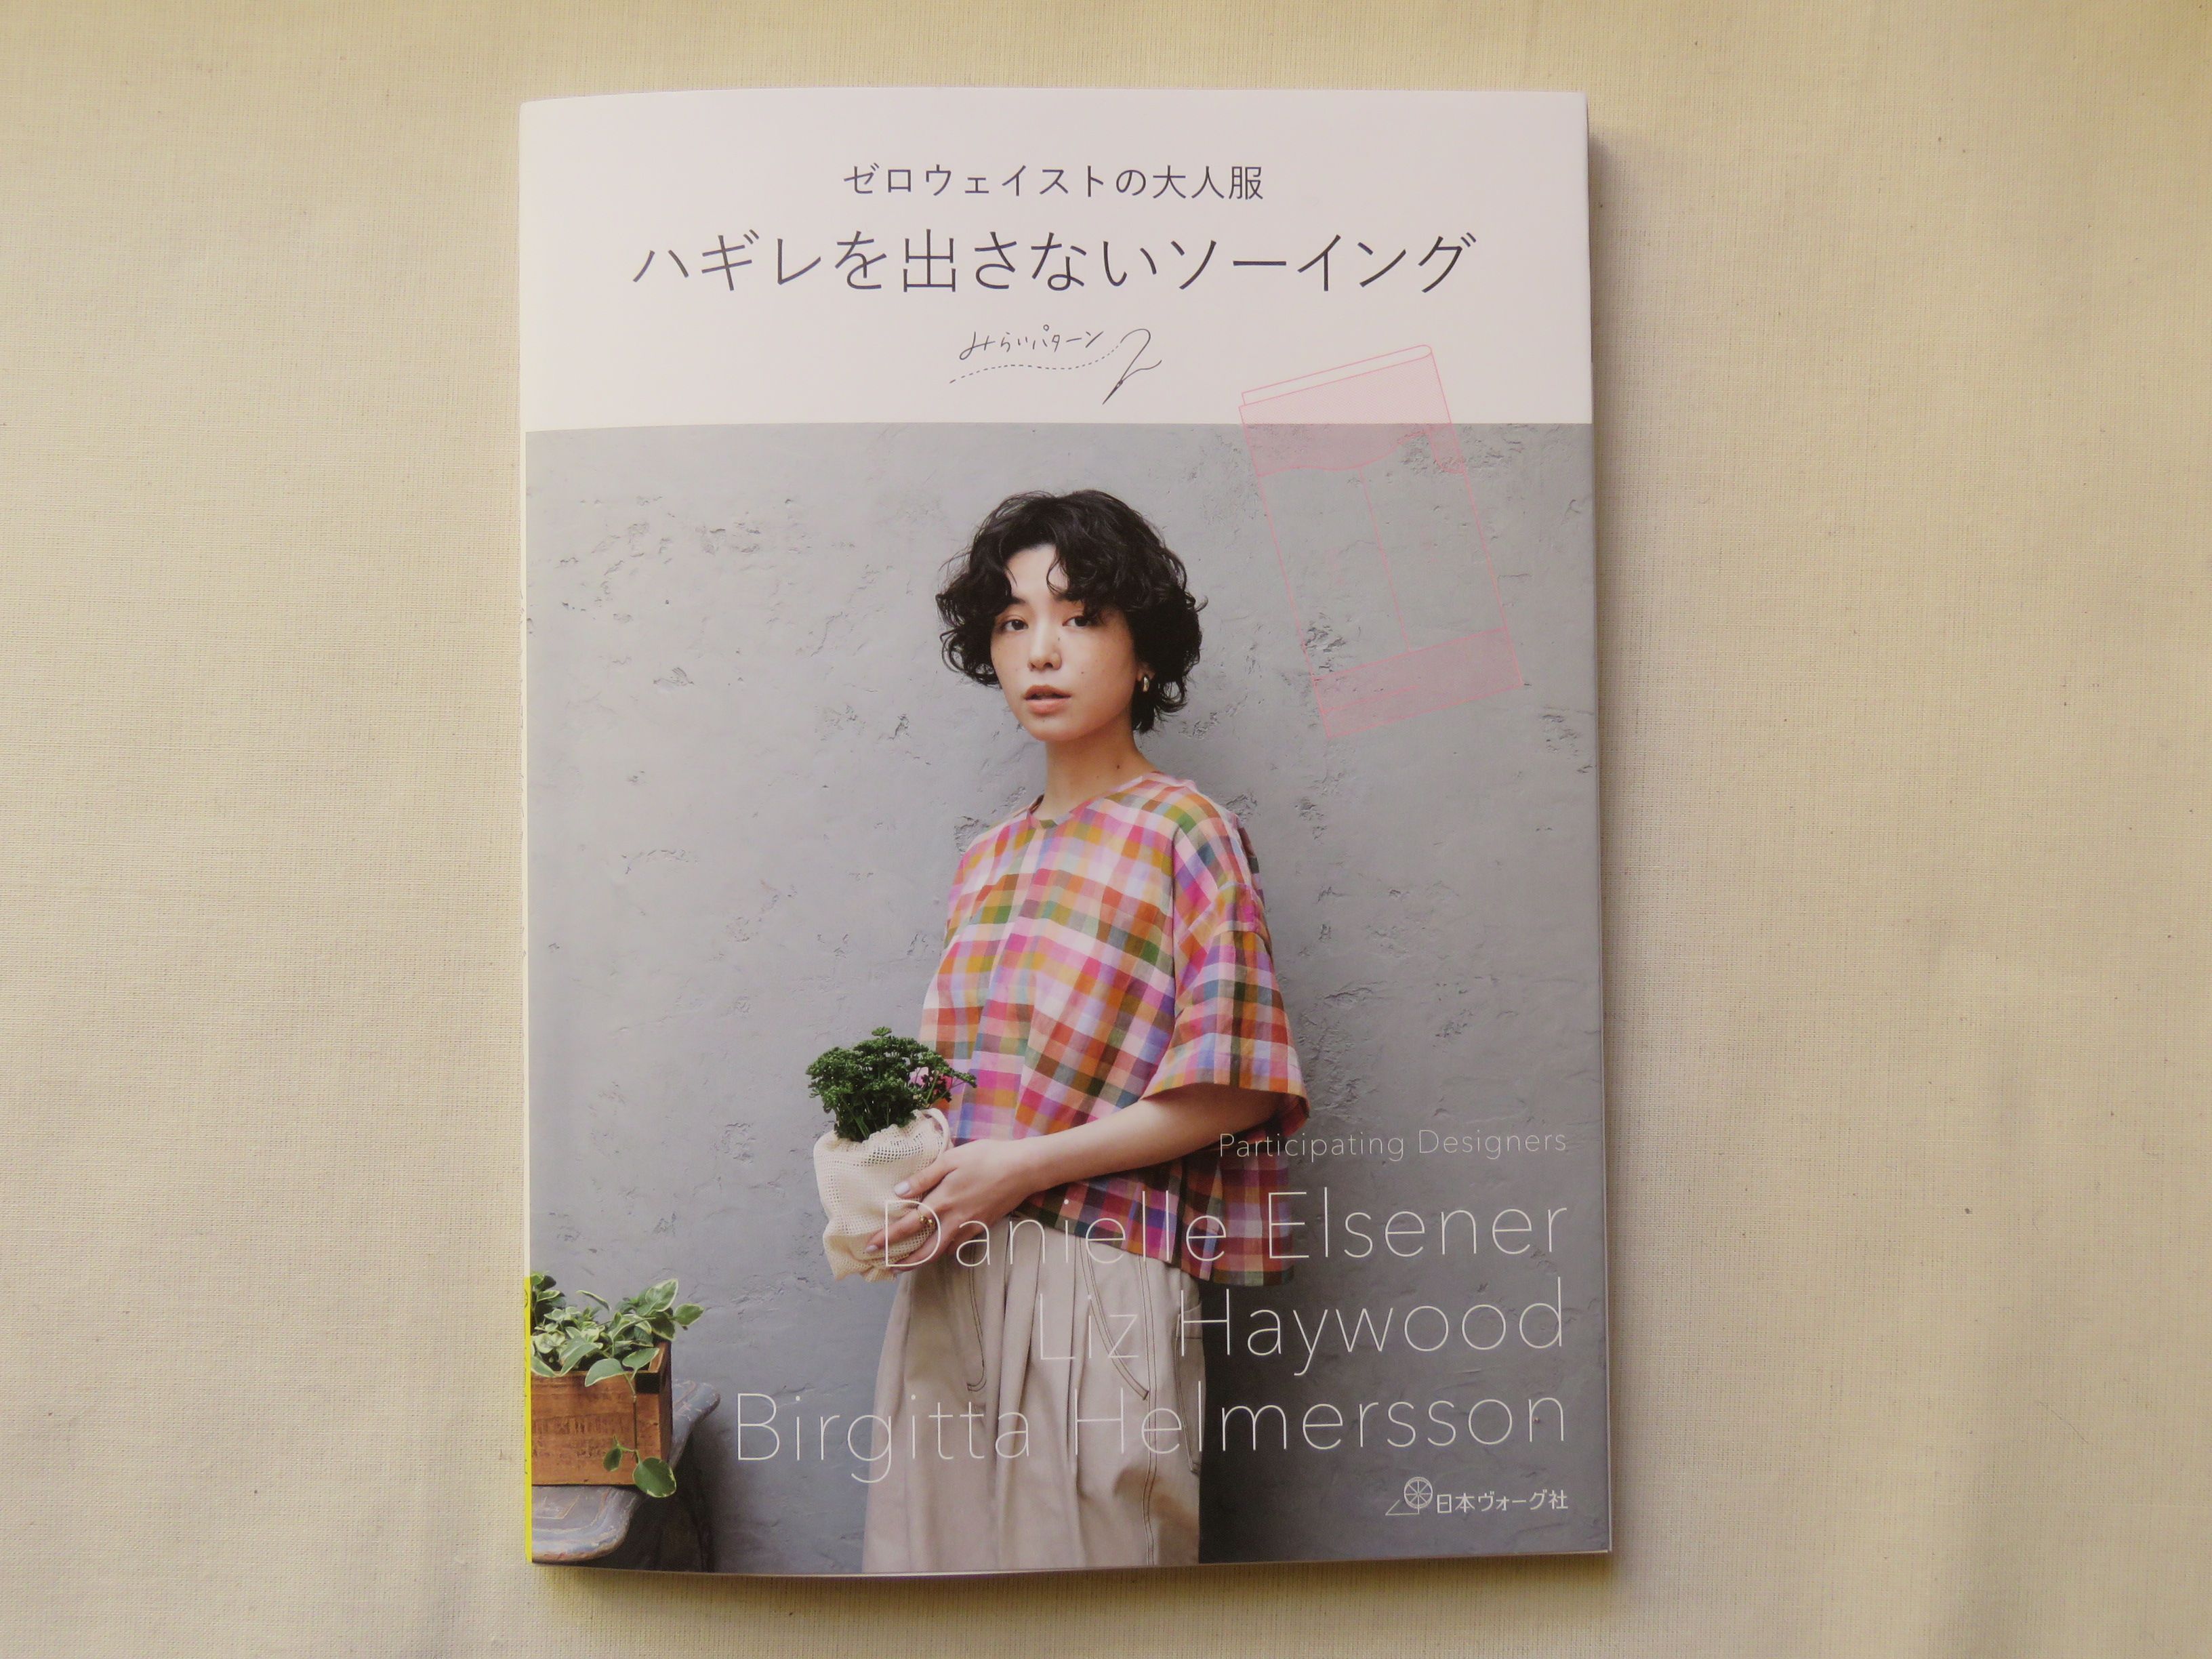
Just a shameless plug: Aussies, 50 more copies of the book arrived last week and are in my shop now. US readers, Danielle has just received more copies too. Neither of us have more on order, so please take this opportunity to order if you’ve been thinking about it.
Back to the shirt…
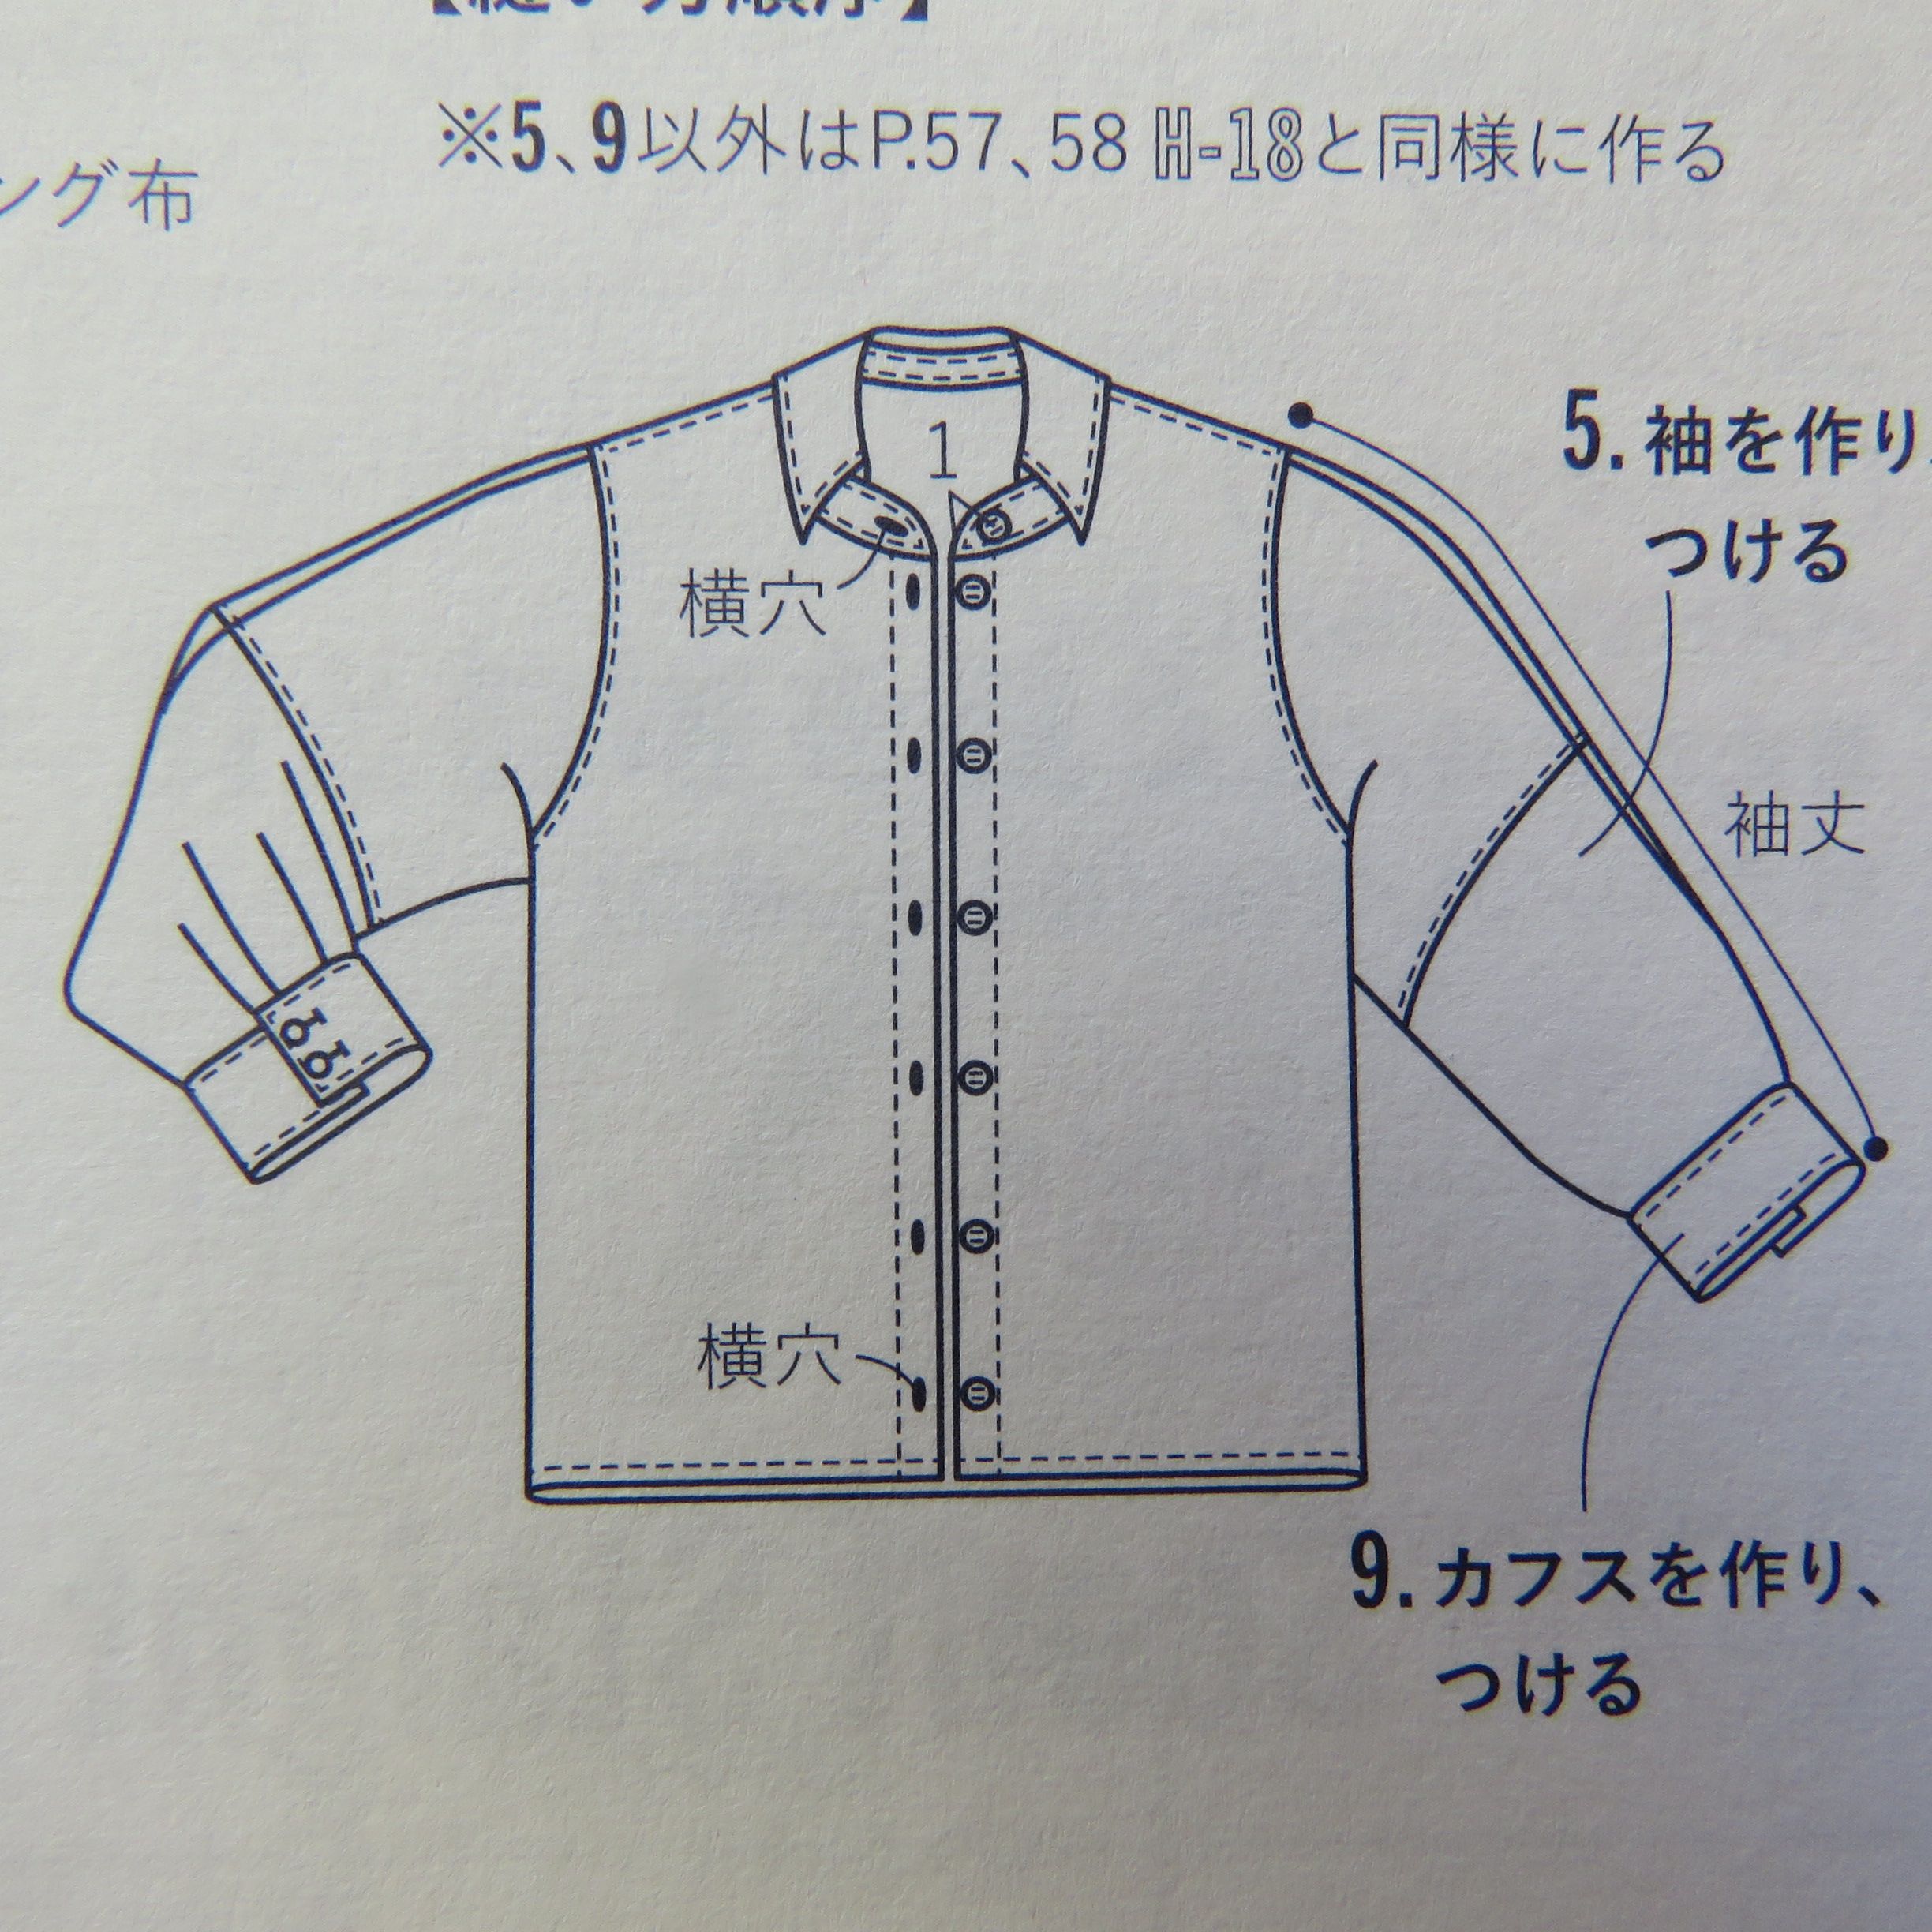
The Scout shirt has short or long sleeve options, and all the features of a regular shirt – collar, cuffs, front buttons etc.
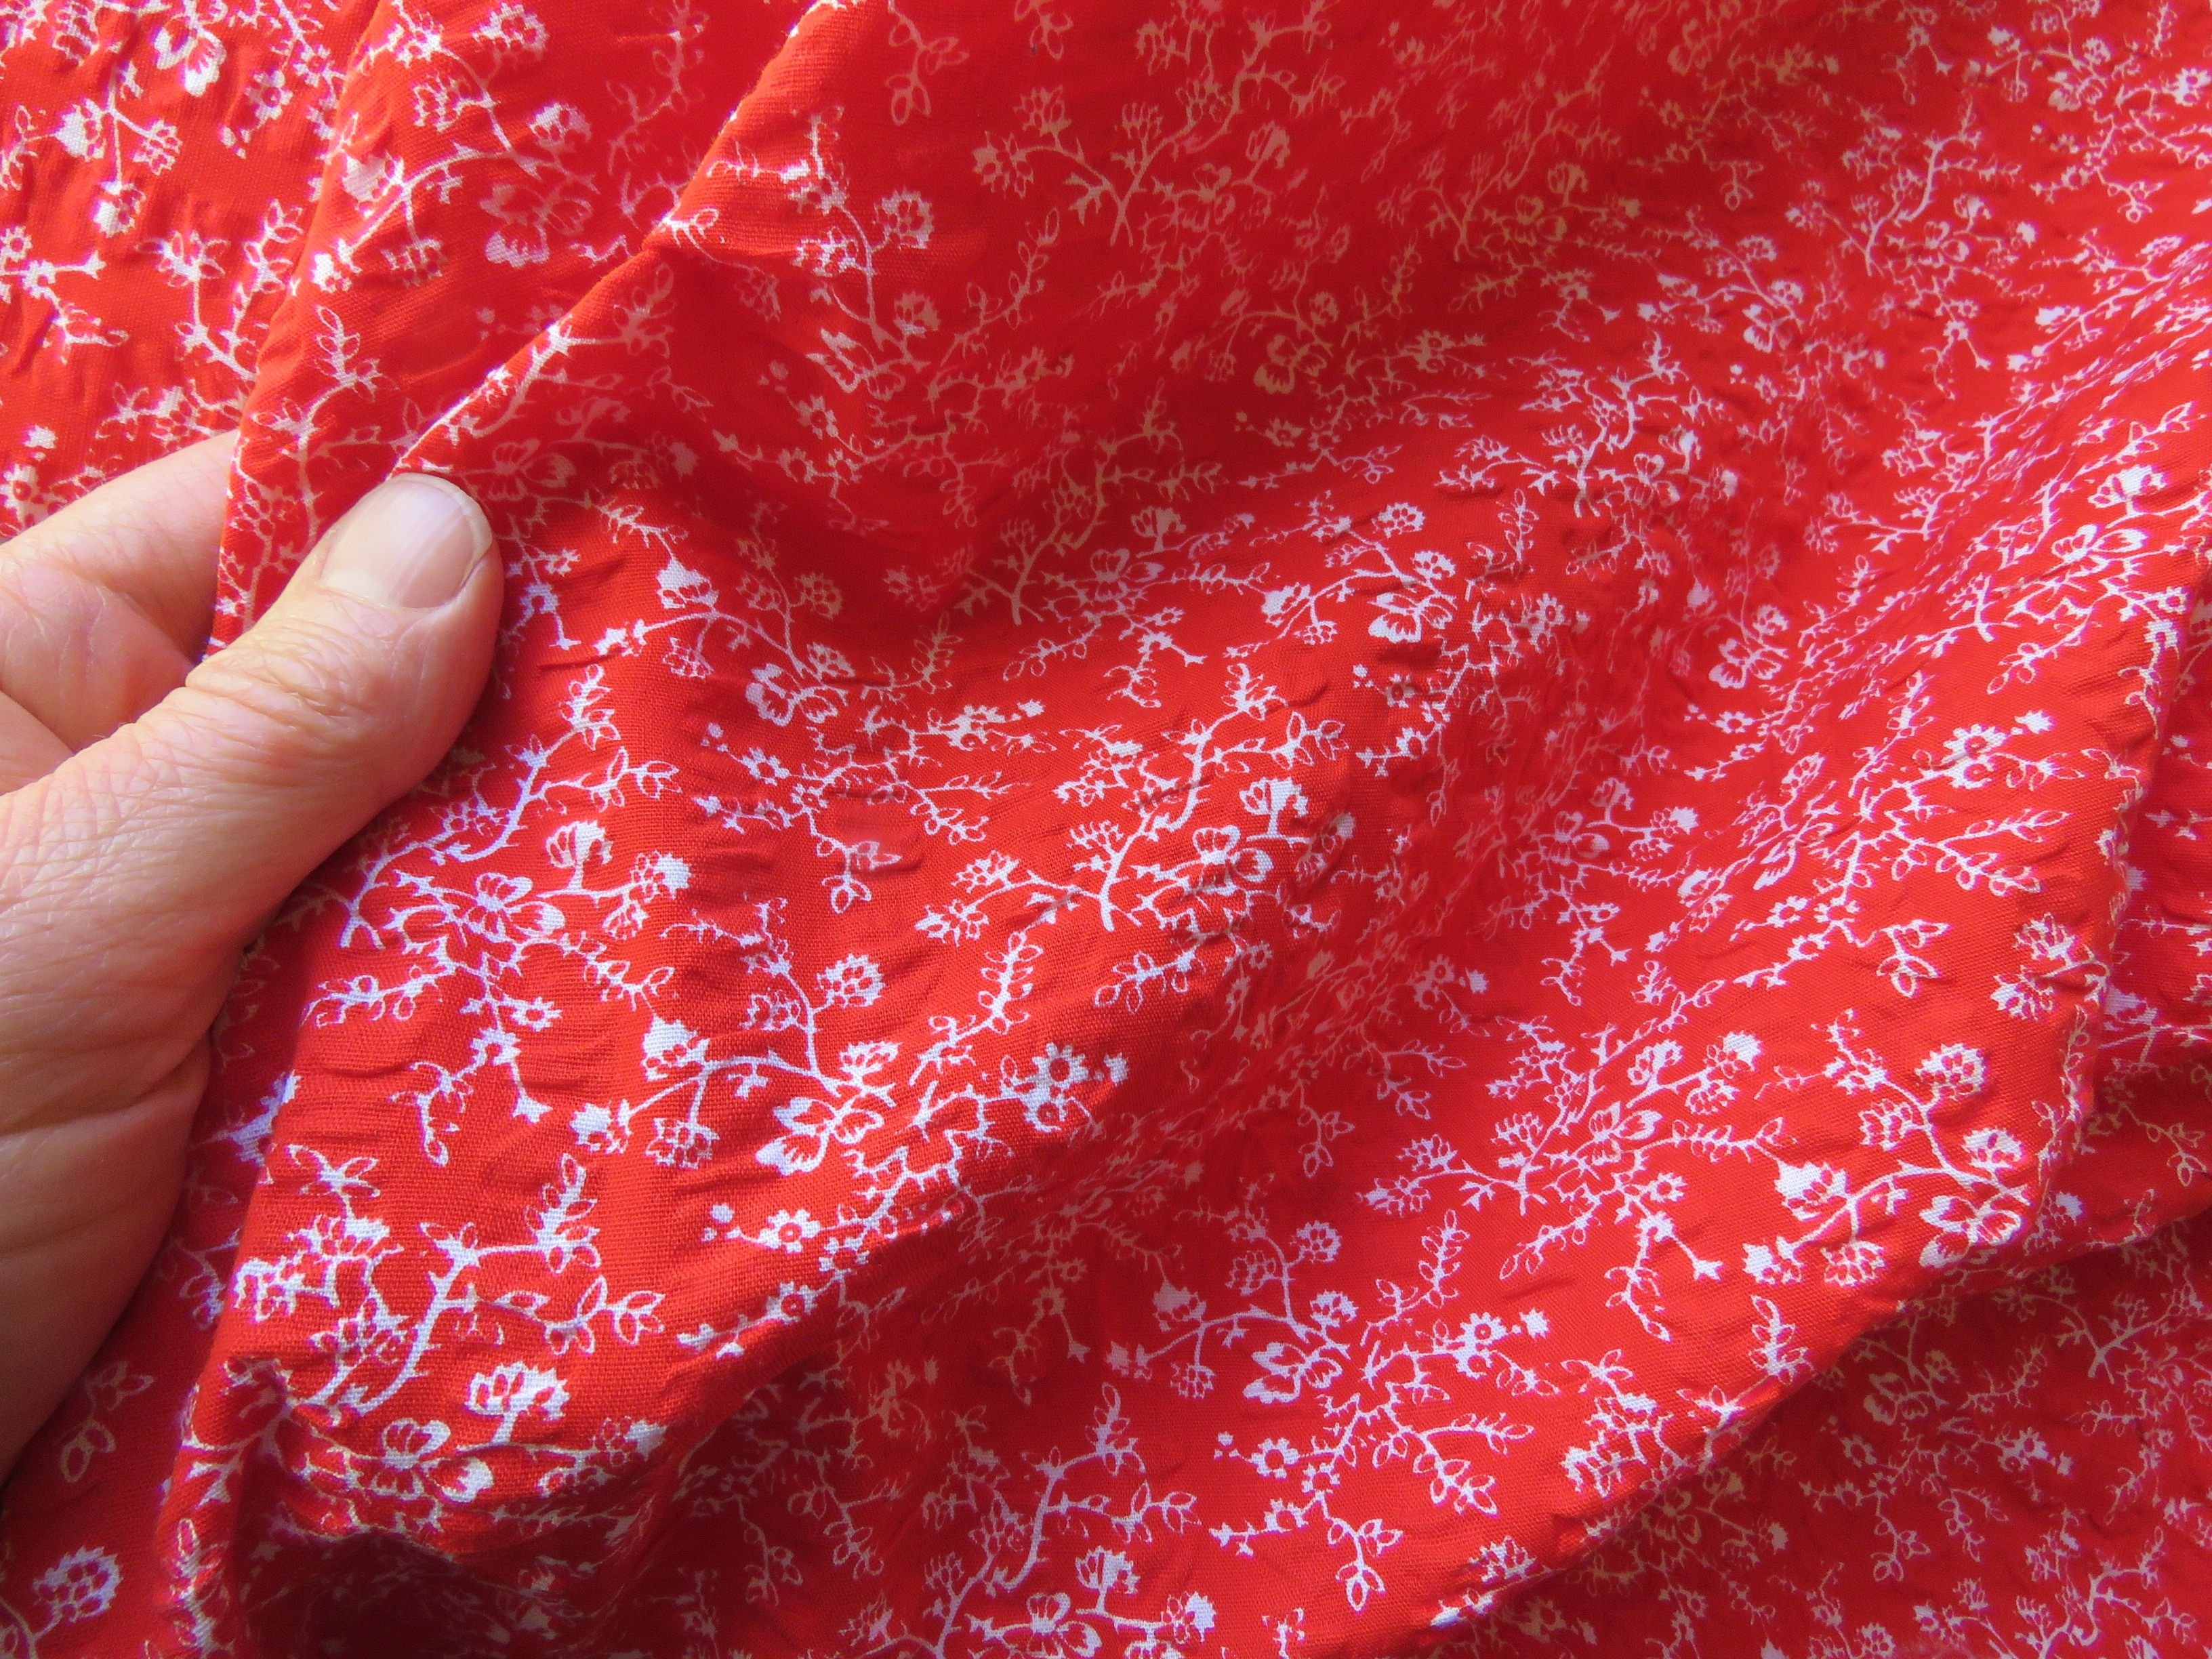
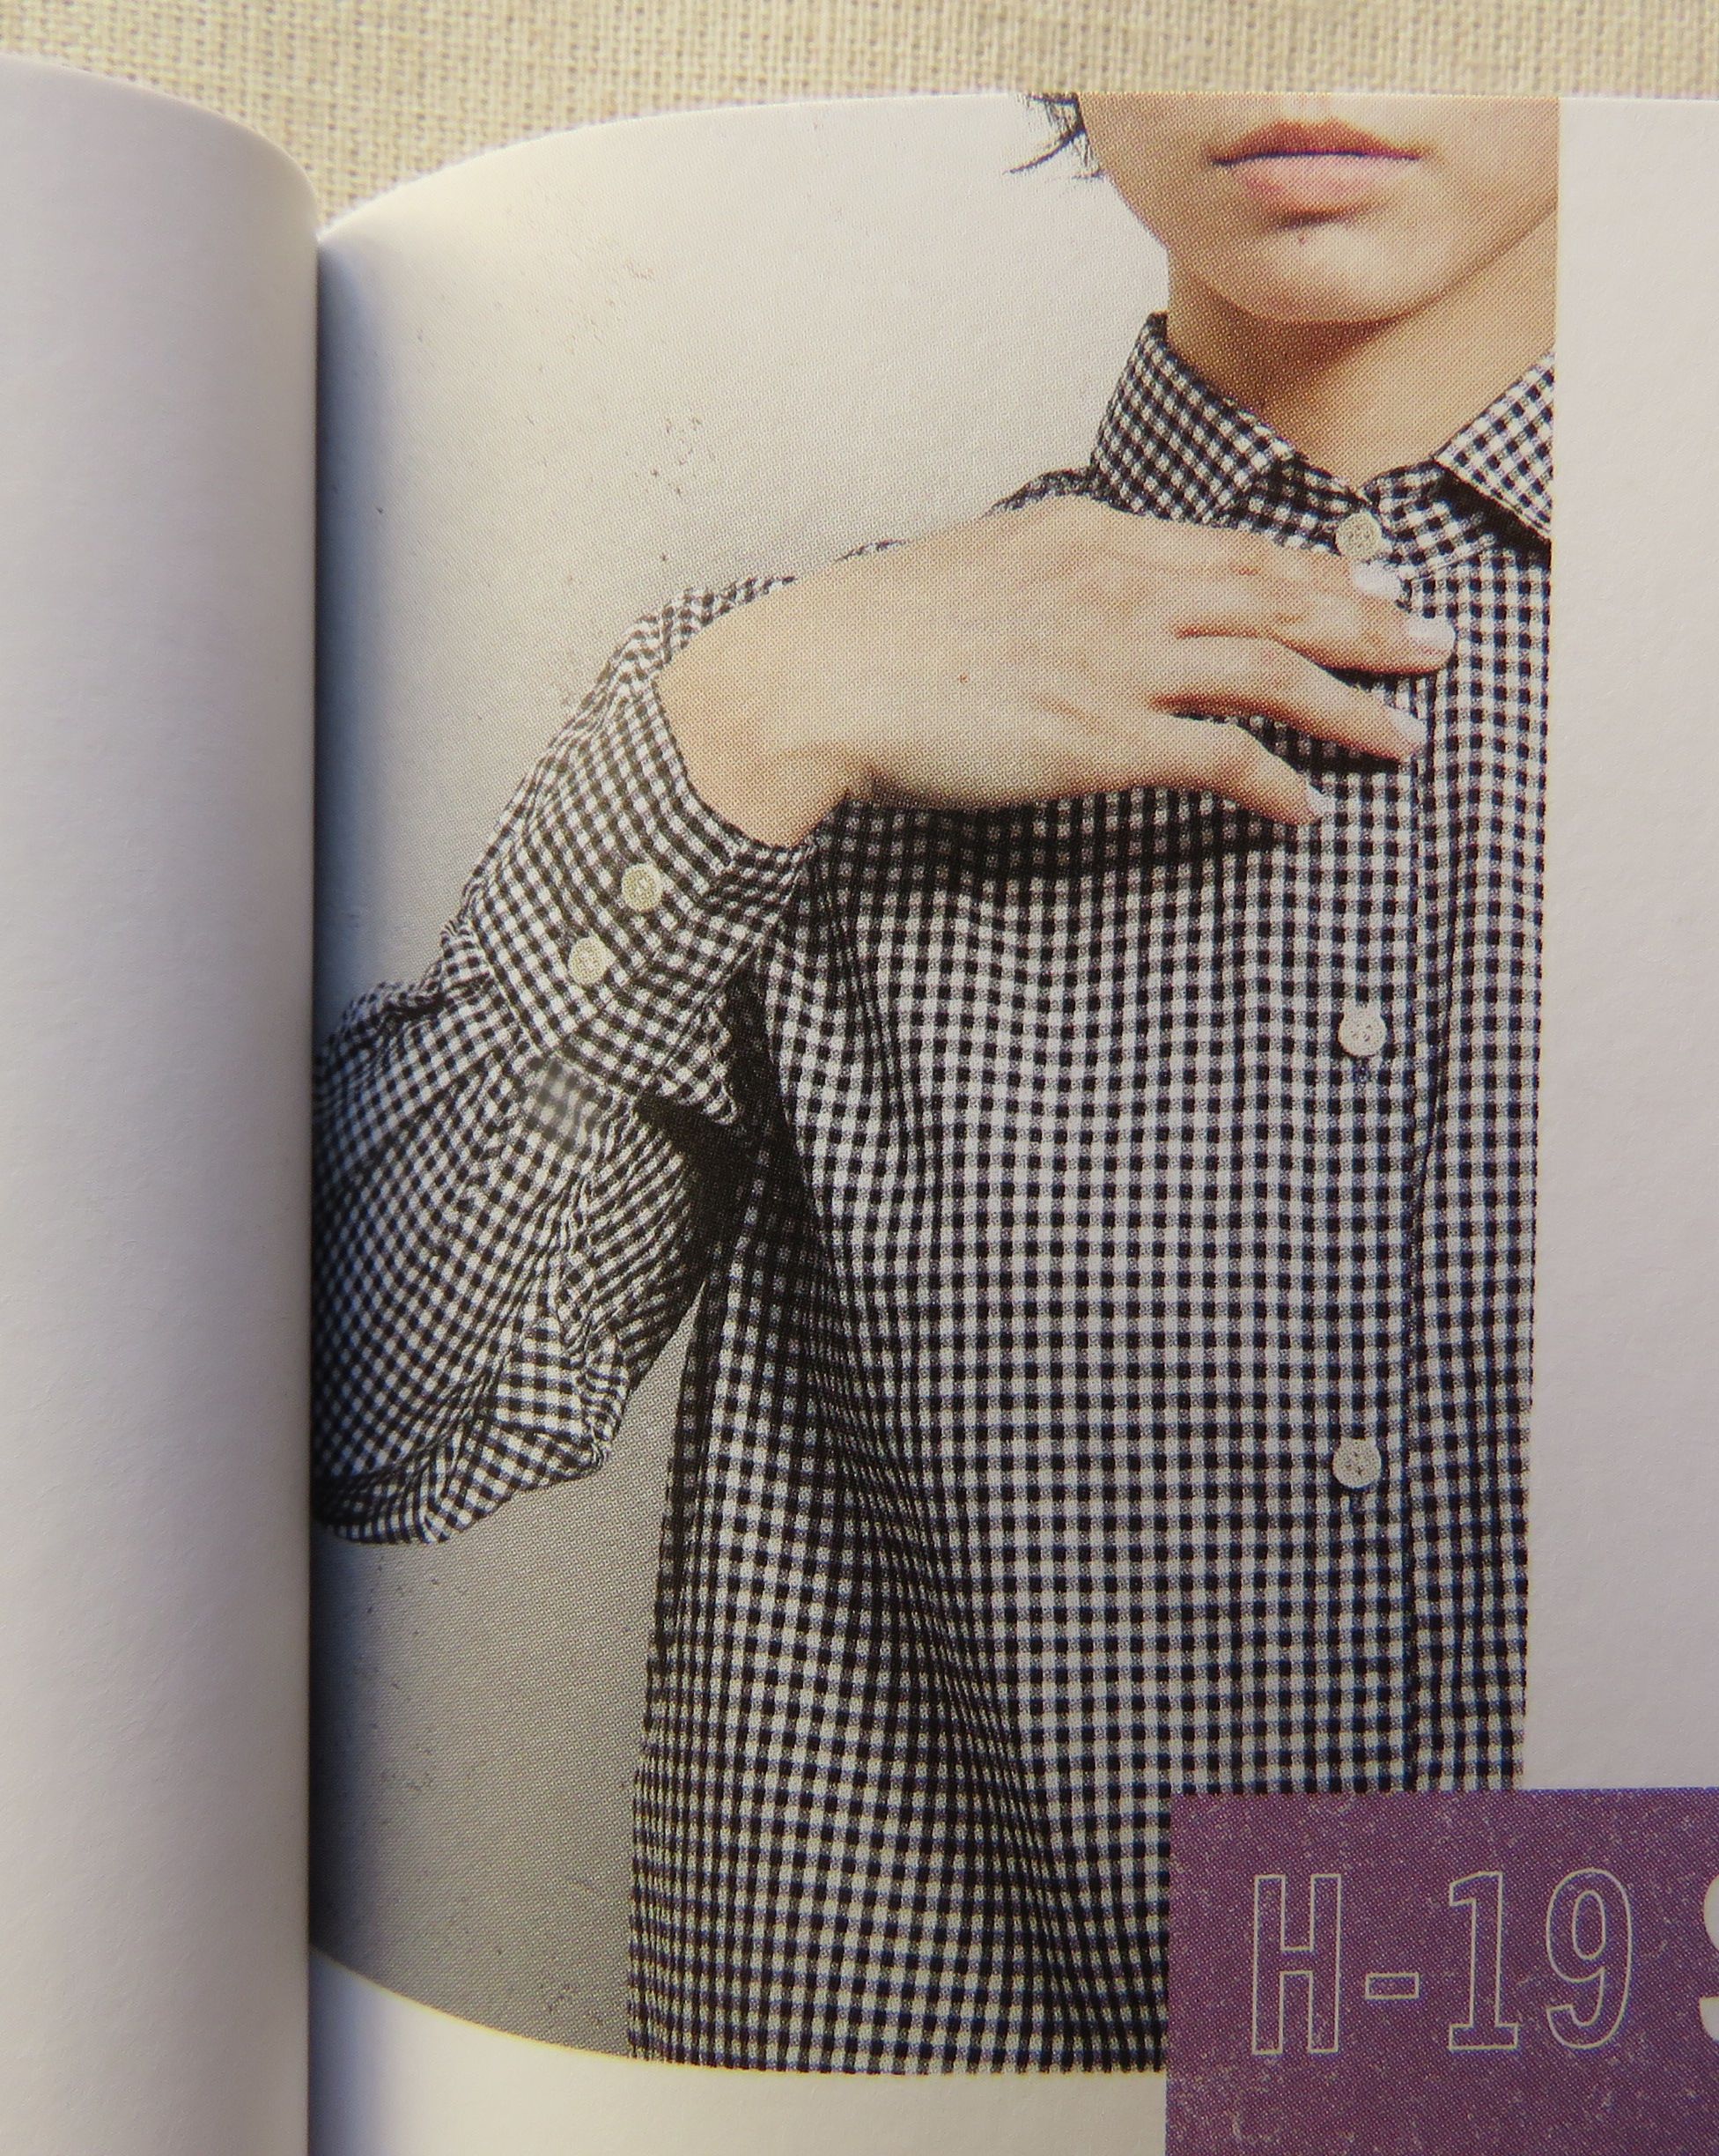
The photo in the book shows the shirt in cute gingham cotton. I’m using some vintage cotton seersucker, with a red and white print.
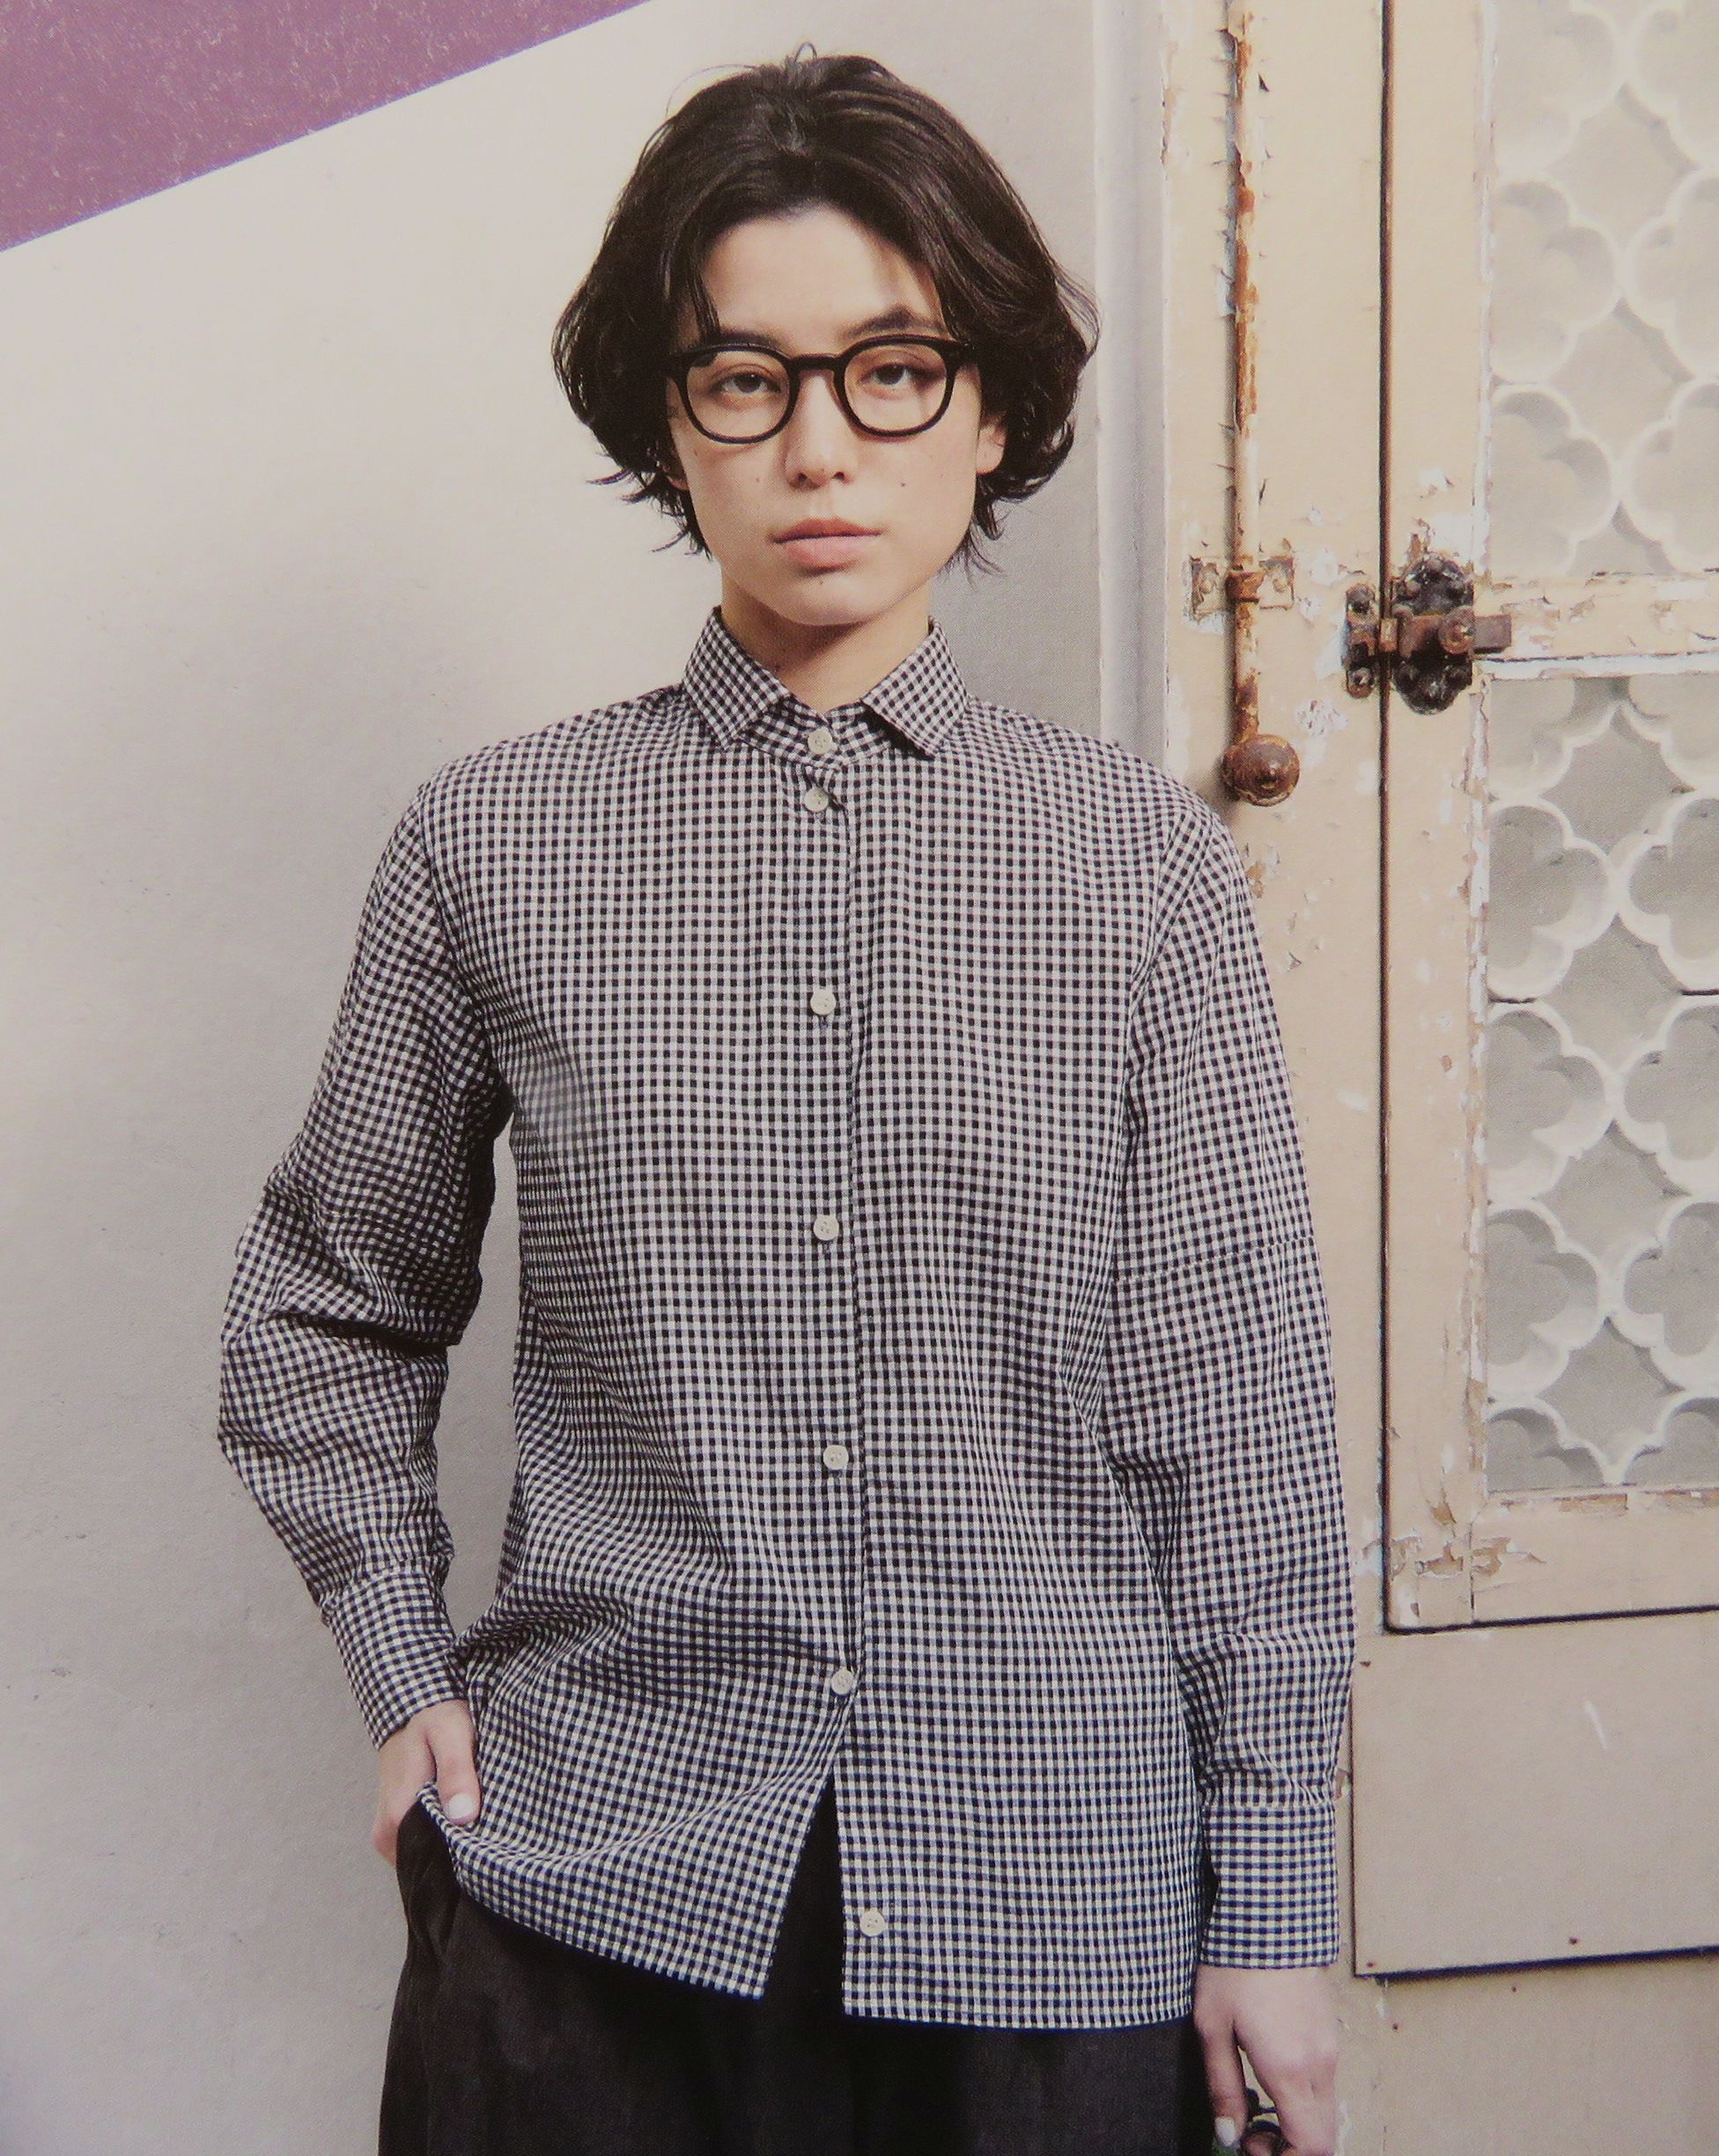
I’m sure I’ll look much happier than the book’s model when I’m wearing my shirt! Although the moody and studious look could come in handy.
The instructions are in Japanese, so I took a photo and Google’s “translate image” did a reasonable job.
This shirt pattern relies on templates to draft the shirt directly onto the fabric. I drew mine onto paper first to get it clearly into my head.
There’s a short cutting guide for this shirt, which was a big help identifying the correct templates to use.
There are two key templates for the shirt body, and as I discovered it’s really important to put the notches on them and label them (notch A, B, C etc). There’s also a template for the short sleeve and an additional one for the long sleeves.
Cutting out went fairly smoothly, and was quick with the shared lines.
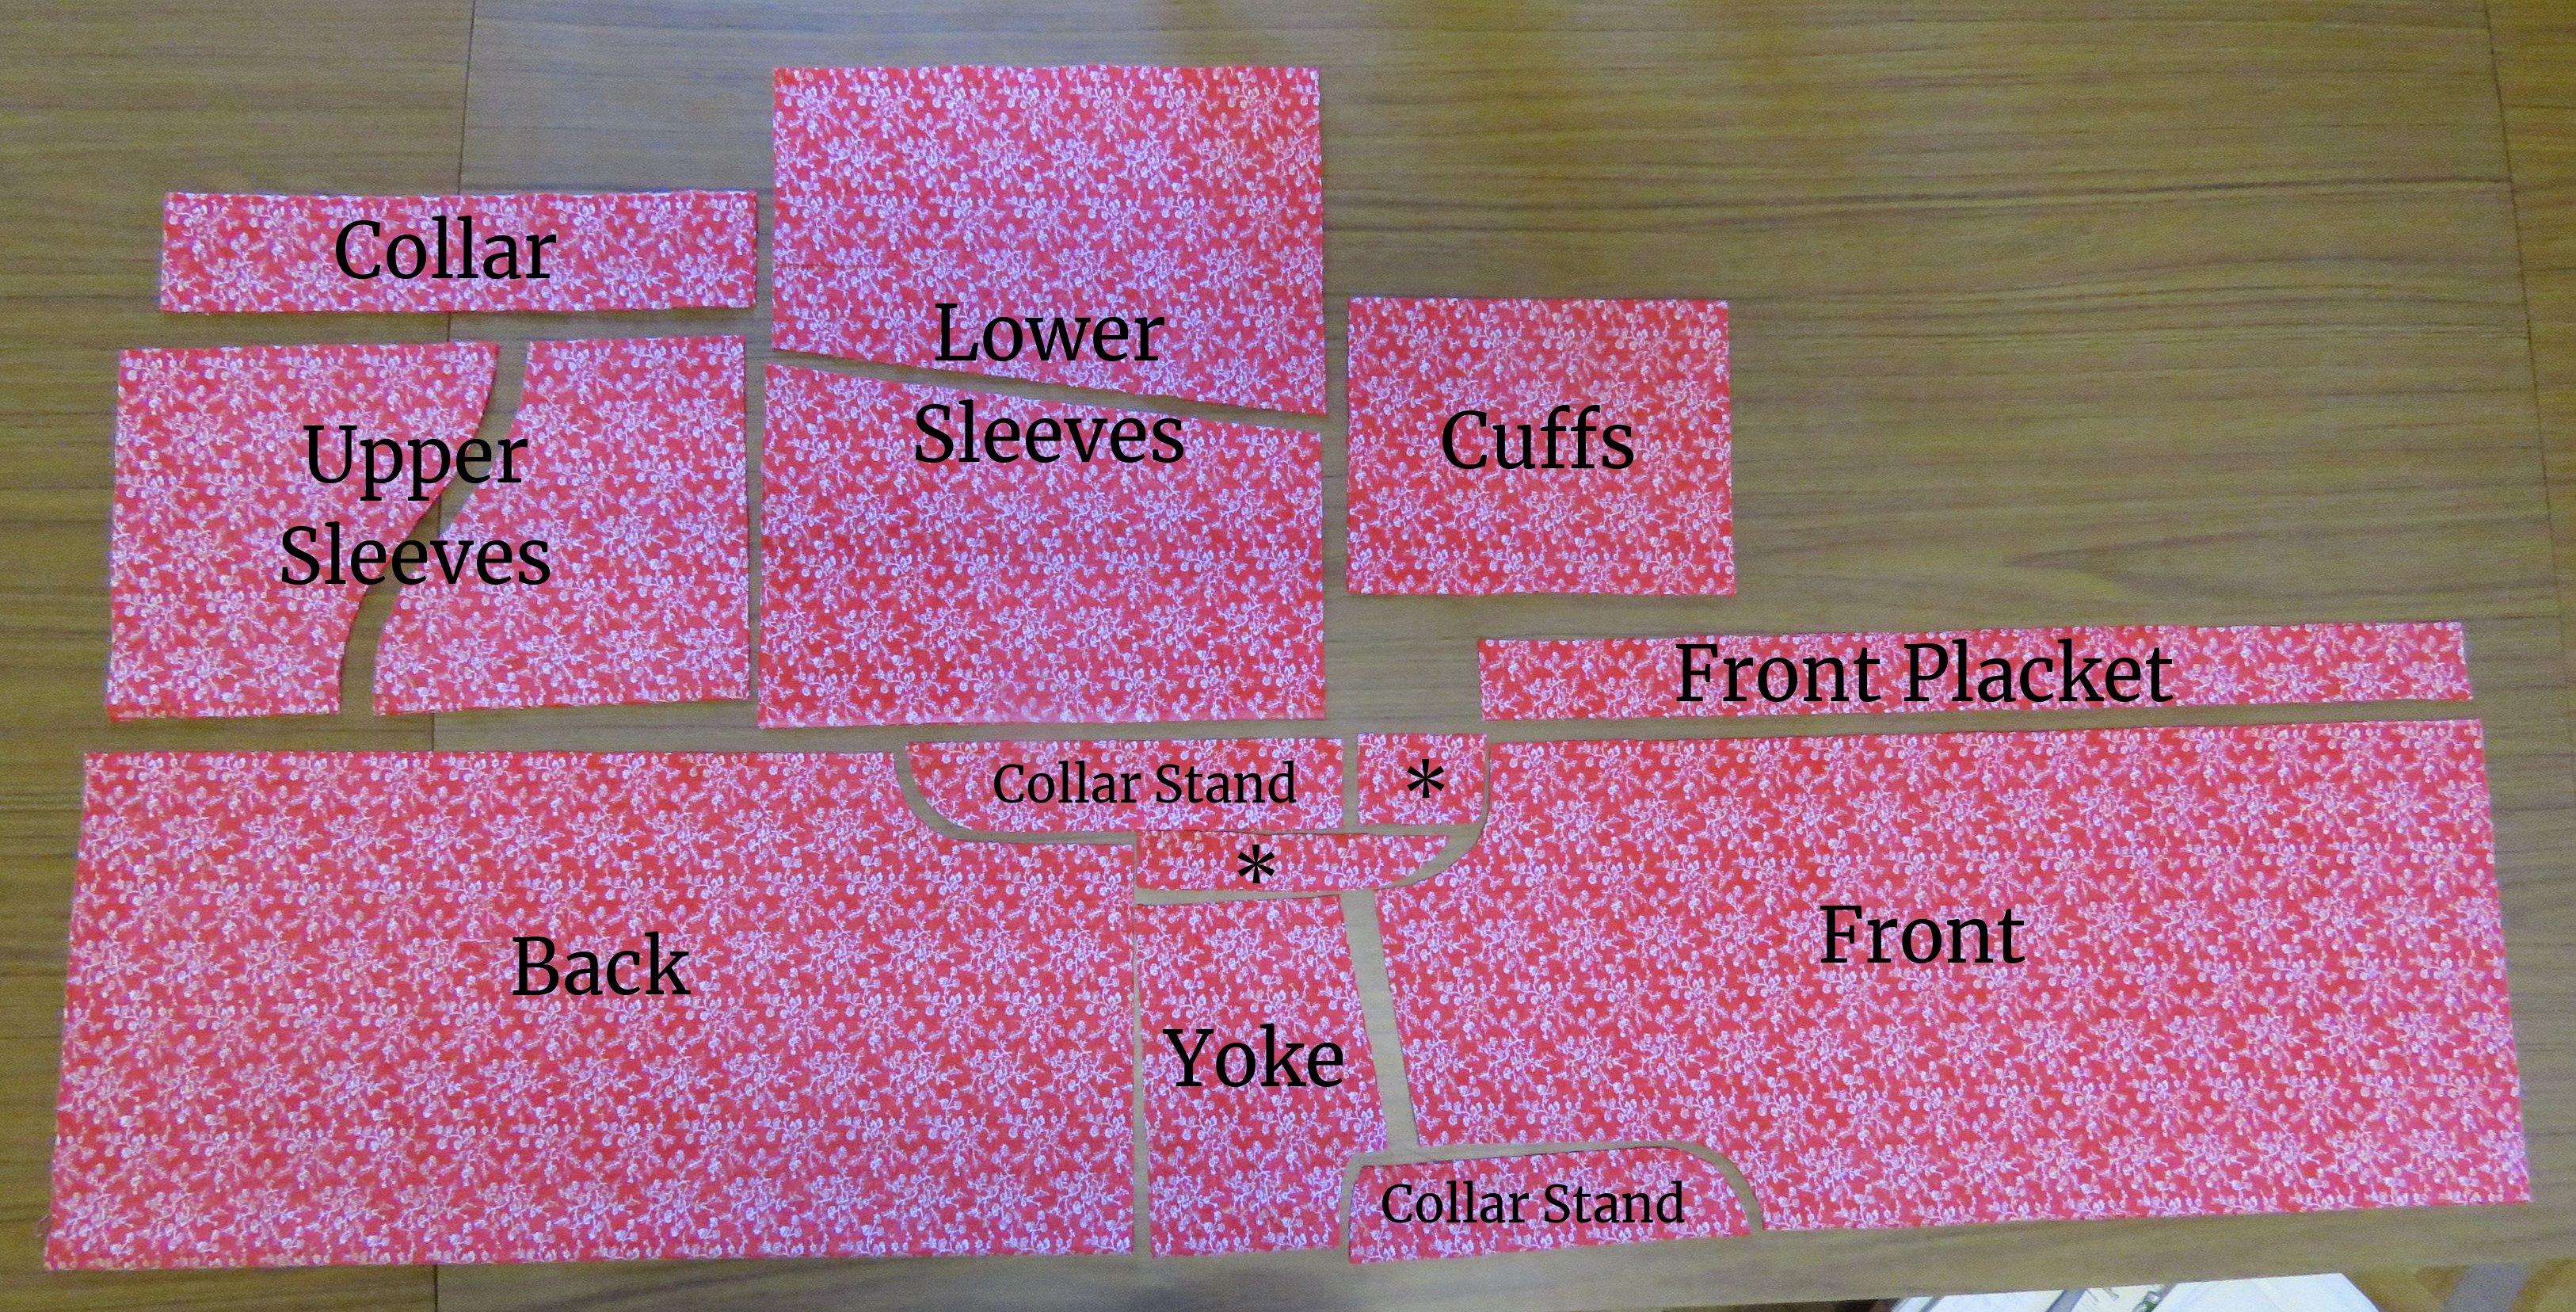
The two * pieces on the layout I will repurpose. The square piece is joined to a longer bit for the front placket, but I cut mine in one long strip as I had the space. The skinny strip I think is used to reinforce the collar leaf? But I’ll use it for the cuff plackets, instead of the bias strips the pattern calls for.
I’m making the biggest size, with 5cm/2″ longer sleeves. It’s very easy to lengthen or shorten the sleeves – you just add through the middle of the lower sleeve pattern, then re-draw the diagonal line.
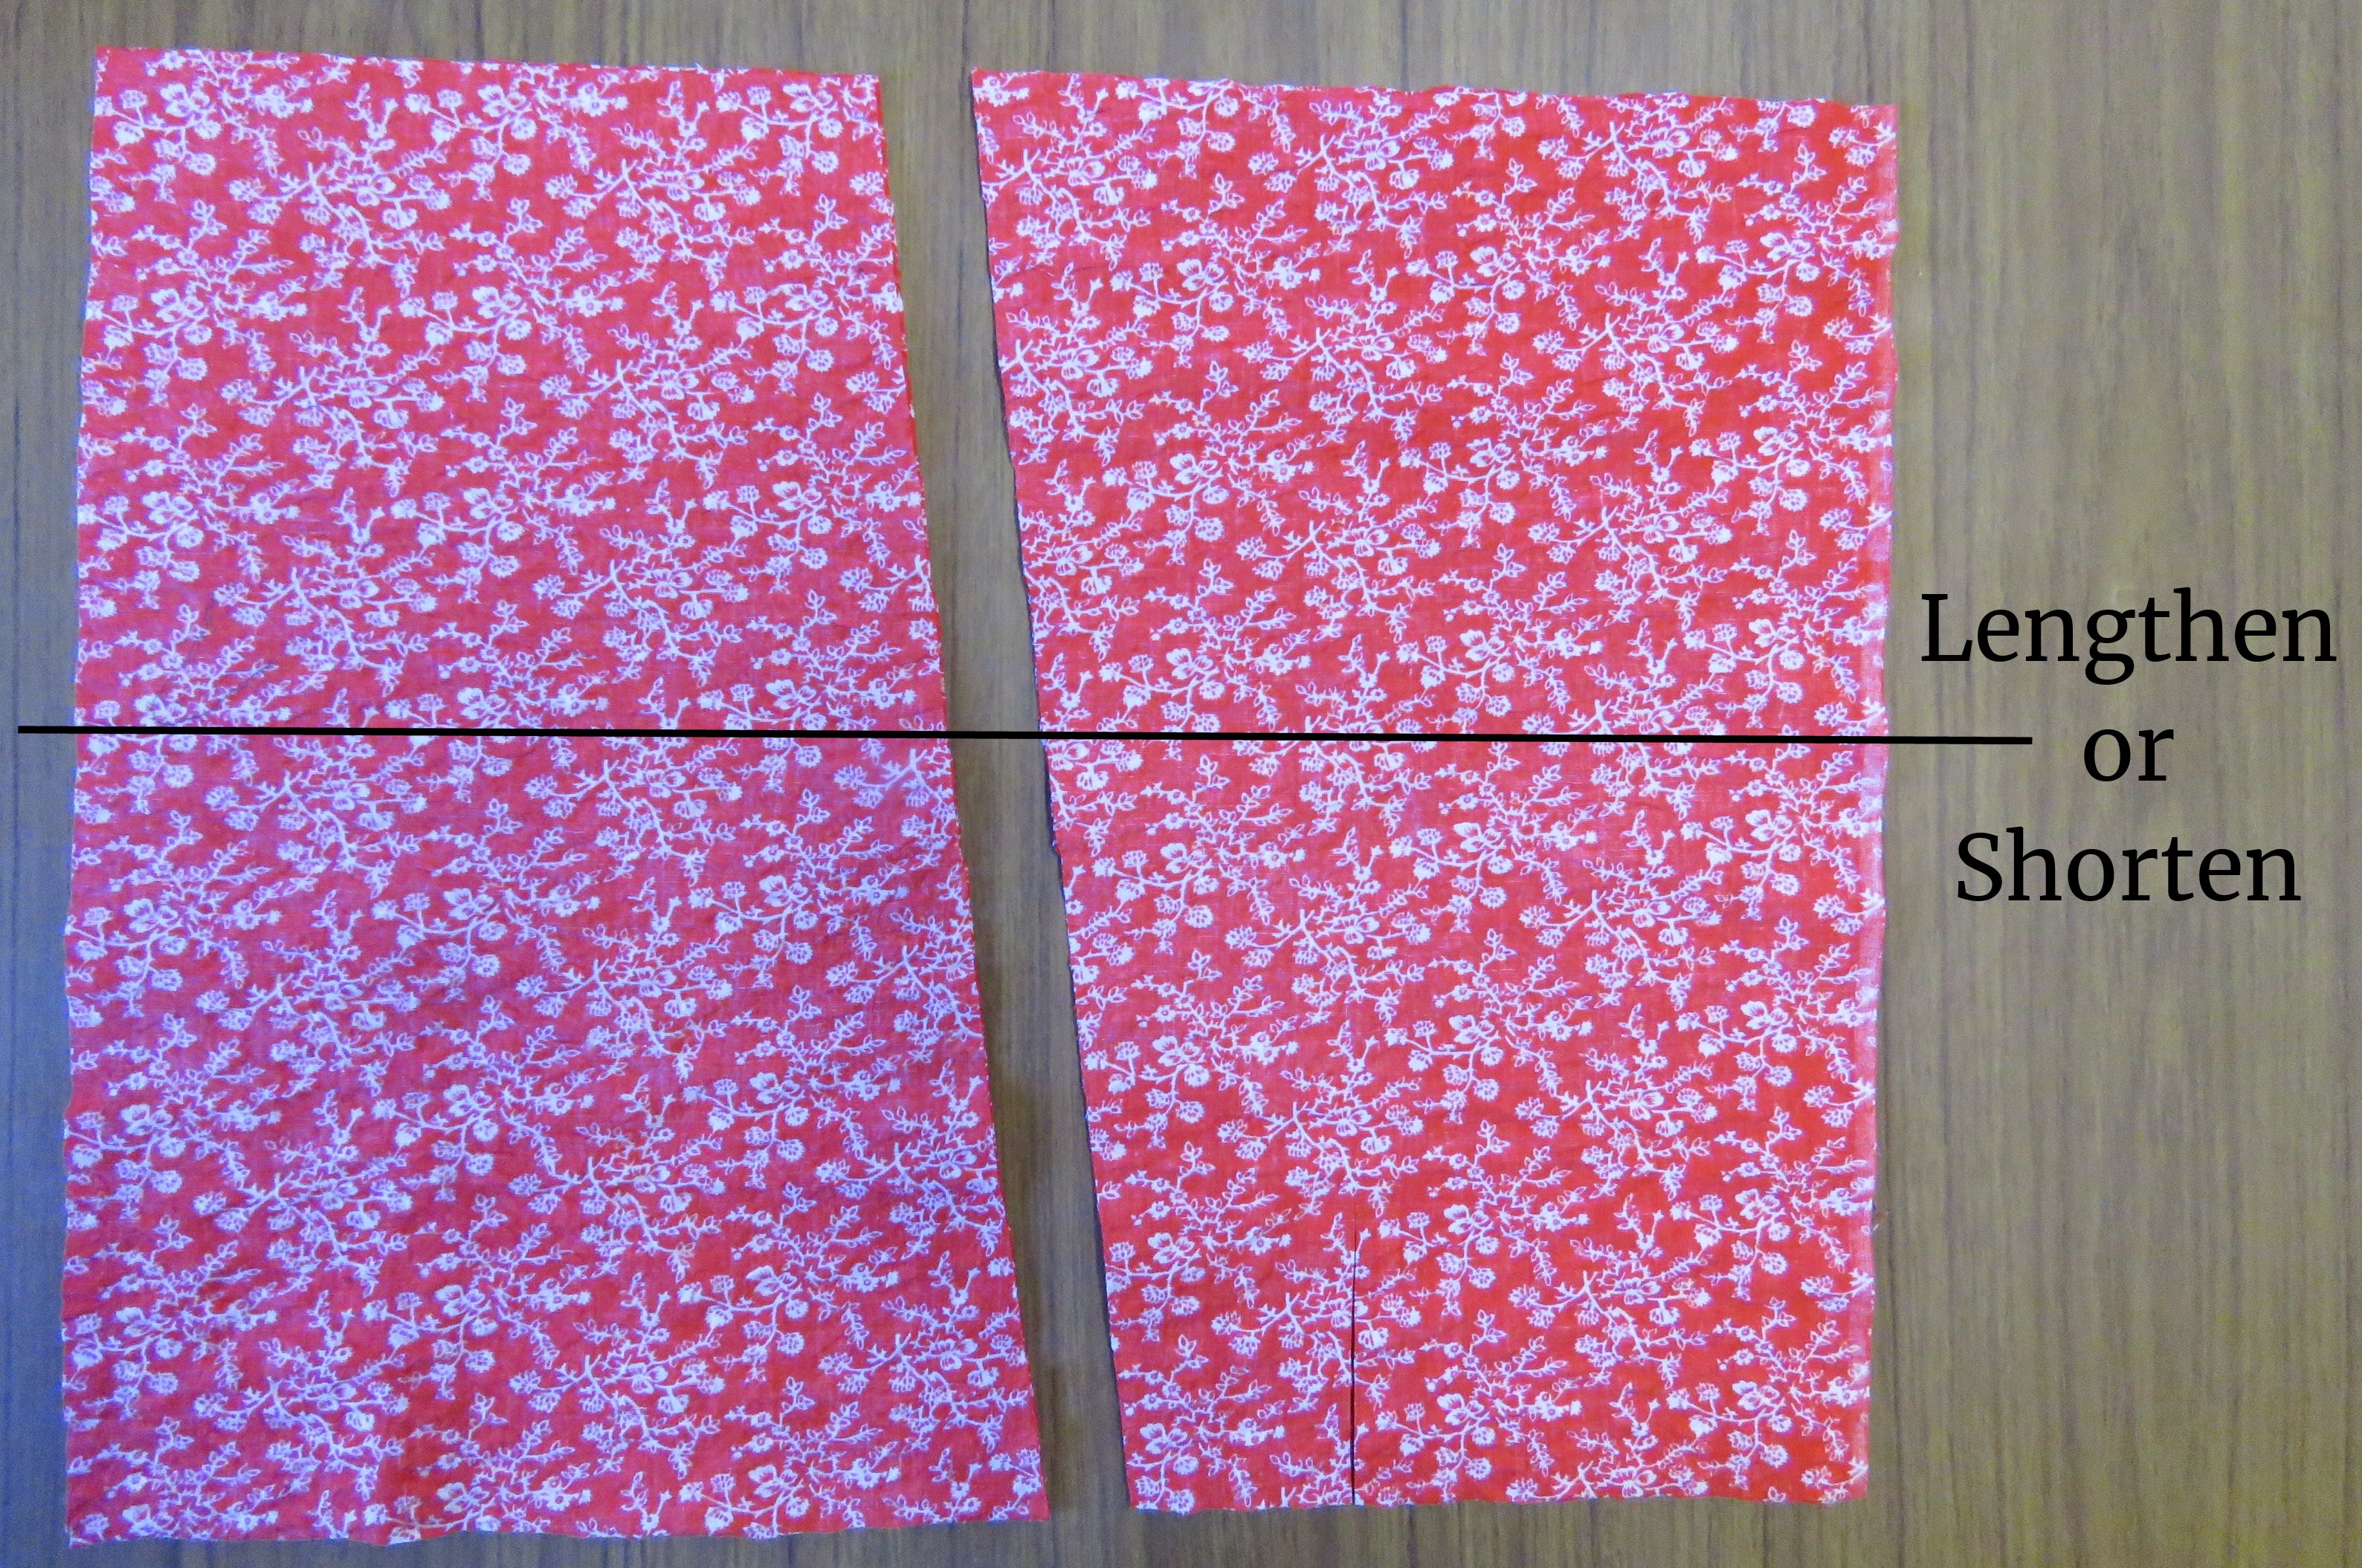
I was actually quite tempted to make the short sleeve version of this shirt, but the reality is I need long sleeves in summer for skin protection and I’d wear a long sleeved shirt far more (with or without the sleeves rolled up).
This shirt is astoundingly economical on fabric. A long sleeved shirt in my size usually takes about 2.2m/87″ of 112cm/44″ wide. I had 1.85cm of this red and white seersucker, and after cutting out was left with a piece big enough to cut a baby’s dress. Although I had less than the 250cm required in the instructions, I had far more width and could move the pattern modules around. I could have easily cut this shirt out in 1.5m.
I cut interfacing for the collar, cuffs and front plackets. Although I can’t see any interfacing in the instructions, I’m stuck in my ways and think this fabric needs it anyway.
So now I have some sewing ahead. Please join me next week for a finished shirt!
Discover more from The Craft of Clothes
Subscribe to get the latest posts sent to your email.