How to do a Small Bust Adjustment (SBA), my way
Hi Folks, I’m writing today as an SBA veteran. As an owner/occupier of an Small Bust, I have a certain authority and years of experience on the subject.
As you may (or may not) know, it doesn’t matter if you have a small bust, a large one, you’re tall, short, have big thighs, skinny calves, large upper arms, etc etc. ALL bodies look great when clothing fits properly.
So, how do you know if you need an SBA?
- Your bust measurement is at least one size smaller on the pattern envelope size chart:
- Your boobs don’t fill the top, with excess fabric in the bust area.
- The point of the bust dart is too low.
- The top is too large around your bust even though it fits fine everywhere else.
Typical SBA instructions are simply the opposite of an FBA (full bust adjustment):
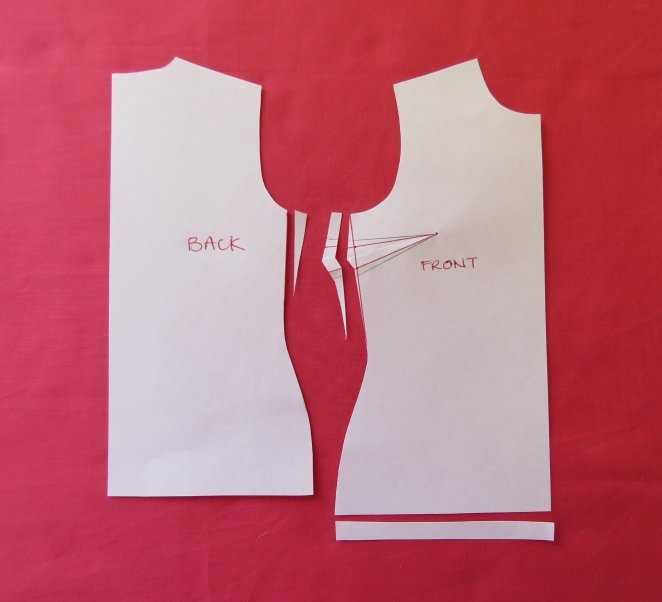
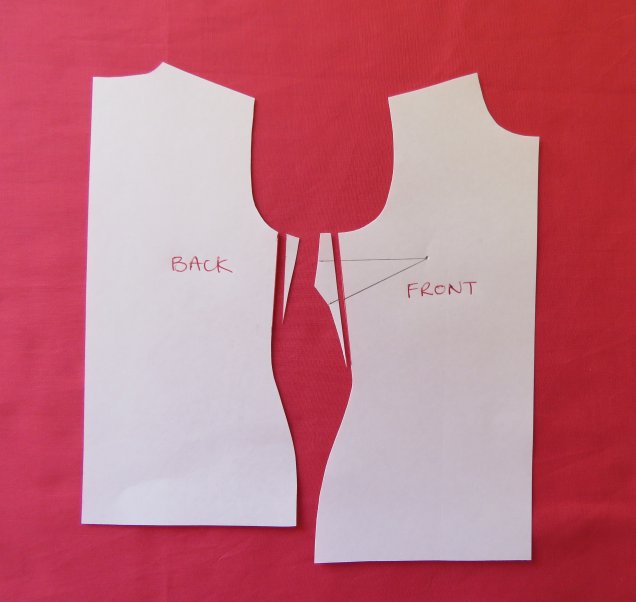
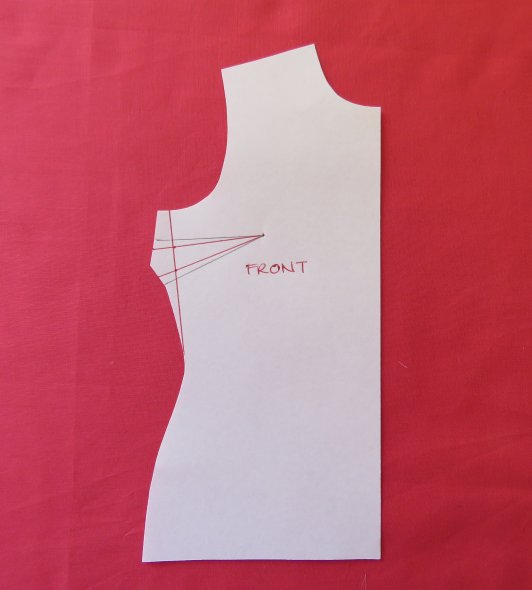
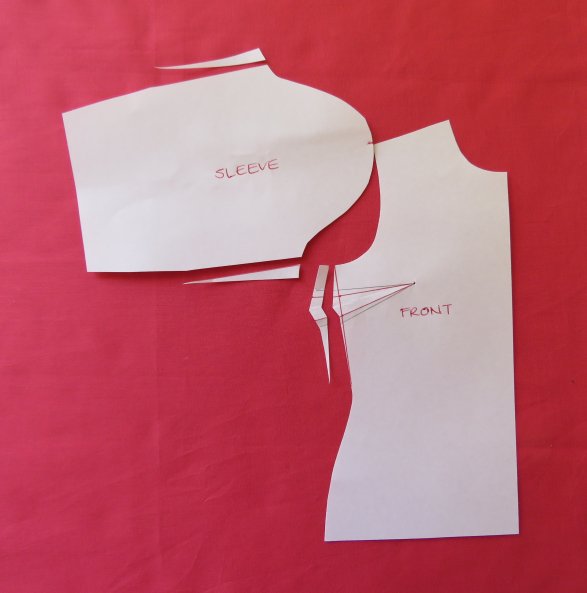
The actual bust point (BP) is marked on the pattern, and the front is cut from the armhole to BP, vertically down, and also through the dart.
The pattern is moved so the cuts overlap, making the dart smaller and the front narrower. The longer section of the front at the bottom is chopped off.
The issue I have with this (apart from the slight armhole distortion and the fact that the waist and hip have been reduced too) is: how much do you adjust the paper pattern? I think it’s easier to do an SBA in fabric on the person -it’s less theoretical and more practical. Do it in fabric then transfer the adjustment to the paper pattern. If the style isn’t complicated, an SBA can be done on the actual garment before the dart and side seam are sewn, as a “fit-as-you-sew”-type adjustment, since we are not adding fabric but removing it.
It may help to remember that size (ie bust measurement) is different from shape (ie cup size). An SBA generally involves reducing both the bust measurement and cup size.
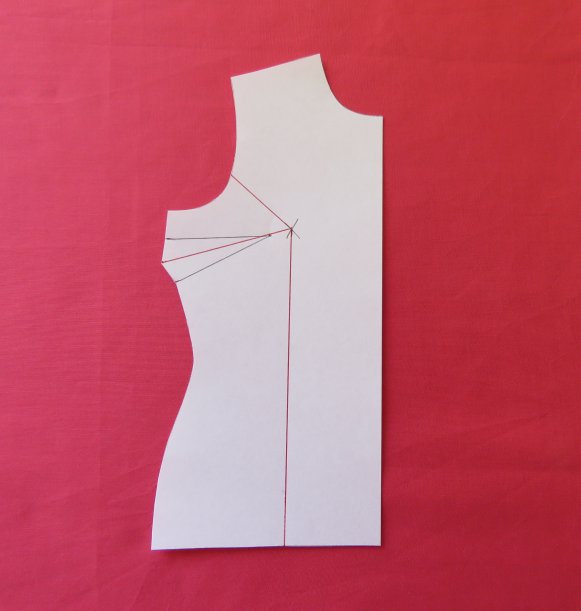
To reduce the bust measurement, take in the sides on the front and back. The side seam will look straighter.
For the cup size, take a smaller dart.
If you were to take a bigger dart (in an attempt to reduce bagginess by taking in more fabric, which sounds like it should work), you’re only creating more shaping which makes the situation worse. The bust dart always has to get narrower.
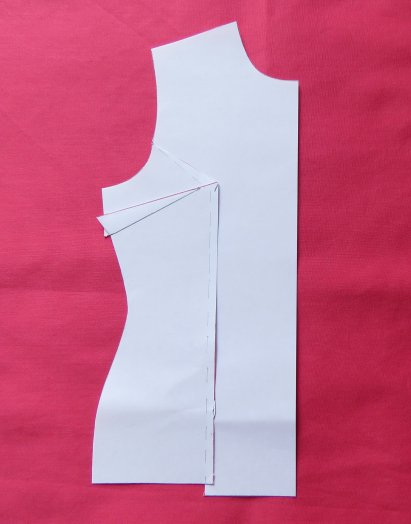
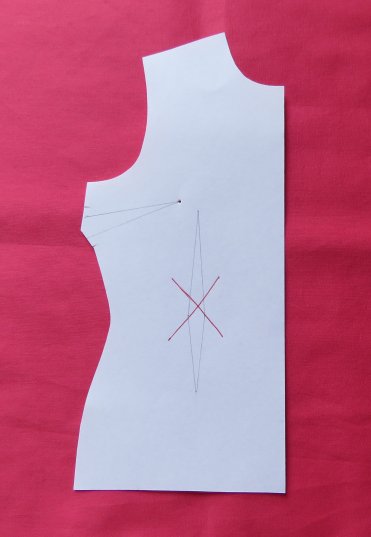
True the bust dart to create the correct “jog” on the side seam (to do this, fold the dart how it will be sewn and rule the side seam straight. Unfold the dart to reveal the new angled shape. The sides of the dart will now be the same length.).
The front will now be longer than the back, since less fabric is required to cover a smaller bust, so trim off the bottom of the front.

You could eliminate the dart altogether if necessary, but generally some shaping is more flattering than none. However, this is a good way to convert a darted block into a t-shirt block for knit fabrics.

If the top/dress has vertical darts from the bust to the waist, you probably won’t need them. I don’t use them on my clothes, instead I just take the waist in a fraction.
This is what the small bust adjustment look like on me:
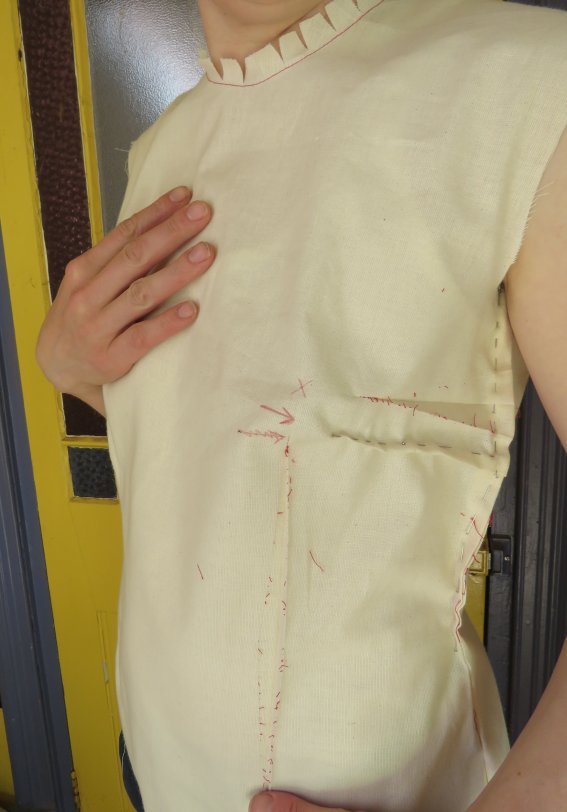
You can see I’ve unpicked the bust dart and pinned in a new one lower down. The red cross is the original bust point, and the arrow points to my actual bust point (in my case the bust point was actually too high, since everything has headed south after The Breastfeeding Years….) . You can also see I’ve taken in the side seam. I’ve unpicked the vertical dart and taken in the waist a little.
It’s easy to see the differences the alterations make if we look at it spread out flat:

Obviously the left side is the original and the right is the altered side.
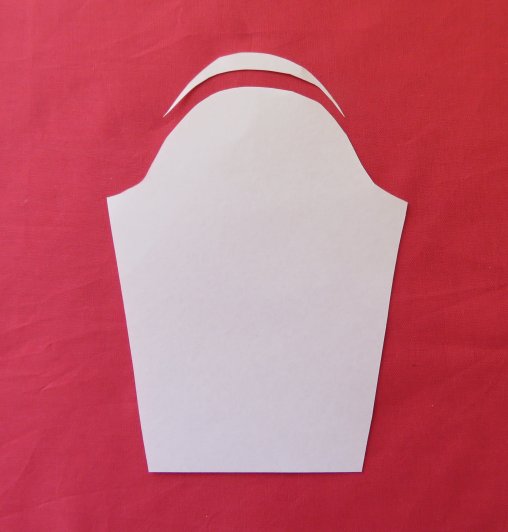
But what about the sleeve? If you take a sleeved garment in at the sides it seems logical that the sleeve should be taken in too.
However, this makes the sleeve an odd shape and it might end up too tight around the bicep.
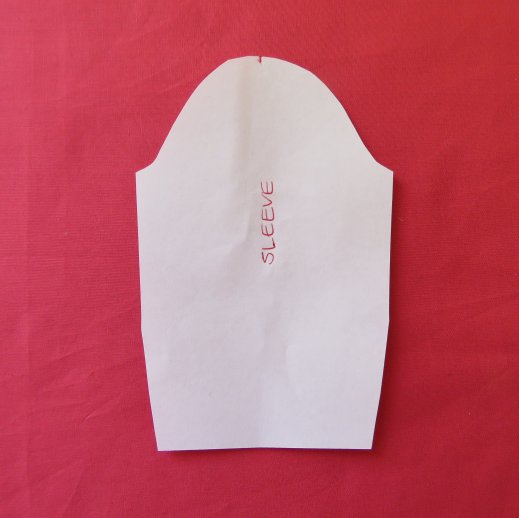
Instead, try leaving the sleeve as-is and see if you can ease it into the armhole. My own SBA-ed classic shirt pattern has the maximum amount of ease possible.
If you find there’s too much ease to deal with, try flattening the sleeve head.
Cheers!