Three Ways to Sew a Crownless Sunhat
A crownless sunhat has been on my mind for some time, but not literally…until now!
I wondered if the low waste sunhat pattern I made last year (or indeed, any sunhat) could be converted to a crownless version. If a person had too much hair to fit within a hat’s crown, it could poke out of the top.

Let it be said that the Haywood family has not been blessed with big hair. Apart from a Bob Ross-style perm an uncle wore in the 1970s, we tend towards the flat, straight and thin. So I don’t have a lot of experience with this. As well, I would never wear a visor or crownless hat myself, as that’s just asking for a sun burnt scalp (for new readers: I’m in Australia).
But plenty of people do have big hair and do wear crownless hats.
So in the name of patternmaking curiosity and fun, I gave it a whirl. I started with making a brim, and then experimented with the top part.
These ideas should also work with the free hat pattern on this website, which hasn’t got as wide a brim but has the same head sizing and also basically the same construction. Either way, to attach any band to the brim, mark the 1/4 points of both and match them, then fit the edges together between the points.
To save yourself unpicking, try to pin or baste the band in place (enough to try it on) before committing to sewing it properly. There are lots of little things that can affect the fit of a hat, including:
- how thick your fabric is
- how thick the interfacing is
- how much hair you have, or don’t have
- how long since your last haircut
- whether your hair grows out or down
- how you wear your hair under a hat (eg plaited or flowing)
- how accurate your cutting and sewing was, since millimetres count with hats.
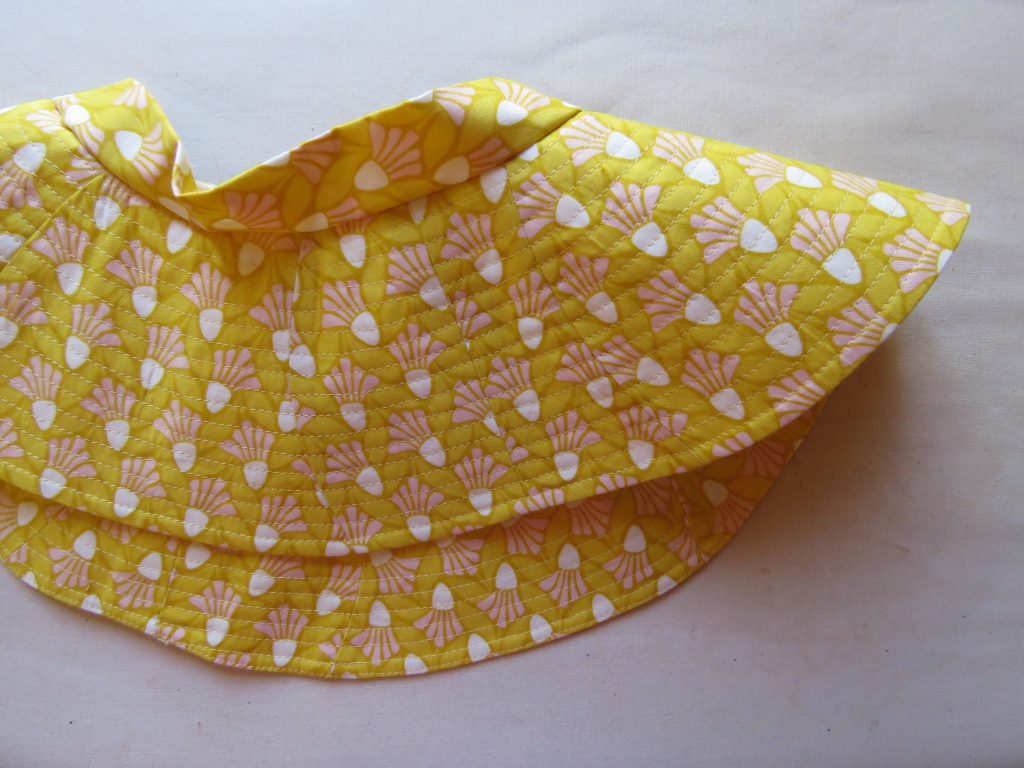
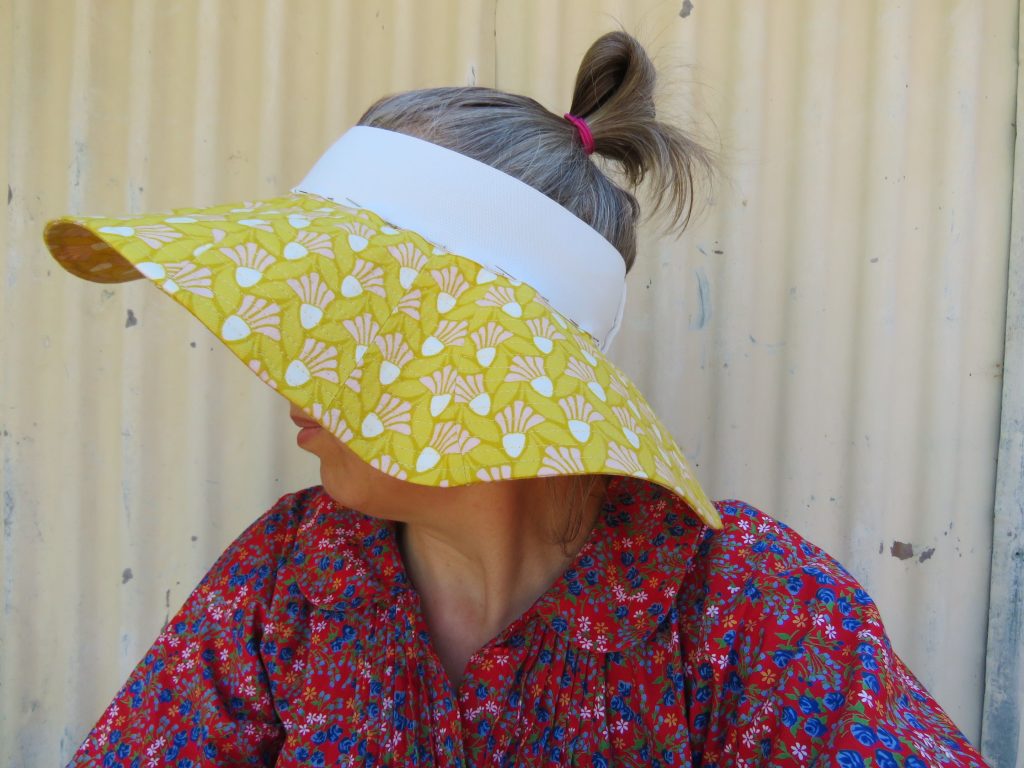
Version 1 – Band
Could it be as simple as just stitching a folded band to the brim?
I cut one out and ran it on with a long stitch.
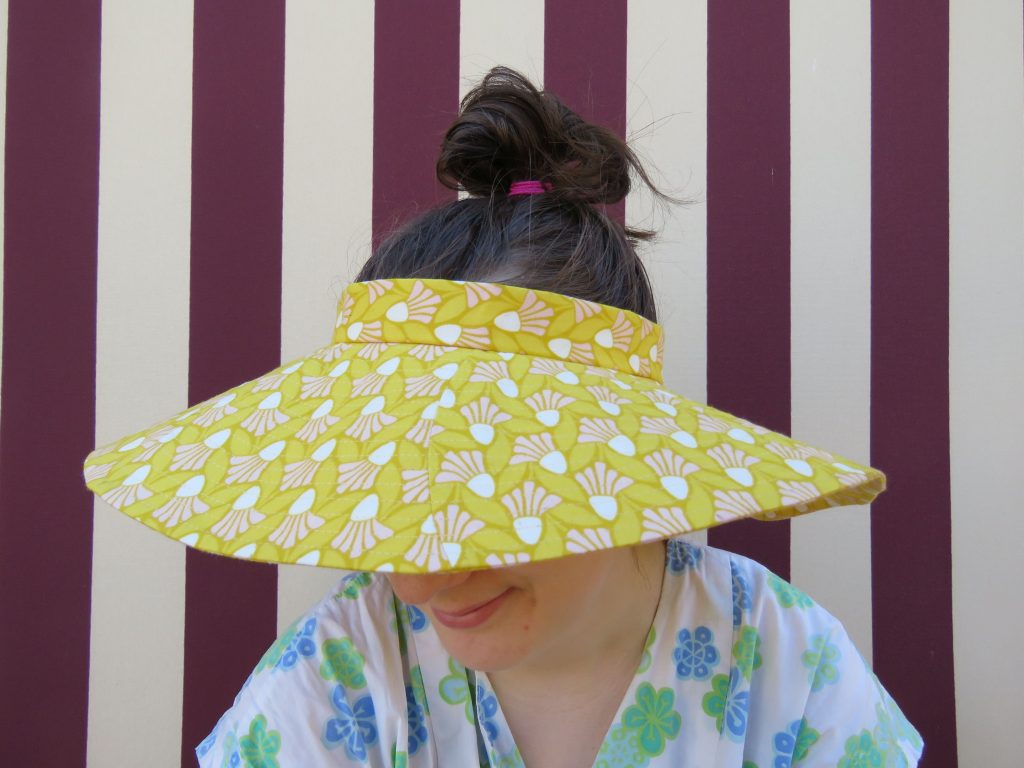
The band sits straight up – should it curve in to match the curves of the head, or will that inhibit the tumbling tresses from filling the space?
A quick look at images of other crownless sunhats shows that some of them have straight bands and some have slightly tapered ones, so I guess this is okay.

It was pronounced “good” by my hat model.
If you want to try it: 1. Cut the band 8cm (3 1/8″) wide and 4cm (1 1/2″) longer than your head measurement. If you’re using my pattern, this is the same length as the inner ribbon. 2. Interface it, and while you’re at the ironing board press it in half longways, wrong sides together, so there’s a handy crease running along the length. 3. Sew the short ends together (1cm seam allowance) to form a ring, and press the seam open. 4. Fold the band along the crease, and sew it onto the brim, in the same way as sewing the crown on to the brim. 5. Sew the interior ribbon on.
Or not – you could sew the band on in the same way as you’d sew a waistband on, so that all the seam allowances are inside the band.
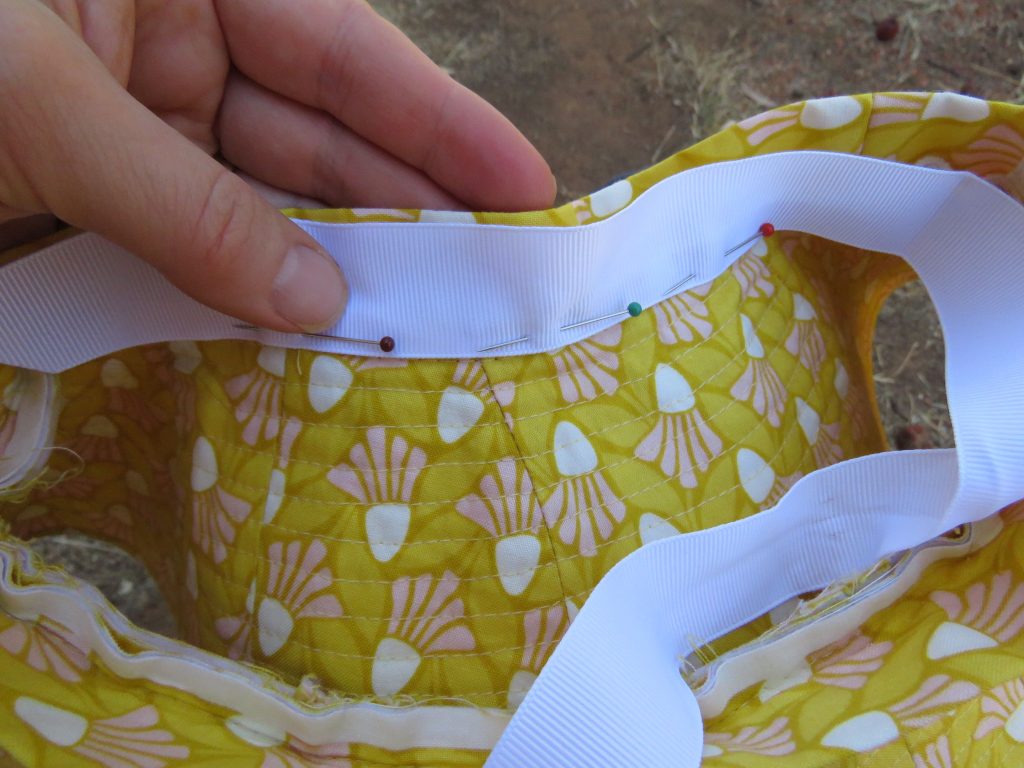
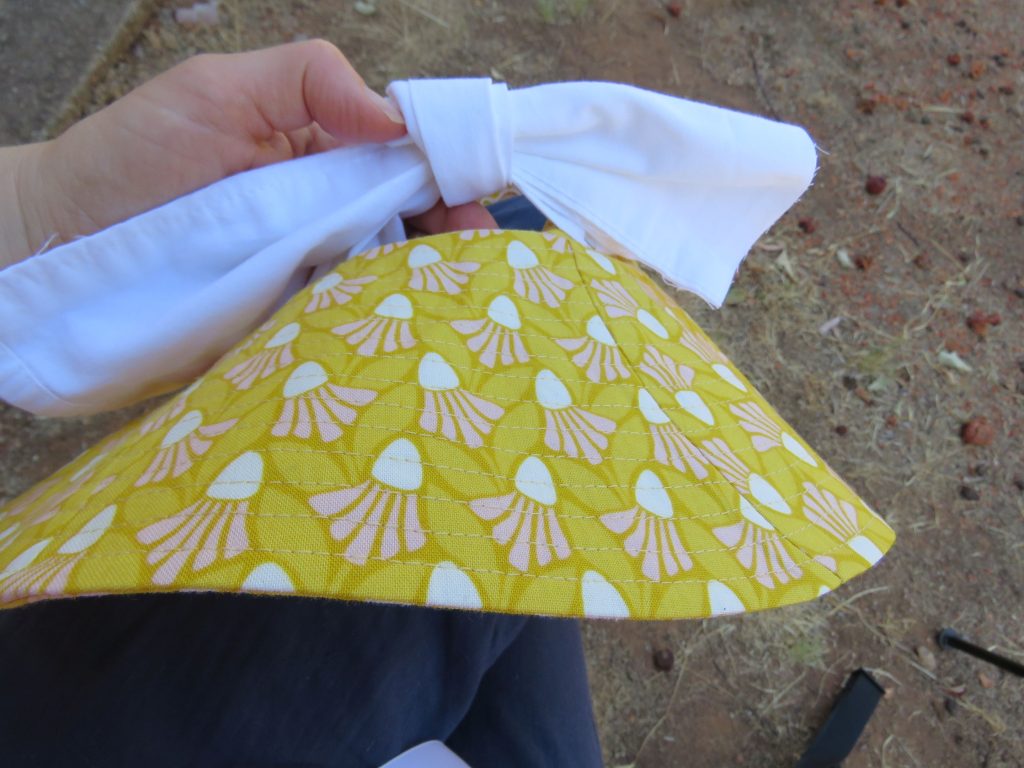
Version 2 – Ties
Some crownless sunhats have ties at the back, to adjust the fit. It’s a strip of fabric sewn to the brim, with a gap left at the back so there’s space for the ties to knot.
To try this I used a strip cut off an old sheet – it’s the double part at the top of the sheet. It’s just pinned on, on top of the band from the previous version.

We thought this looked a bit more interesting than the plain band. It would be better on a windy day because you could tighten it.
To sew one: 1. Cut it at 12cm (4 3/4″) wide by 107cm (42″) long. No interfacing. Cut it on the bias or not. I guess you could even use a narrow scarf if you have one suitable. 2. Put two snips in the brim, on the raw edge, each about 4cm (1 1/2″) from the centre back. Make the snips 1cm deep (ie the depth of the seam allowance). This little section between the snips can be neatened and turned under, or the seam allowance can be cut off and the edge bound. This part will sit under the ties so there’s room to tie them and isn’t attached to anything.
3. Sew one long edge of the band onto the outside of the brim. Press the seam allowance up. Bring the remaining long edge over to the inside, turn under the raw edge, and stitch down (by hand, or by machine if you stitch-in-the-ditch from the right side). 4. To finish the ends of the ties, bag them out or just hem them.
Version 3 – Elastic
What about wide elastic? The kind that cinch belts were made from in the 1980s. Now there’s a memory! I tried it with some 5cm (2″) wide elastic. I cut it to fit my head, pinned it to make a circle, and pinned it onto the brim.

The elastic was naturally a little curved, so the outer curve is on the brim and the inner one is at the top. It’s just lapped over the edge of the brim.
Neaten the raw edge of the brim first, and sew the elastic on with a straight stitch.
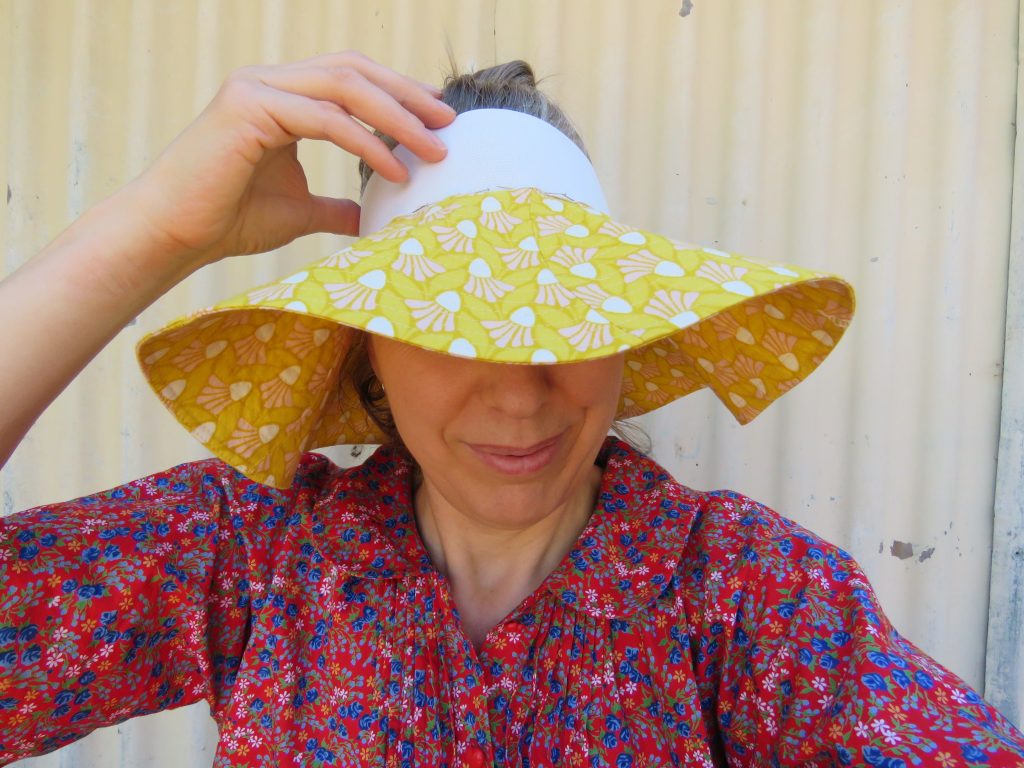
It’s very comfortable! The trick would be finding an elastic in a colour that goes with either the fabric or your hair colour.
The Verdict: all work well. We think the one that ties at the back looks the most interesting, and the elastic one is the quickest to do and most comfortable to wear.
Cheers!