3 beaut cushion sewing tips
This week I’d like to share some cushion sewing tips. We had a cushion maker from an interiors shop in our sewing class once and she gave us some pointers on cushion sewing.
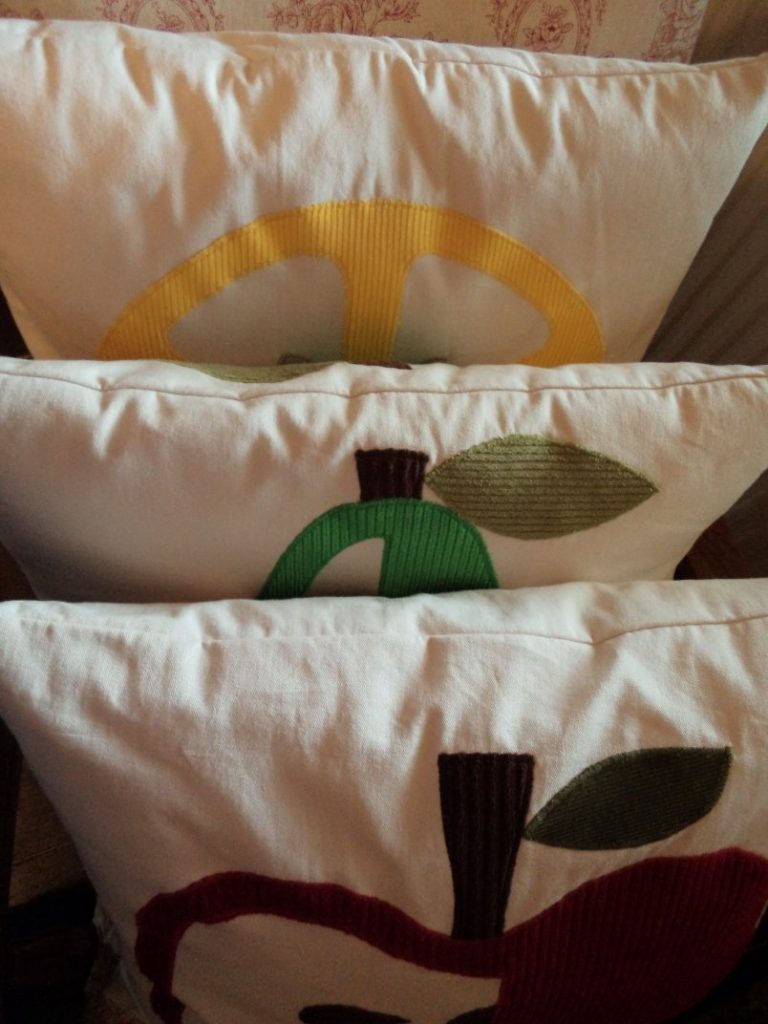
I thought of her during the recent school holidays, as I finished a set of three cushions I’ve been making for the past six months. They’re appliquéd with a botanical theme using some corduroy scraps I’ve been saving.
So, here are the tips from the expert:
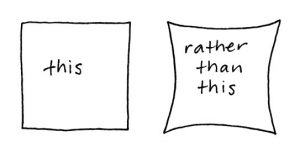
Sew the straight sides curved. But not by much, only about 2mm-3mm (1/8″). Curve the seam outwards.
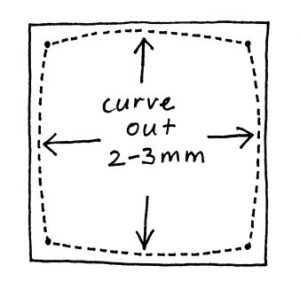 This subtle shaping stops the corners from being overly pointy when the cushion is finished:
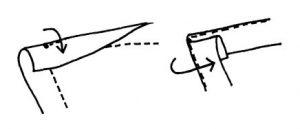
Fold the seam allowance into the corners. When it’s time to turn the cushion the right way, turn each corner individually by folding the seam allowances on top of each other as shown. Then, hold this with your thumb as you turn the corner through. If you’ve trimmed the corner, still fold what’s left of the seam allowance in the same way. Carefully and gently poke the corner from the inside if it needs it (use held-together scissor blades or a your tool of choice).
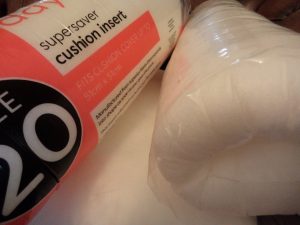
Stuffing: consider the “squoosh factor”. Is the cushion going to be firm or squooshy? How easily does the stuffing bounce back to its original size? The tighter you stuff, the rounder the back and front of the cushion will be, and if you stuff too hard the corners will stick out like pointy ears. Of course, if you’re using cushion inserts like I did, it’s all done for you.
If you’re making cushions with an appliqué or centred design, rather than an all-over design, lay the full-sized pattern over the cushion insert and see how far away the design needs to be from the edges. The curved edges of a stuffed cushion can hide the very edges of the design. Also, if you’re appliquéing or embroidering the cushion, cut the background fabric slightly bigger and trim it to size after embellishing (I did this with mine). Large amounts of stitching can distort it or make it smaller.
Cheers!
