Pattern review: Vogue 2859 top
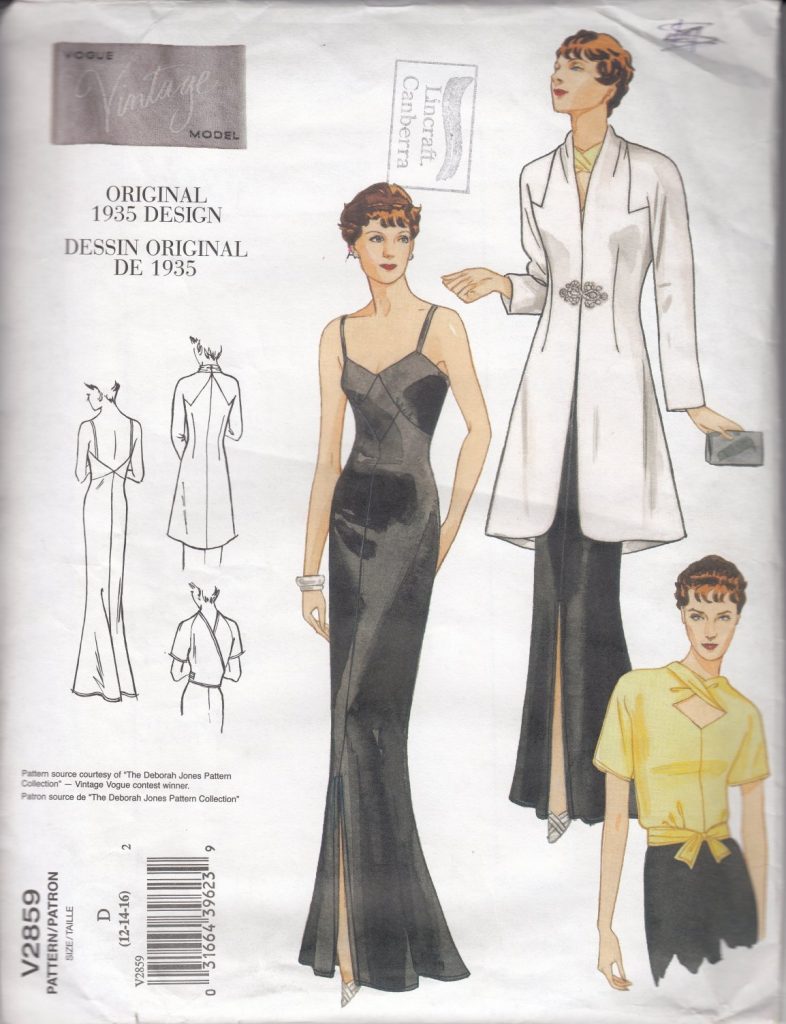
Last with the latest. Vogue 2859 was released at least a decade ago (and I suspect it’s now out of print) but I found an unused copy at the op shop.
There are quite a few reviews for this top on Pattern Review. Some people made it for 1930’s dress-ups and others just wanted to make something interesting. All saw the need to make it longer in the body, and most concluded that it deserved its “Advanced” rating.

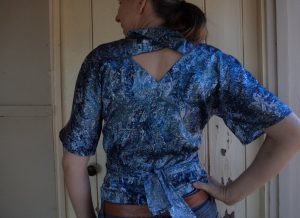
Very pleased with how it turned out. Yes, I would say it’s definitely an “Advanced” pattern and it did take me a while.
A size 10 top would have been preferable but the pattern was 12-14-16. It seemed very blousey under the arms so I took it in. I also took in the centre front a little.
The pattern recommended satin, silk crepe and challis (in other words, anything fine and drapey). I used one of the fabrics that I was considering making into a Christmas dress last year, but didn’t. It came from the same op shop as the pattern. The selvedge says it’s Chinese pure silk but it’s not; it’s pure polyester, and is completely wrinkle-free. The style is very economical on fabric and the pieces fit neatly into 1.4m with hardly any waste.
Was it easy to sew? Well, it’s designed for fabrics that are inherently harder to handle than, say, quilting cotton, but that aside the instructions certainly took a bit of reading and thinking about before I started. I sewed it over several evenings and thought about it in between. The pattern pieces are unusually shaped, and they don’t say when and where to neaten the seams (something that always irked me when I was a less experienced sewer).
If ever you do make this pattern, here are my tips:
- The envelope artist has taken a few liberties with the illustration. The body and sleeve lengths are deceptive -the sleeves are actually a bit longer and the body is shorter. I added 3″ to the length, but if I hadn’t the body length would finish above my belly button.
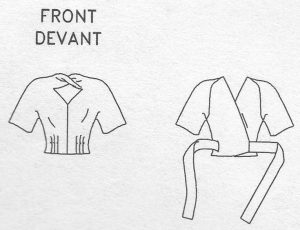
- There’s a bound buttonhole at the back to bring through the tie for the wrap around -by all means do it if you want to, but I omitted mine. No-one would notice it in this fabric anyway, so instead I arranged an opening in the side seam (thus saving myself from doing the second bound buttonhole I’ve ever done in my life. Does this surprise you? I just don’t do them.)
- I used little pieces of light jersey fusible interfacing to reinforce the “snip-in” areas.
- Shoulder dart: trim to 1cm, overlock and press towards the front (not pressed open).
- Back raglan seam: overlock and press towards the back. When hemming the top of the twist scarf, tuck the pointy (back hemmed) corner down out of sight and secure.
- Sleeve hems: DO stay-stitch around the hems of the sleeves, even if you don’t usually bother with stay stitching. It makes it much easier to sew the hems.
- Centre front seam: press open and overlock each side. I left the diamond shaped cut-out until last while I had a good think about it.
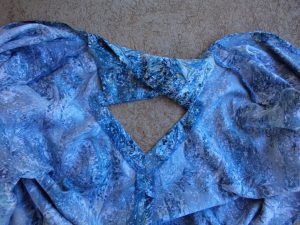
The front cut-out: the instructions ask to finish it with a narrow hem, but I made a narrow facing to go around all three points. It looks very good and I’m much happier with it -a much cleaner finish with no visible stitching line.
The verdict on Vogue 2859: tricky but worthwhile.
Cheers!
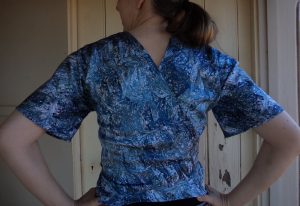

This looks STUNNING on you Liz – very elegant. I love your writing too xx
Hello Kate, thanks for your kind comments. Cheers! Liz