Free pattern ballerina slippers
Hello Everyone,
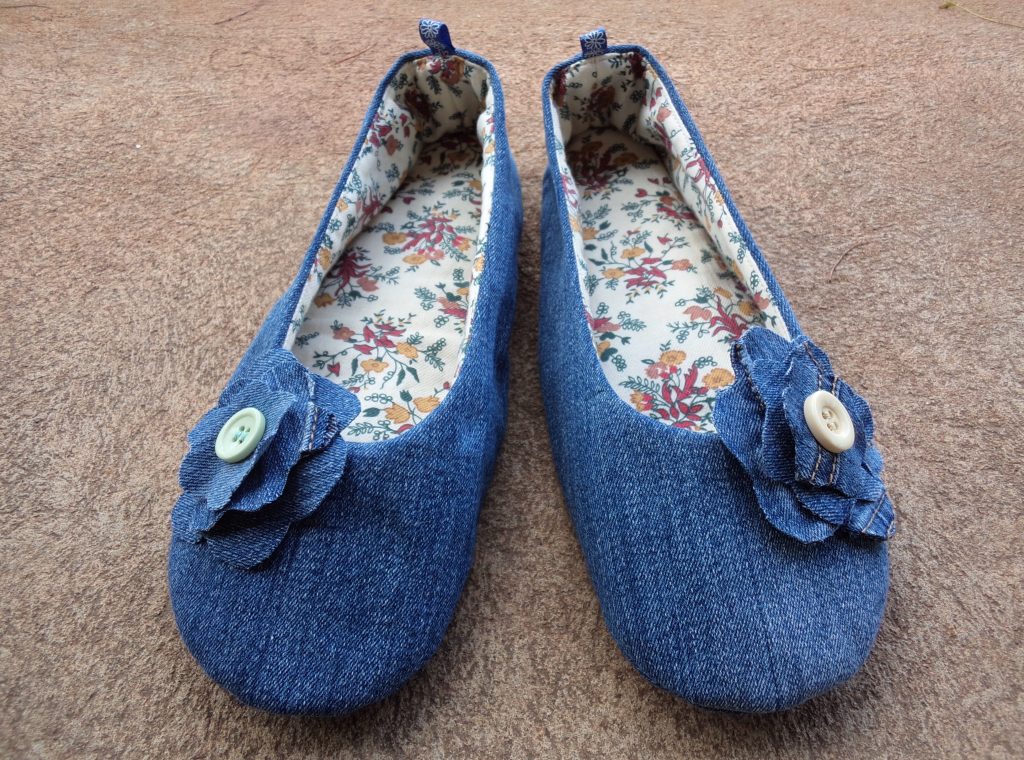
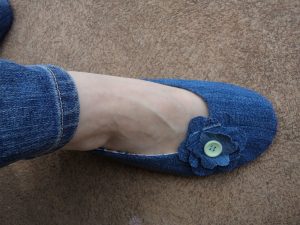
May I present, for your sewing pleasure, this free pattern for ballerina slippers -my first ever downloadable PDF pattern. These are the slippers I made for my Jeans Recycling Challenge, where the challenge was to turn every part of an old pair of jeans into something else.
Click on these for the pattern:
free-pattern-ballerina-slipppers-sole
free-pattern-ballerina-slippers-upper
Each is on a single sheet of paper. For the uppers, print off two and tape them together along the fold line so you have one piece (this will make cutting quicker and more accurate).
The pattern is only one size. To work out your size, stand on a piece of paper and trace around your bare foot, keeping the pencil upright. Measure the drawing: if the length is 9.75″ and the width is 3.75″, then your foot is the same as mine (shoe size 8½ Australian or 40 Euro) and the pattern will probably fit. If not, adjust it as you need to.
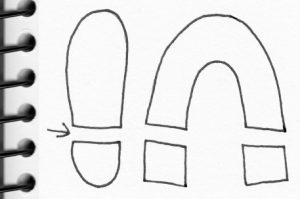
Shorten or lengthen the same amount on both sole and upper. For example, if your foot drawing measures 10.75″ long, you’ll need to lengthen it by 1″. Ensure the upper pattern remains symmetrical after any alterations.
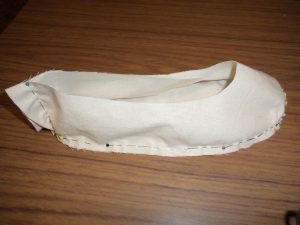
To check the pattern, cut out one slipper in some calico or old fabric and pin it together with the pins on the outside. Try it on.
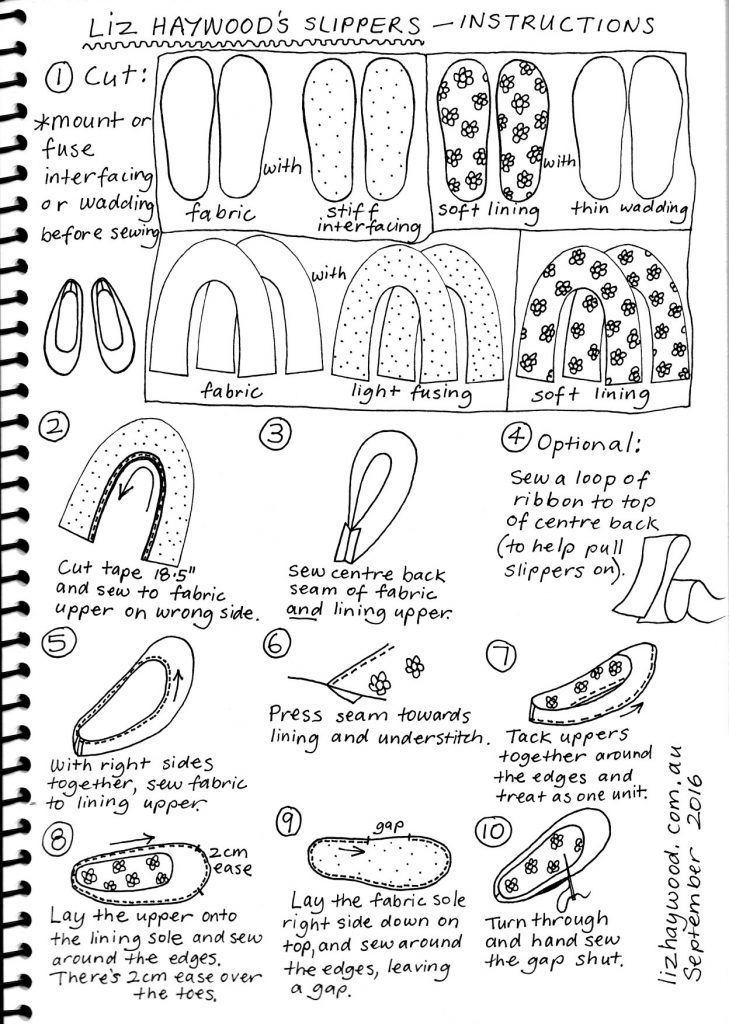
Step 1: Cut out all pieces. Note that the soles are paired but the upper is symmetrical. Notch the pieces with tiny 3mm (1/8″) snips as indicated on the pattern (remember the seam allowance is only 6mm). Iron all the interfacing on, or mount it if it’s sew-in or wadding, before you start sewing.
I used denim for the outer fabric (from my jeans project), and for the lining I used a floral brushed twill. For the sole interfacing I used sew-in Shapewell, which is a firm woven interfacing. For the upper interfacing I used some lightweight woven fusible interfacing, of the sort used in shirts. The thin wadding I had leftover from some placemats. I was very happy with my fabric choices, but you might decide not to put so much structure in your slippers -you could use the same fabric inside and out with no interfacing or wadding.
Step 2: Sew 6mm tape to the wrong side of the fabric upper. This stops the slippers from stretching around the top. If you don’t have any tape handy, you could use a 6mm wide strip of selvedge if it’s suitable. Stitch it on just inside the 6mm (¼”) seam allowance, so you won’t see the stitching when the slippers are finished. By the way, if you’ve altered the size of the slippers, you’ll need to alter the measurement of the tape.
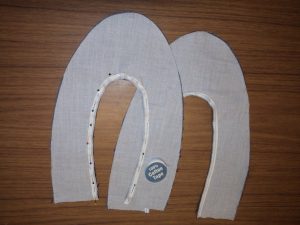
Step 2: If you haven’t used tape before: cut the tape exactly to size first. If you don’t know how long to cut it, measure it on the pattern’s stitching line rather than the cut piece, since the fabric might have already stretched. Pin each end and the centre in place, then evenly pin the rest.
Step 3: Sew the centre back seam of both the fabric and lining upper, and press the seam open. The seam allowance is 1.5cm (5/8″) here, not 6mm. The idea is that you trim one of them back so the centre back lies flatter with less bulk.
Step 4: Sew a loop of ribbon to the centre back, to help pull the slippers on (optional).
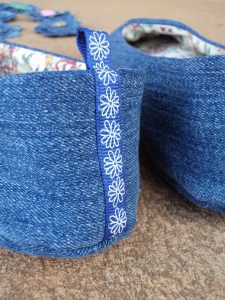
Step 4: The ribbon can be a simple loop in the centre back seam, or you could do what I did and insert one end in the seam and stitch the rest on flat afterwards.
Step 5: Sew the fabric and lining uppers together on the taped edge, taking a 6mm seam. After sewing, you may need to snip the very curved part to help it fold through flat. I did.
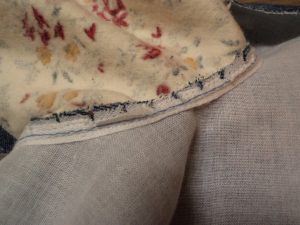
Step 5: It’s ok to snip through the tape too, but only snip the seam allowance -don’t get too enthusiastic and snip the stitching you’ve just done.
Step 6: Press the seam to the lining side and understitch. This keeps the lining tucked away inside.
Step 7: Tack the remaining edges together so the upper is one unit. Take the opportunity to give it a good press now, while it’s easy to.
Step 8: Sew the upper to the lining sole, matching lining-to-lining. I sewed this with the upper uppermost and the sole underneath, and reversed it for the toe section which is eased.
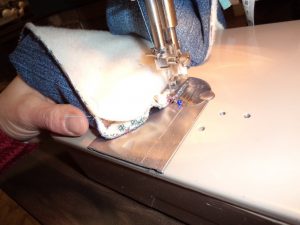
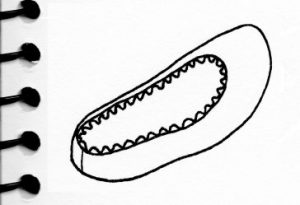
Step 8: You might find easing the toe section difficult. Here’s a picture of me doing it. I have the part to be eased underneath and my left hand between the two layers. I use my right hand to hold the top layer firmly and my left to form ripples of fabric underneath. Make sure you don’t accidentally pleat the fabric.
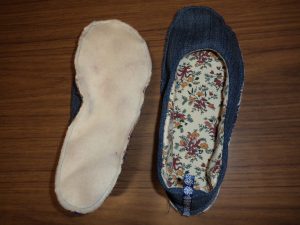
Step 9: Lay the fabric sole face-down onto the upright slipper, so the upper is sandwiched between the two soles. Stitch around the edges leaving a gap along one side to turn through. I suggest sewing around the toe first so you can easily get that part looking nice.
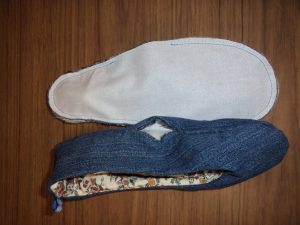
Step 9: The top slipper hasn’t been turned through to the right side yet. The other slipper shows the gap.
Step 10: Turn the slipper through the gap and hand sew it shut.
Step 11: (optional) Glue some non-slip material to the soles of the slippers. I cut shapes from a small roll of non-slip stuff I bought at a variety shop.
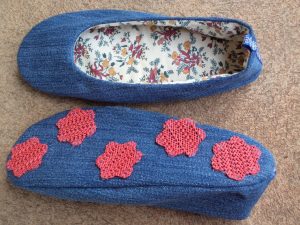
Step 11: I hot glue gunned the shapes to the soles, but I should have used craft glue because I think they’ll peel off. They make an endearing squeak-squeak noise when I walk!
Some variations you may like to try:
- Cut the sole in leather or suede -you won’t need interfacing in the sole.
- Do you have trouble keeping slippers like these on? I wear thin socks with mine, so they stay on. Two possible solutions:

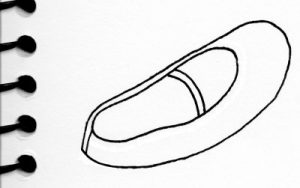
Sew a piece of matching elastic across the instep, Mary Jane style. Or a band and button? Can retrofit this onto finished slippers.

Omit the tape around the top in step 2. After you’ve sewn the uppers together in step 5, stitch a 1cm casing around the top. Leave a small gap to thread 6mm elastic through the casing. When the slippers aren’t on, they’ll curl up like Jiffies dance shoes.
- Sandwich some ric rac in the seam in step 5, to give you a half-ric rac edgeing. Omit the tape in step 2.

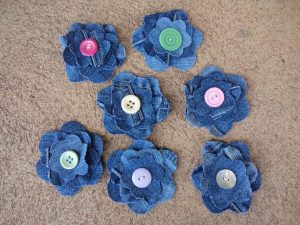
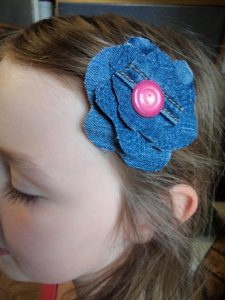
- Add a bow, a flower, some buttons, or sew some piping or braid around the edge. I thought my slippers looked a bit boring without some sort of embellishment.
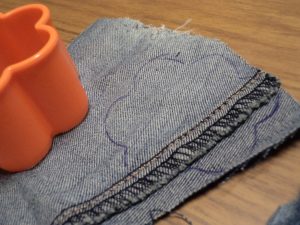
We happened to have a nest of three flower-shaped biscuit cutters at home. I cut one of each size for each flower.
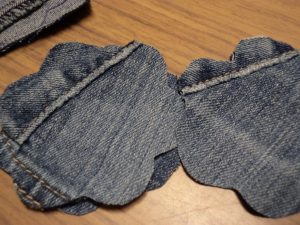
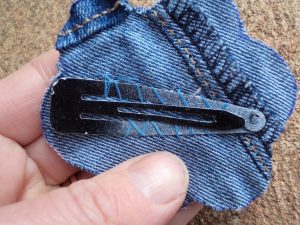
I cut through the seams of the jeans as well. I stacked up the three layers and sewed a button through the middle to hold them.
If you make these slippers, I hope they turn out really well for you. Please leave a comment and if possible a link to see your lovely work.
Cheers!
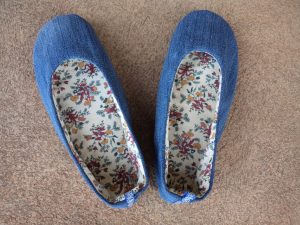



Thank you for this pattern. I had some questions in regard to sewing ballet slippers and you addressed each one in your instructions!
You’re welcome Cindy. I think a slight improvement to this pattern would be to make the sole skinnier in the centre to make it sit closer to the foot (real ballet slippers are like this) but I haven’t experimented with this. Cheers!
I want to make a pair of ballet shoes to hang in my bedroom as decoration .I had a pair of real ones that were beautiful . They were a gift from a friend who danced with the NYC Ballet . Sad to say in my life over. They and most of my stuff was lost . So I’m just trying to make something that reminds me of them. I don’t have any way of printing out anything . They were my size . Finding a pattern to buy no luck . Buying a pair like the pair I had is more money than I can afford . Any suggestions I would be grateful for. Much thanks, Elisabeth Clancy
Hi Elisabeth, these could work if you could find some suitable fabric, however, places like Aliexpress have inexpensive ones that look closer to real ones than these.
For printing, you could save the pattern on a USB (at a library if you don’t have a pc handy) and take it to a photocopy place for them to print out – make sure it’s printed “actual size”.
You’ll find a way!
Best wishes from Liz
Interesting crafts
I am just about to start sewing these and would like some further instructions on the layering of the soles and uppers:
I have a sole lining with wadding, I have a sole with fusible interlining – how are these layered to sew the upper to the sole?
Hi Krystyna, the upper is sandwiched between the two soles: you sew the first one on (the lining sole) in Step 8 and the second one (the actual sole) on in Step 9, with the upper encased between the two of them. When you turn it through, all the seams will be on the inside.
I hope this clarifies!