Overlocking: A perfect beginning and end
A question that sometimes comes up during sewing classes is How do I secure the beginnings and ends of overlocking?
There are a few answers depending on the situation…
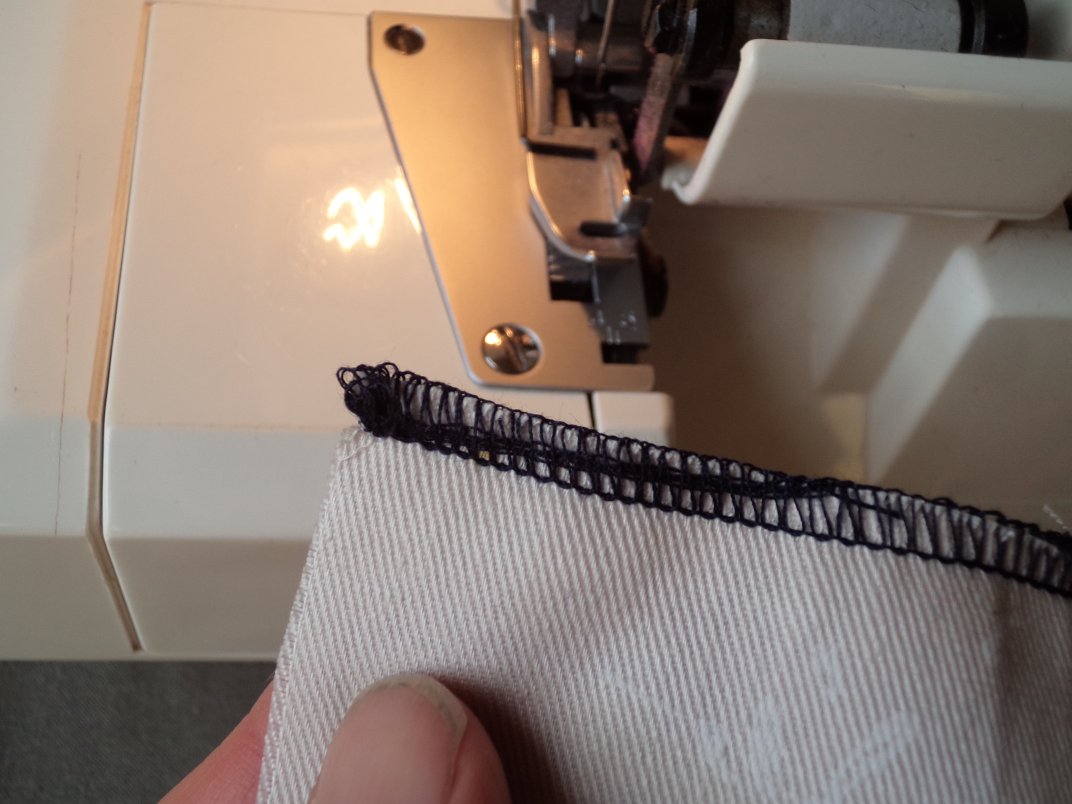
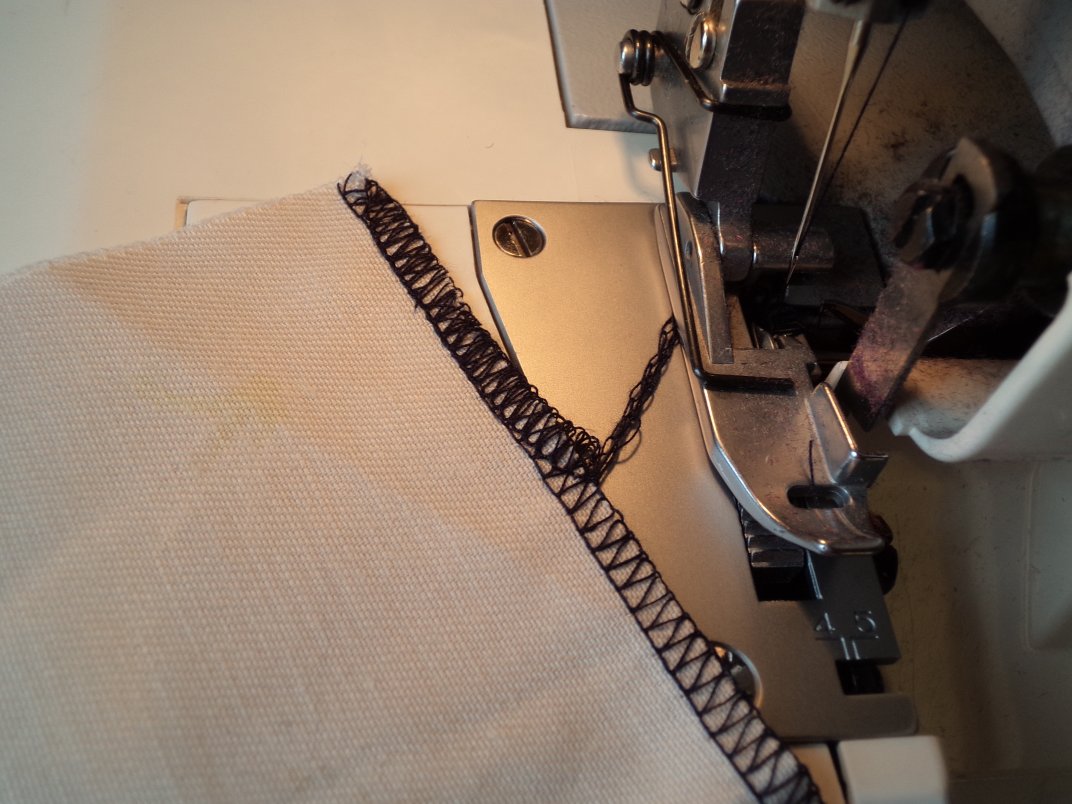
If the overlocking will eventually have another row of stitching or overlocking over each end (probable examples are side seams, shoulder seams and in fact, most regular seams), simply cut the overlocking chain off level with the end of the fabric. If you leave a tail it will just unravel to become threads.

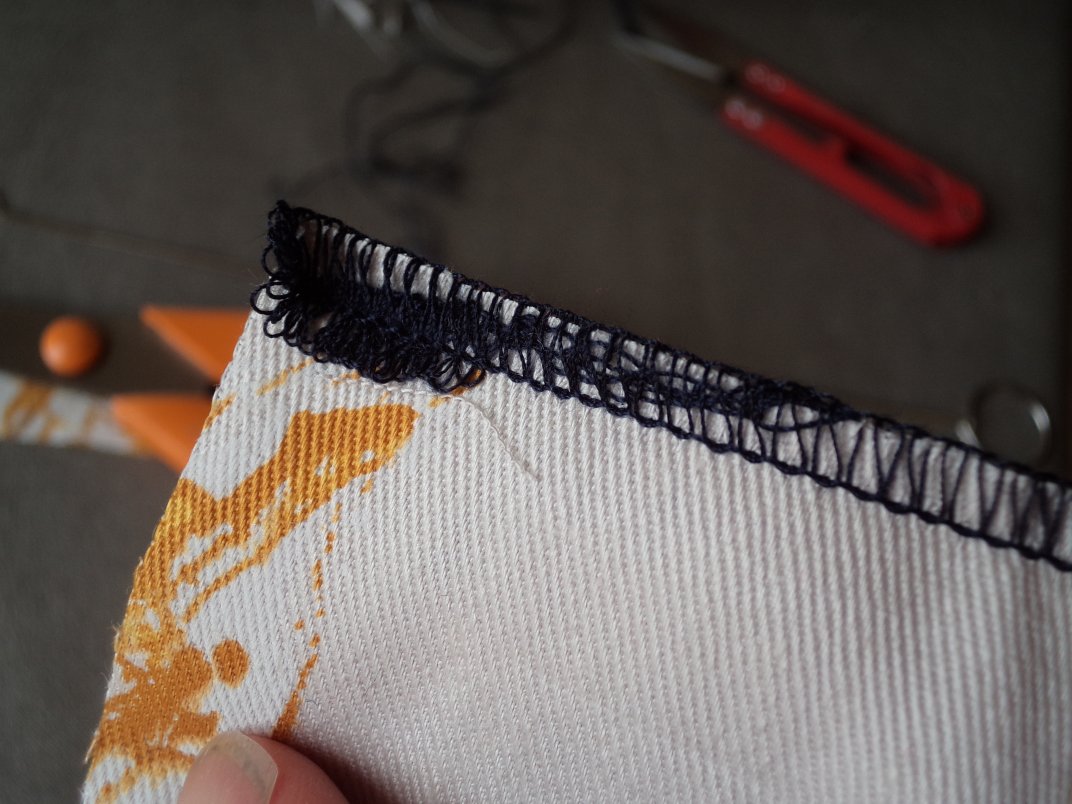
If the overlocking laps over itself (for example, overlocking hems before turning them up and overlocking around armholes), cut off the thread chain after stitching over an inch or two where you started.


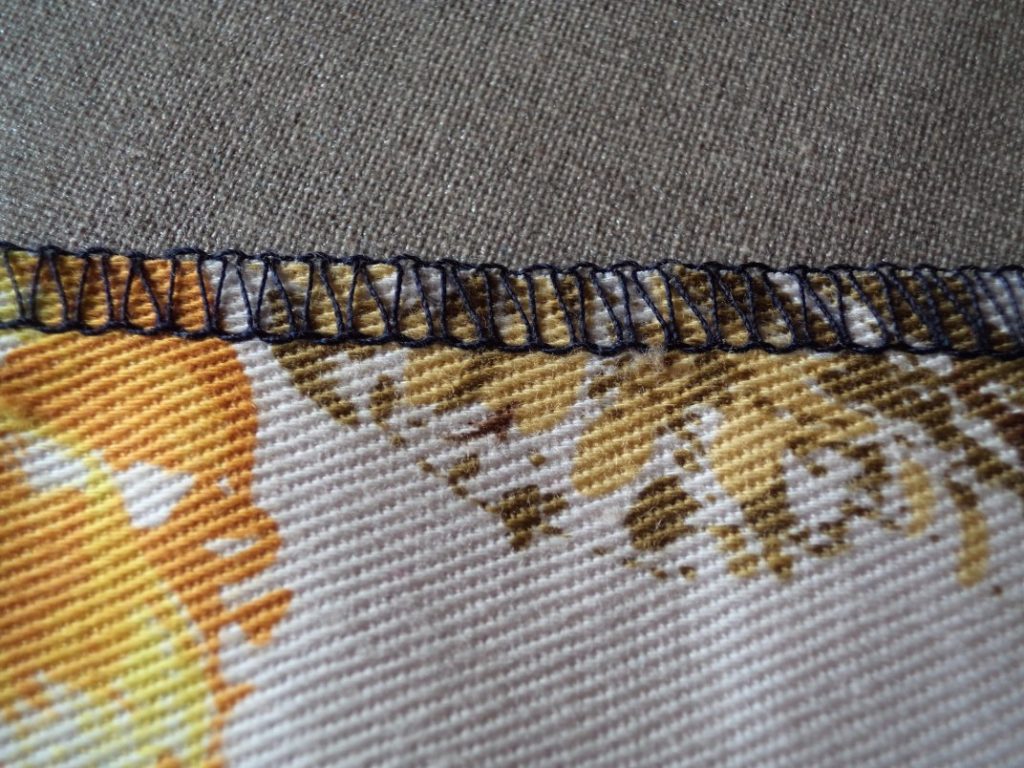
What if neither of these apply, and the overlocking finishes into thin air? This could happen at the point of a V neckline trim, or at the ends of an inverted pleat with a backing.
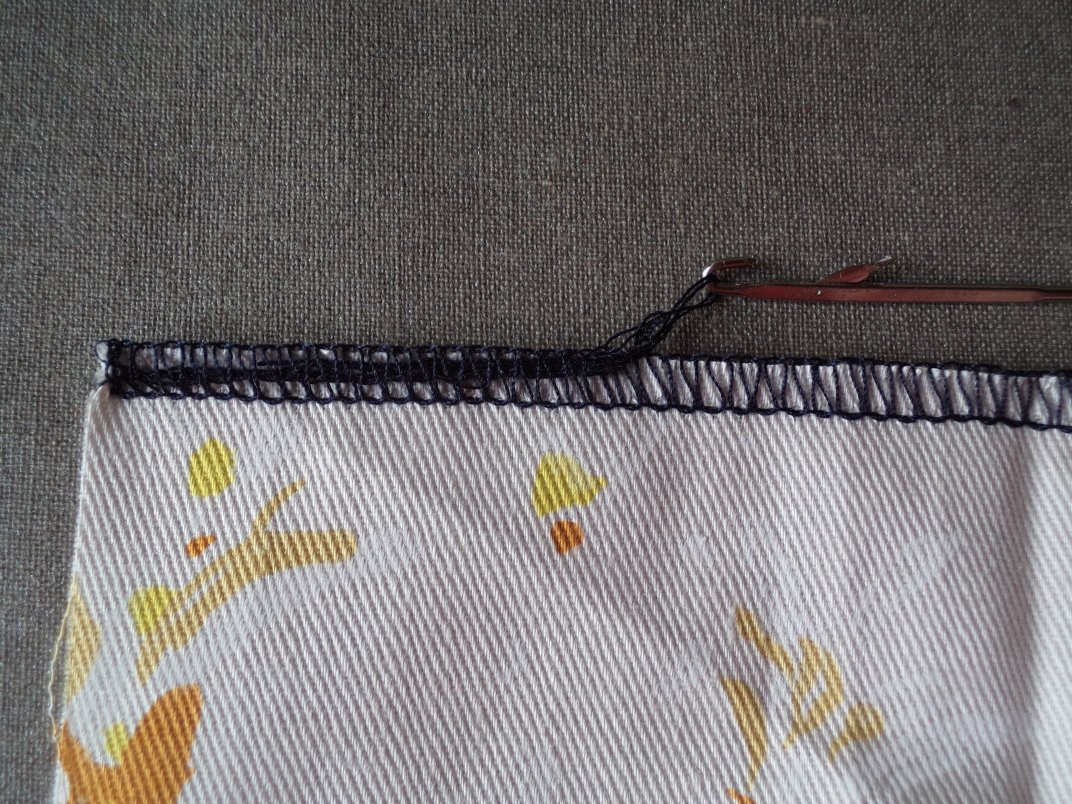
Use a rouleau loop turner to pull the tail through the overlocking:

Push the loop turner through the final inch or two of the overlocking, with the arm pushed away from the hook. Put the tail in the hook and push the arm up.

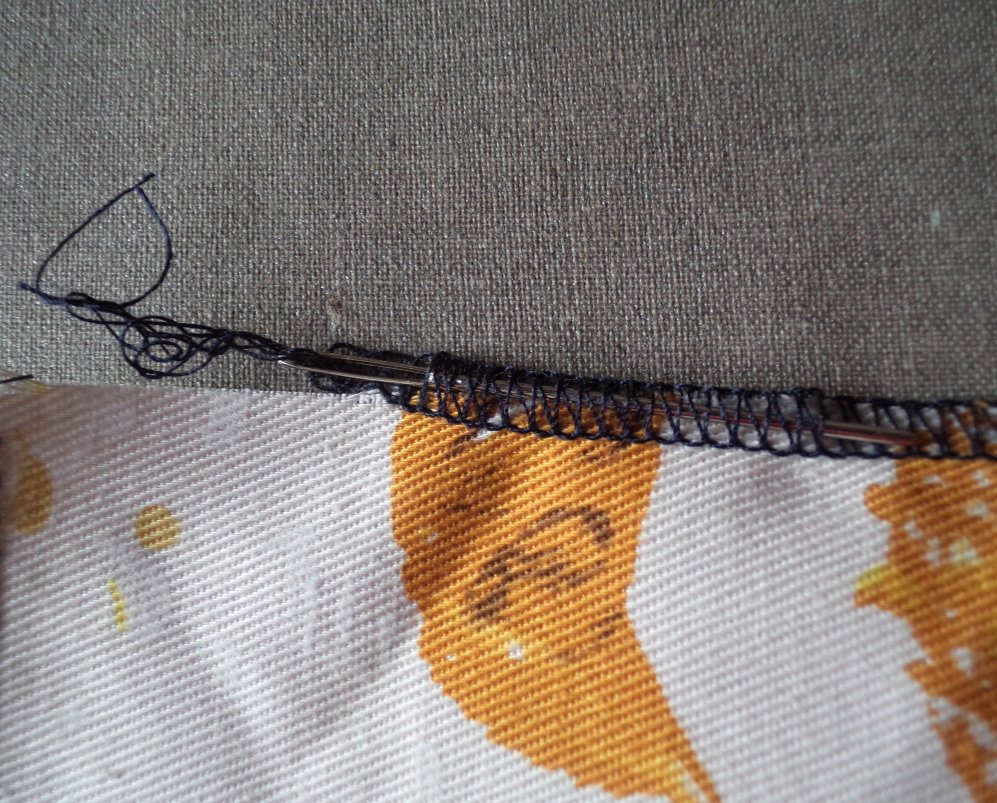
Pull it back through with a slight downward motion.
Cut off the excess.
Don’t have a rouleau turner? A darning needle does the same job.
Push the darning needle through the last inch or two of overlocking and thread it with the tail.
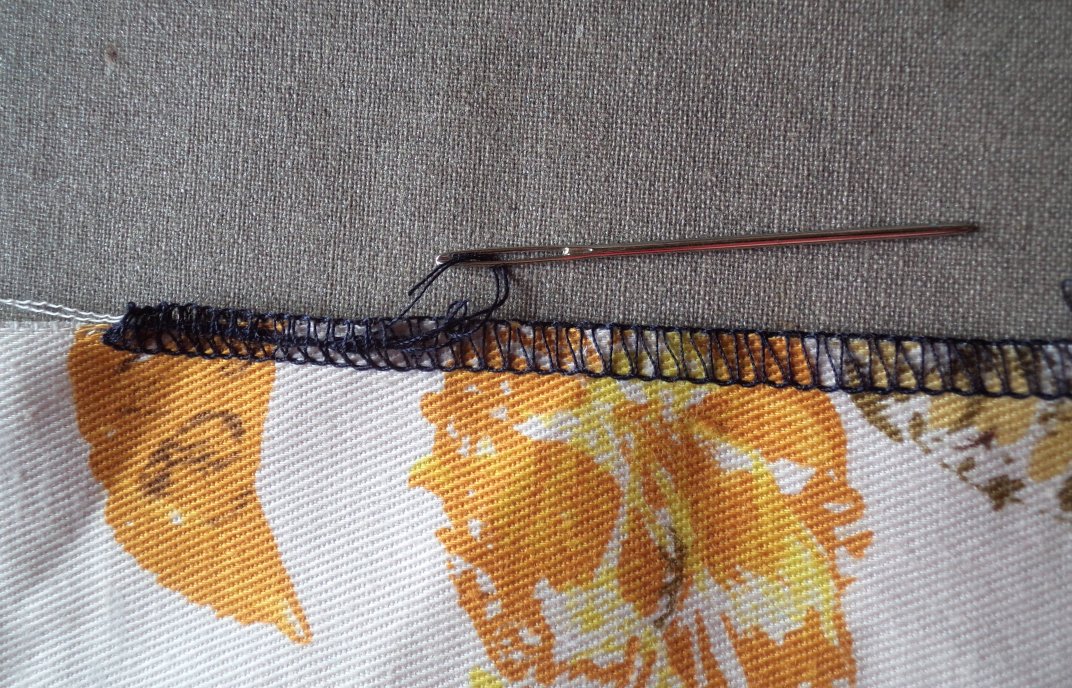
Pull the needle through and cut off the excess tail.
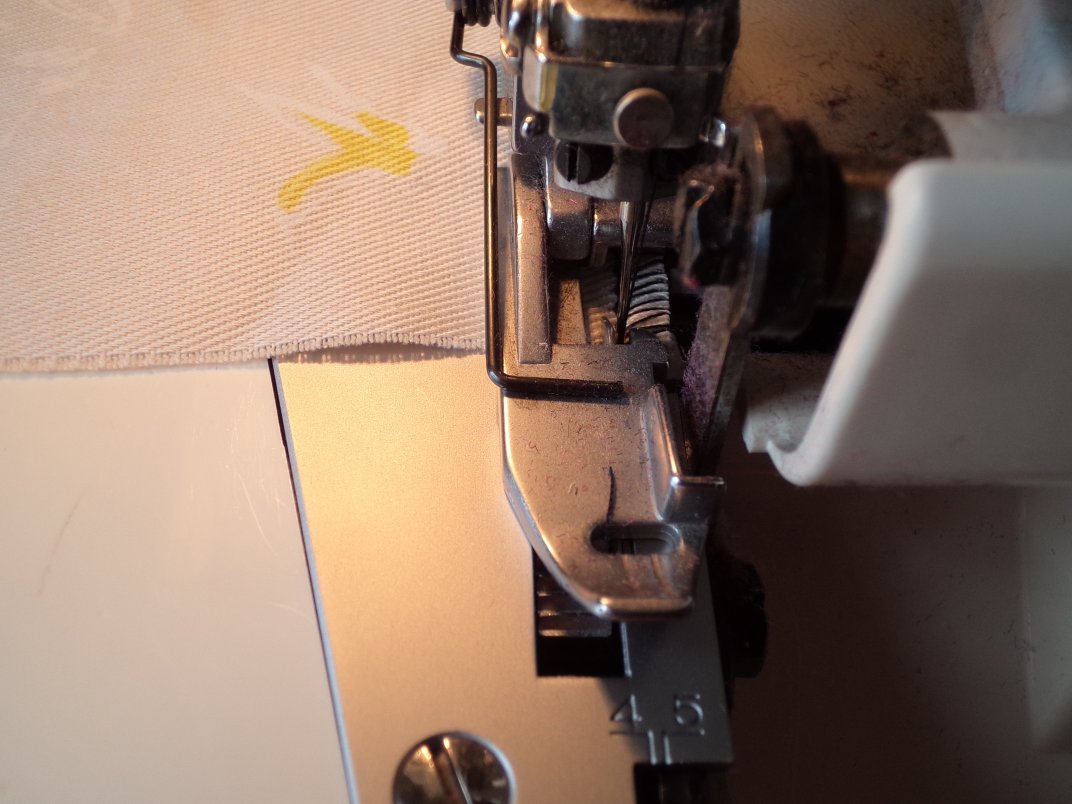
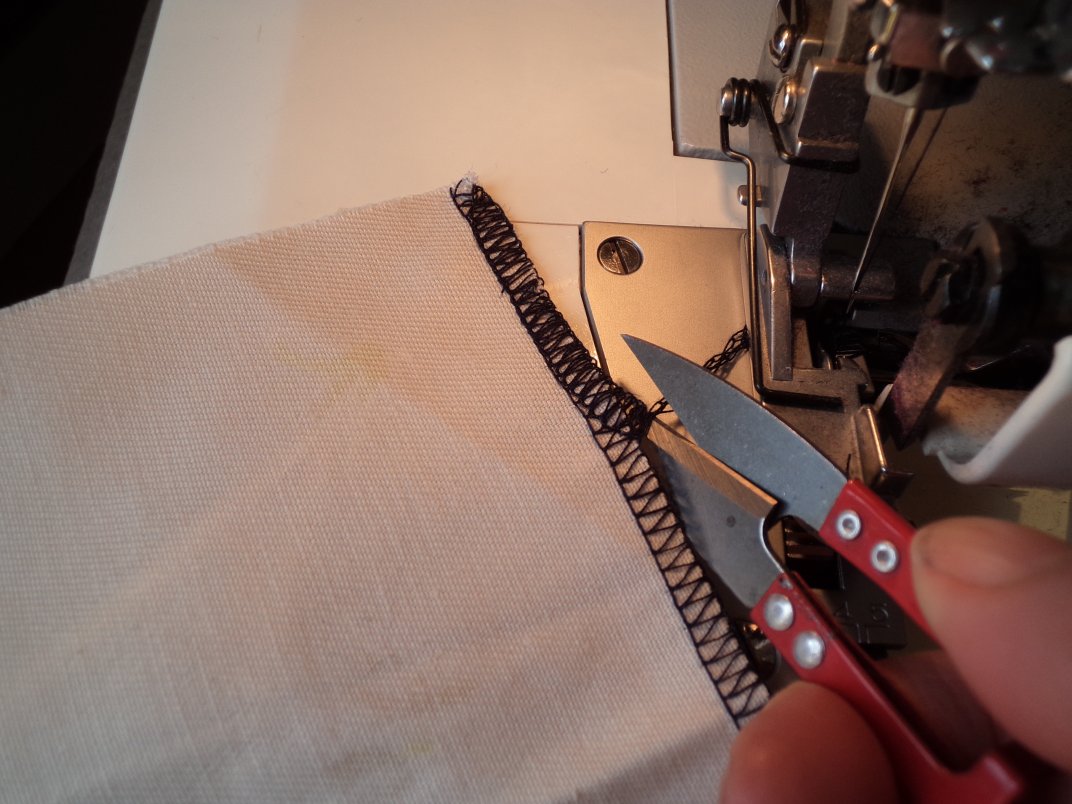
The tail can also be overlocked over:
(This takes practise)

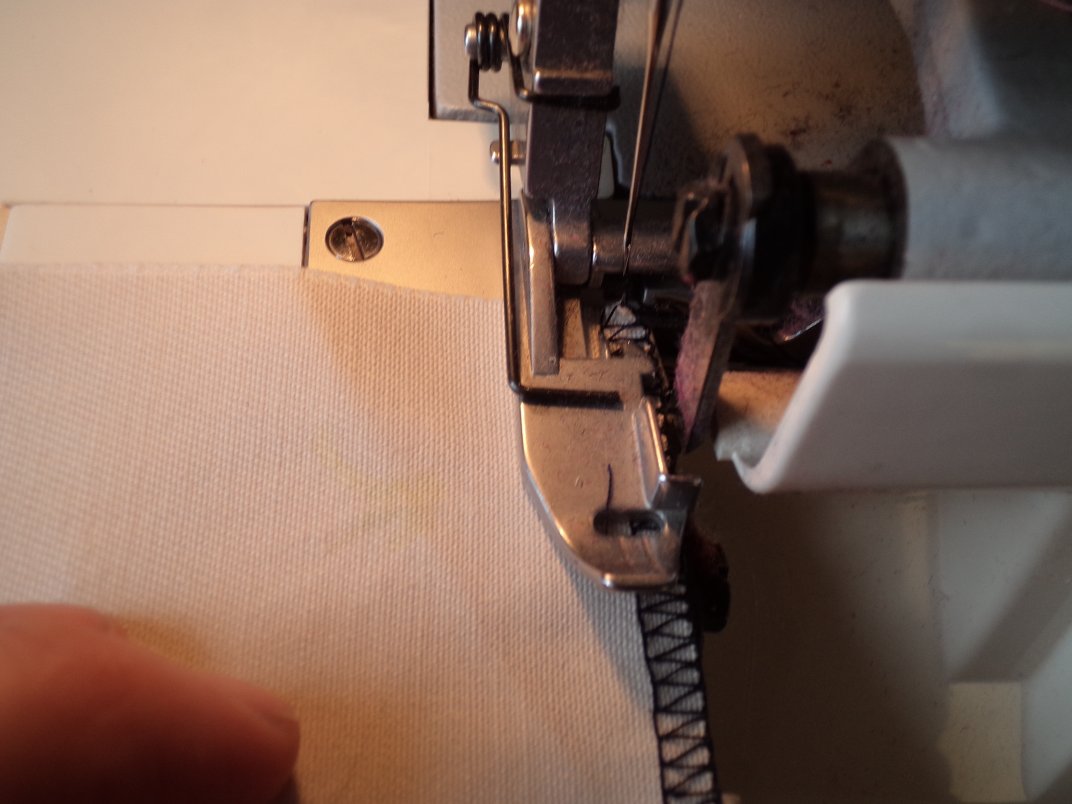
At the beginning of a seam, sew for one or two stitches then raise the presser foot.

Bring the tail to the left, towards you, around and under the presser foot.

Position it between the needle and the cutter. Lower the presser foot holding the tail in position.

Overlock over the tail for an inch or two, then swing it off to the right so it gets cut off.
Hmmm…not bad.
Blegh!!! Don’t let the tail get scrunched up at the beginning!
At the end of a seam, stitch past the end by one stitch.

Raise the presser foot and needle. Turn the fabric over really carefully to sew back the way you came. Align the edge with the cutter.
Lower the presser foot and turn the handwheel so the needle goes in at the end of the seam.
Stitch over the previous stitching a short distance then run off the edge.
And cut.
Happy overlocking!
Cheers!