Creating a book cover
The cover of The Dressmaker’s Companion has received many favourable comments, and you might be interested to read about how it was created.
Because The Dressmaker’s Companion is a self published book, the cover was my responsibility. All the advice I read on book cover design exhorted Don’t do your own cover! This is great advice; they were sooo right!
The Dressmaker’s Companion cover was made by Stu Nankivell (with styling by me). It was a weight off my shoulders to have such a capable person like Stu take care of this!
Before I contacted Stu, I did a little research on book covers:
- A book cover has certain industry standards. The barcode/ISBN needs to be on the lower part of the back cover. There needs to be a BISAC code so booksellers know which shelf to put it on (my code is Craft/sewing). There needs to be information on the author somewhere, and the author’s name is never “by Elizabeth M Haywood”.
- Non-fiction books tend to have the subject matter on the front cover. Think of biographies with the person’s face on the cover, or woodwork manuals with wood or tools on the cover. You can’t get too arty/abstract or the book’s content won’t be clear. In my case, I wanted to make sure that The Dressmaker’s Companion definitely looked like a sewing book, not a work of fiction (in case someone thought it was the sequel to The Dressmaker by Rosalie Ham, made into a movie with Kate Winslett).
I had an idea of the title surrounded by sewing tools. There are other books with this idea:
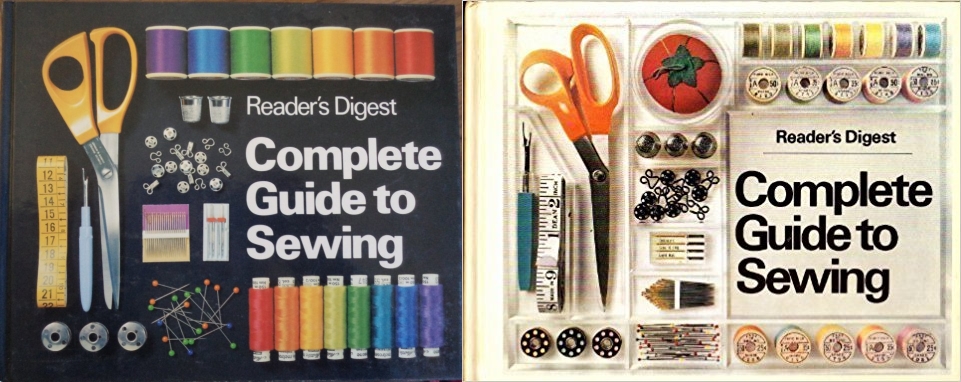
The Reader’s Digest Complete Guide to Sewing is the first that springs to mind. The darker cover is the edition we had in our family.

Two knitting books with carefully chosen colour themes. The very precise layout is softened by the yarns and knitted fabrics.

This cover has a lovely 1930’s feel about it due to the background colour and the pincushion (and possibly the wooden ruler and black handled scissors). Very appropriate for a mending book, echoing 1930’s depression era, making-do and mending, etc. Note that none of the tools touch each other and some are only partly visible.

This book of beginner projects has a modern, clean, uncluttered look, with tools and thread that pop against the dark background. Lots of clear space around the edges.
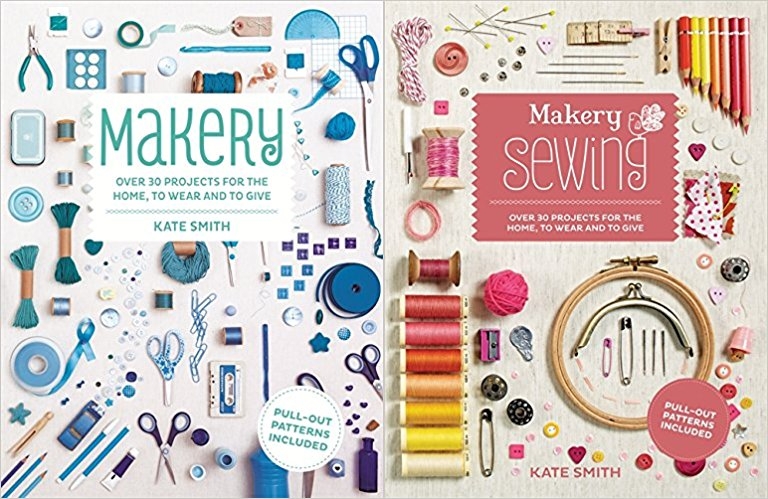
Two books with carefully chosen colour schemes and slightly different arrangements of sewing gear. The books are beautifully photographed inside, by the way.

Claire Shaeffer’s classic has a more casual arrangement of sewing tools on a fabric background.
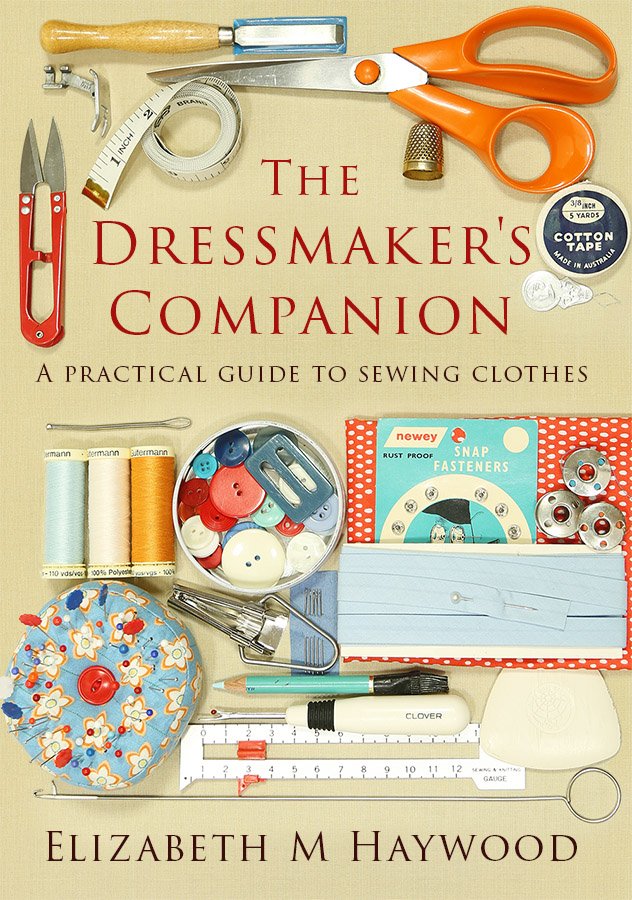
I wanted the look of The Dressmaker’s Companion to look craftsman-like, friendly, as if a person had laid out their professional tools of trade, with a slightly retro feel.
For the front cover, I went through my sewing stuff and gathered all the sewing tools I thought would be useful, aiming for a colour scheme of pale neutrals with blue and orange, with highlights of red. Most of these tools are my own everyday ones, but some are old things found at the op shop. I bought some quilting fabric in suitable colours and made a round pincushion. At the same time I bought a length of neutral coloured homespun (colour: “tea”) for the background. At home I found two large identically-sized books (one is Betty Kirke’s Vionnet and the other The Reader’s Digest World Atlas) and covered them with the tea coloured homespun, and arranged the tools around a title. I took some photos to see:

Stu calls this my “concept art”.
For the back cover I had an idea to have sewing threads laid out on the same background. I sorted all my sewing threads into hot colours, cool colours and neutrals and arranged them on a tray.

The rectangles of fabric are for the blurb and author blurb. The finished book has slightly transparent computer-made rectangles, not these fabric ones (it looked better).
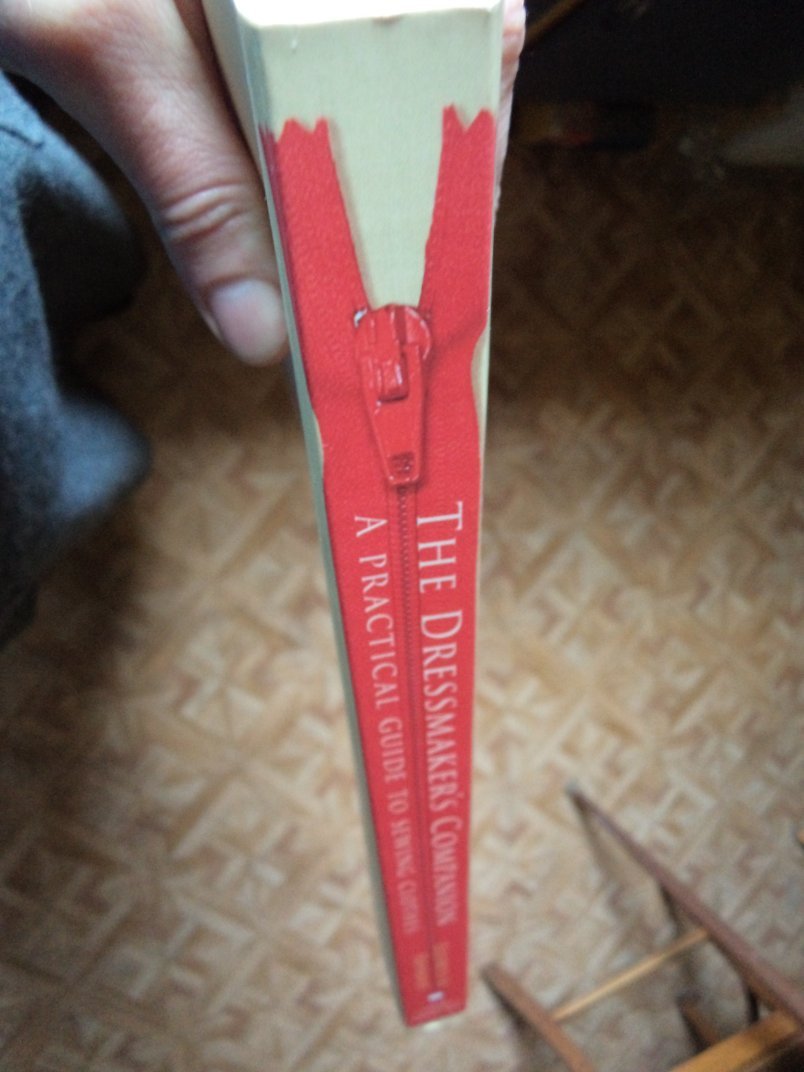
For the spine of the book I thought about a zip -I noticed that the book’s spine width happened to be the same width as a zip (2.5cm). The spine is rarely visible when a book is viewed online, but is very important for libraries and book shops, since that’s all anyone sees when the book is on a shelf.
I showed the concept art to Stu along with some of the books above. He had a few ideas to add: he liked the back cover idea with spools of thread, but told me to get rid of the almost-used ones (too distracting) and thought a border of background would look smarter than edge-to-edge reels of thread.
Later, I had another think about the front cover. It looked a bit bare and hard; thought it needed to look more cluttered, with objects touching, and it needed fabric in it to make it look softer.
I rearranged the tools and reels of thread on my two fabric-covered books, and Stu took high quality photos of them.
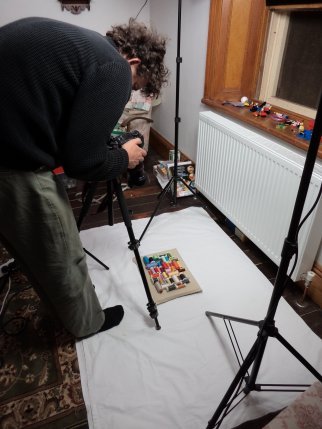
A few weeks later, I visited Stu and perched on a stool next to his computer and watched him make the book cover. He picked the best photos and put them in a template supplied by the printer. Really, I was completely ignorant of the amazing stuff computer programs can do. Stu started with the front cover and added extra “fabric” around the edges. He moved parts of the photograph around, matching the weave of the background fabric back up again. How about this font? he suggested. What about doing this? He made the back and front cover and spine look as if he’d taken one big photo with everything laid out, instead of the three separate photos that they were.

From concept art, to actual art, to book cover:


Interesting to find out how it all happened. I love the zippy spine! You’re such a clever girl!
Cheers Juliet!
Fascinating!
Agree – a fascination process!